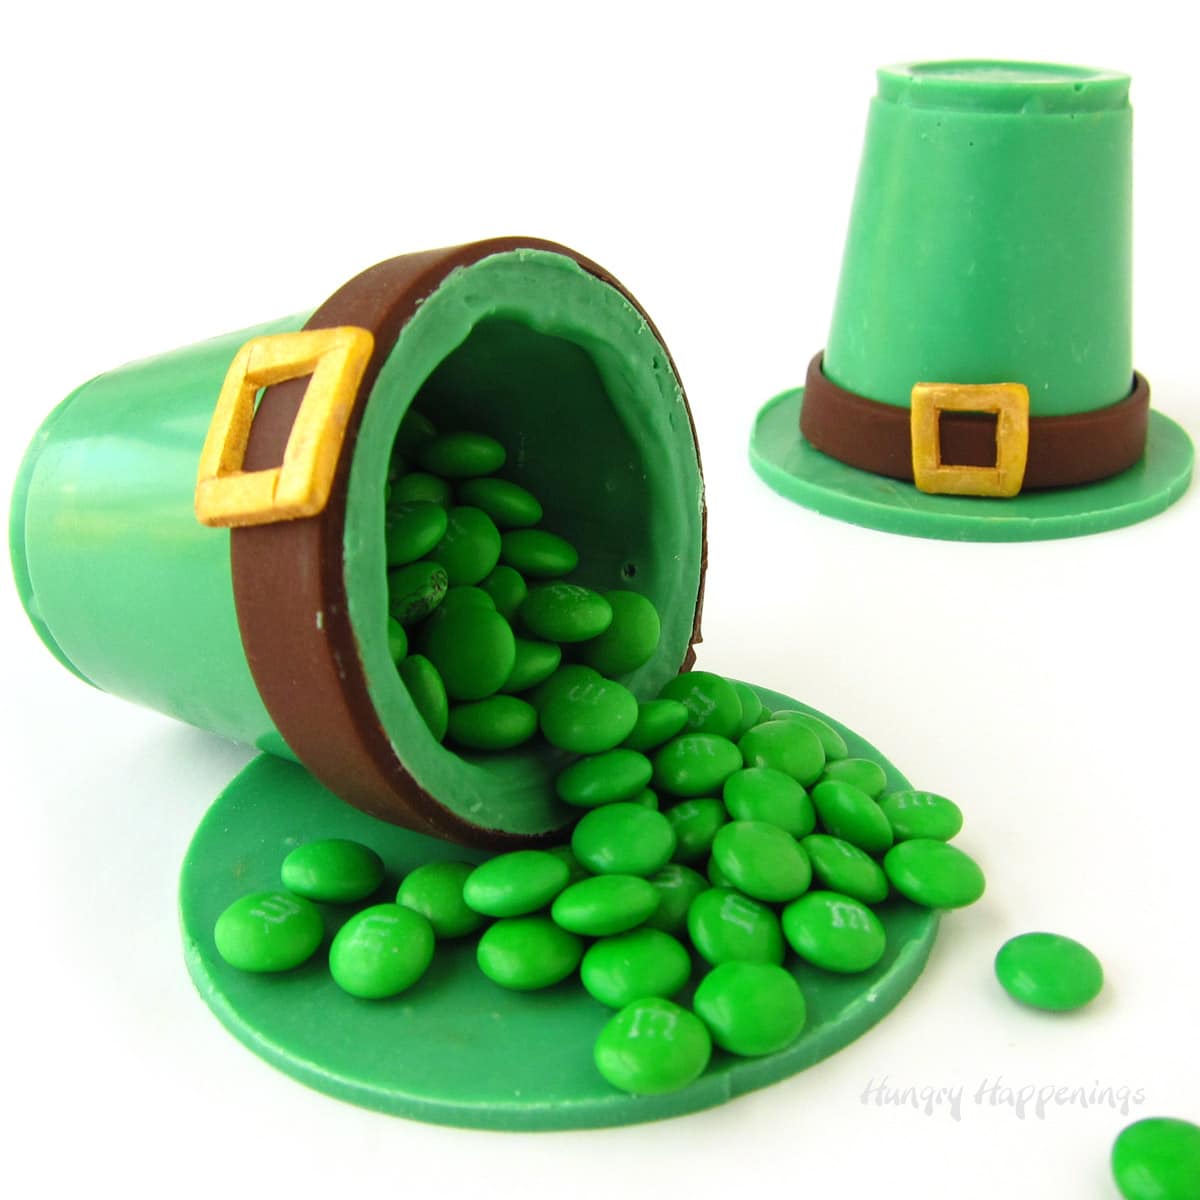
These Candy Leprechaun Hats filled with green M&M's are the perfect treat for your St. Patrick's Day Party! Each chocolate hat is made using green candy melts and is decorated with modeling chocolate.
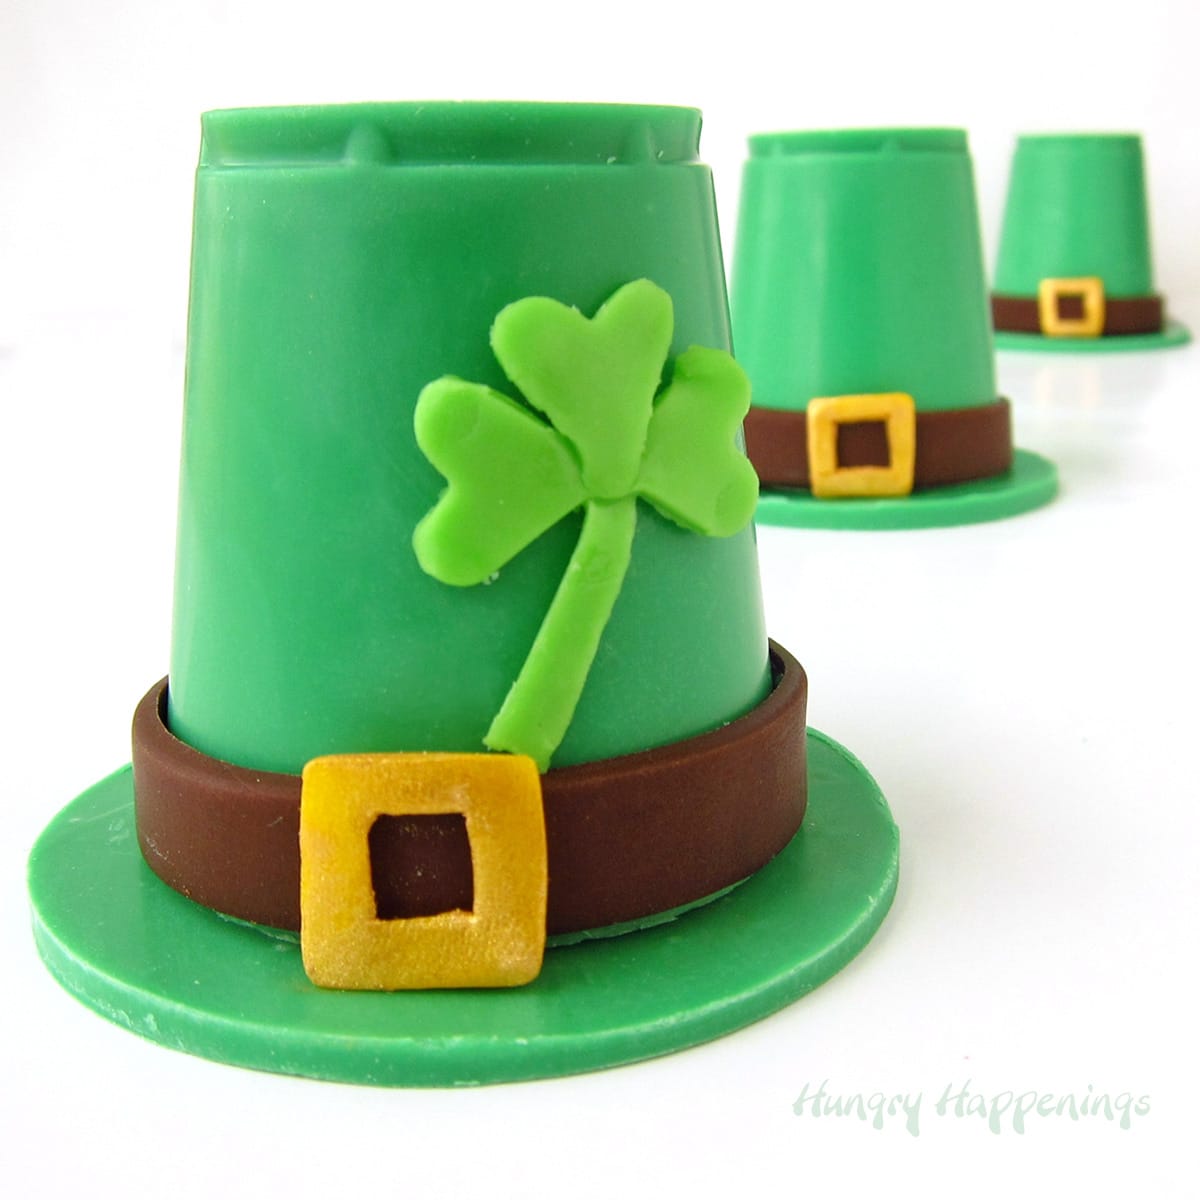
Two years ago, I made dark chocolate pilgrim hats for Thanksgiving, and they were a big hit. I was really excited to hear from so many of you that made those chocolate cups.
So, I decided to use the same technique to create these leprechaun hats.
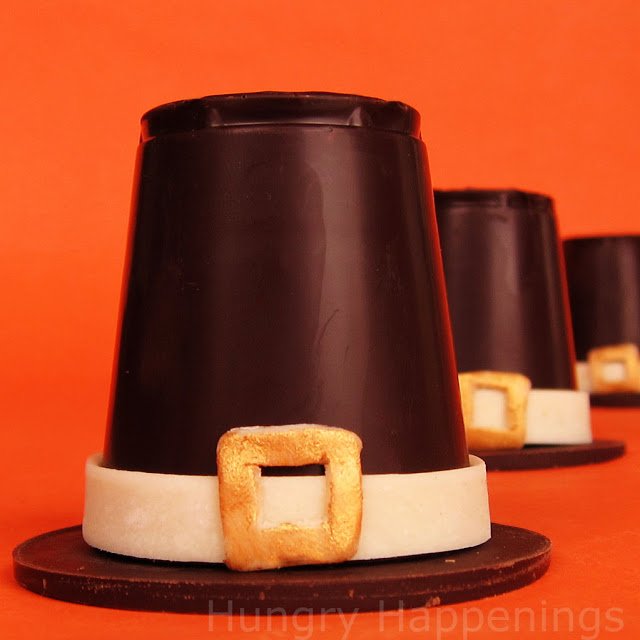
I did not create a tutorial showing the step-by-step instructions to make these hats but I will share the steps to make the chocolate pilgrim hats so you can follow along and make these green Leprechaun hats.
Just follow the directions shown below, swapping out green confectionery coating/candy melts for semi-sweet (dark) chocolate.
You'll also swap out the dark modeling chocolate hat bands for the white bands used to make the Pilgrim hats.
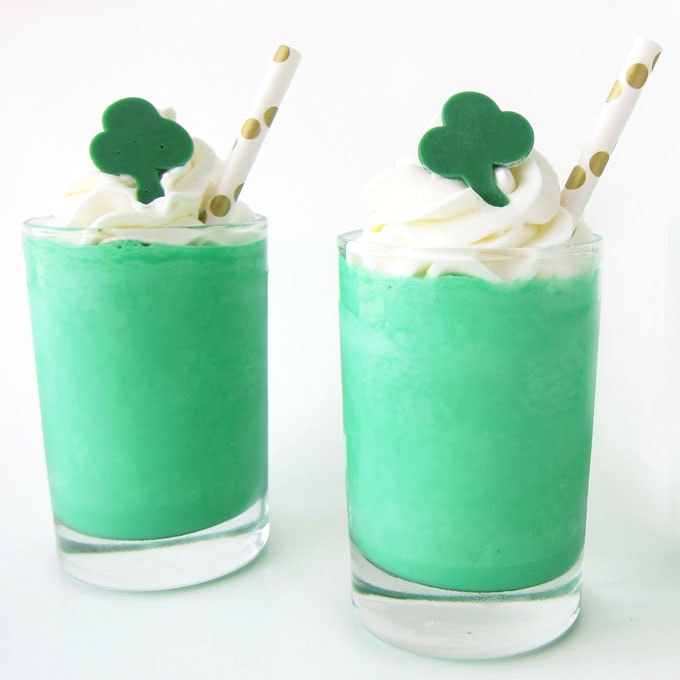
You can also use this same chocolate cup-making technique to make Smiling Shamrock Cups filled with Minty Milk Shakes, Santa Suit Cups, Red Solo Candy Cups, Chocolate Turkey Cups, and even Snowman Hot Chocolate Bombs.
Ingredients
- 16 ounces melted green confectionery coating/candy melts
- 2 - 4 ounces white modeling chocolate (recipe here) or fondant
black food coloring (or use modeling chocolate made from dark chocolate, as I did) - optional, green food coloring, if making shamrocks for on your hats
- powdered sugar to dust your work surface
- gold luster dust or yellow food coloring
Supplies
- 12 small plastic cups (the size of a shot glass - I used Solo kitchen/bathroom cups)
- parchment paper lined baking sheet
- offset spatula
- 3-inch round cookie cutter
- cutting board
- rolling pin
- pizza wheel and/or knife
- fine tip paint brush (used for food only)
- mini shamrock cookie cutter or a mini heart cutter
Tips
Before you begin, if you aren't experienced with making chocolate, read my chocolate-making tips for information on working with candy melts (confectionery coating) or pure chocolate.
Do not use paper cups as the chocolate will look dull once removed from the cups.
Instructions
Use green candy melts instead of dark chocolate to make Leprechaun hats.
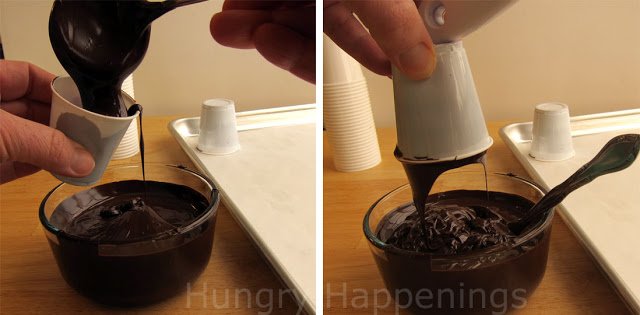
- Fill one of your plastic cups with GREEN candy melts.
- Let the cup sit for 1 minute, then turn the cup upside down and allow the candy melts to drip out of the cup.
- A thin layer of candy melts will stick to the side of the cup.
- If your candy melts are really thin, they may not coat the cup well. If this is the case, you may need to use a paintbrush to paint the candy melts into the cups.
NOTE: You can watch my video where I created Red Solo Candy Cups using candy melts.

- Use a metal spatula or knife to scrape off the chocolate around the top edge of the plastic cup.
- Be sure to wipe off any chocolate that has dripped over the top edge. This will ensure easy removal later.
- Set the cup upside down on a parchment paper-lined baking sheet.
- Pop this cup into the freezer for 8-10 minutes. If you wait and let the green candy cups air dry, the cups will look spotty.

- Remove from the freezer, and pull the candy cup out of the plastic cup.
- Repeat to create a total of 12 green candy cups.

- To make the chocolate rounds that will act as the hat brims, pour the remaining green candy melts over a parchment-lined baking sheet and spread it out so that it's ⅛-inch thick.
- Hold each end of the parchment paper and shake it a few times. This will remove any ridges in the green candy melts and make it smoother.
- NOTE: You will probably need to reheat the candy melts before this step. Heat the candy melts in the microwave for 10-second bursts of power, stirring after each until melted.
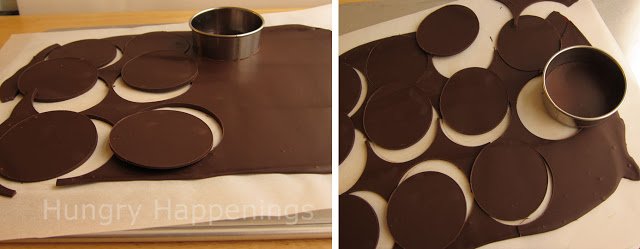
- Chill the green candy melts in the refrigerator (not the freezer) for about 2 minutes just until it firms up but does NOT harden completely.
- Press a round cookie cutter into the green candy melts cutting circles out of the candy. Start around the outer edge. That will have firmed up more quickly than the center.
- Flip the green candy circles upside down and set them on a parchment paper-lined baking sheet.
- Freeze for about 5 minutes just until the candy hardens.
- Break up the excess candy melts and reheat them until melted to use for the next step.
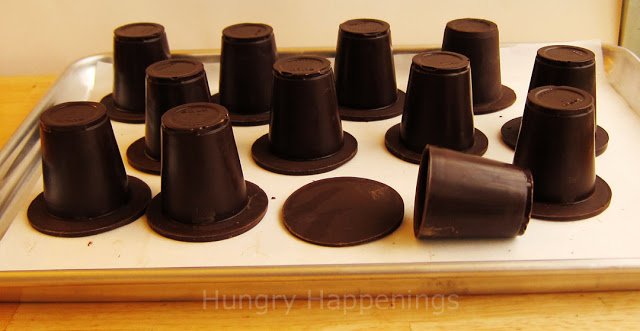
If your green candy cups have words imprinted on them (the bottoms of my cups had "Solo" imprinted on them) you can cover the words by spreading a thin layer of green candy melts over the top.

- Roll out some DARK modeling chocolate (made with semi-sweet chocolate or colored using black food coloring) to about 1/16-inch thickness.
- Cut 12 long strips that are about ¼-inch wide and 6 inches long. You need these strips to be long enough to wrap about the base of your chocolate hats.
- Roll out some white modeling chocolate to 1/16-inch thickness.
- Cut out small 6/16-inch squares then cut out 3/16-inch squares from the center using a sharp knife to make the buckles.

- Mix a small bit of edible gold luster dust with some lemon extract.
- Brush the edible gold paint over the modeling chocolate buckles.
- Allow the color to dry completely before moving the buckles.
If you prefer, you can simply color some modeling chocolate using gold or yellow food coloring.
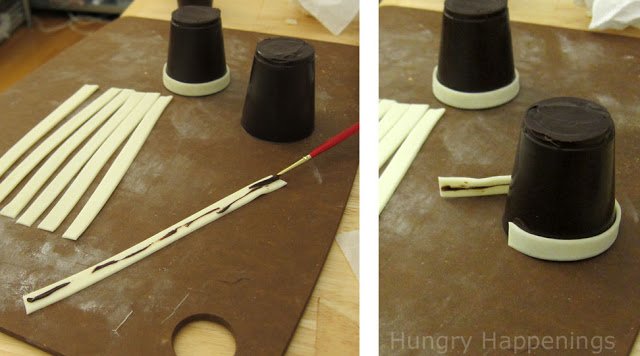
- Brush a thin line of green candy melts onto a DARK modeling chocolate hat band and wrap it around the base of a green candy hat.
- Press the seams together and then cut off any excess.
- Paint a small amount of chocolate onto the back of a buckle and attach it to each hat.

Your hats are now ready to fill with candy.
To do so, turn a candy cup upside down. Fill it with candy, then pipe or paint a bead of melted green candy melts around the edge. Press a round (hat brim) over top and allow it to dry before turning the hat right side up.
*To make small shamrocks for your hats, cut some modeling chocolate that has been colored green with a mini shamrock cutter, or use a mini heart cutter and cut three hearts and one stem.
Attach the shamrock to the hat using melted green candy melts.
Related Posts
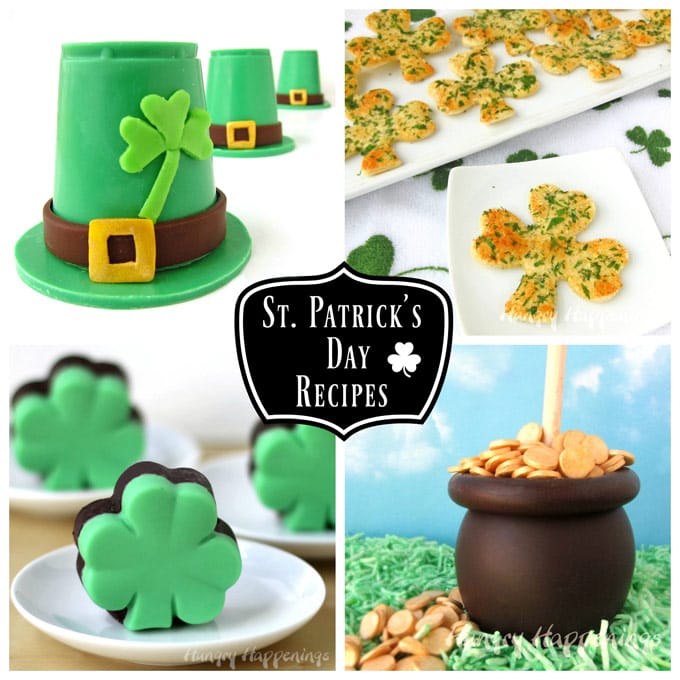
Check out all of my St. Patrick's Day recipes.
Recipes
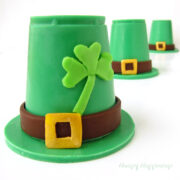
Green candy leprechaun hats are decorated using modeling chocolate or fondant. Fill these cute candy hats with green M&M's or your favorite candies to celebrate St. Patrick's Day.
- 16 ounces melted green candy melts melted
- 2 ounces dark or black modeling chocolate or fondant
- 1 ounce white modeling chocolate or fondant
- 1 ounce green modeling chocolate or fondant (if adding shamrocks to the hats)
- ⅛ teaspoon edible gold luster dust or yellow food coloring
- ¼ teaspoon lemon extract (add more if needed)
-
Fill one of your plastic cups with melted green candy melts and let it rest for one minute.
-
Turn the cup upside down and allow the candy melts to drip out of the cup leaving a thin shell around the edge and bottom of the cup.
-
Scrape off any chocolate along the top edge of the cup.
-
Set the cup upside down on a parchment paper-lined baking sheet.
-
Pop this cup into the freezer for 8-10 minutes just until the chocolate hardens. If left too long, the cup may crack.
-
Remove from the freezer, and pull the candy cup out of the plastic cup.
-
Repeat to create a total of 12 green candy cups.
-
Pour the remaining melted green candy melts over a parchment-lined baking sheet and spread it into an even ⅛-inch thick layer.
-
Chill in the refrigerator for about 2 minutes just until it firms up but does NOT harden completely.
-
Press a round cookie cutter into the green candy melts cutting circles out of the candy. Start around the outer edge. That will have firmed up more quickly than the center.
-
Flip the green candy circles upside down and set them on a parchment paper-lined baking sheet.
-
Freeze for about 5 minutes just until the candy hardens completely.
-
Roll out the dark modeling chocolate to about 1/16-inch thickness.
-
Cut twelve 6-inch by ¼-inch strips.
-
Roll out the white modeling chocolate to 1/16-inch thickness.
-
Cut out small 6/16-inch squares then cut out 3/16-inch squares from the center using a sharp knife to make the buckles.
-
Mix a small bit of edible gold luster dust with some lemon extract.
-
Brush the edible gold paint over the modeling chocolate buckles.
-
Allow the color to dry completely before moving the buckles.
-
If you prefer, you can simply color some modeling chocolate using gold or yellow food coloring.
-
Brush a thin line of green candy melts onto a dark modeling chocolate hat band and wrap it around the base of a green candy hat.
-
Press the seams together and then cut off any excess.
-
Paint a small amount of chocolate onto the back of a buckle and attach it to each hat overlapping the hat band.
-
Turn a candy cup upside down. Fill it with candy, then pipe or paint a bead of melted green candy melts around the edge. Press a round (hat brim) over top and allow it to dry before turning the hat right side up.
-
To make small shamrocks for your hats, cut some modeling chocolate that has been colored green with a mini shamrock cutter, or use a mini heart cutter and cut three hearts and one stem.
-
Attach the shamrock to the hat using melted green candy melts.
Store these chocolate leprechaun hats at room temperature for up to 2 months.
The calories listed do not include the candy inside.
- How to make peanut butter? - February 15, 2024
- OREO Penguins - December 20, 2023
- OREO Snowmen - December 20, 2023

Michelle | Creative Food
These are brilliant!!
Beth Jackson Klosterboer
Thanks, Michelle.
Trish - Mom On Timeout
Pinned and featuring tomorrow Beth! LOVE these!
Beth Jackson Klosterboer
Thanks, Trish!
courtney
these are adorable!!
Mathilda
Those are wonderful and I love how you can put sweats in them! Jellybeans would be cool as well.
Rachel Harwood
Beth, I LOVE these!!!! What a fun idea. Similar to a little hat that I had made over at Sun Scholars. I'm sharing on Facebook 🙂
Beth Jackson Klosterboer
Thanks, Rachel. Your M&M filled hat is great and I absolutely love your ice cream cone Leprechaun. I remember the first time I saw it, thinking it was one of the coolest edible ideas I'd seen for St. Patrick's Day!
The Partiologist
Goodness are these ever cute - and to be filled with sweet surprises makes them super duper cute!
Melissa in NJ
oh my GOSH, Beth, these are adorable. I will try to make them for St. Pat's Day for my son's class. LOVE this idea -- it's approachable, cute, and fun. Thanks for the idea!!!!!!
--Melissa in NJ