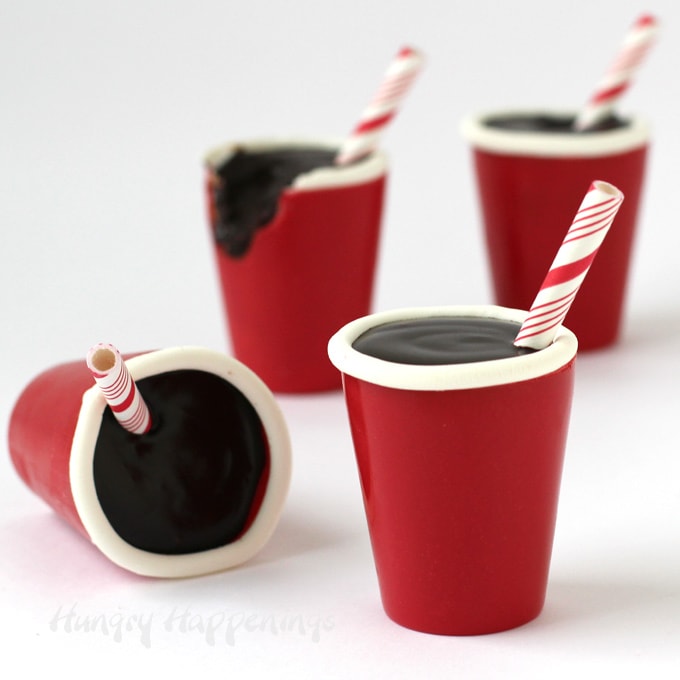
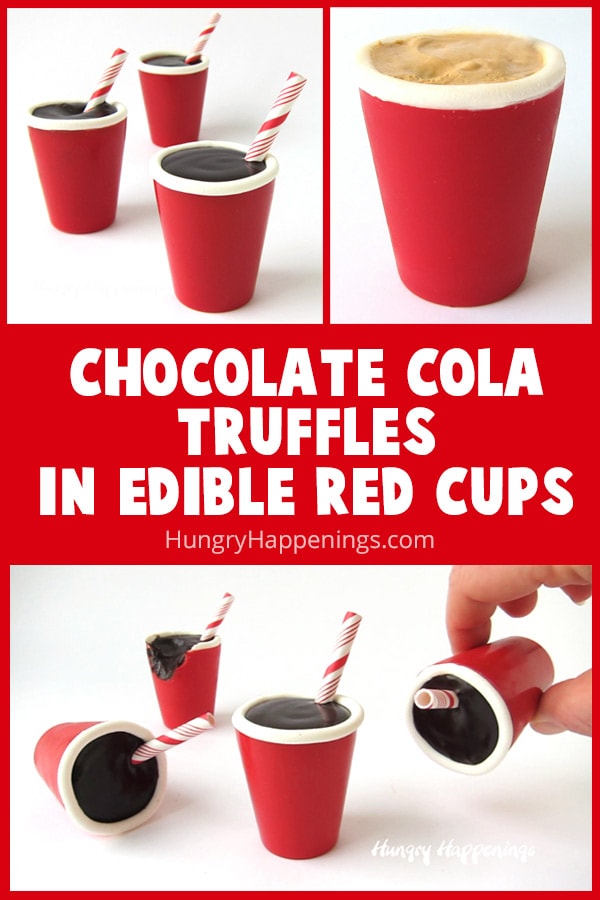
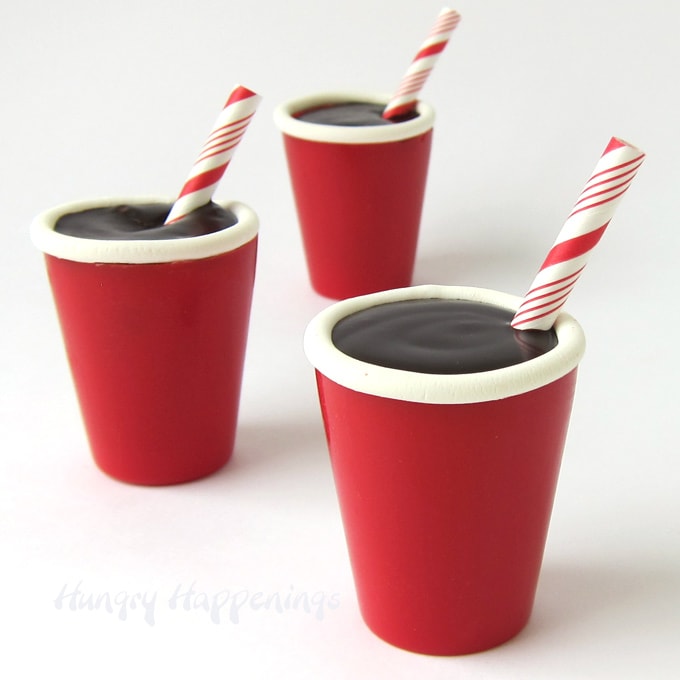
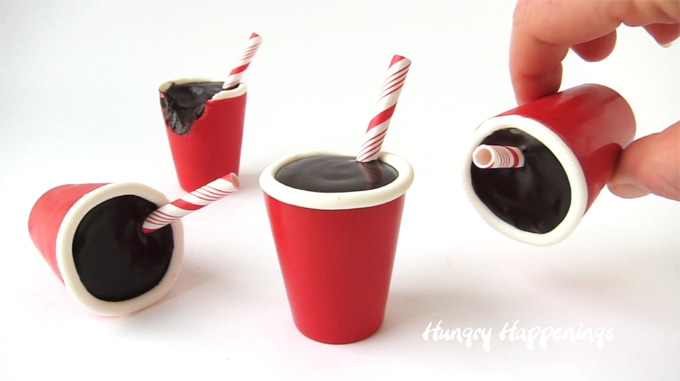
These Chocolate Cola Truffles in Edible Red Cups look just like red SOLO® cups filled with Coca Cola®, but they are mini candy cups filled with a luxuriously smooth cola-flavored chocolate ganache. These homemade chocolates will be a fun addition to any party.
What do you think? Do these little Chocolate Cola Truffles in Edible Candy Cups look real to you?
The idea for these candy cups came to me last summer when I saw packages of mini red plastic cups in the grocery store. I have always loved miniatures and those tiny party cups were just so darn cute. When I finally got around to making these fun chocolates, I started out by using the plastic red cups as a mold.
It was a disaster. The grooves in the cups made it impossible for the candy to come out in one piece. So I ended up using a smooth plastic shot glass to make my cups and added a white modeling chocolate (candy clay) rim. I think they turned out pretty good. Don't you?
How to make Red Candy Cups:
- Brush a thin layer of melted Red Candy Melts (or red-colored, melted and tempered, white chocolate) on the inside of a small 2-ounce plastic shot glass.
- If you prefer, you can color melted and tempered white chocolate to use to make your candy cups.
- Be sure to choose plastic shot glasses with a smooth interior. Grooves make it difficult, or impossible, to remove the hardened candy from the plastic cup.
- Smooth the top edge of the cup then freeze for 90 seconds.
- You want this layer of candy to be set but it doesn't need to be completely hard.
- Remove and brush another layer of candy inside the cup.
- Use your finger to smooth out the top of the candy cup.
- Freeze for 2-3 minutes just until the candy hardens.
- Remove and slide the candy cup out of the plastic shot glass.
- If the candy won't slide easily, return it to the freezer for 30 seconds then try again.
- If you look at the outside of the plastic shot glass your cup should look frosty and have an even color. If there are dark spots, those areas may still be wet.
NOTE: If you don't freeze your red candy cups immediately after brushing the candy melts into the cup, the red candy may develop spots or streaks. Do not let them air dry if you are using candy melts.
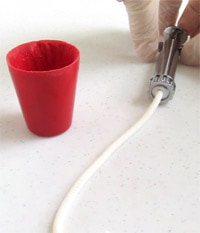
- Roll some white modeling chocolate (see the simple 2-ingredient modeling chocolate recipe, here) into a thin log or use a clay extruder, as I did.
- You can find clay extruders in the clay aisle at craft stores. Wash your clay extruder before use and use it just for food.
- Clay extruders come with a variety of metal discs that allow you to make logs, strips, and more in various sizes.
- Either use melted white candy melts, the red candy melts, or clear piping gel to attach the log of modeling chocolate to the top edge of the red candy cup.
How to make Coca Cola Flavored Chocolate Ganache filling for your Edible Red Cups:

-
- Pour finely chopped chocolate into a shallow bowl. The thinner the layer of chocolate, the better.
- Create a well in the center of the chocolate ( a hole where you can see the bottom of the bowl). This will allow the cream to get under the chocolate more easily.
- Heat your cream over medium heat to a simmer on the stove, just until bubbles begin to form.
- Immediately pour the hot cream over the chocolate, making sure it covers all of the chocolate.
- If you have patches of exposed chocolate, gently push it into the cream but do not stir!
- Let the chocolate and cream sit, undisturbed for 3 minutes to allow the chocolate to begin to melt.
- Then begin stirring the mixture in small circles in the center of the bowl.
- As the chocolate and cream start to darken and come together you can begin to make your circle bigger.
- Continue stirring until the cream and chocolate come together then widen the circle again and continue until the entire bowl of cream comes together.
- Be sure to scrape the bottom and sides of the bowl.
- Add drops of LorAnn cola flavoring or another cola flavoring until you get a nice tasting cola ganache.
- I made Coca Cola truffles using real soda a few years ago and I have to say that I liked this cola ganache even better. It had a more pronounced cola flavor.
There really are so many ways you can fill these cups depending on the party or person you are making them for so get creative.
I liked the contrast of the semi-sweet chocolate ganache filling and the "white chocolate" flavored cups. The ideas below will create a sweeter treat.
How to fill your Edible Red Cups with "beer" or other "drinks":
- BEER - If you want your red candy cups to look like they are filled with beer, fill them with Dulce de Leche.
- Orange Soda - swap out white chocolate for the semi-sweet chocolate in the recipe below and add orange flavoring and orange coloring. The ganache will be a bit thinner.
- Lemonade - swap out white chocolate for the semi-sweet chocolate in the recipe below and add lemon flavoring and yellow coloring.
You can find supplies needed to make these Chocolate Cola Truffles in Edible Red Cups from amazon (commission earned for sales).
 Premium Disposables Plastic...Shop on Amazon
 Wilton Red Candy Melts Cand...Shop on Amazon
 Webake Paper Straws Biodegr...Shop on Amazon
 Natural Cola FlavorShop on Amazon
If you'd like to have the ultimate guide to working with Candy Clay (modeling chocolate) be sure to get your printed or e-book copy of Candy Clay Creations. This 102-page book is filled with tips and tricks for making and working with candy clay along with 17 step-by-step tutorials for decorating cupcakes, cookies, and more using candy clay. It's a fantastic resource for anyone who wants to make festively decorated treats.
Recipe originally published June 16, 2018.

Cola flavored chocolate ganache filled red candy cups look like the real deal and are a fun dessert for just about any party.
- 6 ounces red candy melts
- 2 ounces white modeling chocolate
- clear piping gel
- 8 ounces semi-sweet chocolate, finely chopped
- ½ cup heavy whipping cream
- 16 drops cola flavoring candy oil
-
Pour red candy melts into a microwave safe bowl.
-
Heat on high power in the microwave for 30 seconds.
-
Remove and stir.
-
Heat for 15-20 second increments, stirring after each until melted.
-
Brush a thin layer of red candy melts on the bottom and up the sides of a 2 ounce plastic shot glass.
-
Wipe the top edge of the glass of any candy that has dripped over the edge.
-
Freeze for 90 seconds.
-
Remove from freezer and brush a second layer of red candy melts over the first layer.
-
Freeze for 2-3 minutes until the candy hardens.
-
Remove and slide the candy cup out of the plastic shot glass.
-
Repeat creating a total of 6 candy cups.
-
Roll white modeling chocolate into long thin logs, or use a clay extruder to create the logs.
-
Use clear piping gel (or remaining red candy melts) to attach a log of white modeling chocolate around the top edge of a candy cup. Cut off any excess and pinch the two seams together.
-
Pour finely chopped chocolate into a shallow bowl
-
Heat your cream over medium heat to a simmer on the stove, just until bubbles begin to form then immediately pour the hot cream over the chocolate, making sure it covers all of the chocolate. Let the chocolate and cream sit, undisturbed for 3 minutes to allow the chocolate to begin to melt. Then begin stirring the mixture in small circles in the center of the bowl. As the chocolate and cream start to darken and come together you can begin to make your circle bigger. Continue stirring until the cream and chocolate come together then widen the circle again and continue until the entire bowl of cream comes together. Be sure to scrape the bottom and sides of the bowl.
-
Add 16 drops of cola flavoring. Taste. Add more if desired.
-
Pour the chocolate cola ganache into the red candy cups.
-
Optional: Cut straws into shorter pieces and insert one into each cup.
-
Let sit at room temperature for at least an hour so the ganache can set up before serving.
Recipe Video
If you don't have a microwave you can melt your red candy melts in a double boiler.
- Fill a pan with 1 inch of water and heat over low heat.
- Set a bowl on top of the pan and add the candy melts.
- Heat, stirring occasionally until melted.
Do not refrigerate your candy cups once they are filled or they will become sticky.
Cover and store at room temperature for up to a week.
Have fun making your own Candy Cups filled with cola-flavored Ganache. If you make these treats and share them online be sure to link back to this recipe, mention HungryHappenings, and use #hungryhappenings.
I'd love to hear in the comments below what you'd like to fill your candy cups with for your party.
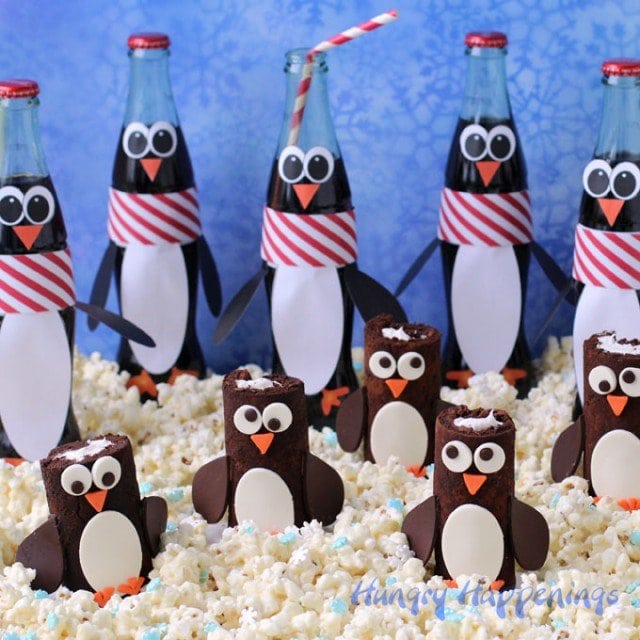
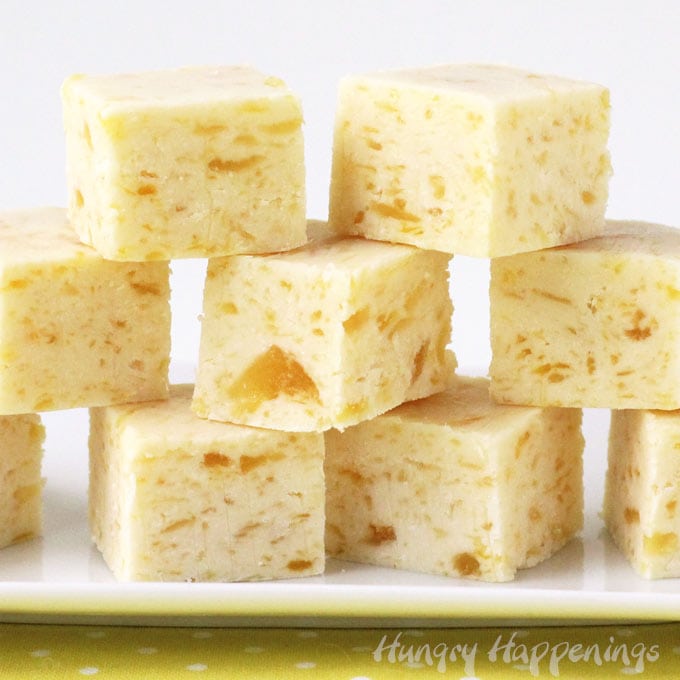
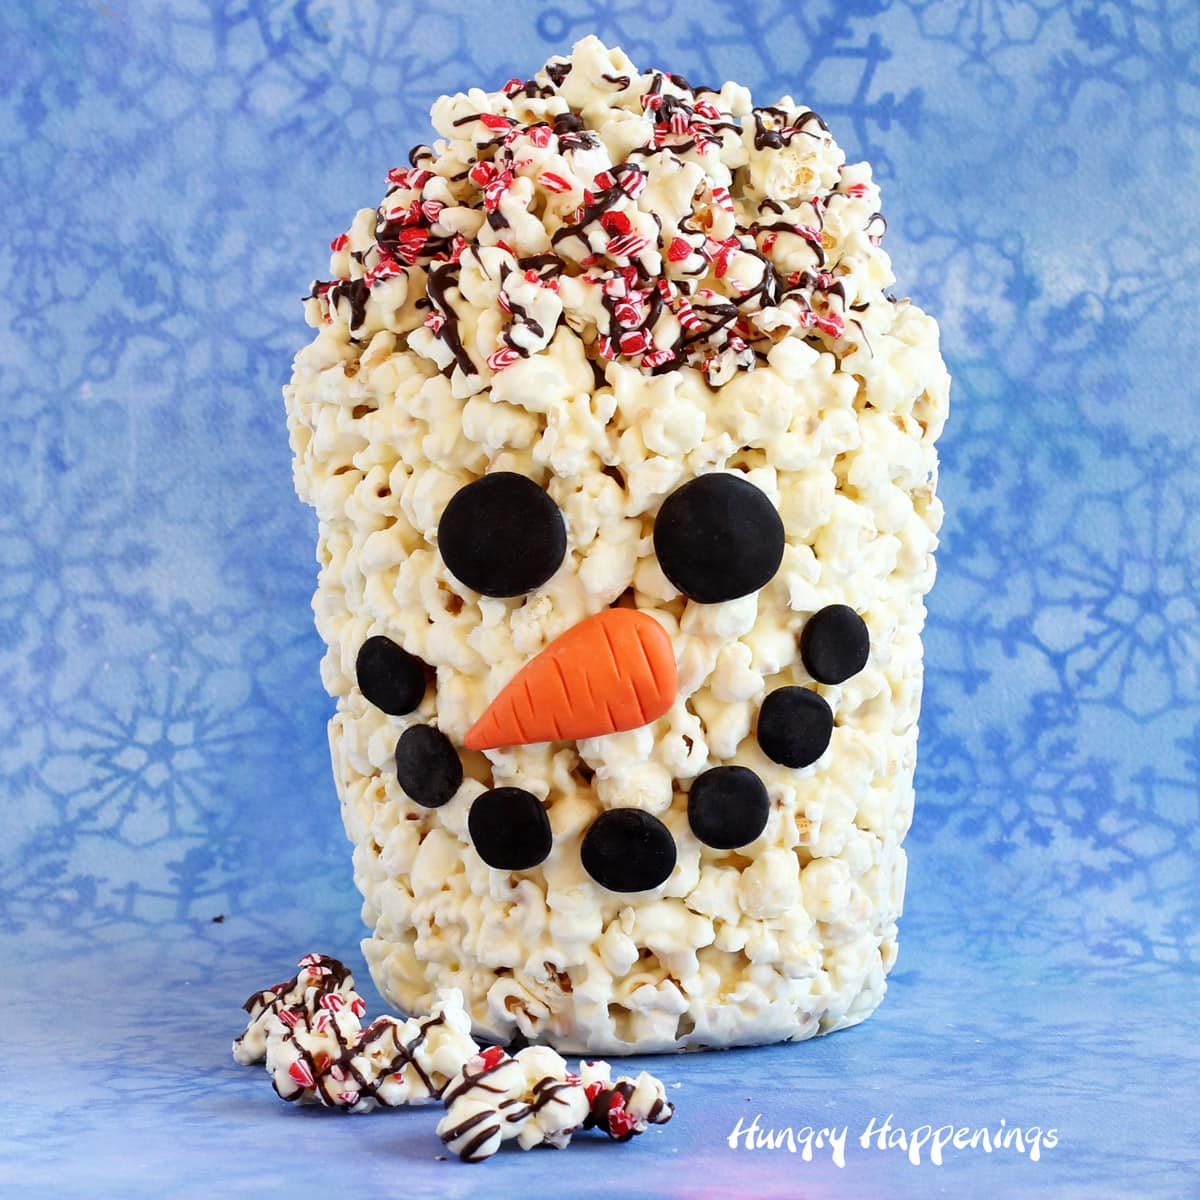
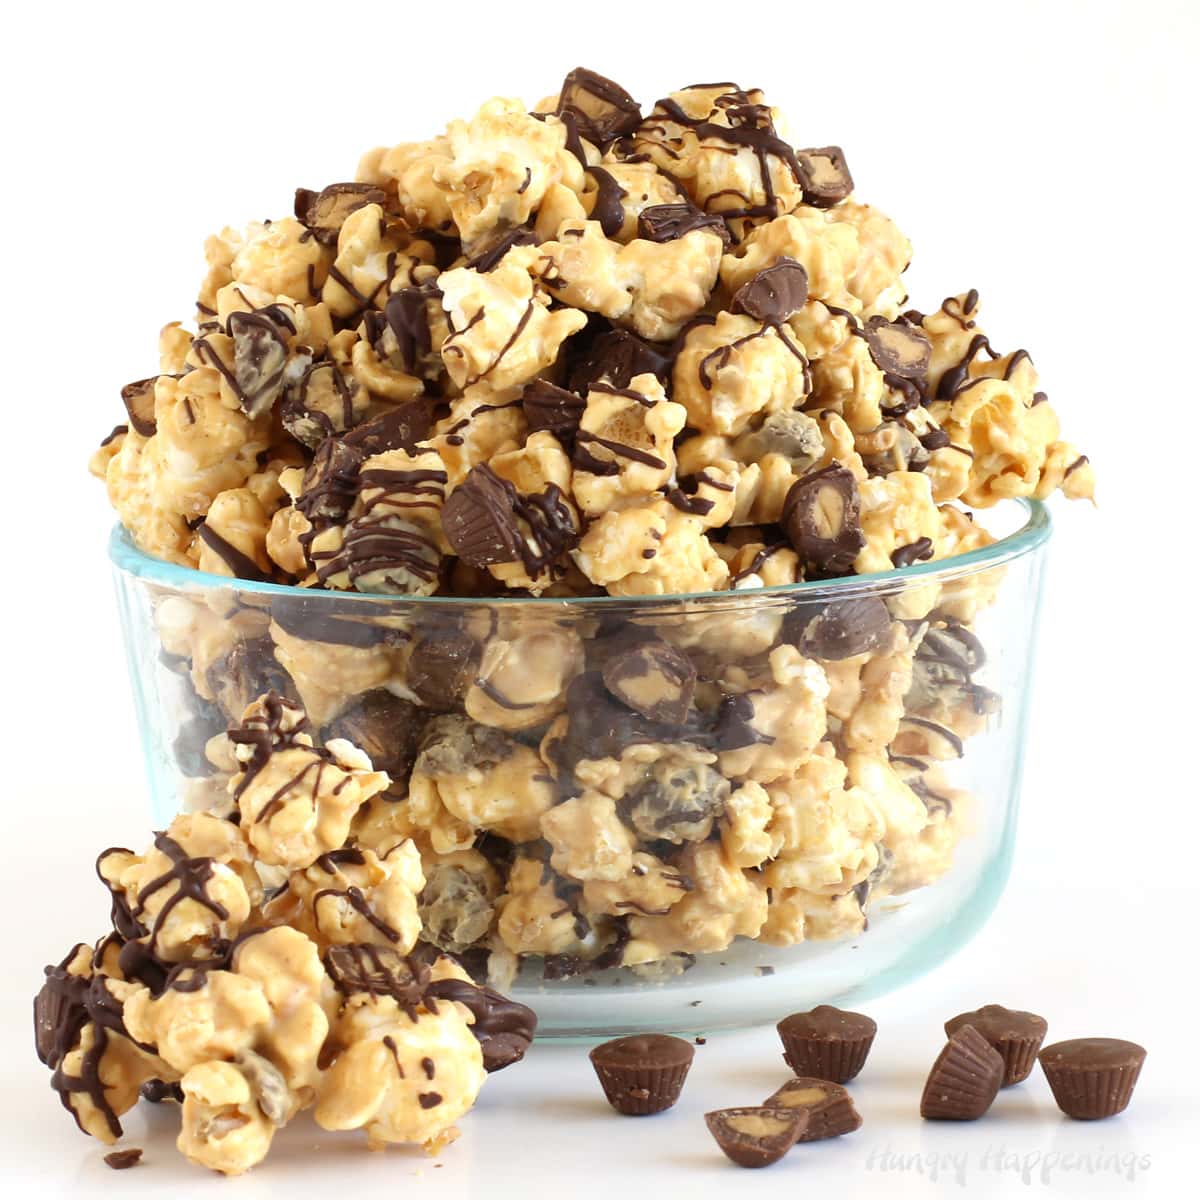
You might also enjoy these other recipes...
I hope you enjoy making these Chocolate Cola Truffles in Edible Candy Cups.

I'd love to see pictures of your cakesicle creations. You can share in our How to Make Fun Food facebook group. It's a great place to ask questions and learn from others.
If you love making chocolate be sure to check out my Chocolate Making Courses at The Sugar Academy.
Have a sweet day,
Beth

- Banana Split Bars – A Fun and Easy Summer Dessert - March 4, 2026
- Pineapple Fudge (No Candy Thermometer Needed!) - March 4, 2026
- No-Bake Peanut Butter Pie Recipe - March 3, 2026
Joanna @DIY Project says
Wow, this is edible? So awesome. Have to give this a shot. Thanks for sharing!
Beth says
Yep, totally edible! I hope you have fun making them. 🙂
Albert Bevia says
This has got to be one of the most creatives recipes I have ever seen! I love how you made the mold for the red cups, this is truly amazing
Beth says
Thanks so much, Albert!!! 🙂
The Partiologist says
What a fun way to drink your cola, or should I say eat??
Beth says
Yep, eat!!!
Jess says
I love this idea for a party! You are so talented!
Beth says
Awe, thank you so much, Jess. I hope you give these a try!