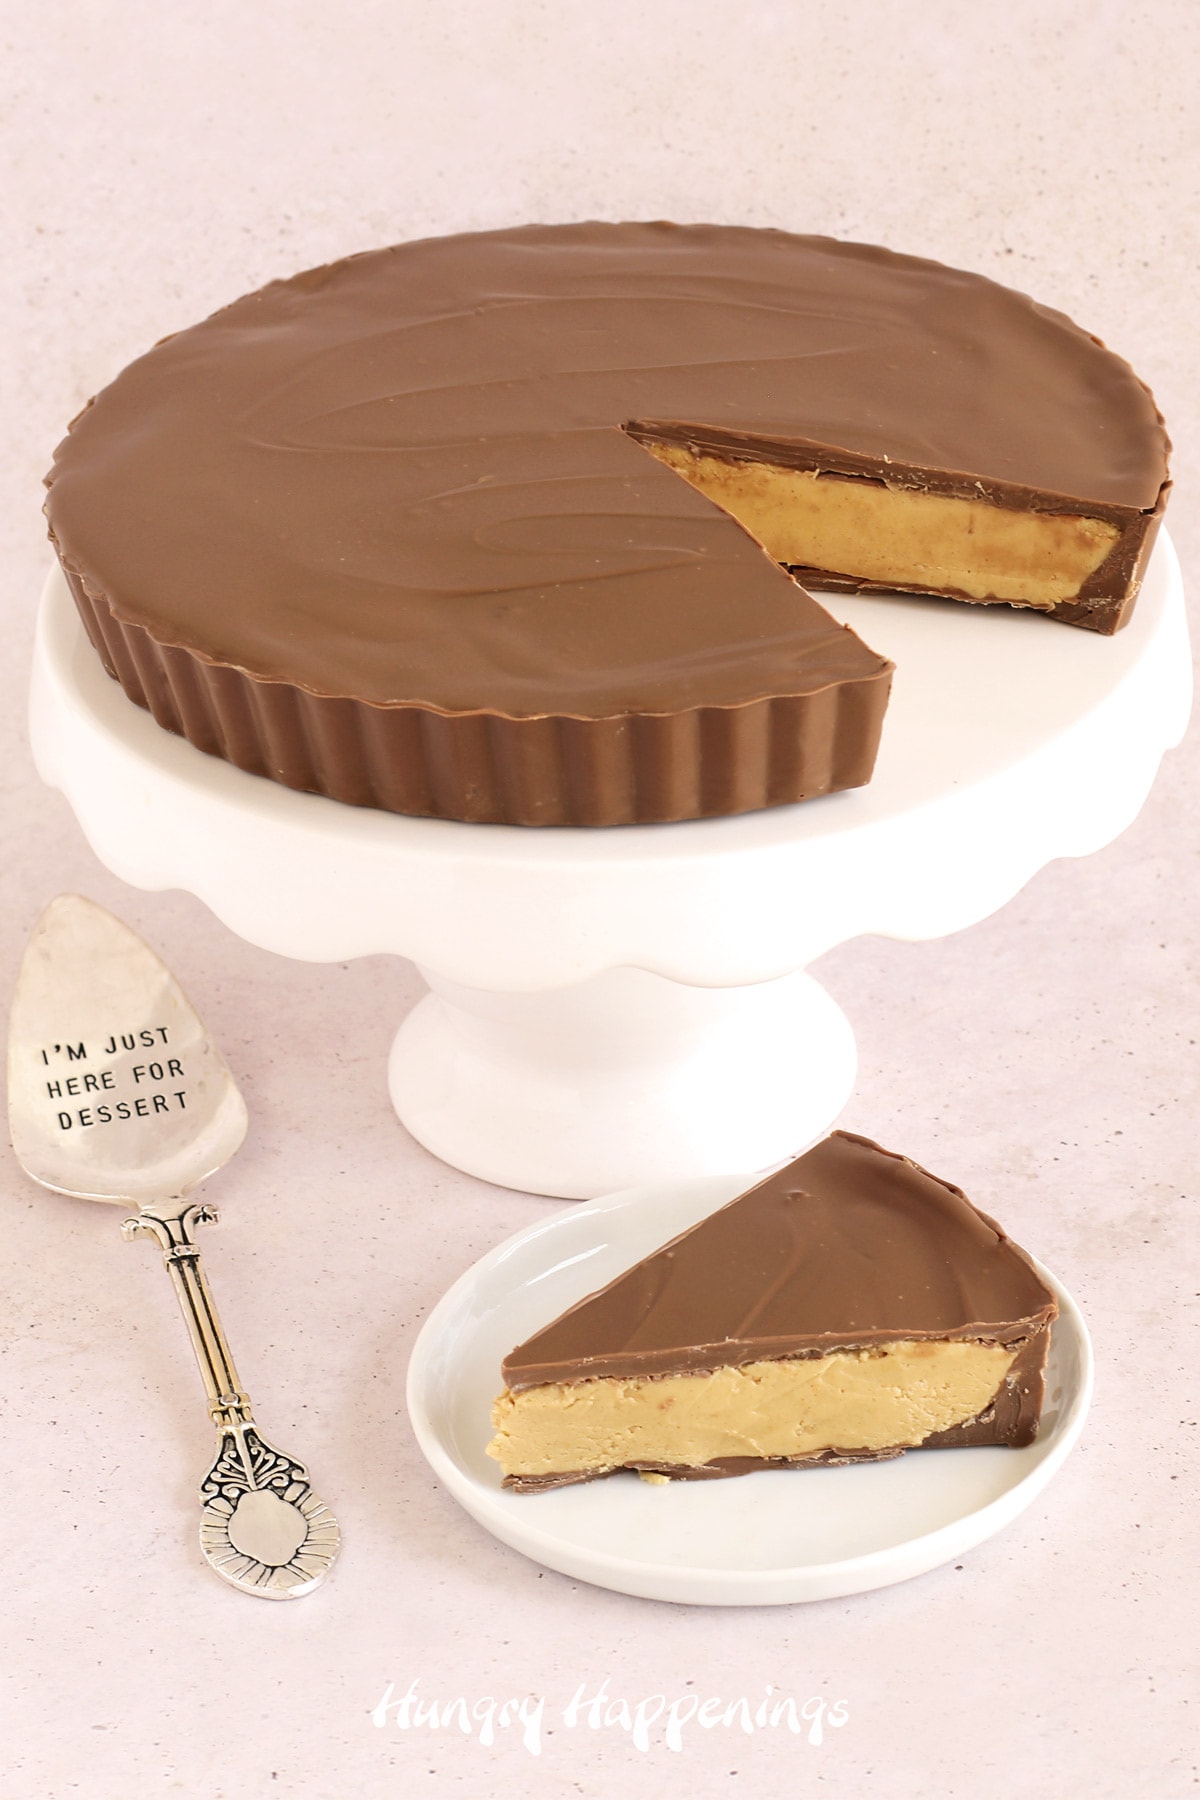
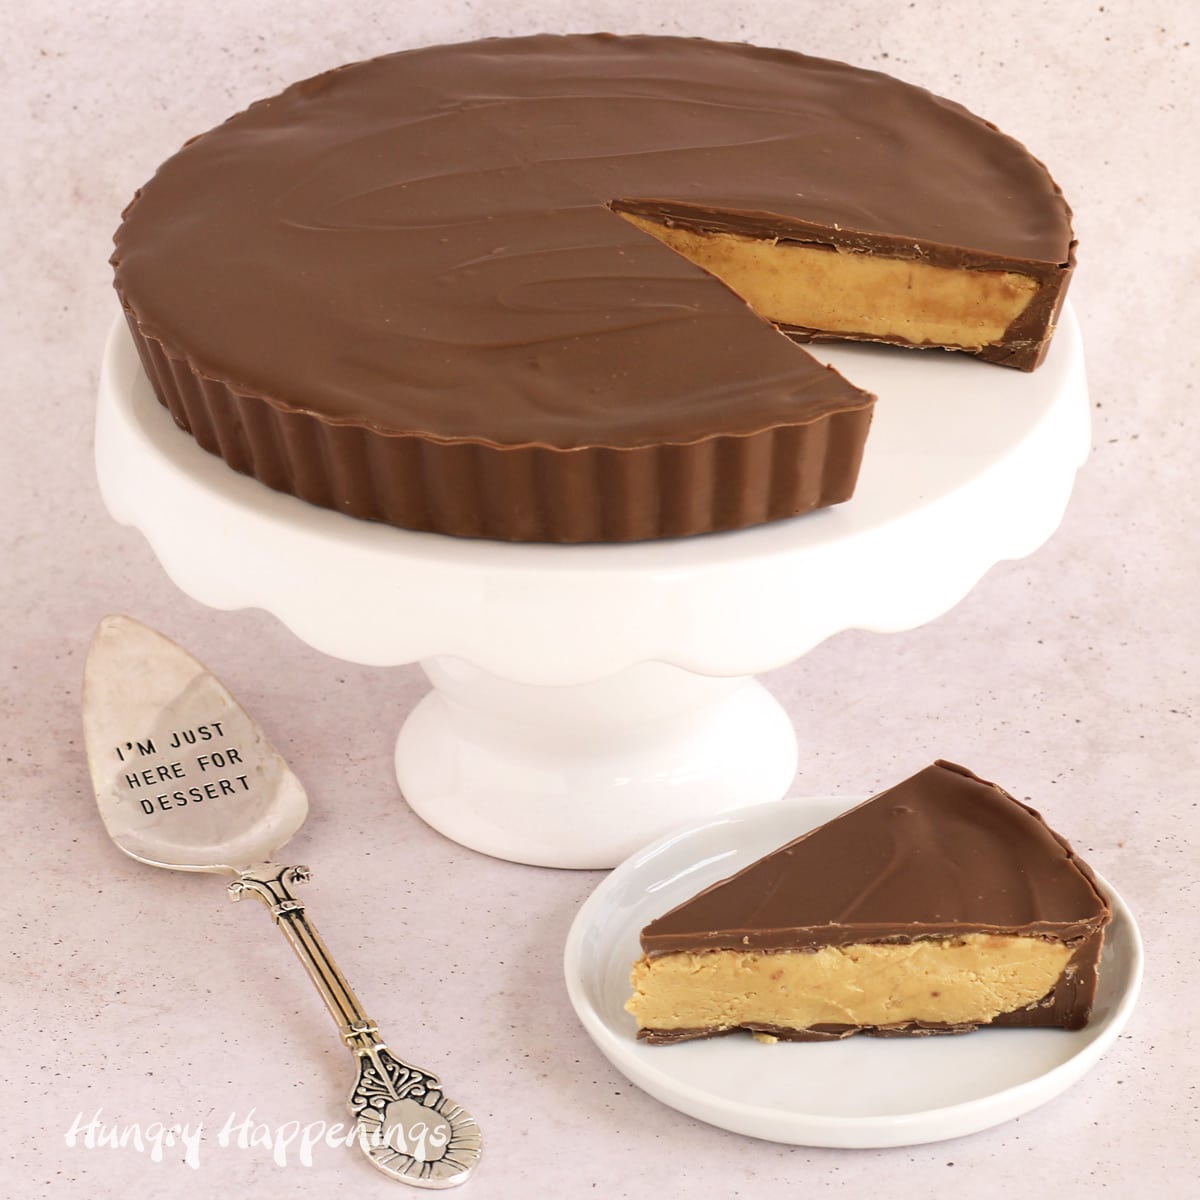
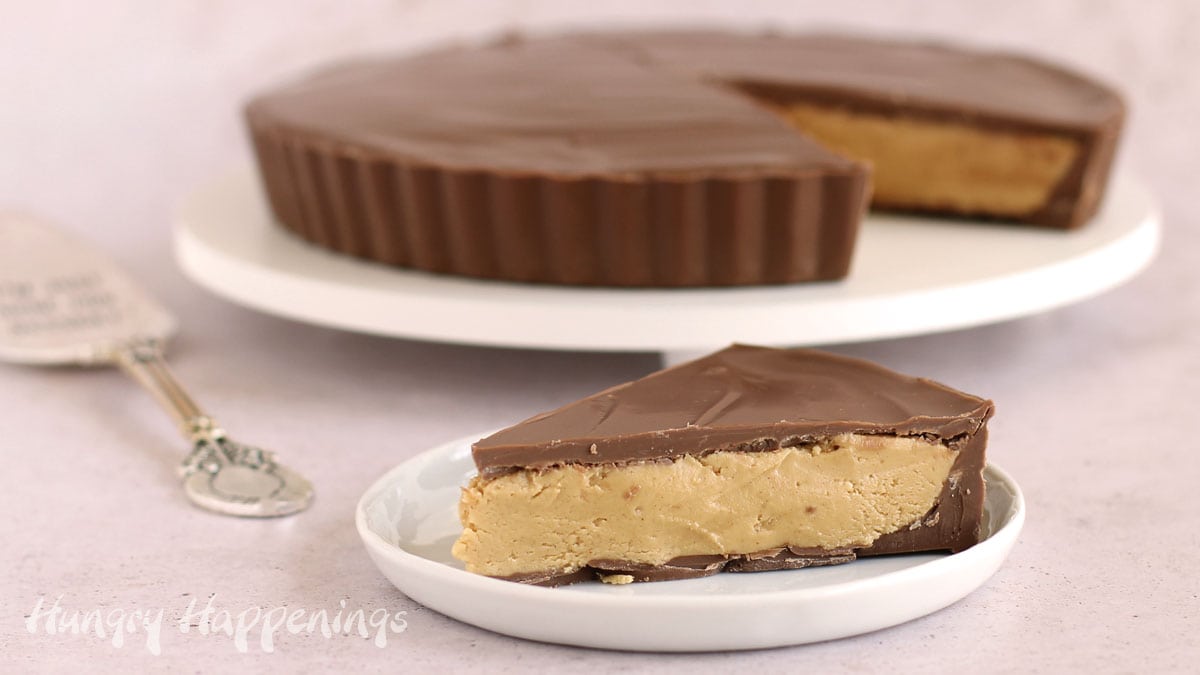
Make a giant Reese's Cup using just 4 ingredients to serve as a dessert or to give as a give. Each 9-inch chocolate peanut butter cup weighs 3 pounds and has a smooth and creamy filling covered in decadent milk chocolate. Grab a glass of milk and enjoy a slice!
Hershey's recently announced they were selling 3000 Reese's Thanksgiving Pies, giant 9-inch diameter Reese's Peanut Butter Cups that weigh in at 3.5 pounds! The peanut butter fudge-filled chocolate "pies" sold out within hours.
Obviously, people went nuts when they saw this new product show up online. Seriously, what's not to love about an oversized peanut butter cup other than the fact that you cannot buy them right now?
What's a Reese's Cup lover to do? Make your own homemade version!
Making a giant peanut butter cup is not too difficult using a 9-inch non-stick tart pan. Tart pans are rather shallow. Their 1-inch depth is perfect for making a homemade Reese's Cup pie. It allows for just the right ratio of chocolate to peanut butter fudge.
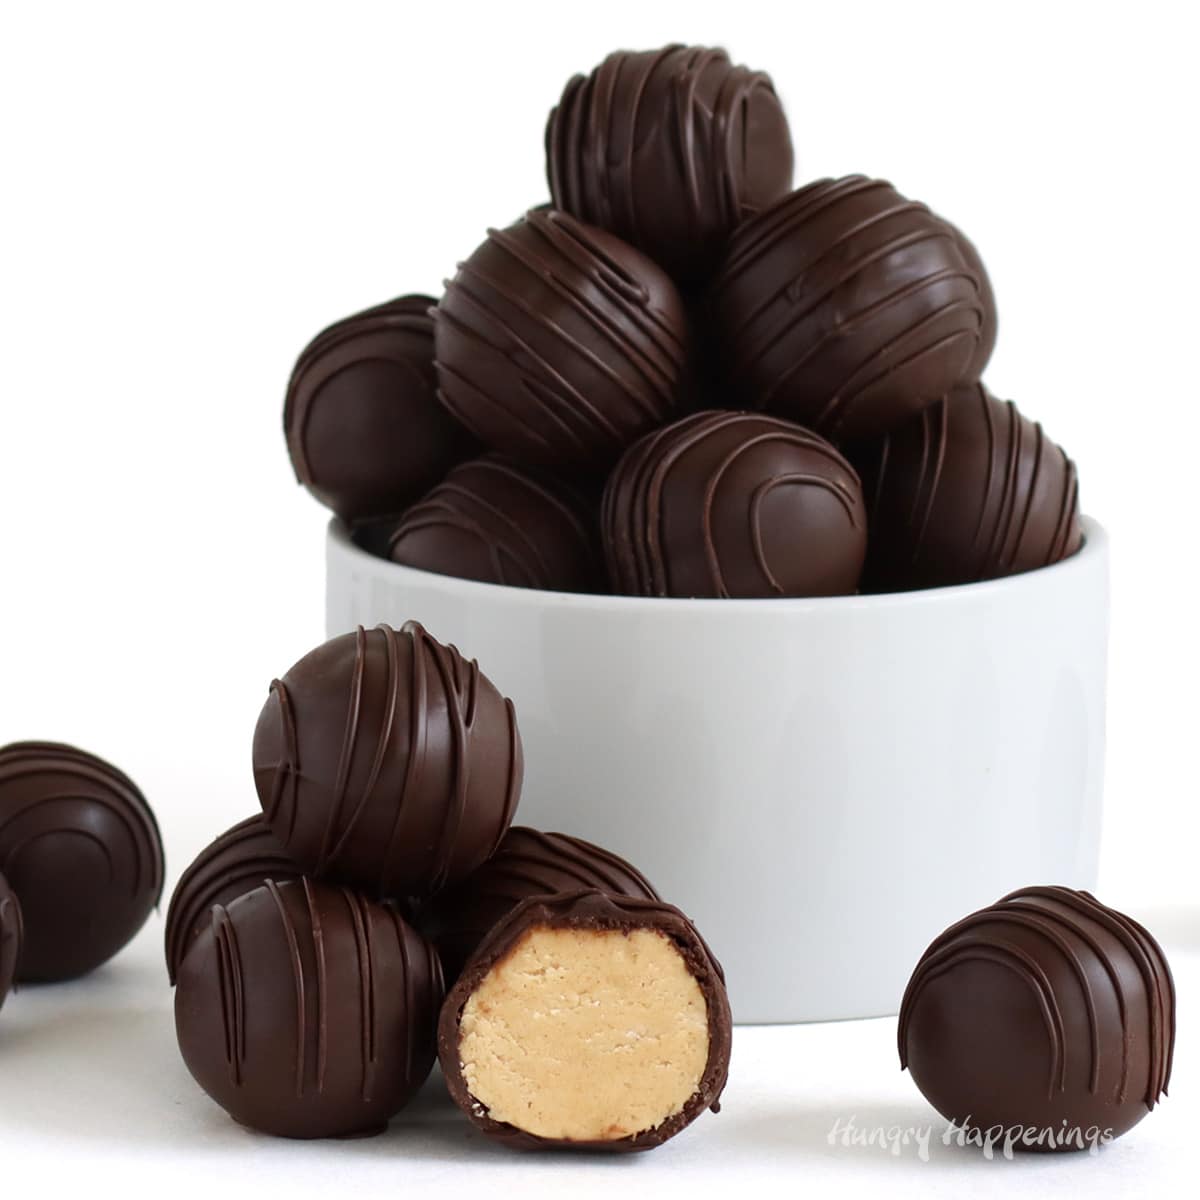
Each of these pies is made using 1 pound (16 ounces) of milk chocolate and almost 2 pounds of peanut butter fudge filling. I used the same recipe that taste testers voted the best to make Peanut Butter Fudge Balls and Chocolate Peanut Butter Buckeyes.
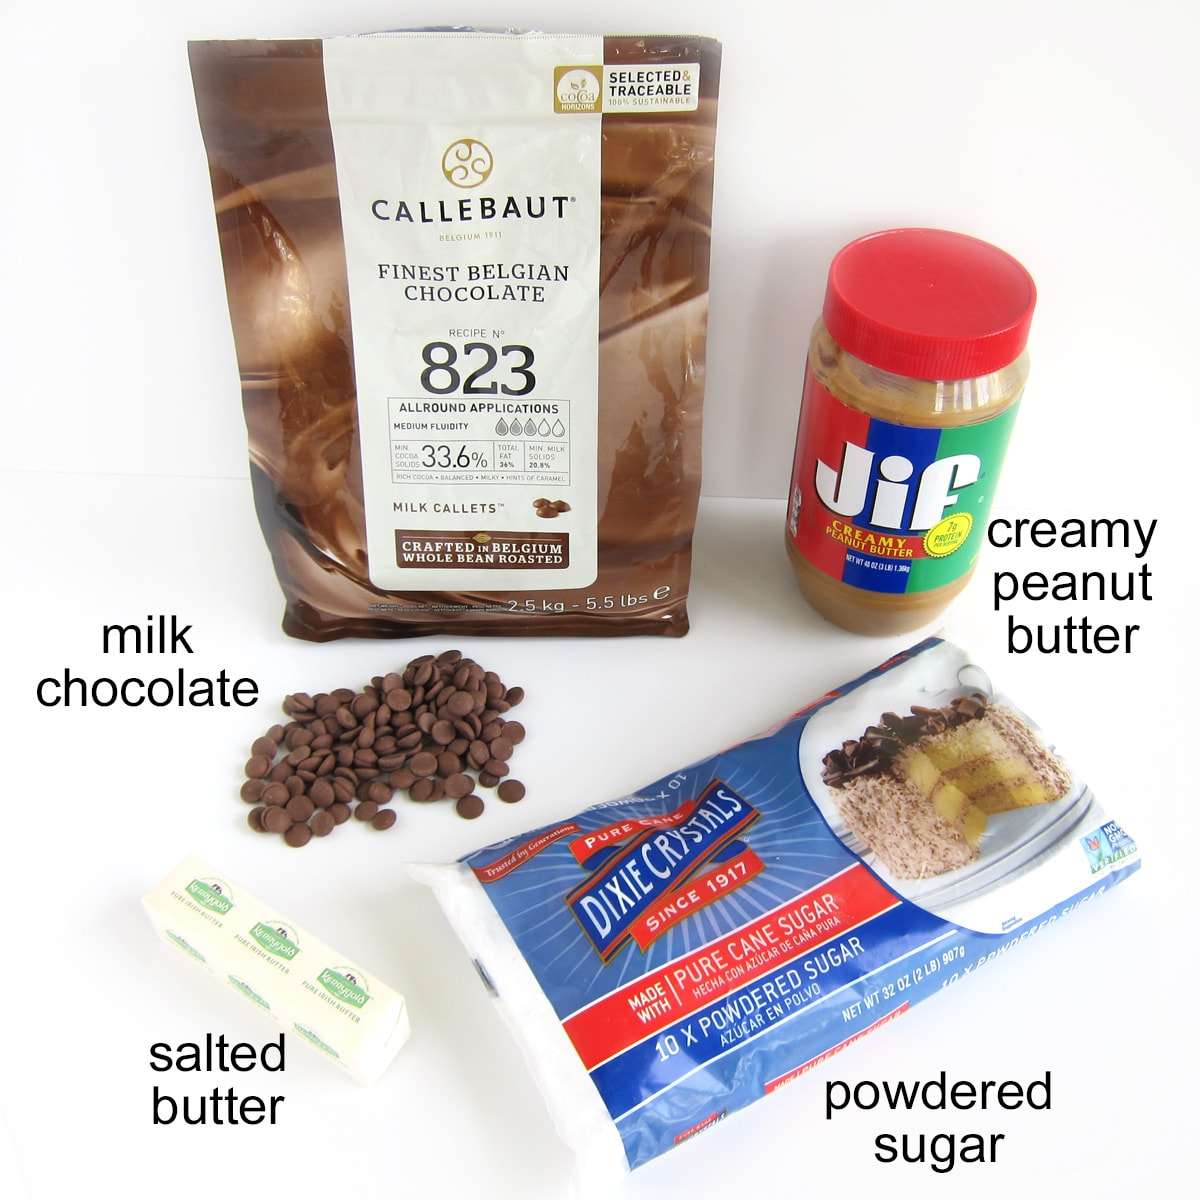
The fudge is easy to make using just three ingredients: creamy peanut butter, powdered sugar, and salted butter.
So, let's learn how to make a giant Reese's Cup.
Ingredients
- creamy peanut butter - Use your favorite peanut butter. I choose Jif. If you want your filling to taste similar to the filling inside a Reese's Cup, use Reese's Creamy Peanut Butter.
- salted butter - Use good-quality butter to give the peanut butter fudge filling a rich flavor.
- powdered sugar - I like to sift my powdered sugar to make sure my peanut butter filling is lump-free!
- milk chocolate - You can use pure melted and tempered milk chocolate like Callebaut Milk Chocolate Callets or melted compound chocolate like Light Cocoa Candy Melts, Merckens Chocolate Melts, Ghiradelli Milk Chocolate Melting Wafers, or milk almond bark.
- For more details about choosing chocolate, melting chocolate and candy melts, and melting and tempering pure chocolate, be sure to check out my Chocolate-Making Tips page.
- If you are using pure chocolate (that contains cocoa butter), you MUST temper it (heat and cool it to specific temperatures) so that it hardens properly. If you simply melt pure milk chocolate chips or candy bars without properly tempering the chocolate, the chocolate will be soft, spotty, or streaky.
Instructions
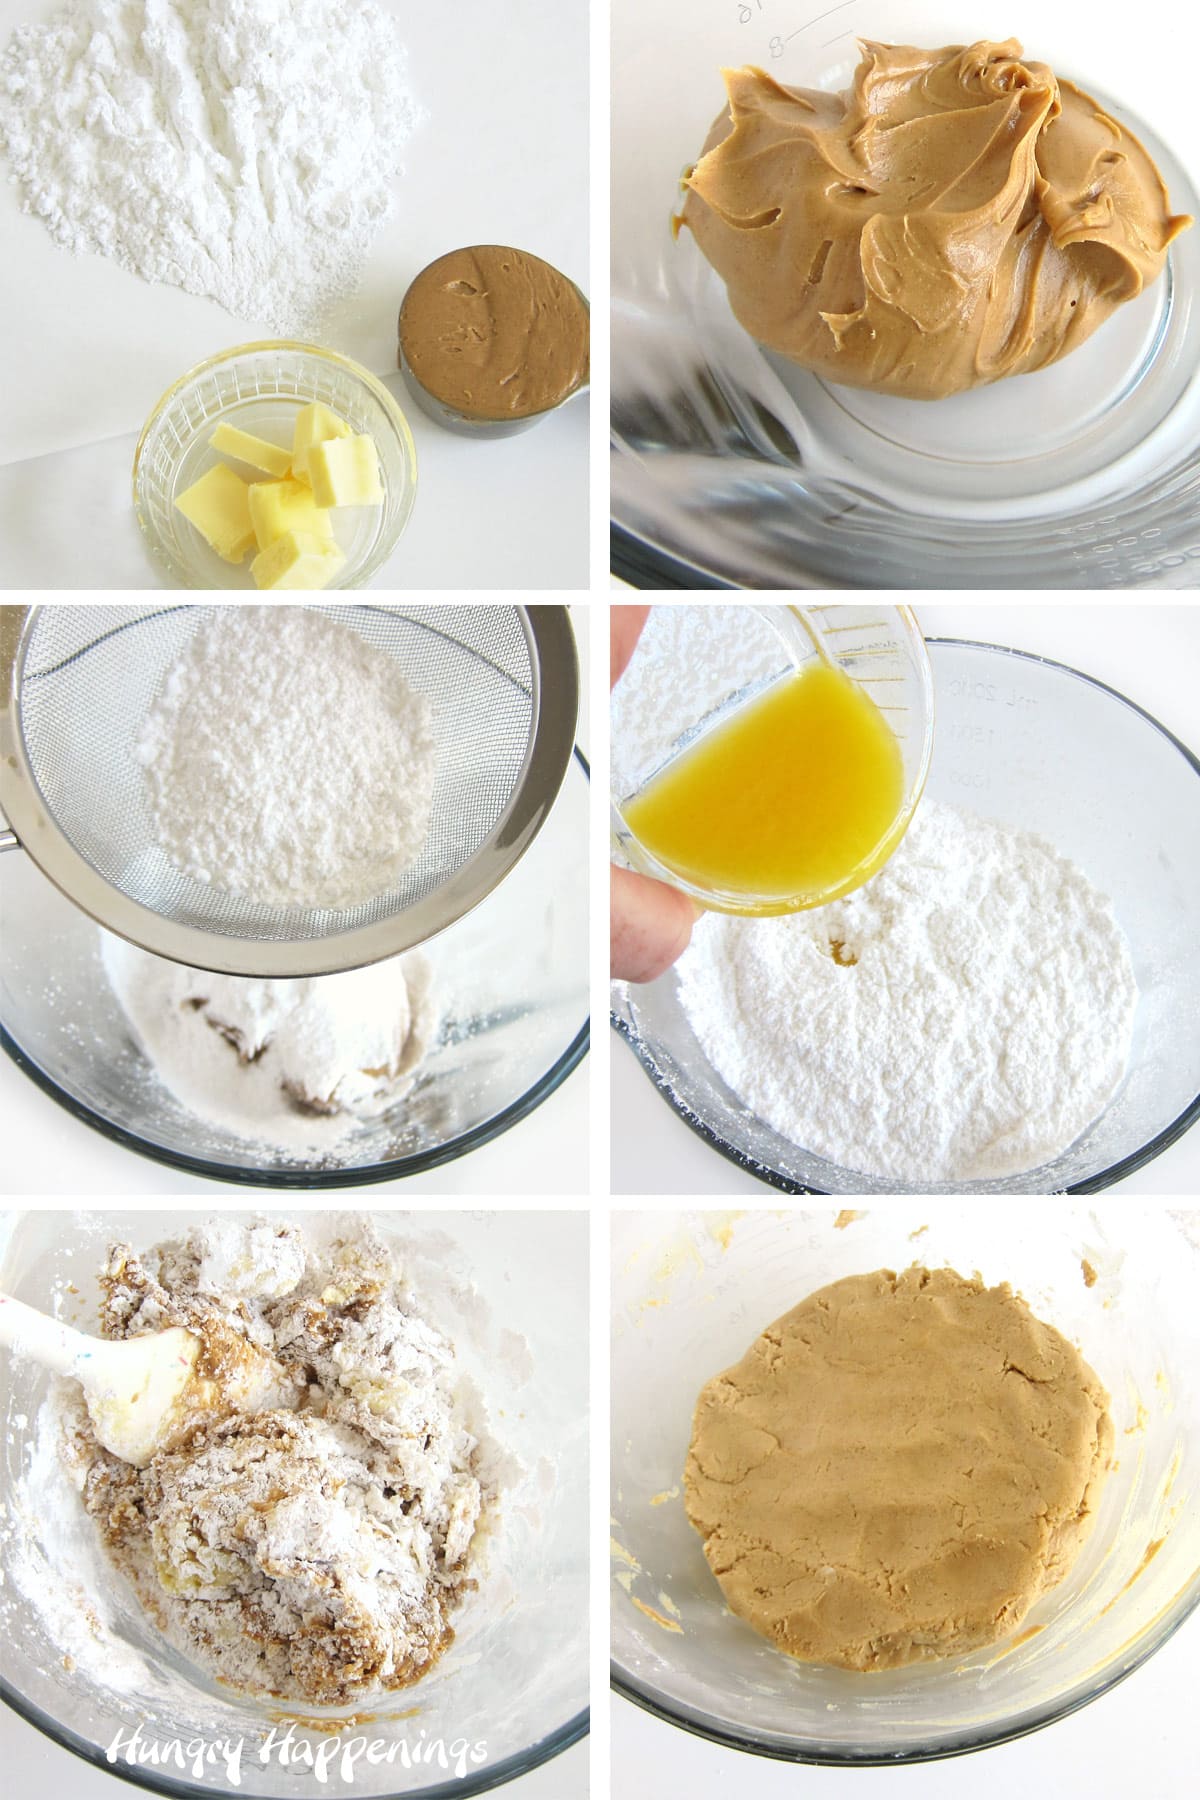
step 1 - Make peanut butter fudge filling.
- Spoon 1 cup of creamy peanut butter into a large mixing bowl.
- Measure 3 cups of powdered sugar by spooning the powdered sugar into the measuring cup, and scraping off any excess.
- Then, sift it over the bowl of peanut butter.
- Sifting will help to remove any lumps. You can skip this step, but I highly recommend sifting. Your filling will be free of lumps and nice and smooth.
- Melt ½ cup (1 stick or 8 tablespoons) of salted butter, then pour it into the bowl.
- Stir until the fudge filling starts to come together.
- Then, use your hands to do the final mix until the fudge comes together in a large ball.
step 2 - Create the milk chocolate shell.
- Melt and temper pure milk chocolate or melt your compound chocolate. See my Chocolate-Making Tips page for instructions. If you prefer video lessons, be sure to check out my Chocolate-Making Classes at The Sugar Academy.
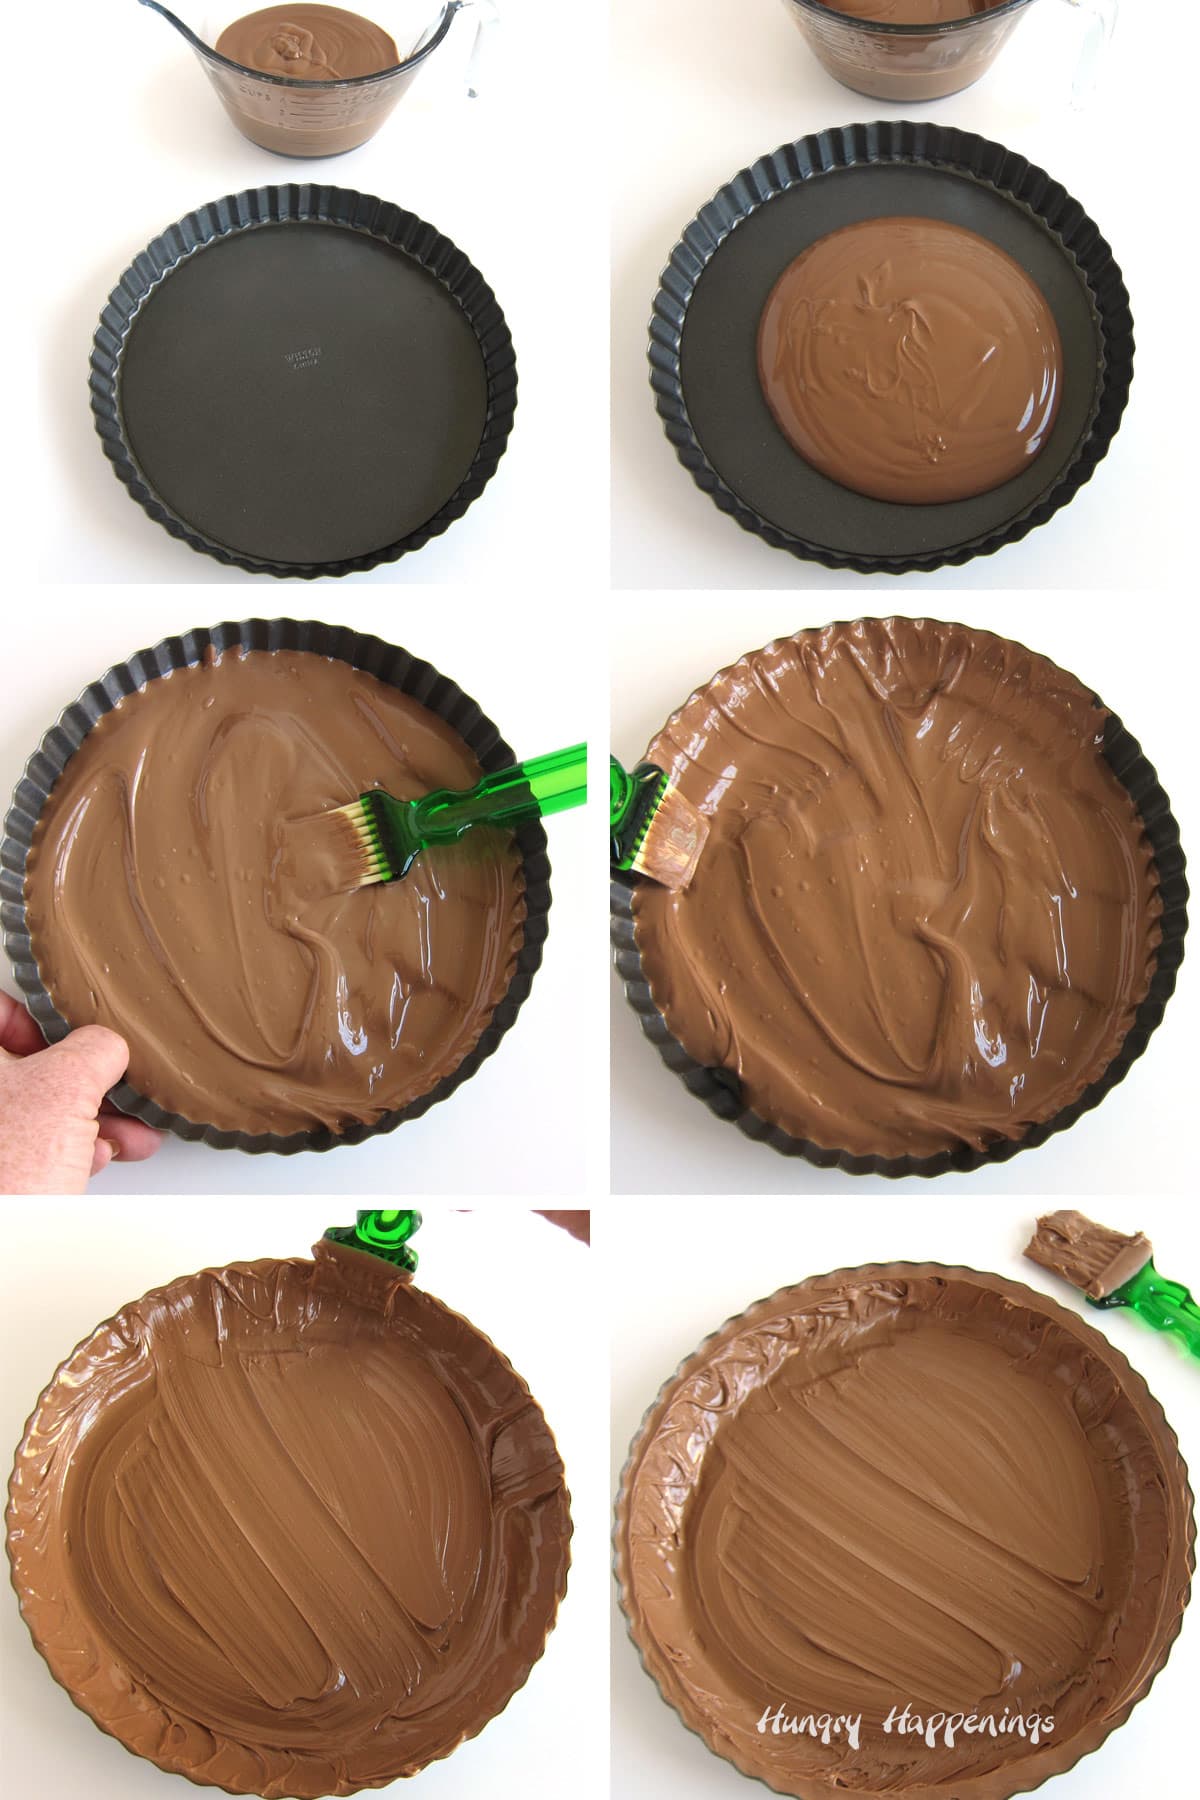
- Pour 8 ounces of chocolate into the bottom of a 9-inch tart pan.
- Hold the removable bottom in place, while you brush the chocolate over the base and up the sides of the pan.
- It's important that the base does not shift around too much. If chocolate gets under the base it will be more difficult to remove it.
- I found it best just to press down on the removable bottom with my thumb to keep it in place. See the middle left image.
- As the chocolate around the sides sinks into the bottom of the pan, brush it up again.
- You'll probably need to go around the edge three times to get a nice thick layer. The chocolate will begin to thicken as you do that step.
- If you are using candy melts, which tend to be thinner than pure milk chocolate, you may need to make one thin layer using 6 ounces of chocolate, then let it harden, then add the remaining 2 ounces in a second layer just around the sides of the pan.
- Chill pure chocolate in the refrigerator and candy melts (compound chocolate) in the freezer for about 10-15 minutes, just until the chocolate hardens.
PRO TIP
- Once the chocolate shell hardens, remove it from the tart pan and carefully peel off the removable bottom. You may need to put a thin knife under the metal plate to remove it from the chocolate.
- Scrape off any excess chocolate, then set the removable bottom back into the tart pan.
- Place the chocolate shell back inside the pan.
- Use chocolate to fill in any thin areas.
- Chill for a few minutes just until that chocolate hardens.
It's better to check this now than to wait until your peanut butter cup is made and you realize you can't get the removable tart pan bottom off the chocolate without cracking it. If you crack it now, you can simply remelt the chocolate (and temper it, if needed) and start over. Nothing is lost but a little bit of time.
If you wait and realize you can't easily get the bottom off the chocolate once the peanut butter cup is made, you'll end up with a crack and the butter from the fudge will seep out.
How do I know? It happened to me. I made several of these giant peanut butter cups to give as gifts and cracked one of them. I repaired it by painting melted chocolate into the crack, but in the end, the bottom of the chocolate was greasy.
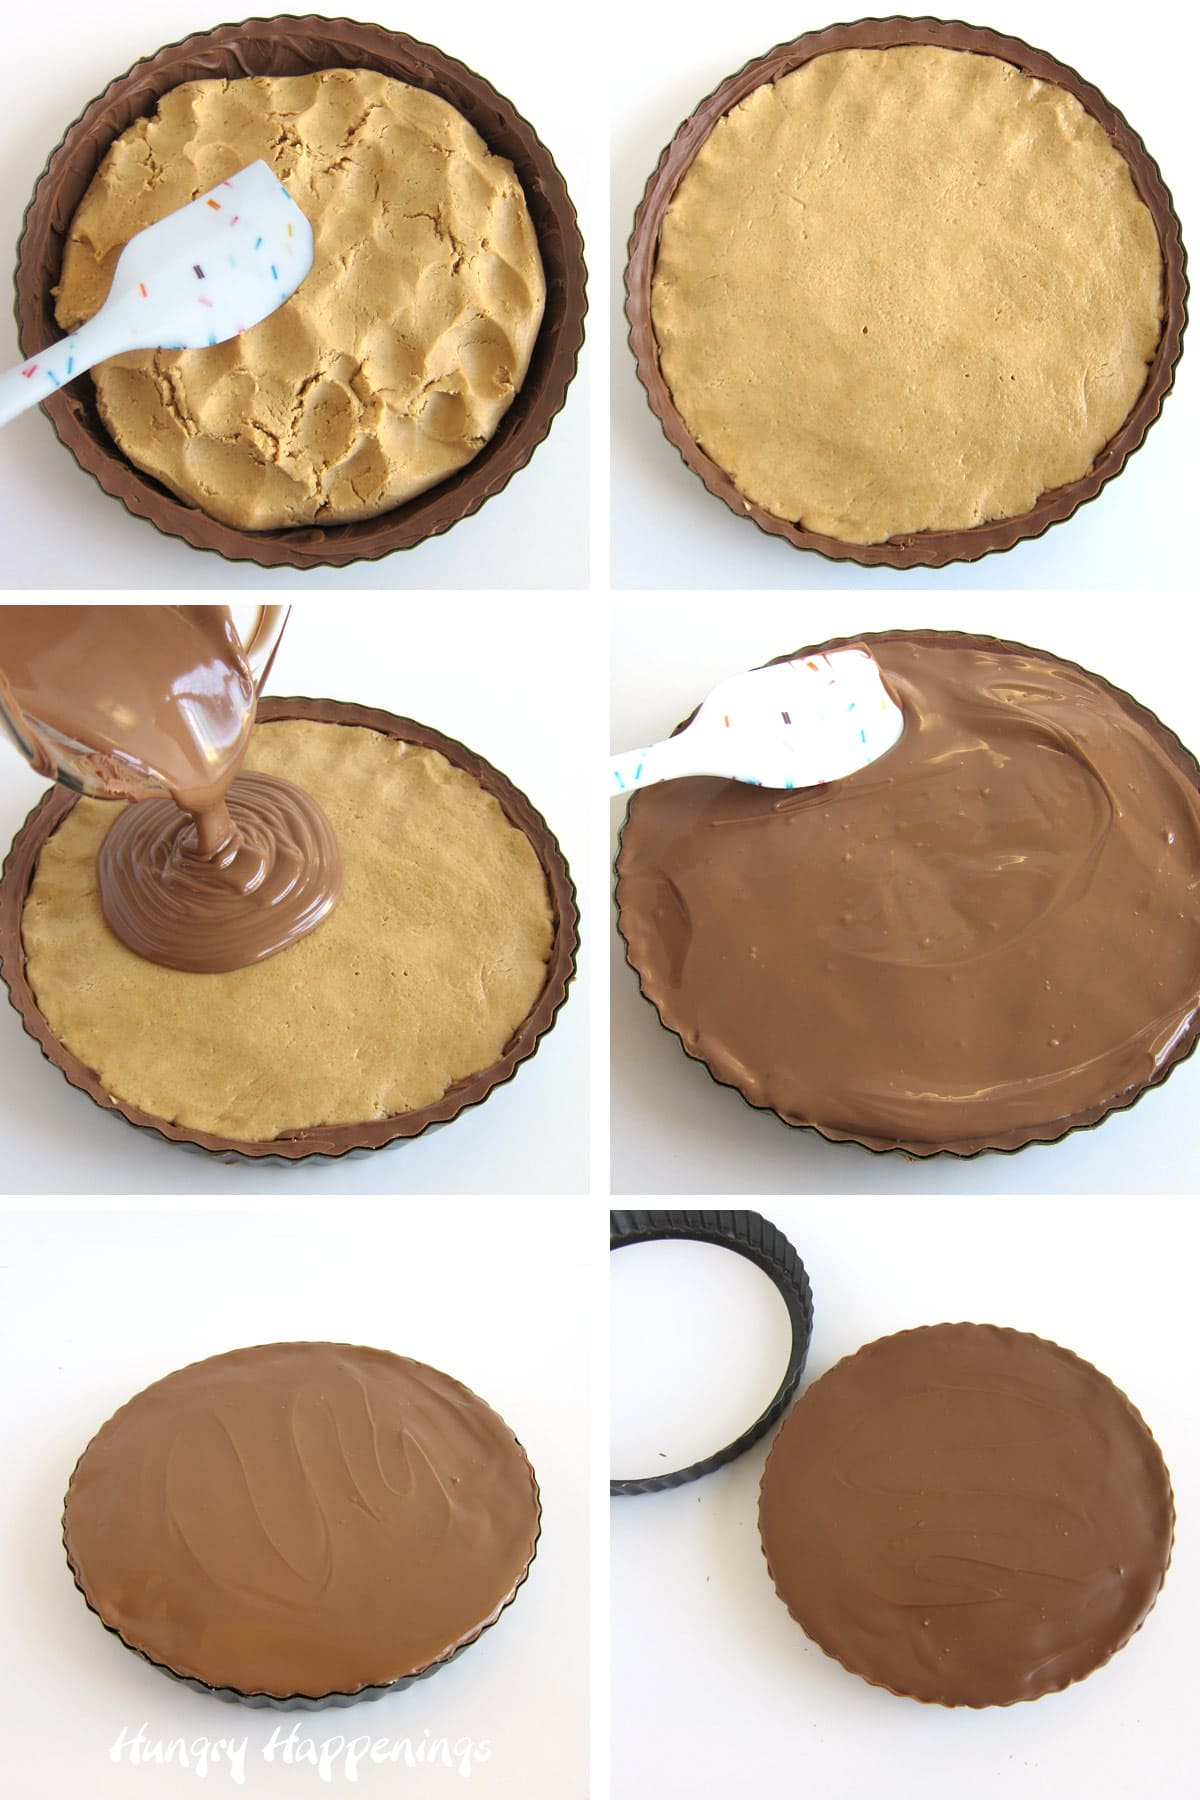
step 3 - Fill the chocolate shell with peanut butter fudge and cover with more chocolate.
- Spread the peanut butter fudge filling into the chocolate shell.
- Then use your hands to pat the fudge into an even layer that goes right up to the sides of the chocolate.
- Spread the remaining 8 ounces of milk chocolate over the top.
- Smooth it out using an offset spatula.
- Chill the chocolate for about 15 minutes until it hardens completely.
- Push up on the removable bottom and the peanut butter cup will slide right off (as long as you followed my PRO TIP above).
Substitutions
You can use dark chocolate instead of milk chocolate if you prefer a more robust chocolate flavor. If you like the sweetness of white chocolate, you could even use it.
If you want to change up the flavor, you could use cashew butter instead of peanut butter.
Storage
Unlike an actual Reese's Thanksgiving Pie, which can be stored at room temperature for several months, this peanut butter cup should only be kept at room temperature for up to 3 days.
To keep it longer, wrap it in a layer of plastic wrap, then overwrap it in tin foil, and freeze it for up to 3 months. When you are ready to serve it for dessert or give it as a gift, thaw it overnight in the refrigerator. Then thaw it on your countertop at room temperature for a few hours before unwrapping. This will keep condensation (beads of water) from forming on the surface of the chocolate.
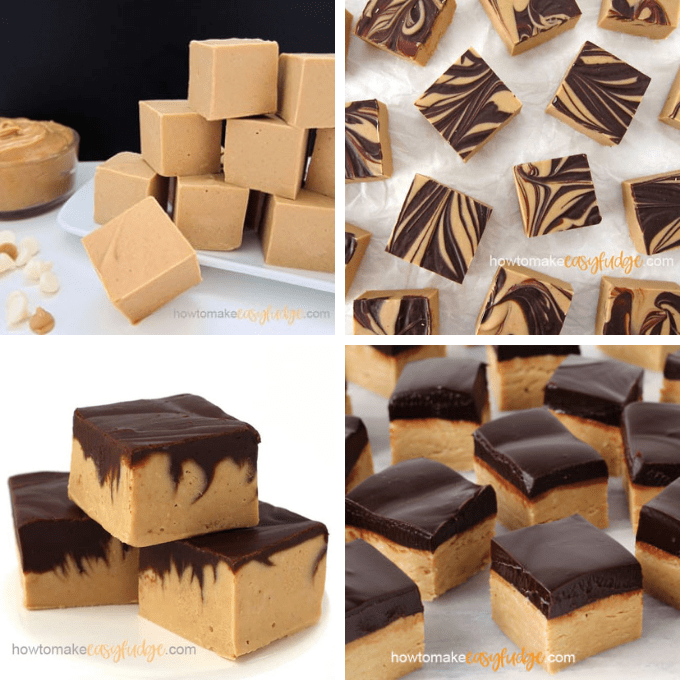
Variations
You might also like these other peanut butter fudge-filled chocolate recipes.

Recipe
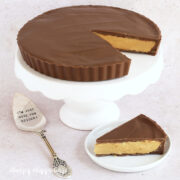
A giant chocolate peanut butter cup made in a 9-inch round tart pan can be served as a pie for Thanksgiving, Christmas, or any day!
- 1 cup creamy Reese's Peanut Butter
- 3 cups powdered sugar
- ½ cup (1 stick) salted butter, melted
- 16 ounces pure milk chocolate, melted and tempered
- OR compound milk chocolate (candy melts), melted
-
Spoon the Reese's Peanut Butter into a large mixing bowl.
-
Sift the powdered sugar over the peanut butter.
-
Pour in the melted butter.
-
Stir until the ingredients come together.
-
Use your hands to continue mixing the ingredients together until they form a smooth ball.
-
Set aside.
-
Spoon 8 ounces of melted and tempered pure milk chocolate or 8 ounces of melted compound chocolate (candy melts, melting wafers, almond bark) into the bottom of a 9-inch tart pan.
-
Hold onto the removable bottom, using your thumb, and brush the chocolate over the bottom and up the sides of the pan.
-
As the chocolate thickens, continue to push it up around the edge of the tart pan until you get a nice thick layer aound the sides.
-
Chill pure chocolate in the refrigerator and compound chocolate (candy melts, melting wafers, almond bark) in the freeze for about 10-15 minutes until hardened.
-
If needed, brush another layer of chocolate around the sides and chill until hard.
-
Remove the chocolate shell from the tart pan and carefully peel the removable metal plate from the chocolate.
-
Remove any excess chocolate from the plate, then place it back in the pan.
-
Place the chocolate back in the pan, then add more chocolate to any areas that look too thin.
-
Chill again before filling.
-
Pat the peanut butter fudge filling into a disc and place it into the chocolate shell.
-
Gently press the fudge up against the sides of the chocolate shell.
-
Spread the remaining milk chocolate over the top of the fudge making sure it seals around the edge.
-
Chill for 10-15 minutes until hardened.
-
Remove the giant chocolate peanut butter cup from the tart pan.
-
Set it on a serving platter.
-
To serve, warm a sharp knife over a flame, a gas stove, or dip it into boiling water then, dry it off.
-
Make a cut using the hot knife. Repeat, to cut the pie into 12 wedges.
- Store your giant peanut butter cup at room temperature for up to 3 days.
- To keep longer, wrap well in plastic wrap, then overwrap in tin foil and freeze for up to 3 months. To thaw, refrigerate overnight, then set on your countertop and let it continue to thaw at room temperature for a few hours before unwrapping.
- To give as a gift, package the copycat Reese's Thanksgiving Pie in a pie box, a pizza box, or clear cellophane tied with a bow.
Chocolate Peanut Butter Fudge Recipe Ideas
Buckeye Bears - peanut butter fudge-filled milk chocolate bears

- Banana Split Bars – A Fun and Easy Summer Dessert - March 4, 2026
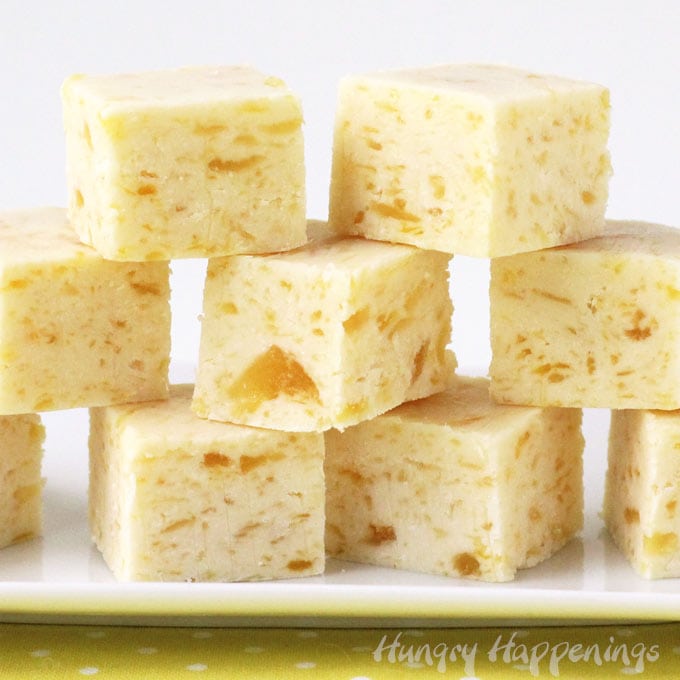
- Pineapple Fudge (No Candy Thermometer Needed!) - March 4, 2026
- No-Bake Peanut Butter Pie Recipe - March 3, 2026
Michelle Keim says
Hello! I have been using your pb egg recipe for years now, with different vessel like bon bons and pb cup minis. I'm curious why you wouldn't use that pb fudge recipe in this instead of this one. I think the pb egg recipe is perfect.
Beth Klosterboer says
Hi Michelle,
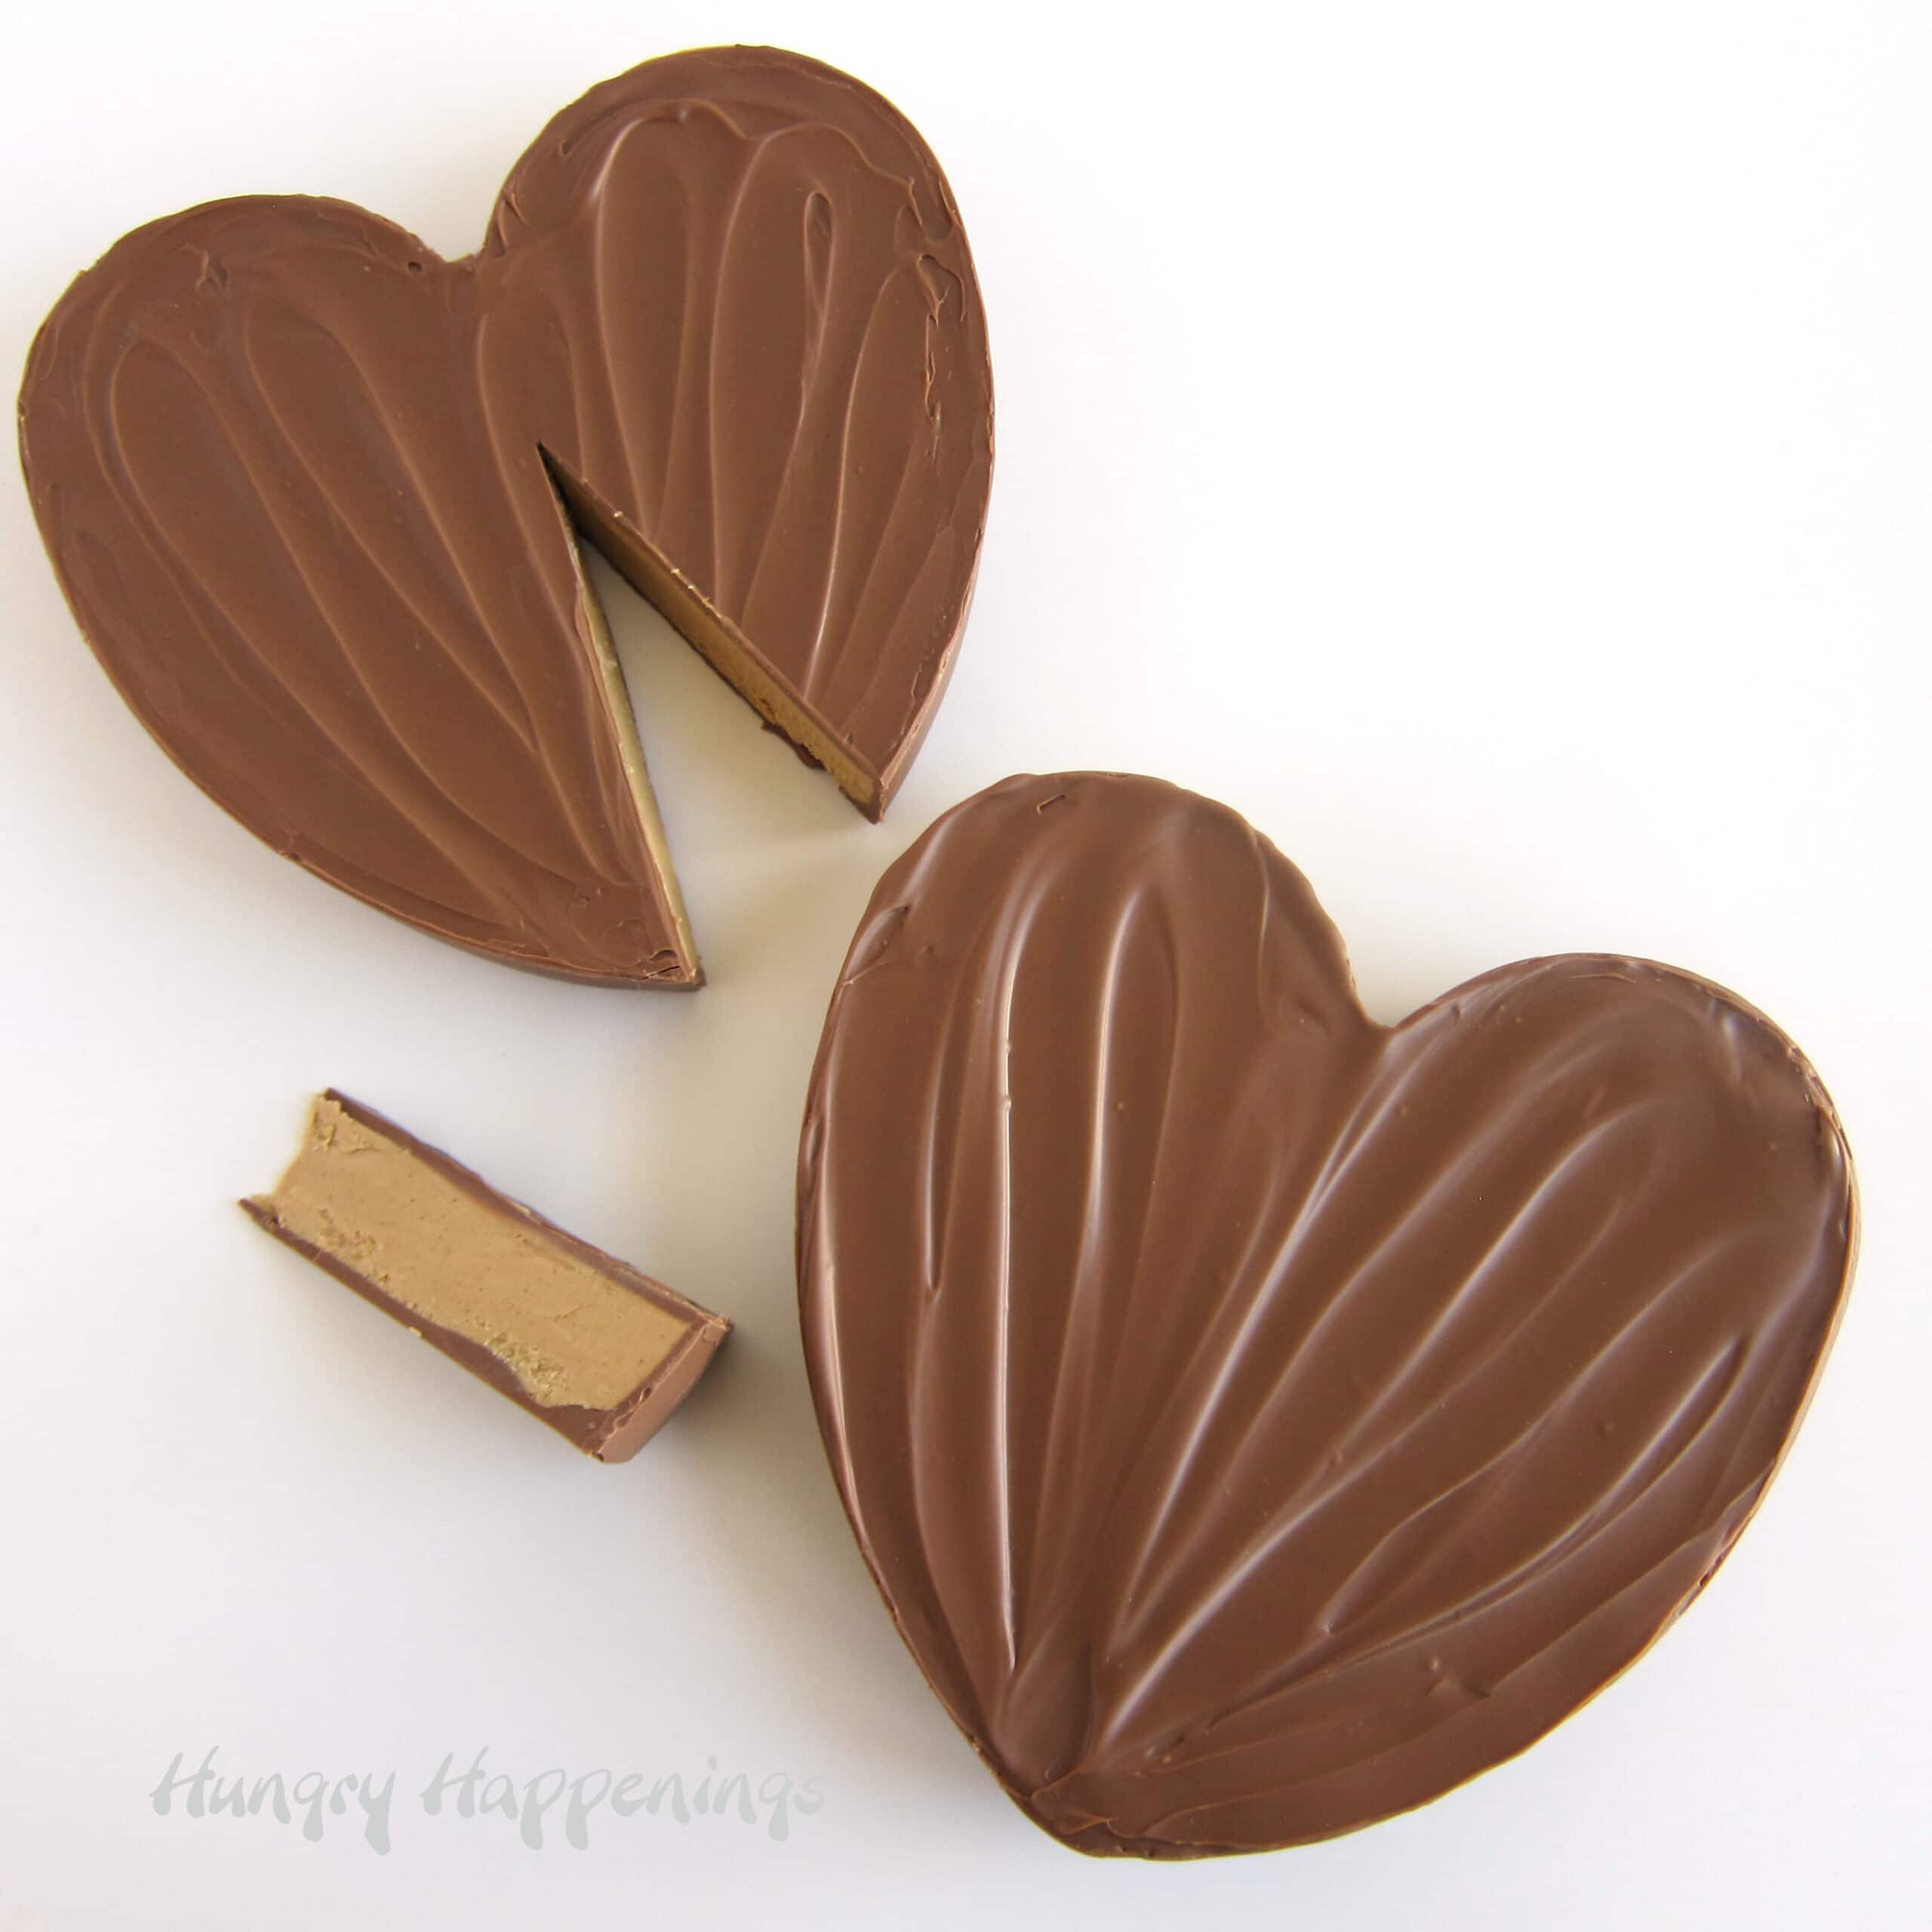
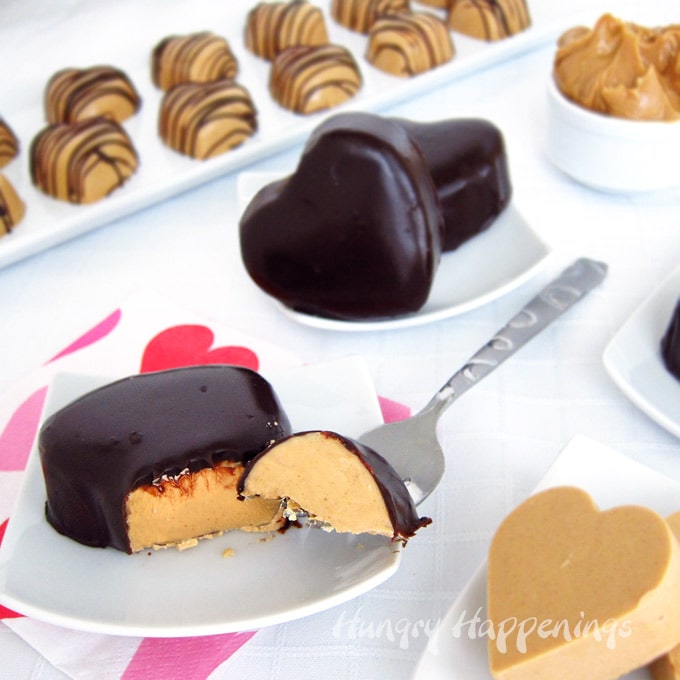
I'm so happy to hear you have enjoyed making my PB Fudge Egg filling for a variety of chocolate candies. It's my favorite peanut butter fudge, and I have used it in many recipes here on this site. When I made this copycat version of a Giant Peanut Butter Cup, I decided to use a traditional no-cook peanut butter fudge made with powdered sugar because it tastes more like a Reese's Peanut Butter Cup. Since creating this Giant Peanut Butter Cup recipe, I have made a heart-shaped version using my peanut butter fudge recipe. Both are delicious, so either works well. You can see that recipe here - https://hungryhappenings.com/copycat-giant-reeses-cup-heart/
Have fun making your Giant Peanut Butter Cup!
Zoe Zax says
If I plan to serve it the next day but am worried leaving it at room temp will make it melt, can I store in the fridge over night?
Beth Klosterboer says
If your room is very hot (over 80 degrees), or you are outdoors in hot temperatures, then it might melt, but otherwise it will be fine at room temperature. You shouldn't need to refrigerate your giant peanut butter cup. If you do, just wrap it well, so that it doesn't pick up any food odors, and then leave it on the counter (wrapped) for at least an hour, before unwrapping it, otherwise, you can end up with condensation (beads of water) on top of the chocolate.
Enjoy!