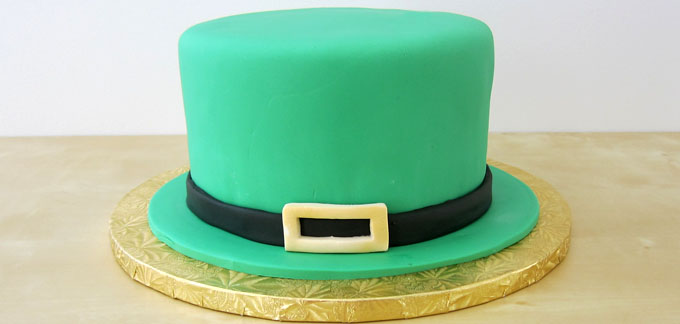
Cut into this magical Leprechaun Hat Cake to reveal green shamrocks hiding inside a white cake. It's an impressive St. Patrick's Day dessert.
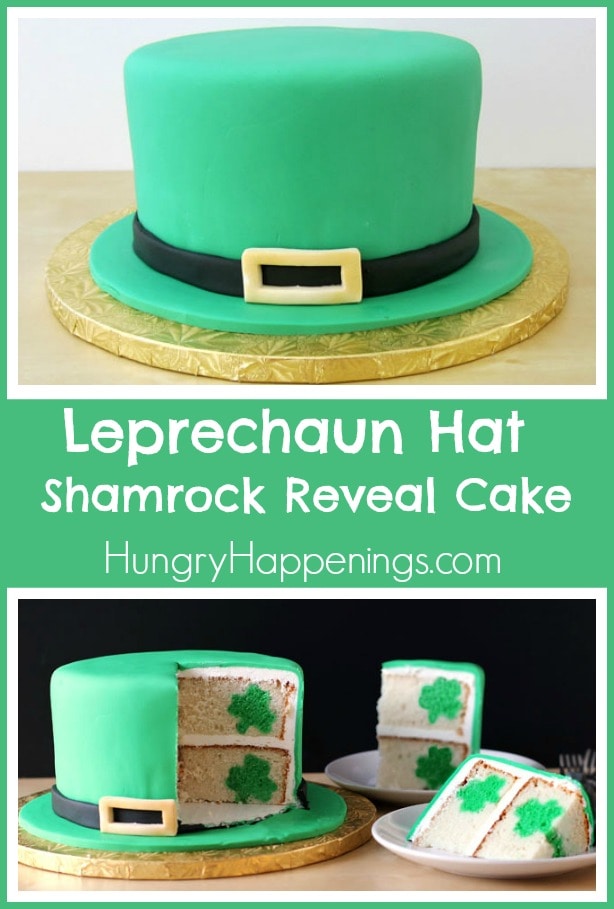
When you serve this cake, your friends and family will believe it is simply a Leprechaun Hat. That's pretty magical all on its own.
But, when you cut into the cake to reveal shamrocks hiding inside, you will totally blow everyone away. Everyone will wonder how you got the shamrocks inside the layers of white cake.
It isn't magic at all. You simply bake a green sheet cake, cut out shamrocks, then bake them inside a white cake.
It's easier than you'd think.
Well, it's definitely easier than finding a pot of gold or finding the end of a rainbow. I'd say making a reveal cake is a labor of love but the end result is so impressive that it's worth a little extra effort.
Let's get baking!
Ingredients
white cake mixes - This cake takes some time to make and decorate, so using cake mixes is a shortcut. If you prefer, you can use homemade white cake.
vanilla frosting - Once again, I chose to take a shortcut and use tubs of store-bought frosting. Homemade will work great too.
green food coloring - I used Betty Crocker green food coloring that comes in a tube. Any green food coloring will work.
fondant - I chose to cover my cake with green fondant to give the Leprechaun hat a shiny and smooth finish. You'll need green, black, and white (or gold).
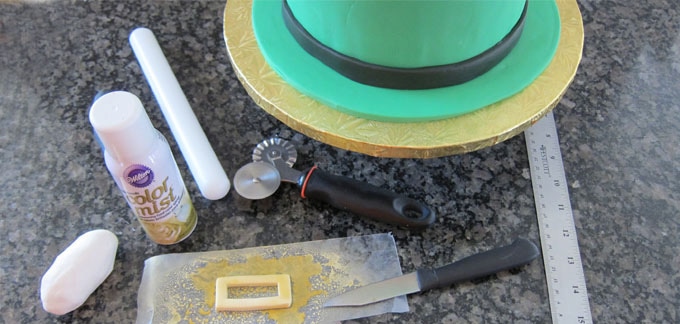
Wilton Gold Color Mist - This is optional. I made the buckle on the Leprechaun Hat using white fondant then I sprayed it with gold color mist. You could use gold-colored fondant instead.
Supplies
mixing bowl, mixer, or spoon to make the cake
1 half sheet pan with rim (18-inch by 13-inch) or a jelly roll pan
non-stick tin foil or tin foil sprayed with baking spray
1-inch shamrock cookie cutter
2 extra deep 8-inch round pans
frosting spatula and scraper
fondant roller or silicone rolling pin
Instructions
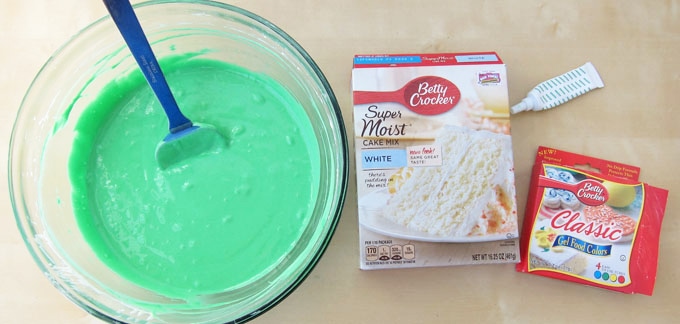
Make one cake mix according to the package instructions and color it green using green food coloring.
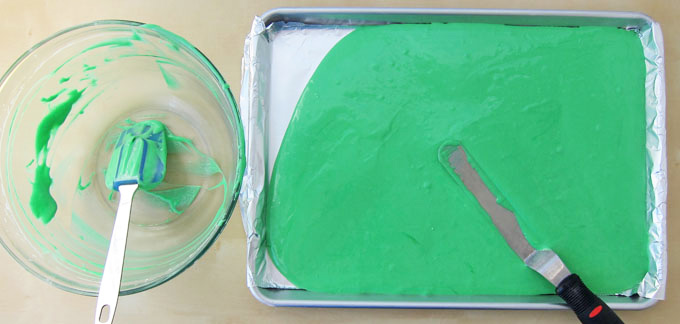
Spread the batter into a jelly roll pan and bake it in a 350-degree oven for 12-16 minutes.
Allow it to cool for at least 30 minutes then put it in the freezer for an hour.
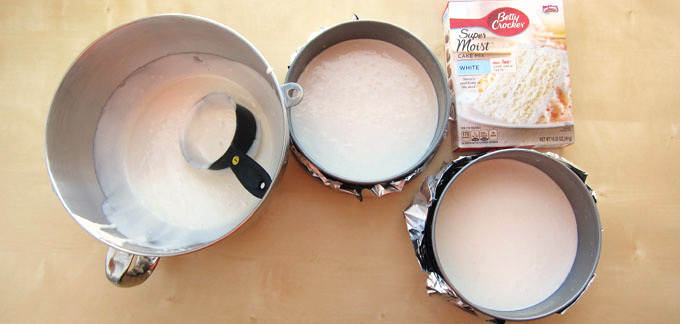
Line two extra deep 8-inch round pans with parchment paper then spray with non-stick baking spray with flour. I actually used two 8-inch springform pans that I lined with non-stick tin foil before spraying.
Just before the green cake is ready to come out of the freezer, make the remaining white cake mix.
Pour one cup of batter into each of the round cake pans.
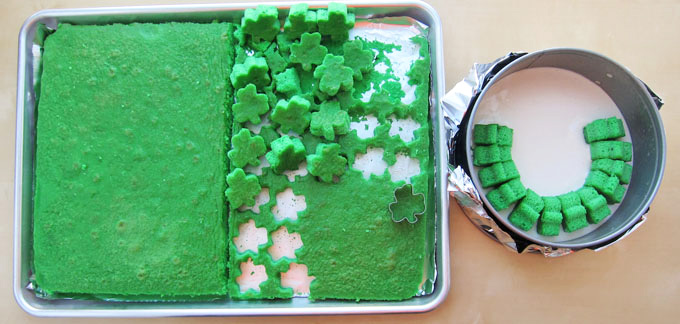
Remove the green cake from the freezer and use a one-inch shamrock cutter to cut out 38-40 shamrocks. You will have a little less than half of this cake leftover, so enjoy a little snack.
Arrange shamrocks, upside down (with the bottom of the stem facing up) in a circle about an inch from the edge of the pans.
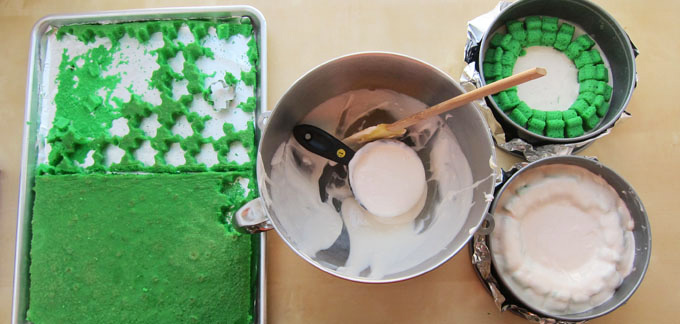
Pour the rest of the batter into the pans, covering the shamrocks.
Bake the cakes in a 350-degree oven for 26-32 minutes until a toothpick inserted in the center comes out clean.
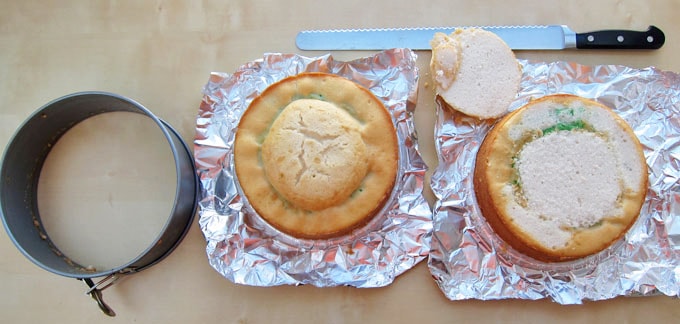
As these cakes bake, the batter will puff up in the center and the baked cakes will look pretty funky. It's alright, as you will just cut off the bumps making each cake level.
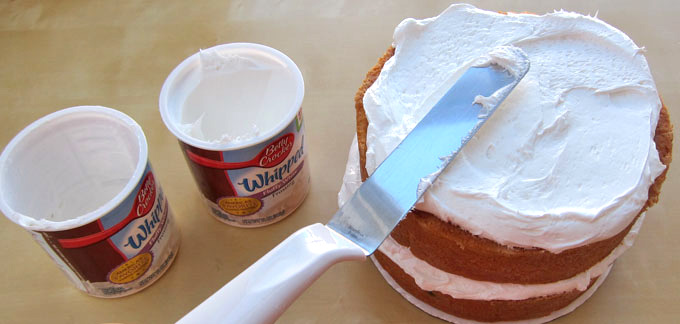
Once the cakes are cooled and leveled, you'll flip one over and put it on a cardboard cake round, spread on some frosting before flipping over the other cake and doing the same.
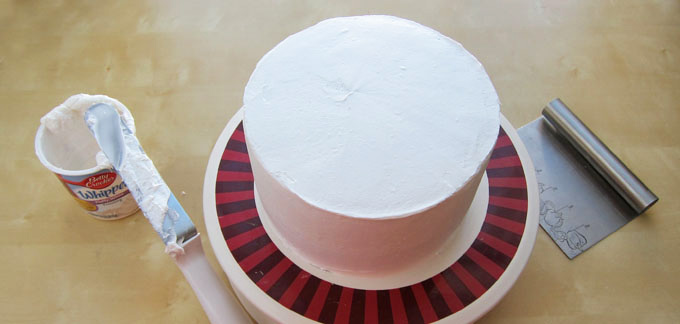
Frost the entire cake and make it really smooth.

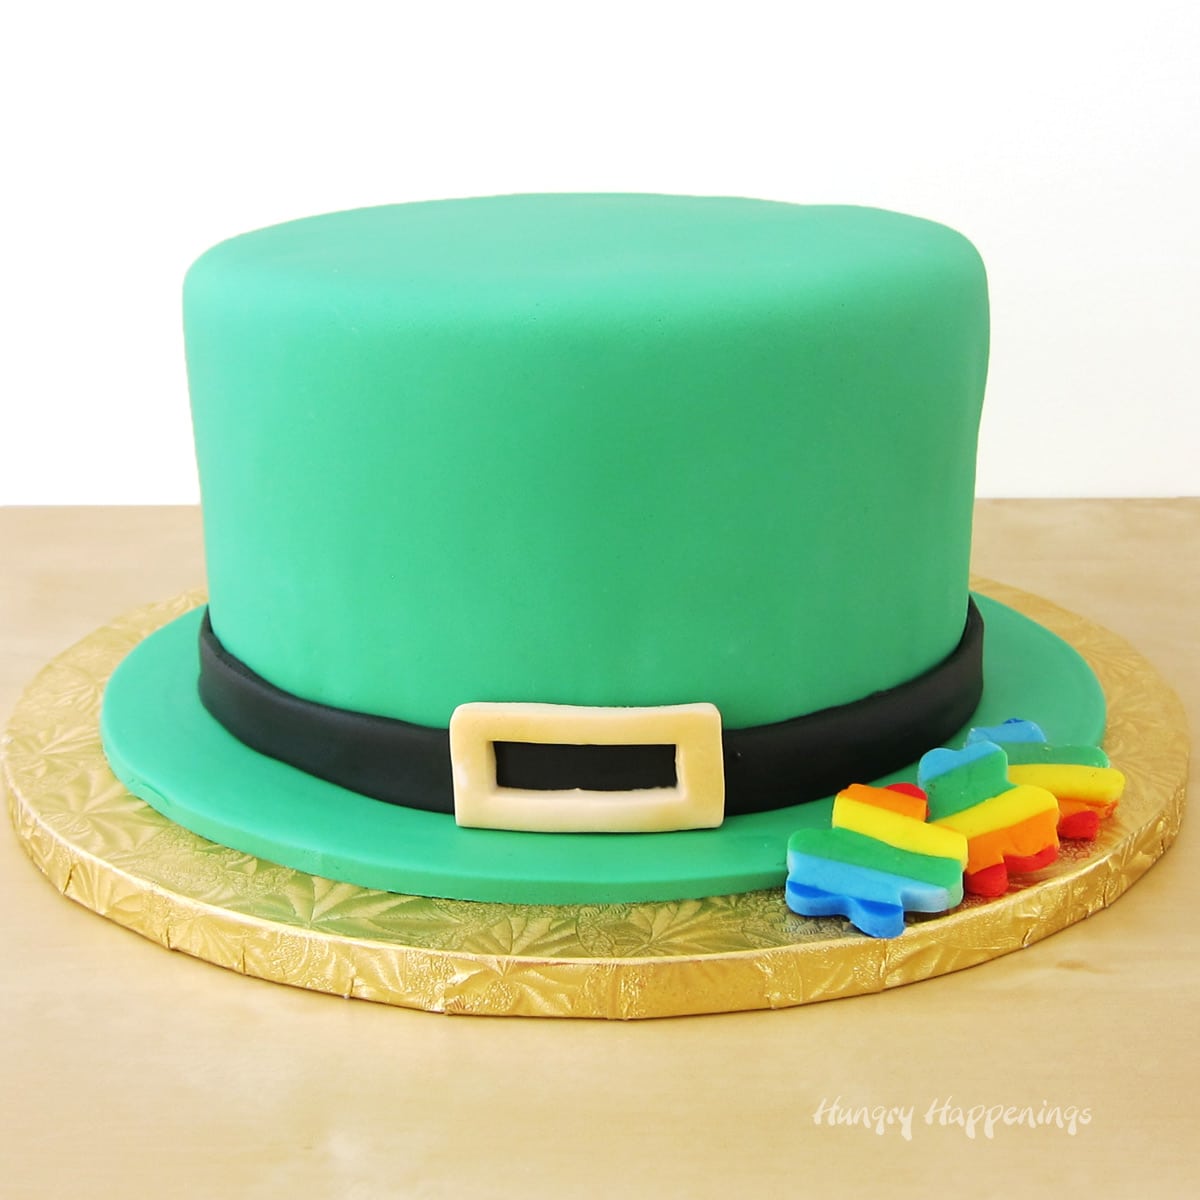
Cover the cake with green fondant.
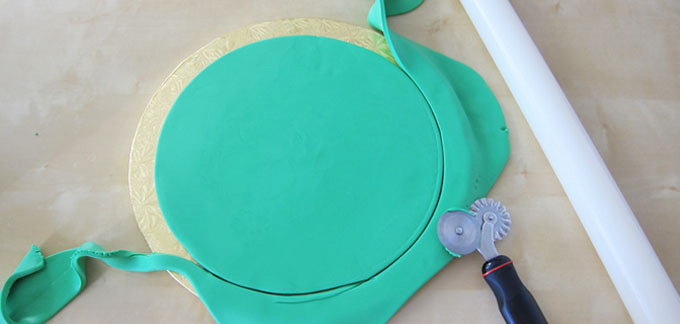
Cut out a green fondant hat brim on a cake board or cake plate.
Set the fondant-covered cake in the center of the green hat brim.
Add a black fondant hat band and make a buckle. You can simply make the buckle out of yellow fondant, or you can spray a white or yellow buckle with gold food coloring spray.
When the cake is whole, no one will know of the surprise hiding inside.
I originally made this cake for Tablespoon.com but they have removed the recipe, so I added it here. You can find more St. Patrick's Day recipes on Tablespoon.com.
Variations
You can use this technique to make a fun Uncle Same Hat Cake with red and blue stars hiding inside.
Related Recipes
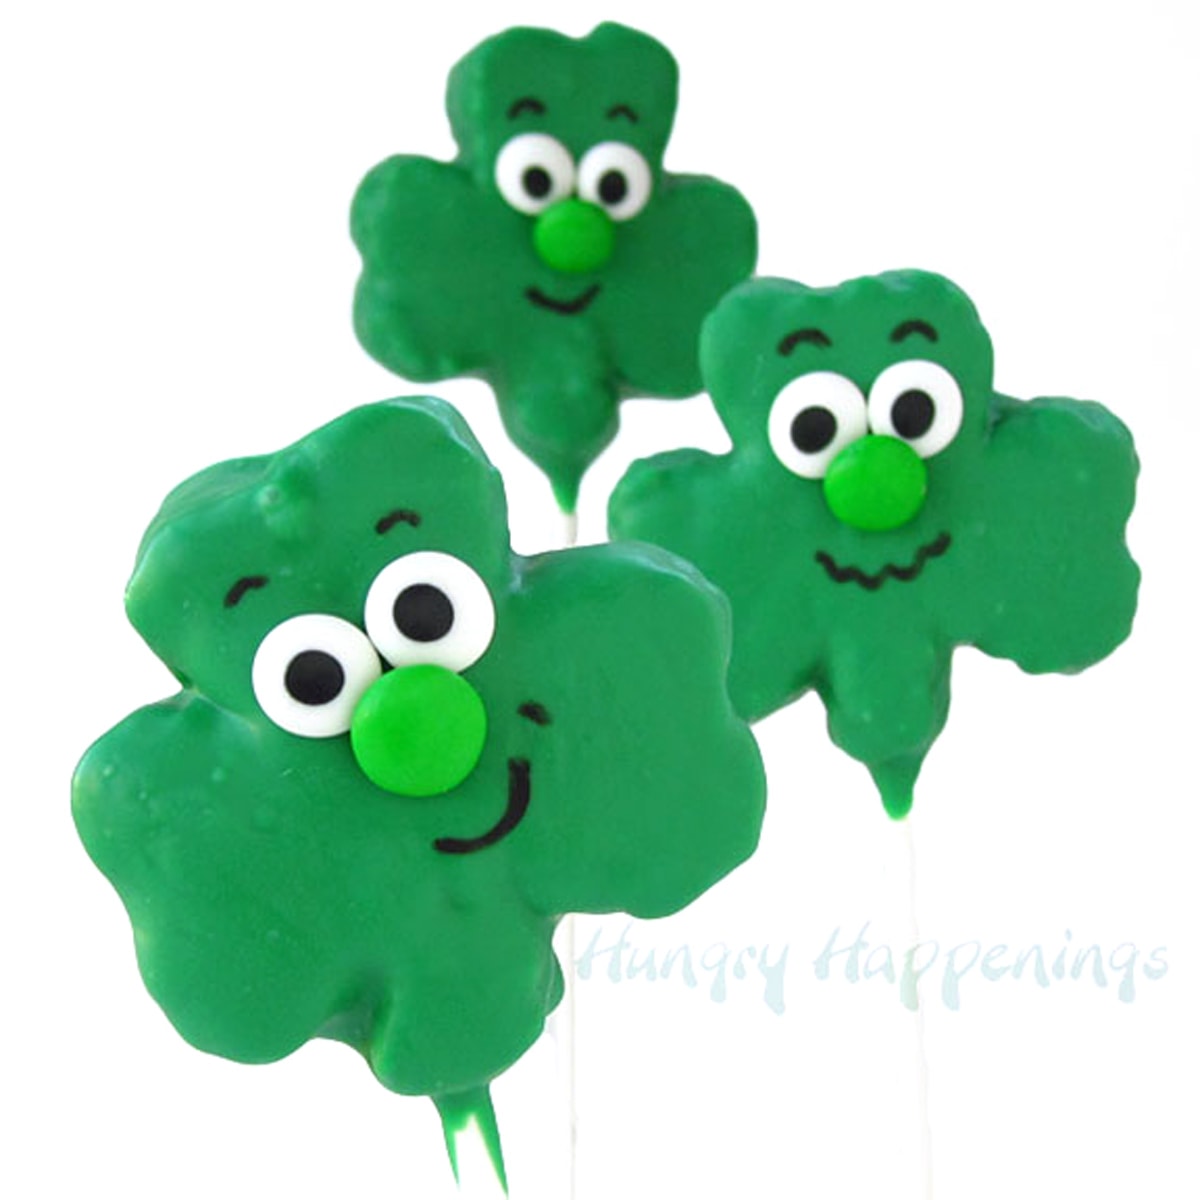
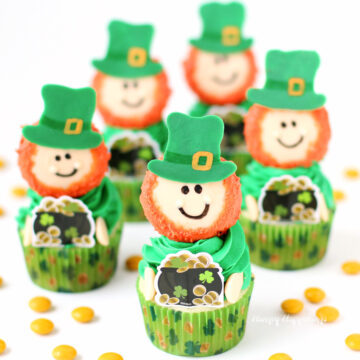
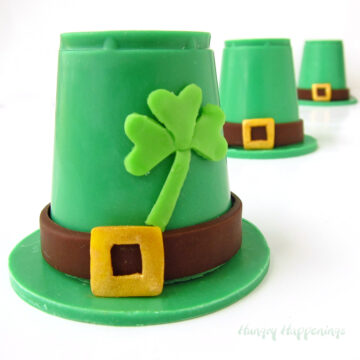
You can also find a lot of fun St. Patrick's Day recipes here on Hungry Happenings including these:

Recipe
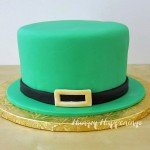
Celebrate St. Patrick's Day with this festive Leprechaun Hat Cake. When you cut into this bright green hat-shaped cake you'll find shamrocks hiding inside.
- 2 boxes white cake mix with egg whites, oil, and water called for on the box
- green food coloring
- 2-3 cups vanilla frosting
- 18 ounces green fondant
- 4 ounces black fondant
- 1 ounce yellow fondant
-
Preheat oven to 350 degrees Fahrenheit.
-
Make one cake mix according to the instructions of the box and color it using green food coloring.
-
Spread the cake batter into your jelly roll pan and bake it for 12-16 minutes.
-
Allow the cake to cool for about 30 minutes, then put it in the freezer for an hour. You want the cake to be frozen pretty solidly.
-
Line two 8-inch by 3-inch round cake pans with parchment paper then spray with baking spray.
-
Just before the green cake is ready to come out of the freezer, make the remaining white cake mix.
-
Pour one cup of the white cake batter into each of the round cake pans.
-
Remove your green cake from the freezer and cut 40 shamrocks using a 1-inch cookie cutter. Save the cake scraps for a snack.
-
Arrange the small shamrock cakes, upside down (with the bottom of the stem facing up) in a circle about an inch from the edge of the pans.
-
Divide the remaining cake batter among the two pans, covering the shamrocks completely.
-
Bake the cakes in a 350-degree oven for 26-32 minutes until a toothpick inserted in the center comes out clean.
-
Remove the cakes from the oven and allow them to cool in the pans for about 30 minutes before flipping them out of the pan and setting them upside down on a cooling rack to cool completely.
-
Flip the cakes rightside up and level each of the cakes by cutting off the domed top. Be careful not to cut off the shamrocks.
-
Then, flip one of the cakes over (so the shamrocks will have their stems at the bottom of the cake) and put it on a cardboard cake round.
-
Spread on some frosting before flipping over the other cake and doing the same.
-
Frost the entire cake and make it really smooth.
-
Roll out the green fondant and cover the cake with green fondant.
-
Cut out a ¼-inch thick, 10-inch circle of green fondant and place it on a 12-inch cake drum.
-
Set the fondant-covered cake in the center of the green hat brim.
-
Roll out some black fondant and cut out a 1 ½-inch wide strip that is about 18 inches long.
-
Lightly brush the back of the fondant strip with water then, wrap it around the base of the cake covering the cake board. Then, cut off any excess length of fondant and press the seams together.
-
Roll out the yellow fondant and cut it into a buckle.
-
If desired, spray the fondant buckle with gold food coloring spray.
-
Let it dry, then attach it to the black fondant band using water.
- As these cakes bake, the batter will puff up in the center and the baked cakes will look pretty funky. It's alright, as you will just cut off the bumps making each cake level.
- Store the cake at room temperature for up to 3 days.
- Cut into the cake to reveal the shamrocks hiding inside.

- Banana Split Bars – A Fun and Easy Summer Dessert - March 4, 2026
- Pineapple Fudge (No Candy Thermometer Needed!) - March 4, 2026
- No-Bake Peanut Butter Pie Recipe - March 3, 2026
Dessert Bar says
I love how the hidden shamrocks inside make for a fun St. Patrick's Day surprise.
Michael says
I'm looking for the recipe for the Leprechaun Shamrock surprise hat cake, I would like to make it for my job on St. Patricks Day. Can you email me the recipe & directions.
Thanks
Michael
Beth says
Hi Michael,
It looks like Tablespoon took that recipe down, so I went ahead and posted the tutorial here. I don't have a copy of the actual recipe but I used cake mixes and tubs of Betty Crocker frosting. I hope you have fun making the cake!
Sweet Silly Sara says
So cute for next St.Patties day. Thanks for sharing another wonderful post with us at Tell it To Me Tuesday!
Cathy Lallis says
Adorable! Happy Saint Pat's Day!
beth says
Happy St. Patty's Day to you too!
Kersten Lindhardt says
That's so amazing- I'm impressed!
Artsy VaVa says
What a great surprise hidden in the cake! It's gorgeous.
beth says
Thanks so much!
Linnycakes says
I love surprises! How fun it must've been to cut into this cake and see such a fun design. Pinned this!
beth says
Thanks so much for pining:) It is always fun to see people's reactions when I cut into surprise cakes. I love it!
The Partiologist says
Really Beth, this takes the cake! 🙂 Off to Tablespoon...
PapaLos - The Man, The Chef, The Dad says
Whoa! That other cake was crazy. This one is insane! Makes me wish I celebrated St. Patrick's Day more. Amazing job!
beth says
Thanks! This was a really fun cake to make.
Stephanie says
Can you re-post the recipe? It's not listed and I'd love to make this.
Beth says
I just added a printable recipe card to this recipe. Have fun making this cake!
beth says
Thanks, I really love how the cake turned out!
Aida@TheCraftingFoodie says
Beth,
I love it so much! The added hat details make it even more special!
beth says
Thanks, Aida. I loved the idea of hiding something under a leprechaun hat.