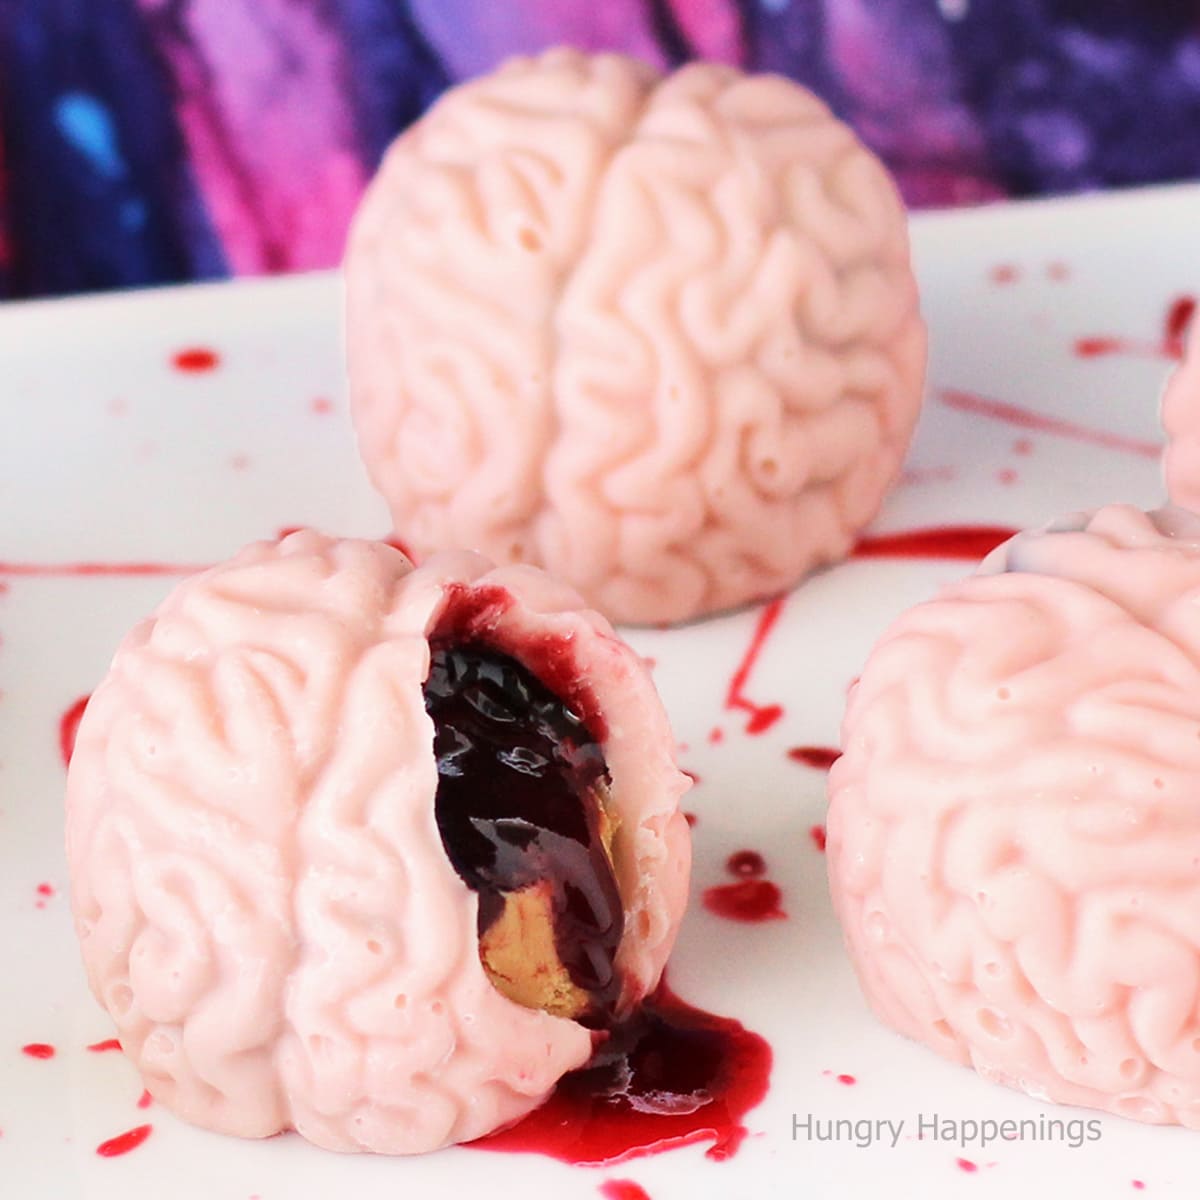
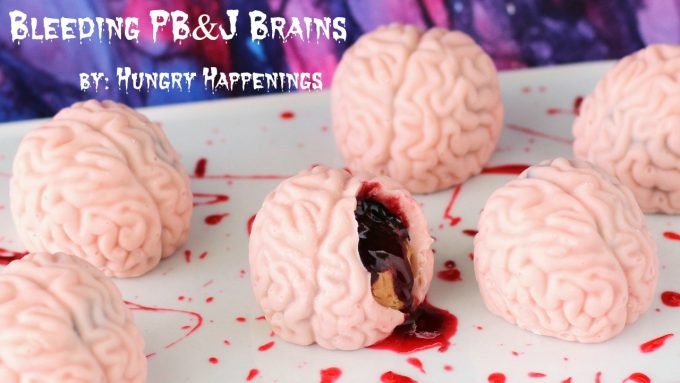
Creep out your Halloween party guests by serving them these Candy Brains. Each Bleeding PB&J Brain is filled with Peanut Butter Fudge and Jelly "blood."
Do you think you can handle eating a Bleeding PJ&J Brain? I guess if you thought these treats were totally gross you'd probably have clicked away by now.
These candy brains may look gross, but they taste amazing! The white chocolate brains are filled with creamy peanut butter fudge and raspberry preserves.
The peanut butter fudge is made using white chocolate, peanut butter chips, and peanut butter. It's liquid when it's first made but it firms up into a lovely creamy fudge It's perfect for this project because you can pour it into the brain molds easily.
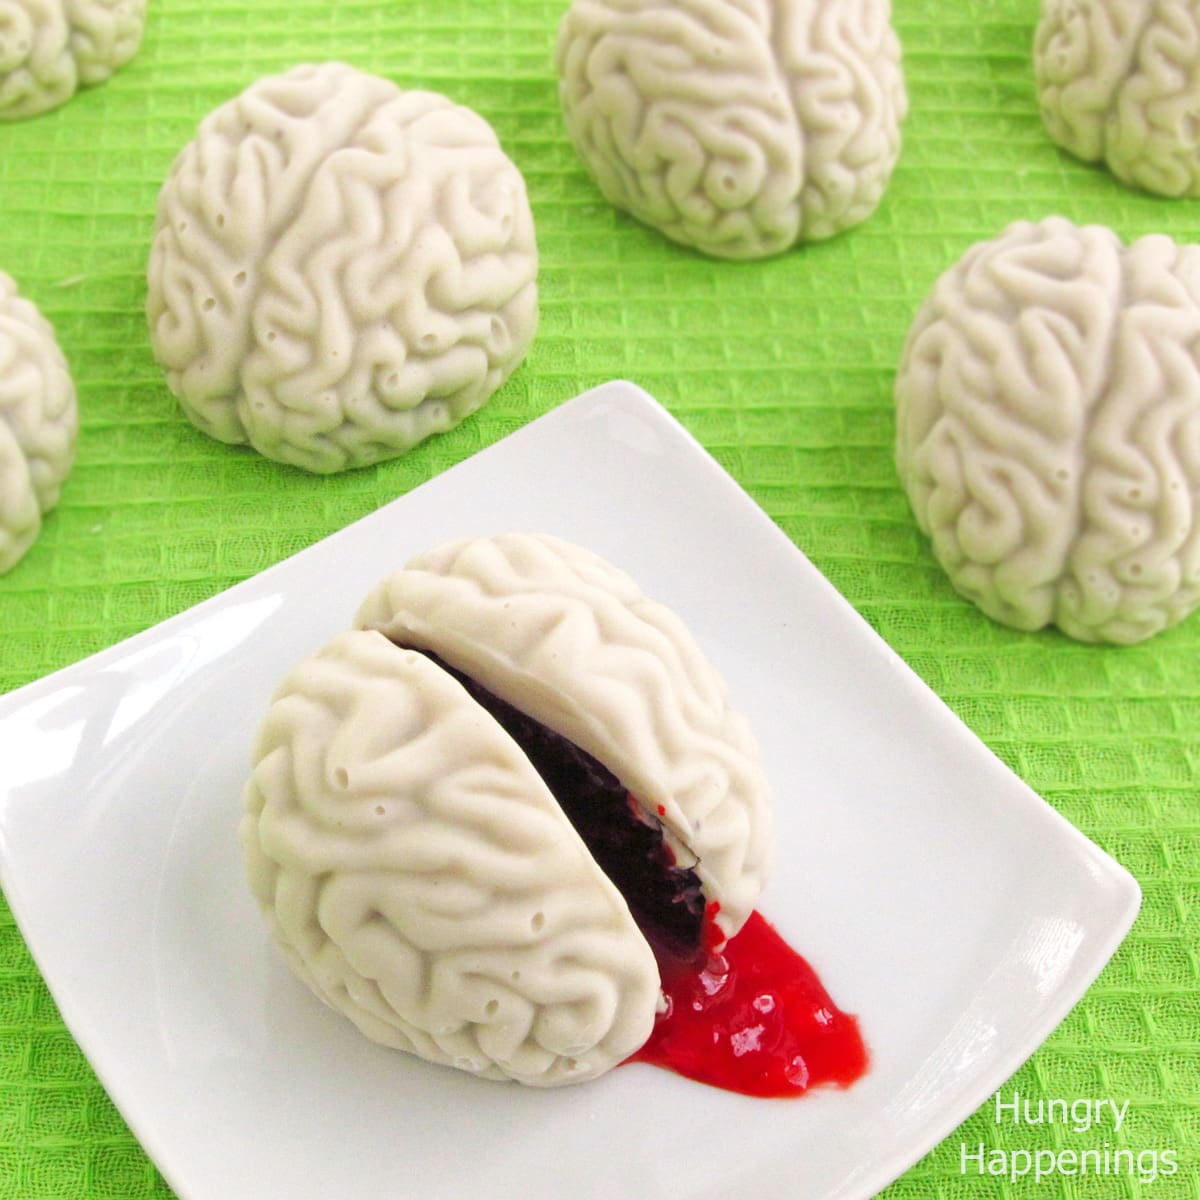
In 2012, I created these Cake Ball Brains to serve at our zombie-themed Halloween party along with Zombie Popsicles and Zombie Candy Cups.
I made those brains gray but I decided to use a more realistic-looking pinkish tone for these peanut butter fudge brains.
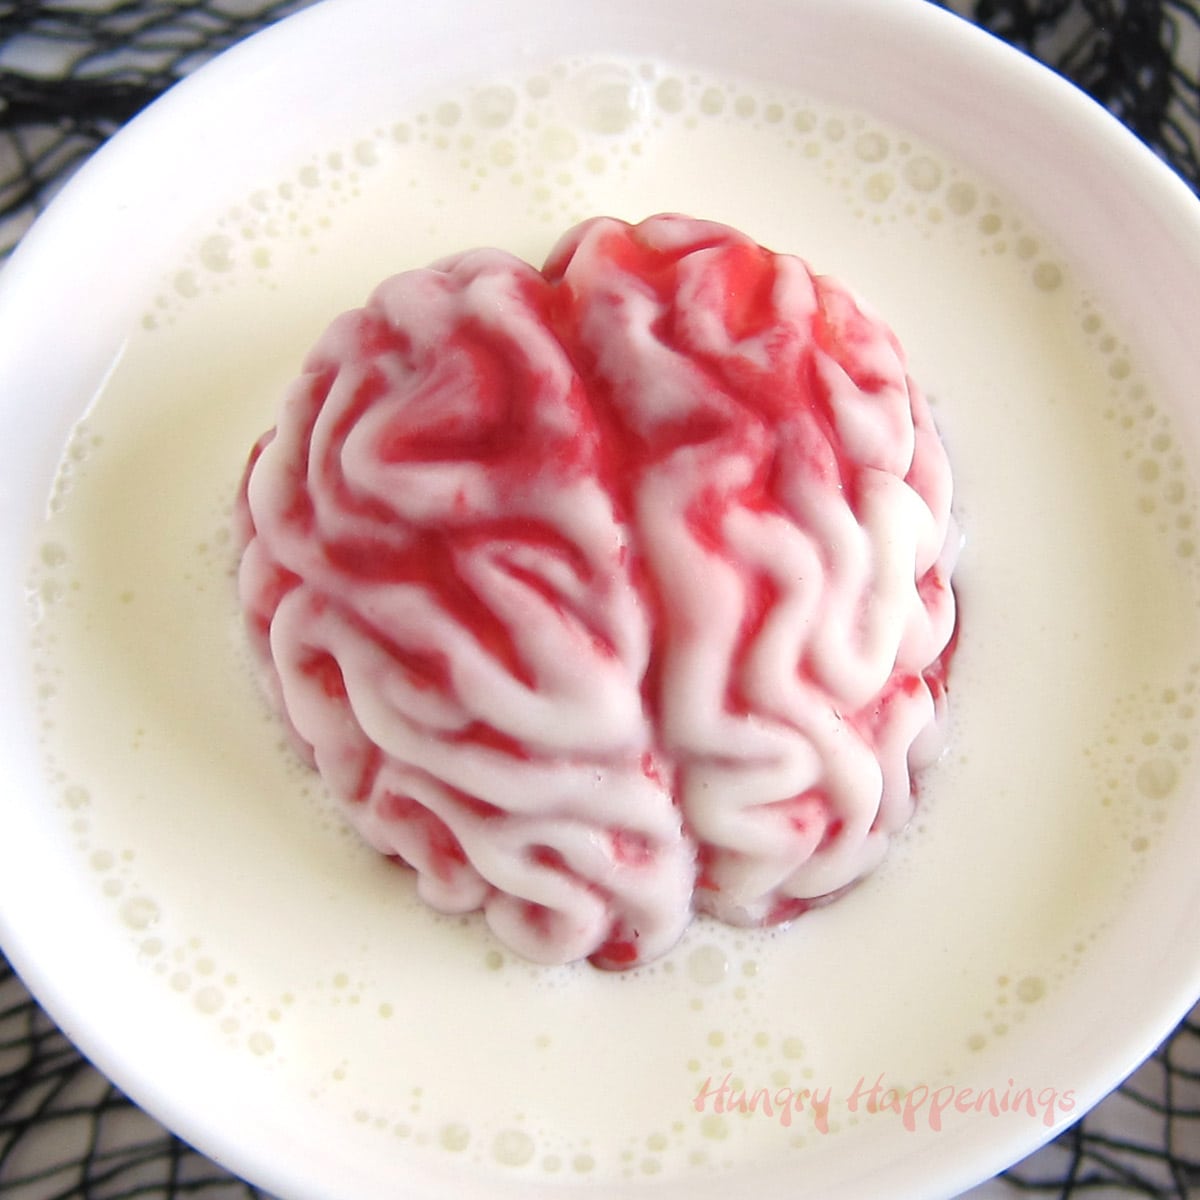
If you prefer your candy brains to look bloody, follow the instructions to make the candy brains in my Hot Chocolate Bomb Brains post.
I love that these brains look so creepy.
Let's make some brains.
Ingredients
- white candy melts - You can also use any compound chocolates made with palm kernel oil like Ghirardelli Melting Wafers or almond bark. You can use pure white chocolate but you will need to temper it (heat and cool the chocolate to exact temperatures) so that it hardens properly.
- seedless red raspberry preserves or jam - You can also use strawberry or cherry jam or preserves just be sure to remove any seeds or chunks of fruit
- red gel food coloring - This is optional but it will add a vibrant red color to the preserves so they look more like blood.
- peanut butter chips - You'll use the chips along with white candy melts to make the peanut butter fudge filling.
- creamy peanut butter
Supplies
silicone brain molds - To make these candy brains, you will need to get three silicone brain molds. I used a Fred and Friends Brain Freeze mold, but there are a lot of silicone brain molds available on Amazon and they should be very similar.
food-use-only paint brush or spoon
You can find all the items you need to make these Bleeding PB&J Brains on Amazon. I earn a small commission when you make a purchase using the links below at no extra cost to you.
 3Pcs 4 Holes Brain Ice,Ice ...Shop on Amazon
  Genuine Fred BRRRAINS Silic...Shop on Amazon
  Wilton Pink Candy Melts Can...Shop on Amazon
 ") Dickinson's Preserves, Red ...Shop on Amazon
Dickinson's Preserves, Red ...Shop on Amazon  REESE'S Peanut Butter Bakin...Shop on Amazon
Instructions
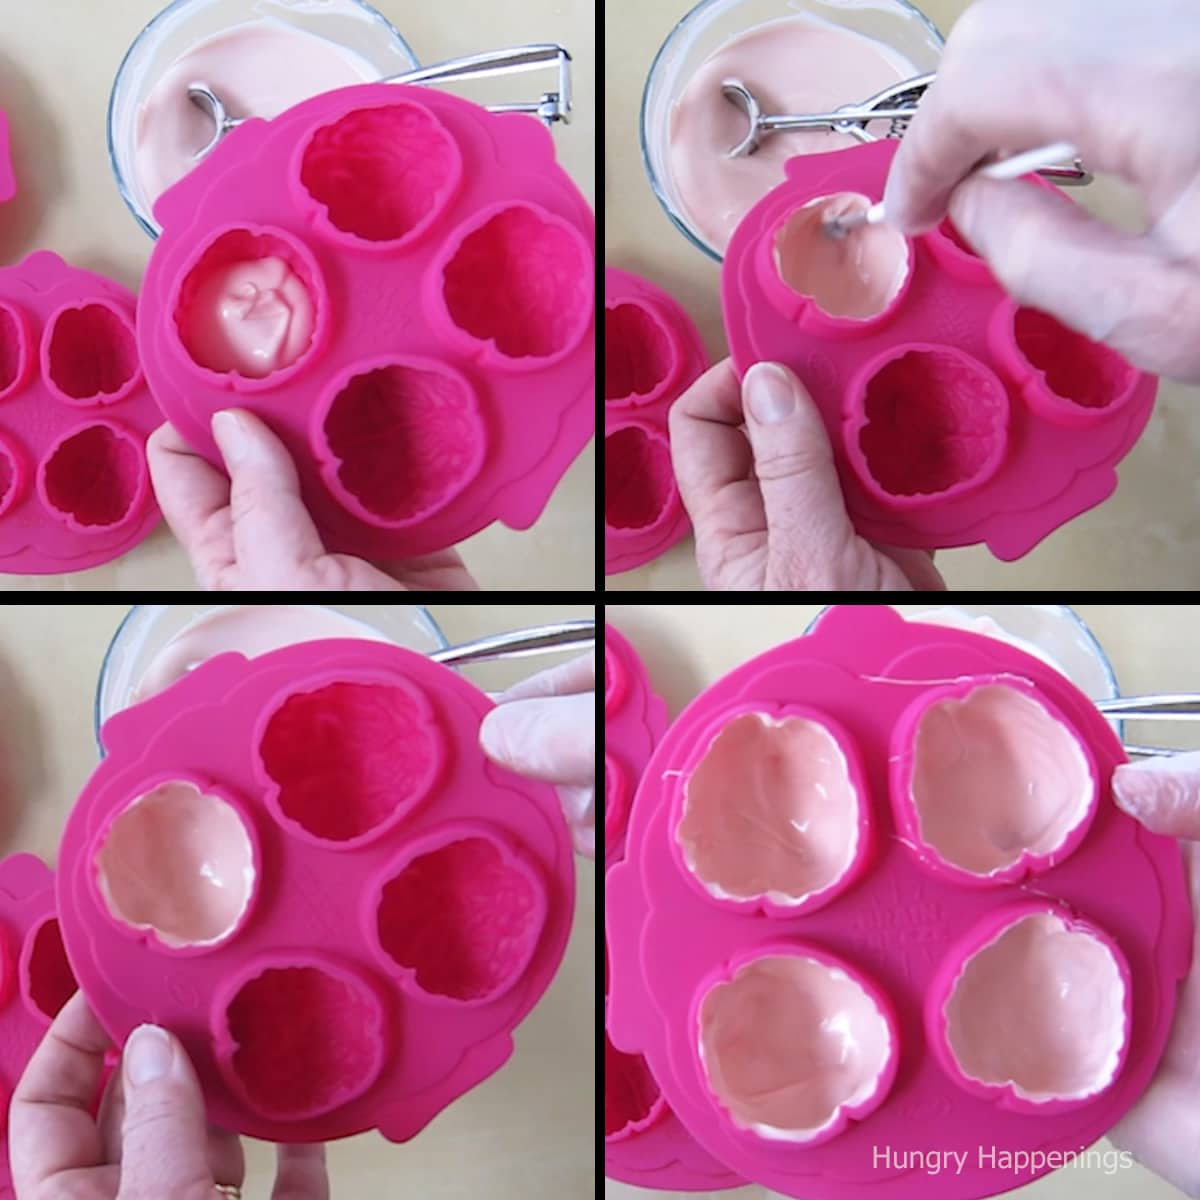
Make white chocolate shells in brain mold.
Spoon about a tablespoon of the melted candy melts into a cavity in the brain mold. Paint the chocolate up the sides of the mold adding more if needed. You do not want any thin spots.
Freeze for a few minutes just until hardened. Don't leave your brains in the freezer for too long or they can crack or develop condensation on the outside.
You will want your shell of white chocolate to be thick enough that it won't crack which may require painting on two layers.
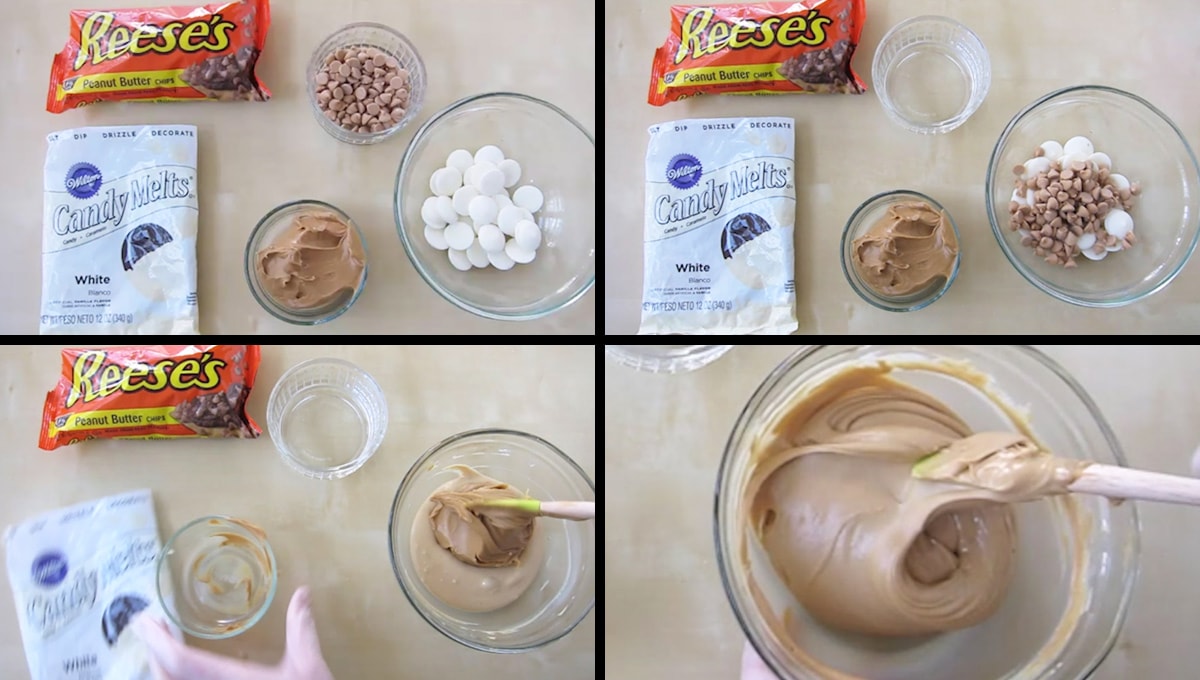
Make the peanut butter fudge filling.
Combine the 4 ounces of white candy melts with the peanut butter chips in a microwave-safe bowl.
Heat on high power for two 30-second increments, stirring after each.
Heat for 15-second increments on high power, stirring after each until melted.
Stir in the peanut butter.
Allow the fudge to cool while you are filling the molds with the raspberry preserve "blood".
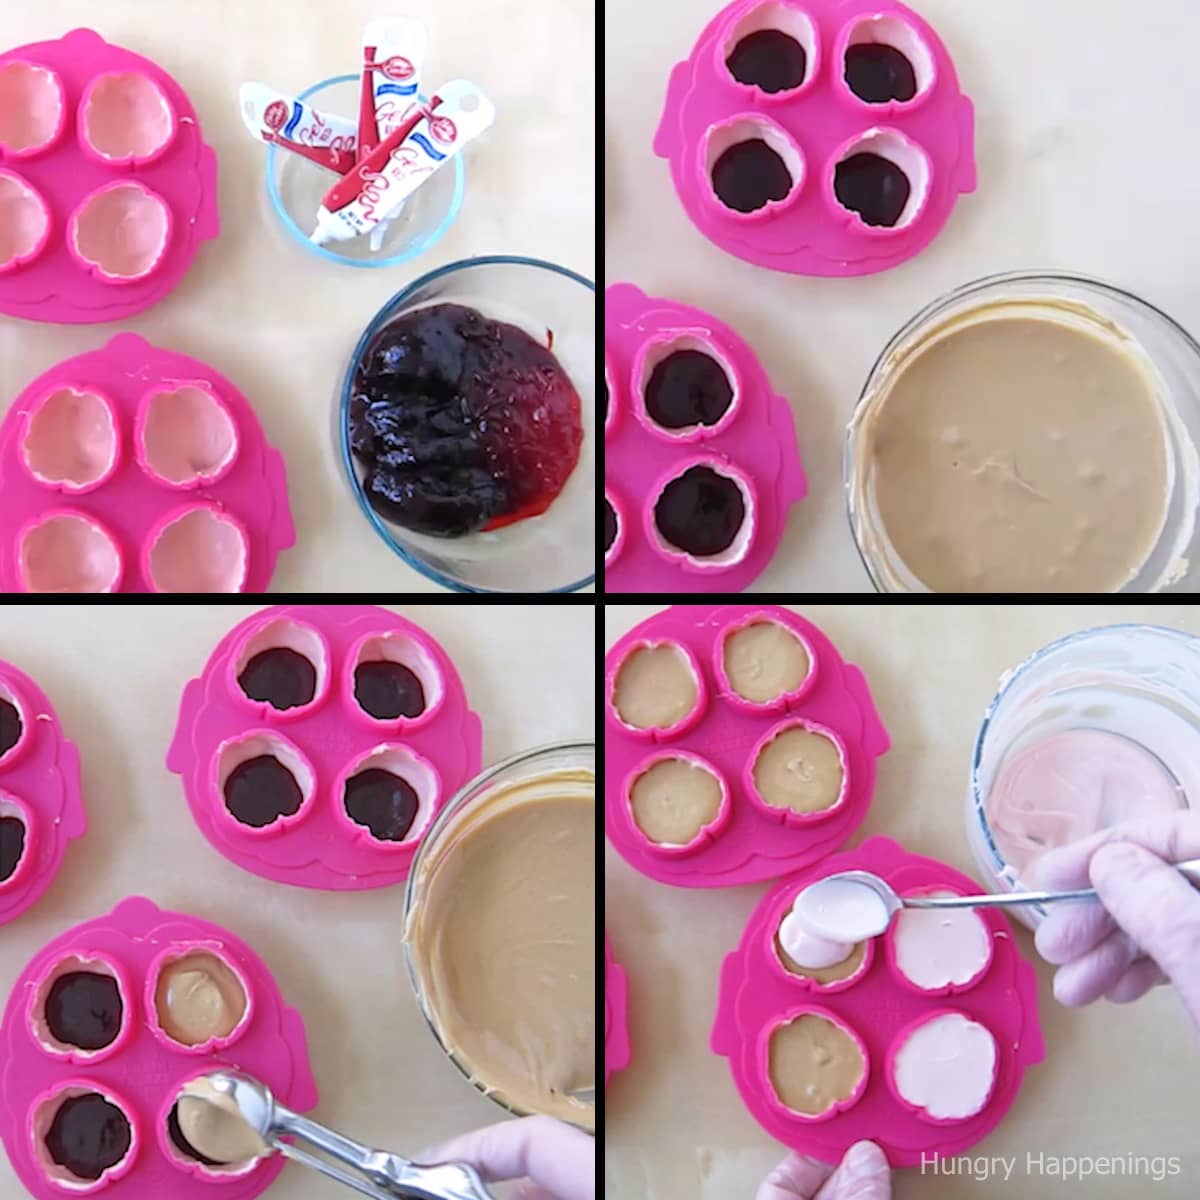
Fill with raspberry preserves and peanut butter fudge.
Stir the raspberry preserves vigorously until smooth. If needed, add a few drops of water to thin it out. You may need to strain your raspberry preserves or jam through a fine mesh sieve in order to remove any chunks of fruit.
To make the raspberry filling look like blood, stir in red gel coloring until you get a nice deep red color.
Spoon one tablespoonful into each white chocolate brain shell.
Then spoon peanut butter fudge over the top. Fill the brain so you have about ⅛-inch of space at the top edge to cover with white chocolate.
Pop the brains in the freezer for about 10 minutes until the fudge firms up then let them sit at room temperature for at least 5 minutes.

Spoon about a teaspoon of the candy coating on top of each brain, over the peanut butter fudge layer.
Smooth it out by gently tapping the mold on the table.
Wipe off any candy coating on the top edge of the brain mold.
Freeze for about 5 minutes until the candy hardens.
Remove from freezer and un-mold by peeling away the silicone mold from the brains
Storage
Store in an airtight container at room temperature for up to 3 days. Or, place the candy brains in a cardboard box and store them in the refrigerator. The cardboard box will wick up any moisture keeping the chocolates from getting wet and sticky. Set the box on the counter for one hour before opening.
Recipe
RELATED: Find dozens of easy fudge recipes at HowToMakeEasyFudge.com.
These peanut butter fudge and jelly filled candy brains are perfect for your halloween party. They are so delicious and will spook everyone!
- 12 ounces White Candy Melts
- ⅔ cup pink candy melts*
- *Use regular pink candy melts not bright pink candy melts.
- ¾ cup seedless red raspberry preserves
- optional water
- 4 ounces white candy melts
- 2 ounces peanut butter chips
- ¾ cup creamy peanut butter
-
Pour white and pink candy melts into a microwave safe bowl.
-
Heat for three 30 second increments on high power, stirring well after each.
-
If needed heat for 10 second increments on high power, stirring after each until melted.
-
Spoon 1 tablespoon of candy coating into each brain cavity reserving the remaining candy to top off the brains once filled.
-
Brush the candy around the entire interior of the mold.
-
Freeze for 3-5 minutes just until the candy hardens.
-
Stir the preserves until very runny, adding a drop or so of water if needed.
-
If needed, you can warm your jelly, just be sure it's only slightly warm when you pour it into the brain.
-
Spoon 1 tablespoon into each brain.
-
Combine the 4 ounces of white candy melts with the peanut butter chips in a microwave safe bowl.
-
Heat on high power for two 30 second increments, stirring after each.
-
Heat for 15 second increments on high power, stirring after each until melted.
-
Stir in the peanut butter.
-
Allow the fudge to cool for 5 minutes.
-
Pour a heaping tablespoonful into each brain on top of the jelly, filling to ⅛th of an inch from the edge of the mold.
-
Freeze the brains for 10 minutes.
-
Remove and let sit for 5 minutes.
-
Re-heat the pinkish candy coating in the microwave for 10 second bursts at high power, stirring after each until melted.
-
Spoon about a teaspoon of the candy coating on top of each brain, over the peanut butter fudge layer.
-
Smooth it out by gently tapping the mold on the table.
-
Wipe off any candy coating on the top edge of the brain mold.
-
Freeze for about 5 minutes until the candy hardens.
-
Remove from freezer and un-mold by peeling away the silicone mold from the brains.
Recipe Video
Store in an airtight container at room temperature for up to 3 days. Or, place the candy brains in a cardboard box and store them in the refrigerator. The cardboard box will wick up any moisture keeping the chocolates from getting wet and sticky. Set the box on the counter for one hour before opening.
Related Recipes
You might also like these other gross Halloween recipes:
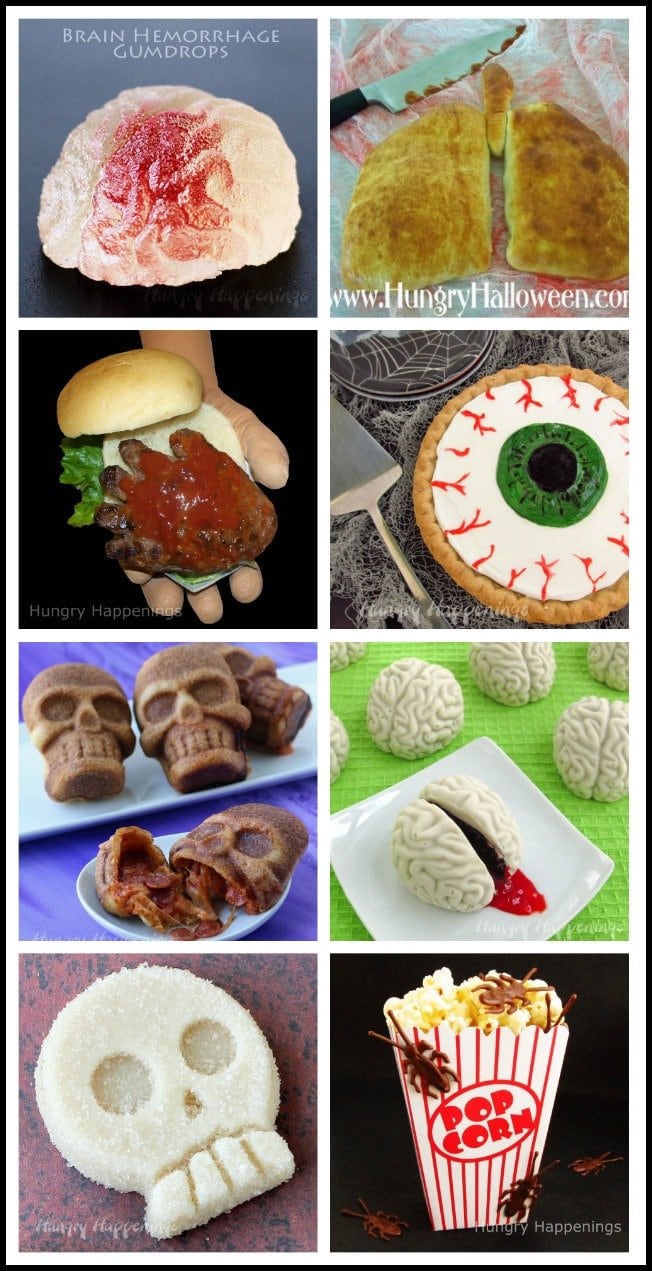
Gumdrop Brains • Lung Calzones
Hand Burgers • Pumpkin P-EYE and other EYE shaped food
Stuffed Pizza Skulls • Cake Ball Brains
Gumdrop Skulls • Chocolate Roaches in Popcorn

- Banana Split Bars – A Fun and Easy Summer Dessert - March 4, 2026
- Pineapple Fudge (No Candy Thermometer Needed!) - March 4, 2026
- No-Bake Peanut Butter Pie Recipe - March 3, 2026


Zidders Roofurry says
These look amazing.
Sandy says
Hi! I can’t wait to make these for our Halloween party, but wondering if I can make them 2-3 days in advance? In Portland, Oregon and its fall weather so not too worried about condensation and also have a basement. Please let me know and thank you so much!
Beth says
Yes, definitely. They will be fine at room temperature for several days. Have fun and enjoy!
Lou says
My brains have a lot of condensation on them and seem to be melting. Its humid here and Input them in the coolest dryest room we have. Any suggestions?
Beth says
I am so sorry to hear that you are having those issues. Weather can really reak havoc on chocolate. The condensation typically happens if you leave your candies in the freezer for too long, but it can also happen if the candies go from the freezer into a hot humid room. If the brains are melting then the room temperature is definitely too warm.
If you have a basement, which will be cooler, you can package them well and store them down there. If not, then your only option may be to store them in the refrigerator.
I usually don't recommend storing them in the fridge due to condensation but in this case they already have condensation on them so storing them in the fridge will not affect that. You can put a paper towel in with them to help wick up some of the moisture or package them in a cardboard shipping box which will wick up the excess moisture.
You can also set them in front of a fan for a while. Just make sure the fan isn't blowing fuzz or dog or cat hair onto your candies. This will help to dry the moisture. The brains will probably dry with little dried spots but they won't be very noticeable because of the shape of the brains.