These colorful hand-painted Hocus Pocus Cookies will enchant your family and friends this Halloween. Have fun making, decorating, and eating these magical cut-out sugar cookies featuring witches, Winifred, Sarah, and Mary.

Is your family excited to watch the new Hocus Pocus movie this Halloween? Make your movie night extra special by serving these enchanted Hocus Pocus cut-out sugar cookies.
These cookies are simple to make using a Hocus Pocus cookie cutter and stamp combo. Each cut-out cookie is then painted using edible paint to add a splash of color.
You'll start by making my favorite cut-out sugar cookie recipe. These cookies taste amazing all on their own. They have so much flavor that they don't need frosting! They are the perfect cookies to be painted.
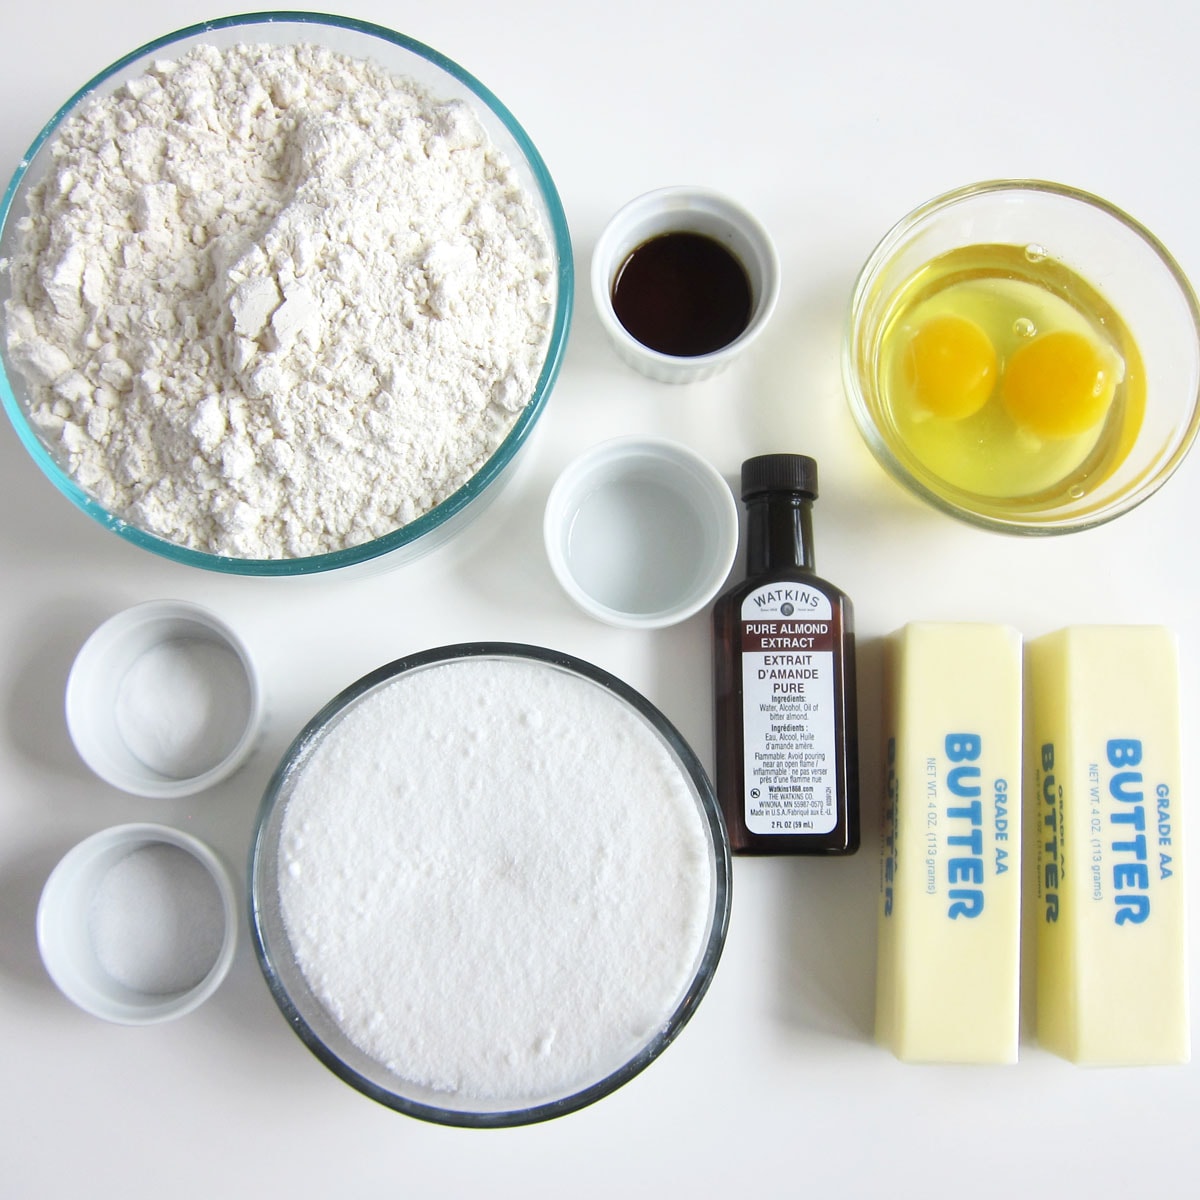
Cut-out sugar cookie dough ingredients:
butter - Use softened unsalted butter. Soften the butter just until you can press your finger into it and it leaves an imprint.
You don't want the butter to be too soft or your cookies will spread. I like to cut my butter into small 1-tablespoon pieces. I place the pieces into my mixing bowl and let them sit for about 20 minutes. Then, they are ready to mix.
sugar - Granulated sugar will give these cookies their sweetness and will create a crispy exterior (although the interior will remain nice and soft).
eggs - Be sure to use large eggs to make this cookie dough. I always recommend taking the chill off your eggs or using room-temperature eggs. I like to fill a bowl with hot tap water. I place the eggs in their shell in the water for 5-10 minutes which warms them enough that they will incorporate into your dough easily.
vanilla - Pure vanilla extract or vanilla bean paste will give your cookies amazing flavor.
almond extract - To make your cookies taste even better, add some almond extract that has a slight cherry flavor. If you really don't like almond extract, you can use lemon, peppermint, or butter rum extract.
flour - All-purpose flour will give your cookies just the right structure. Don't use bread flour which will cause your cookies to be too tough or cake flour which will make cookies that are too delicate.
baking powder - This cut-out cookie recipe calls for a ¼ teaspoon of baking powder which is just enough to provide some lift but won't allow your cookies to spread.
salt - It's always recommended to add salt to a sweet cookie recipe to balance out the sweetness.
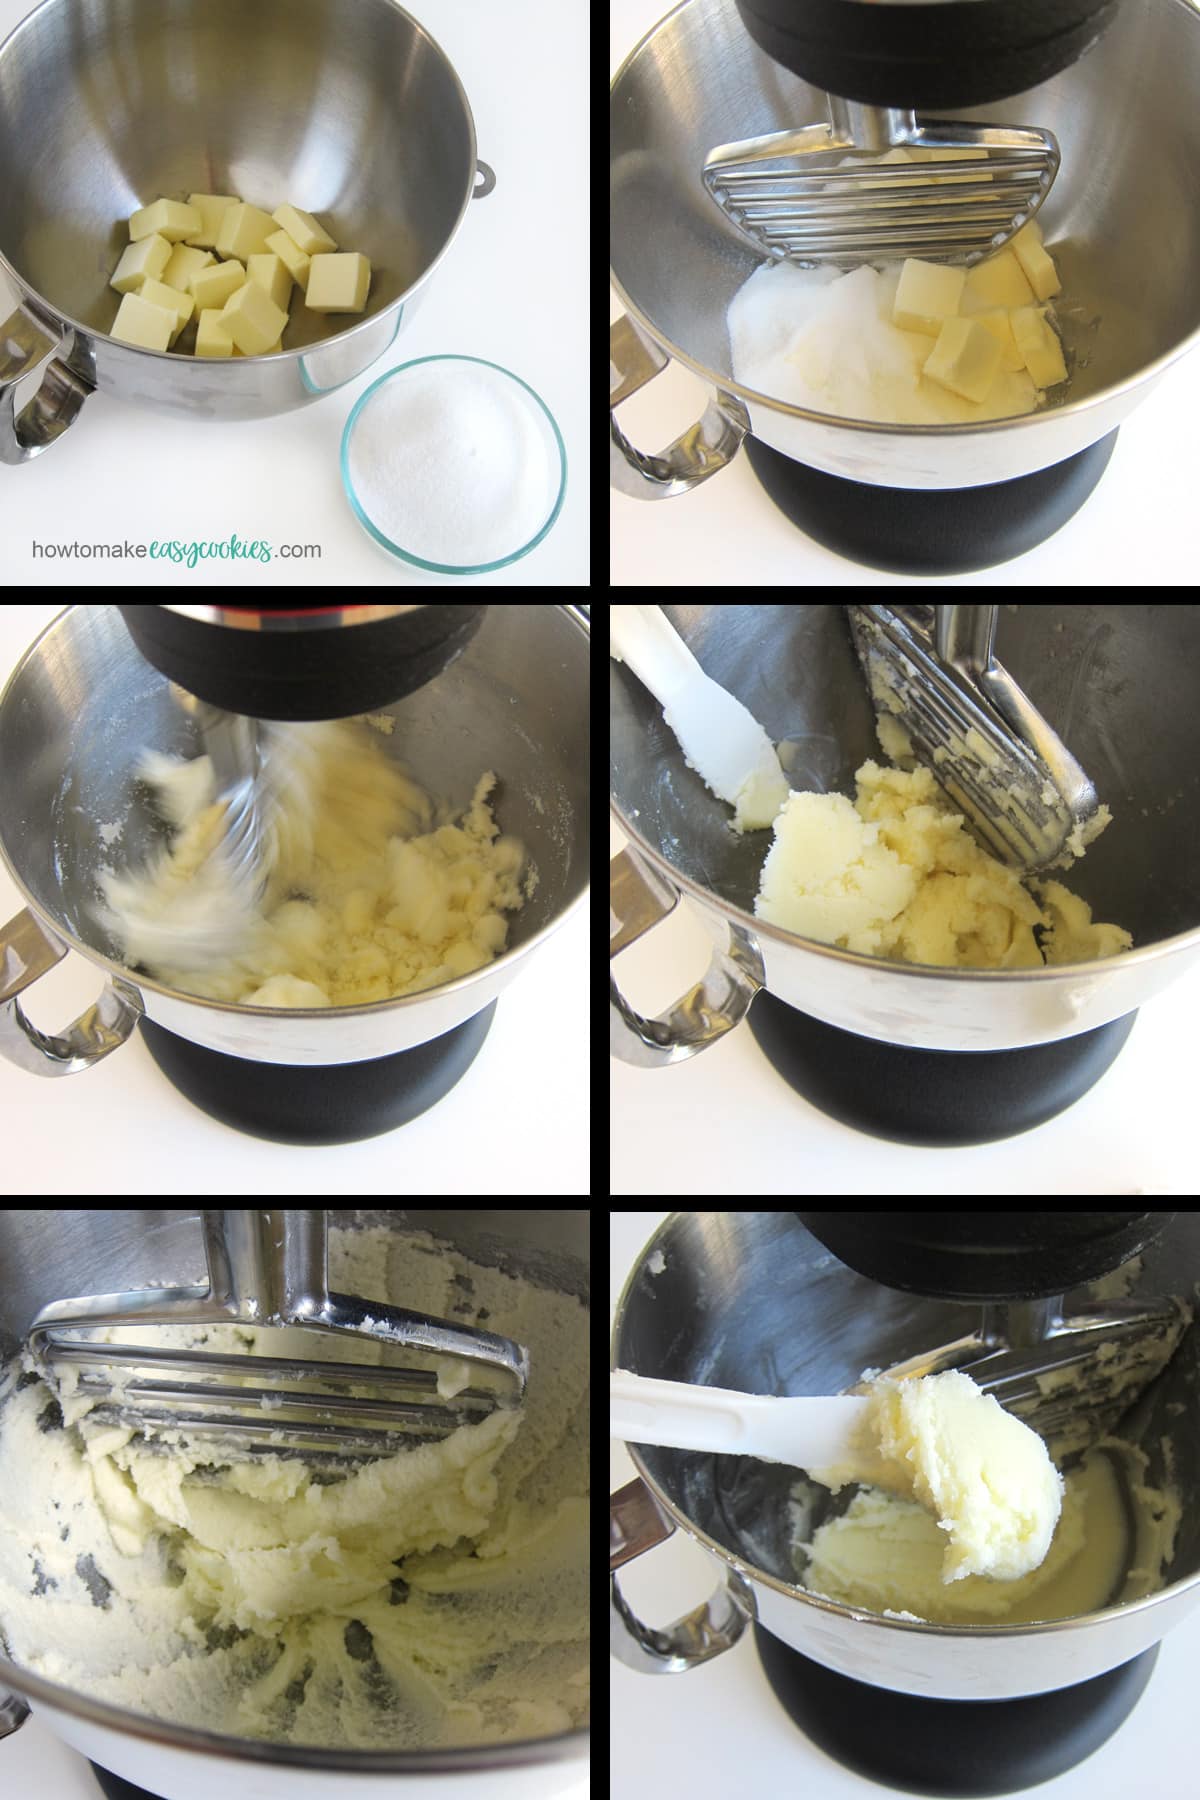
Creaming the butter and sugar:
Once your butter has softened just enough (press your finger into it to see if it leaves an indentation), add the sugar to the mixing bowl and beat on medium speed for 2-3 minutes.
You want the sugar to dissolve and the mixture to become lighter in color.
Do not overmix the butter and sugar. Overmixing will cause your butter to get too warm which enhances spreading. When making cut-out cookies, you don't want your cookies to puff up and spread.
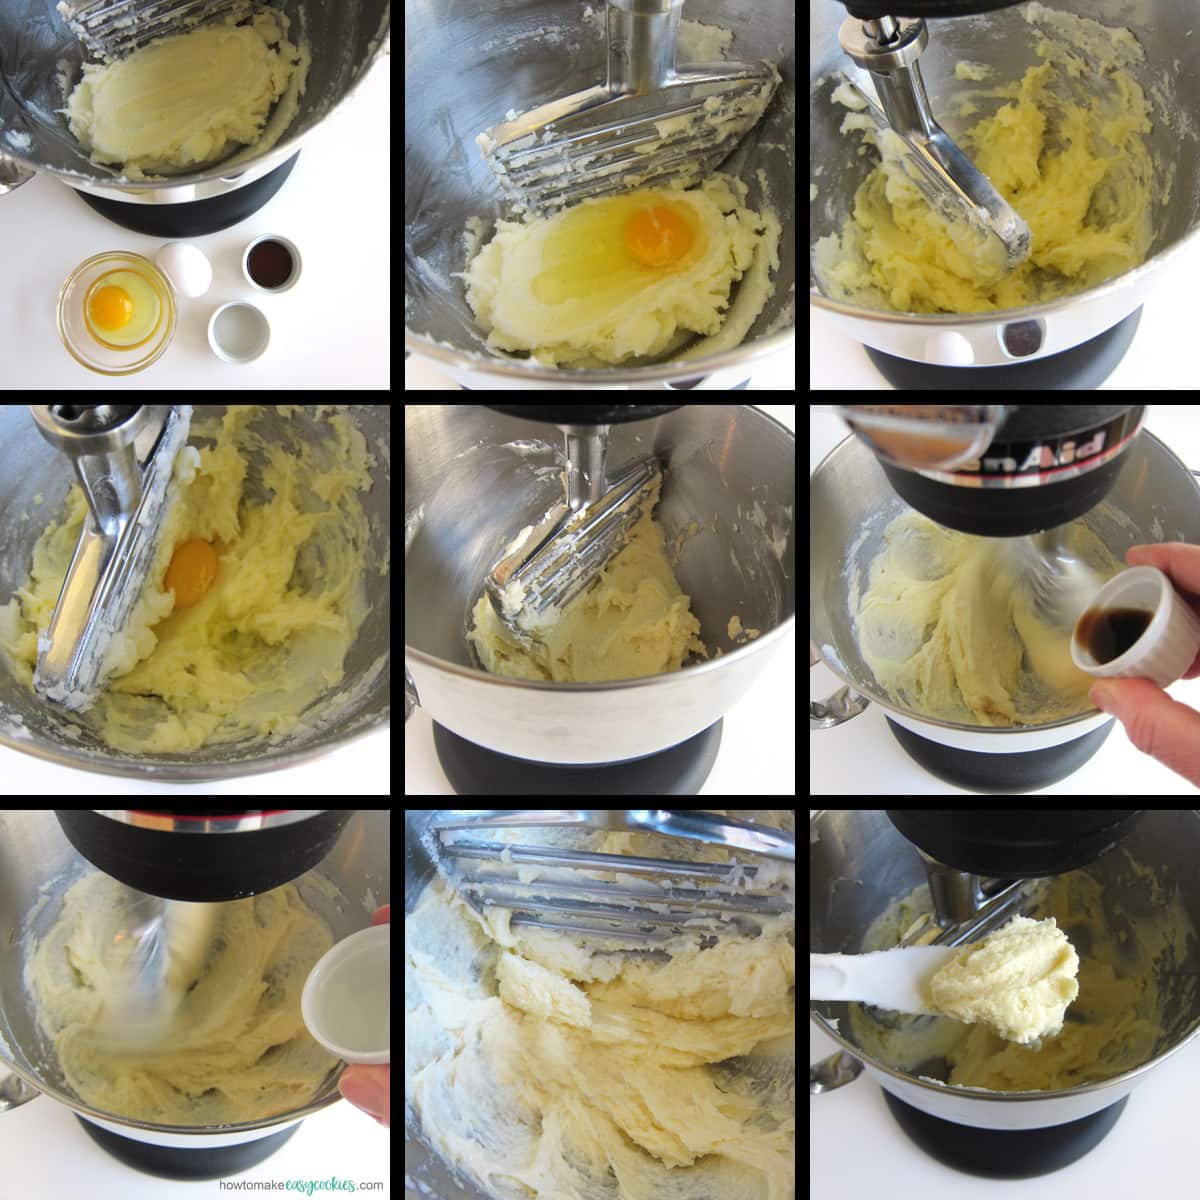
Adding eggs and flavorings.
It's best to add your eggs one at a time so they incorporate fully into the creamed butter and sugar. Just cream the dough until each egg is incorporated.
You do not want to overmix the dough once you add the eggs or you will incorporate too much air into the dough. This can cause your cookies to bake with air bubbles.
Mix in your vanilla and almond extract and beat until smooth.
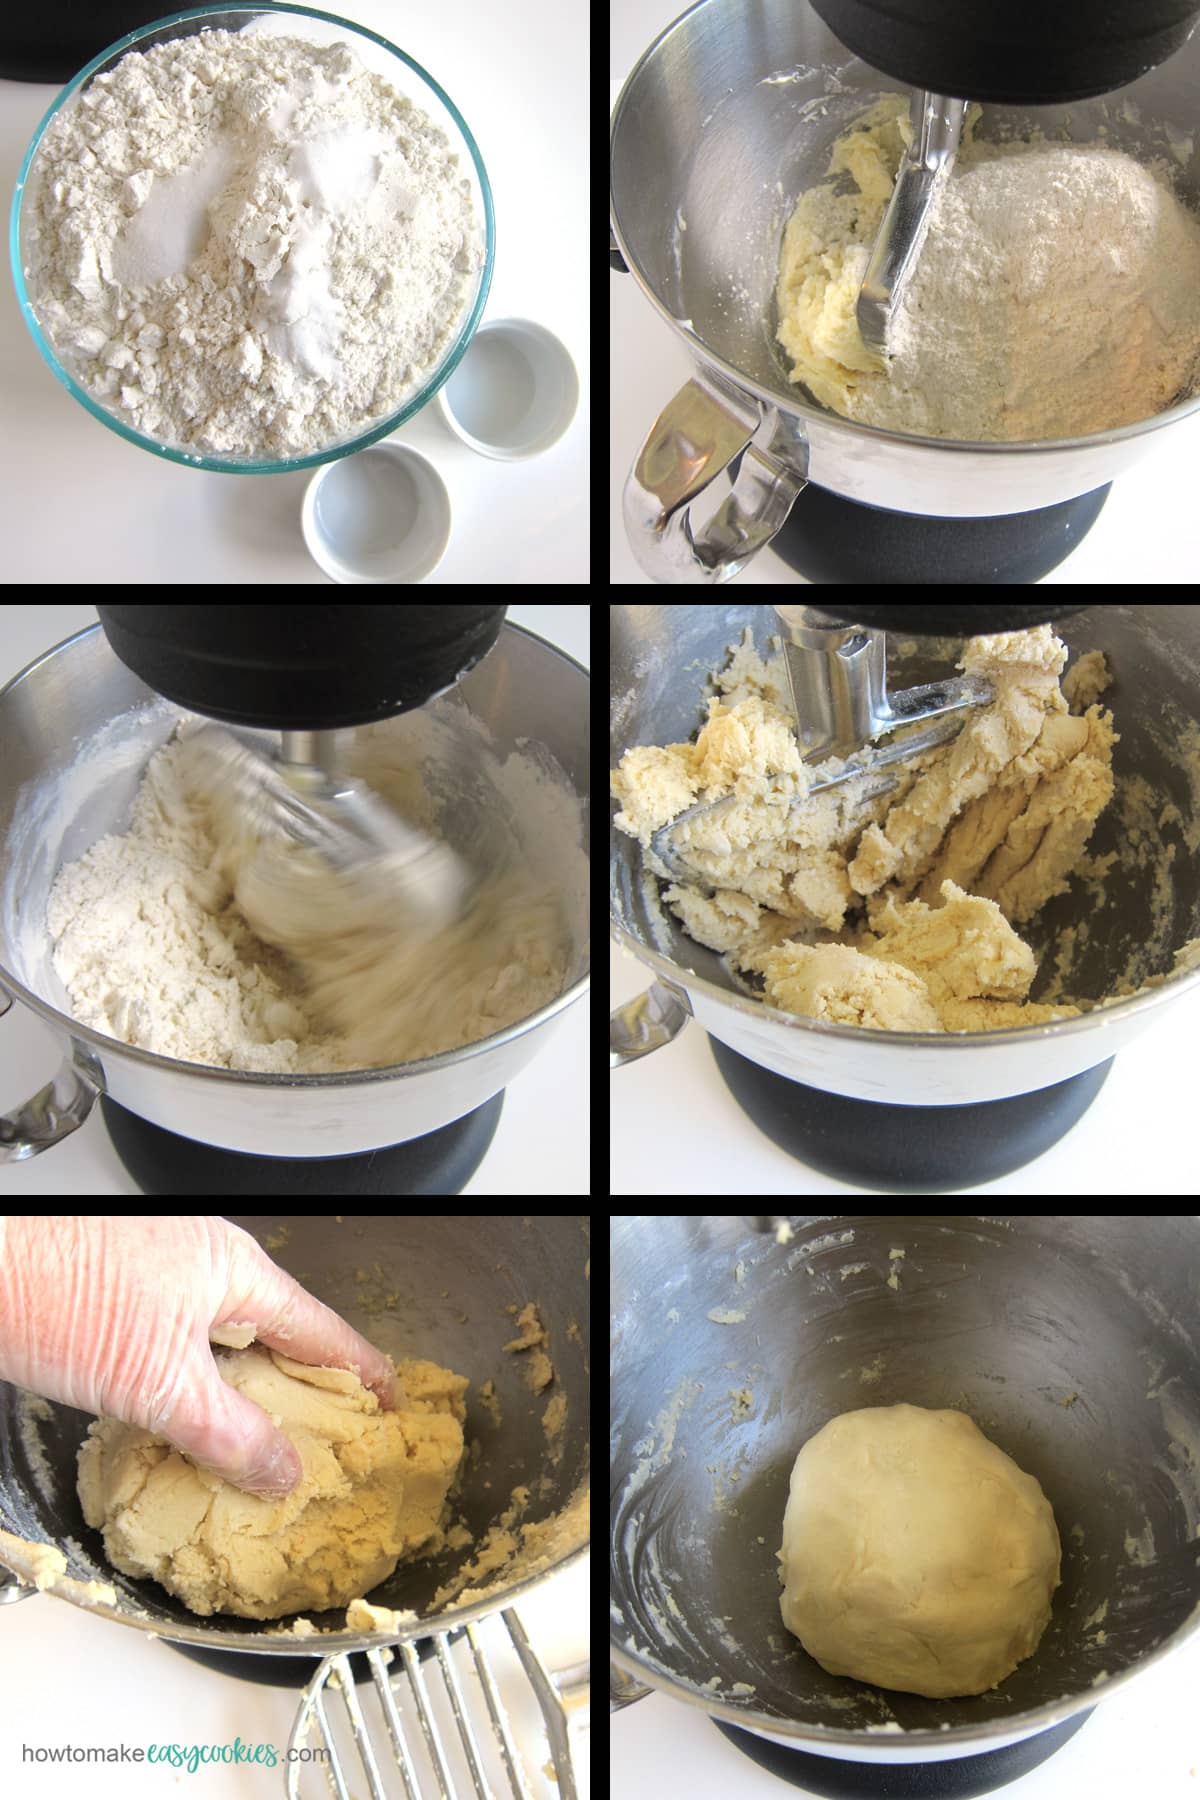
Add the flour, baking powder, and salt.
It's important to blend the dry ingredients together before mixing them into the cookie dough so that you don't end up with a pocket of salt or baking powder in one of your cookies.
Then, mix it into the wet ingredients just until the dough comes together. If you overmix dough once the flour is added, you will develop too much gluten which will cause your cookies to be rubbery and tough.
Should I chill the cut-out sugar cookie dough?
This sugar cookie dough does not need to be chilled before rolling but you can make this dough ahead and store it in the refrigerator for up to 3 days.
If you chill the dough, divide it in half, then flatten the dough into discs and place them in gallon-size zip-top bags before placing them in the refrigerator. Let the dough sit at room temperature for 10-15 minutes before rolling it out.
You can even freeze the dough for up to 3 months so you can be prepared for a busy day of cookie baking. Thaw frozen cookie dough in the refrigerator the night before you plan to bake your cookies.
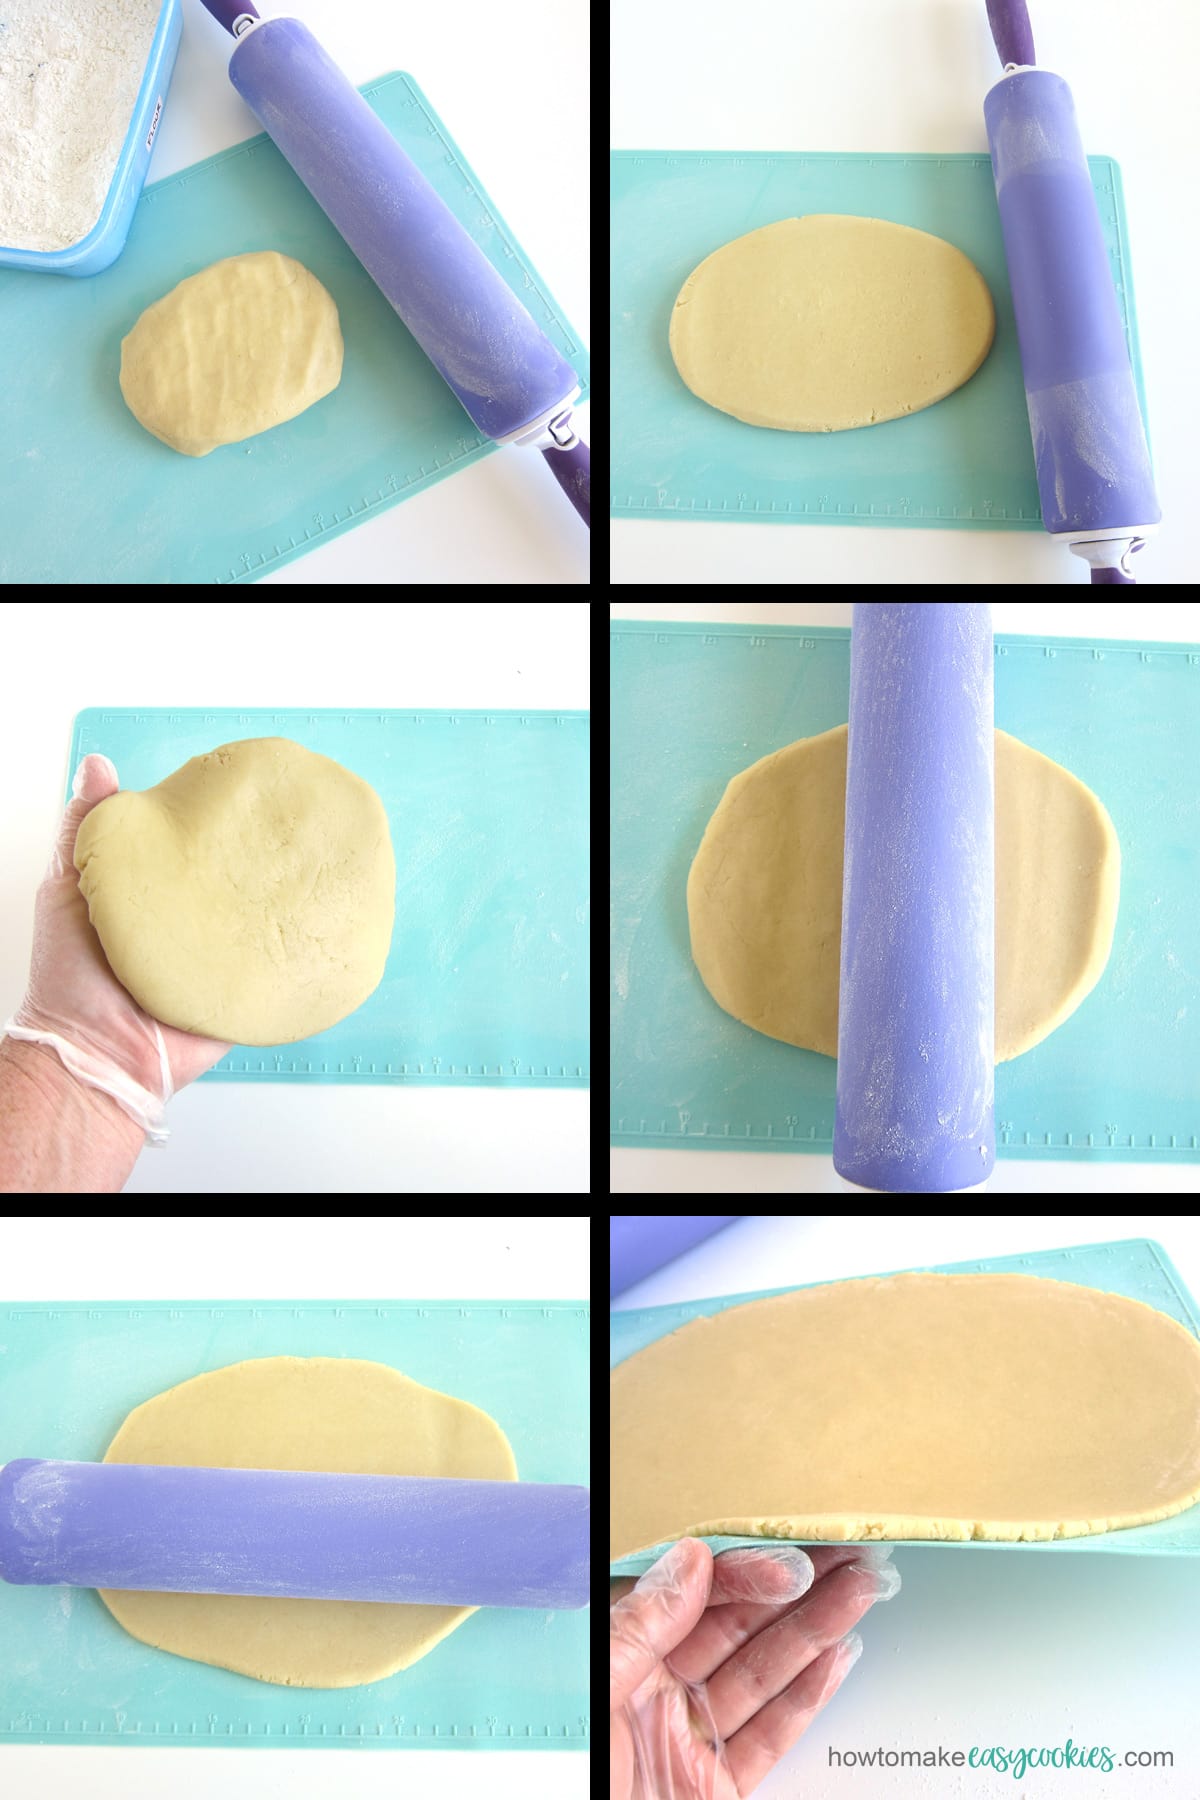
How to roll out the cookie dough?
Lightly dust a countertop or preferably a silicone mat with flour. You can use very little flour if you roll your cookie dough onto a non-stick silicone mat.
Also, sprinkle some flour on your rolling pin then rub it in.
Flatten the dough into a 1-inch thick disc and place that on the counter or mat. Begin to roll out the dough, going across the dough in both directions.
I like to pick up the dough and flip it over midway through (dusting the counter or mat again with flour) to ensure the dough doesn't stick.
Roll out the cookie dough to ¼-inch thickness.
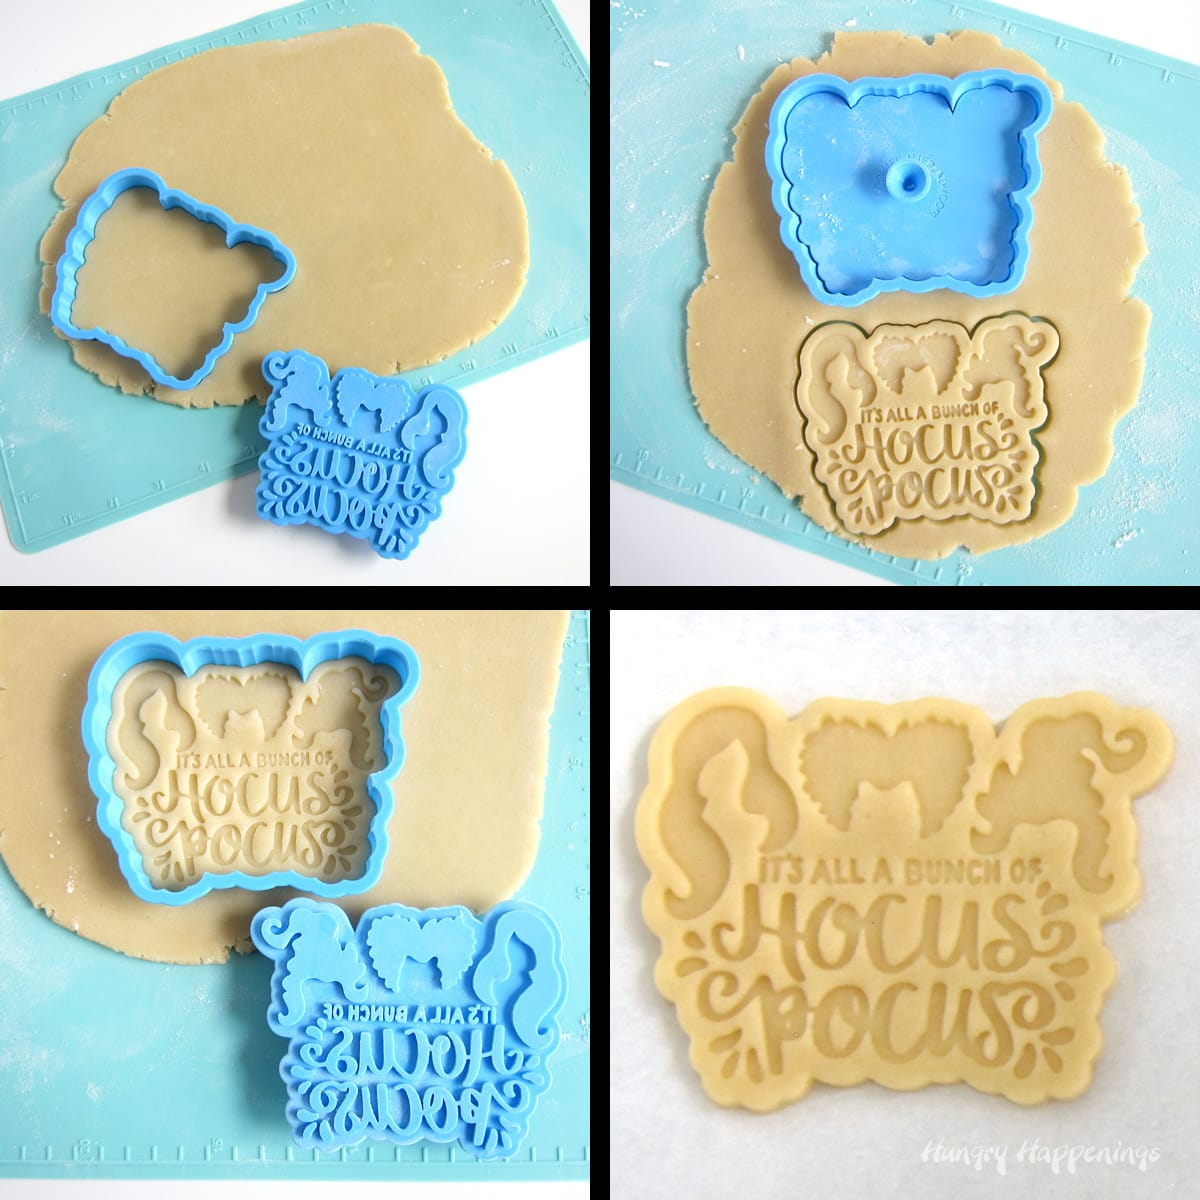
Where to get a Hocus Pocus cookie cutter & stamp?
I purchased my Hocus Pocus Cookie Cutter & Stamp from Amazon. The seller offers several different size cookie cutters. Knowing that I wanted to paint my cookies, I opted for a 4.5-inch wide by a 3.64-inch tall cookie cutter. My cookies were quite large but they were easy to paint.
You could also use the 3 ½-inch wide or even a 6-inch wide cutter if you plan to paint the cookies. The lettering in the 2 ½-inch wide cutter might be a bit challenging to paint but it would work great if you don't plan to paint the cookies.
Hocus Pocus cut-out cookies.
To cut the cookies, press the cookie cutter into the dough. Then, dip the stamp into flour, tap it a few times on the counter to remove any excess flour (make sure no flour is stuck in the stamp), then press the stamp into the dough.
Lift the stamp off of the cookie dough, then remove the cookie cutter. If you used a silicone mat, you can freeze the cookies on the mat for about 5 minutes then easily peel them off the mat before placing them on parchment paper-lined (or silicone mat-lined) baking trays. These cookies will hold their shape beautifully.
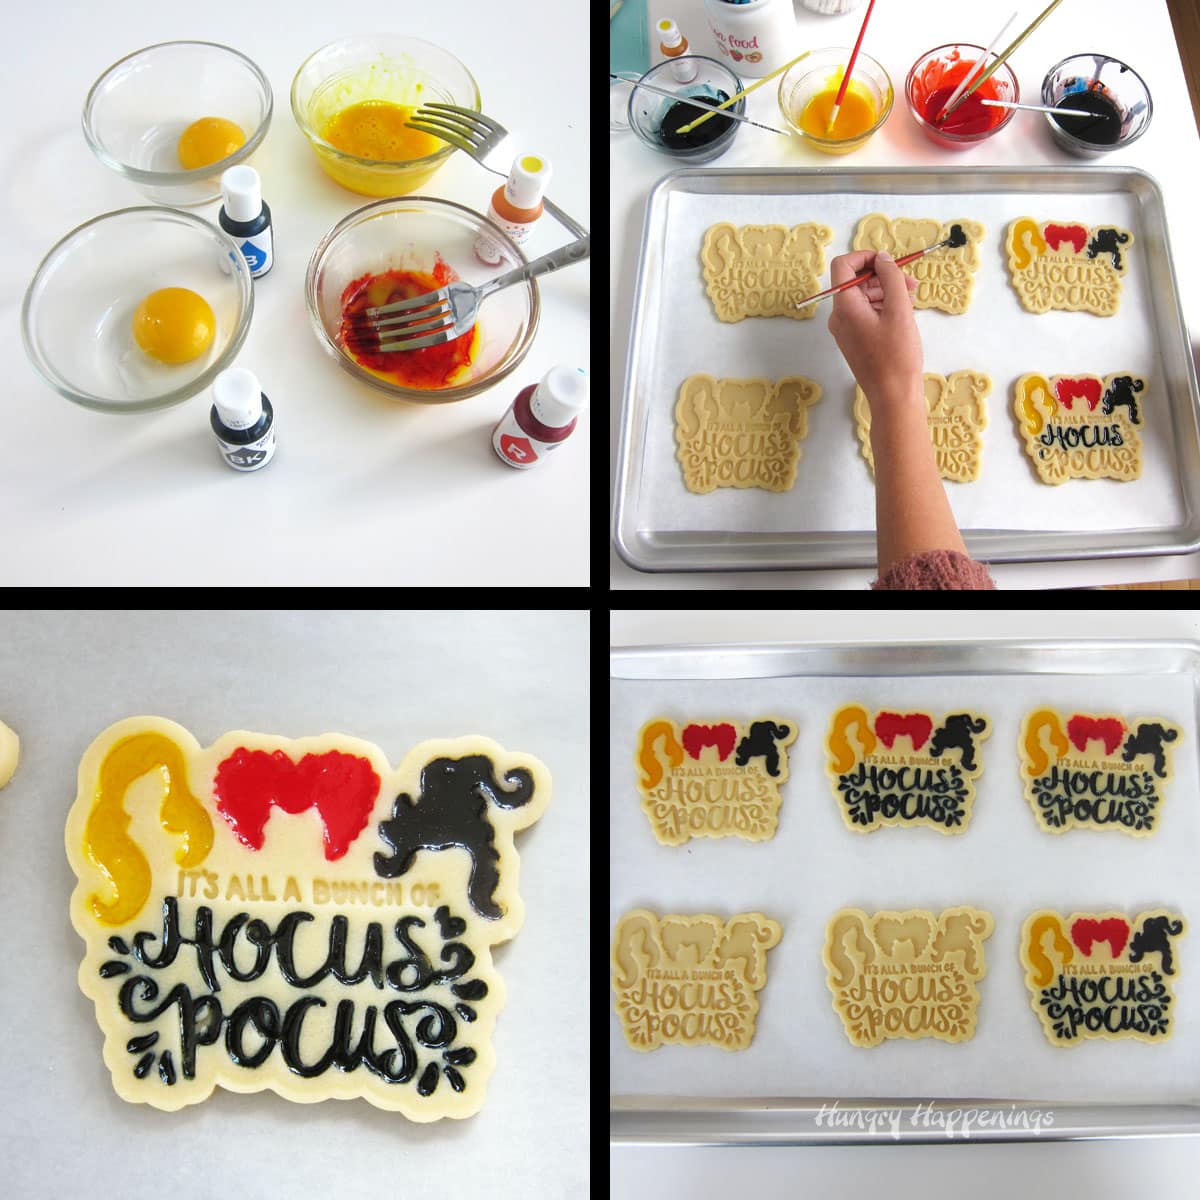
How to make cookie paint?
Separate an egg yolk from the egg white. Discard or save the egg whites for another recipe.
Place an egg yolk in a small bowl and add one drop of food coloring. Stir and evaluate the color. Add more color if needed.
Do not use egg white or whole eggs to make your paint or your cookie paint will be too runny.
If your color is too yellow, add a tiny drop (using a toothpick) of purple coloring to offset the yellow tone.
Hand-paint your cookies.
Use food-use-only paint brushes to paint designs onto your cookies. When you use a cookie stamp, adding a design is super easy. You basically color the indentations.
To make these Hocus Pocus cookies, paint Winifred's (Bette Midler) hair red/orange, Sarah's (Sarah Jessica Parker) hair yellow, and Mary's (Kathy Najimy) hair purple or black.
Then, if desired, paint the "Hocus Pocus" letters black or any color you like. I didn't bother painting the tiny "it's all a bunch of" letters. They were just too small to bother with but they still showed up well once the cookies were baked.

If you don't want to fuss with hand-painting your Hocus Pocus cookies, just skip that step altogether. The cookies look (and taste) great without the paint.
How does cookie paint taste?
I was amazed at the lack of flavor in the cookie paint. When I bit into a painted cookie, I couldn't detect anything other than the flavor of the sugar cookie.
Some food coloring has more flavor than others though. I used Wilton Color Right Food Coloring and Americolor Food Coloring and they worked great.
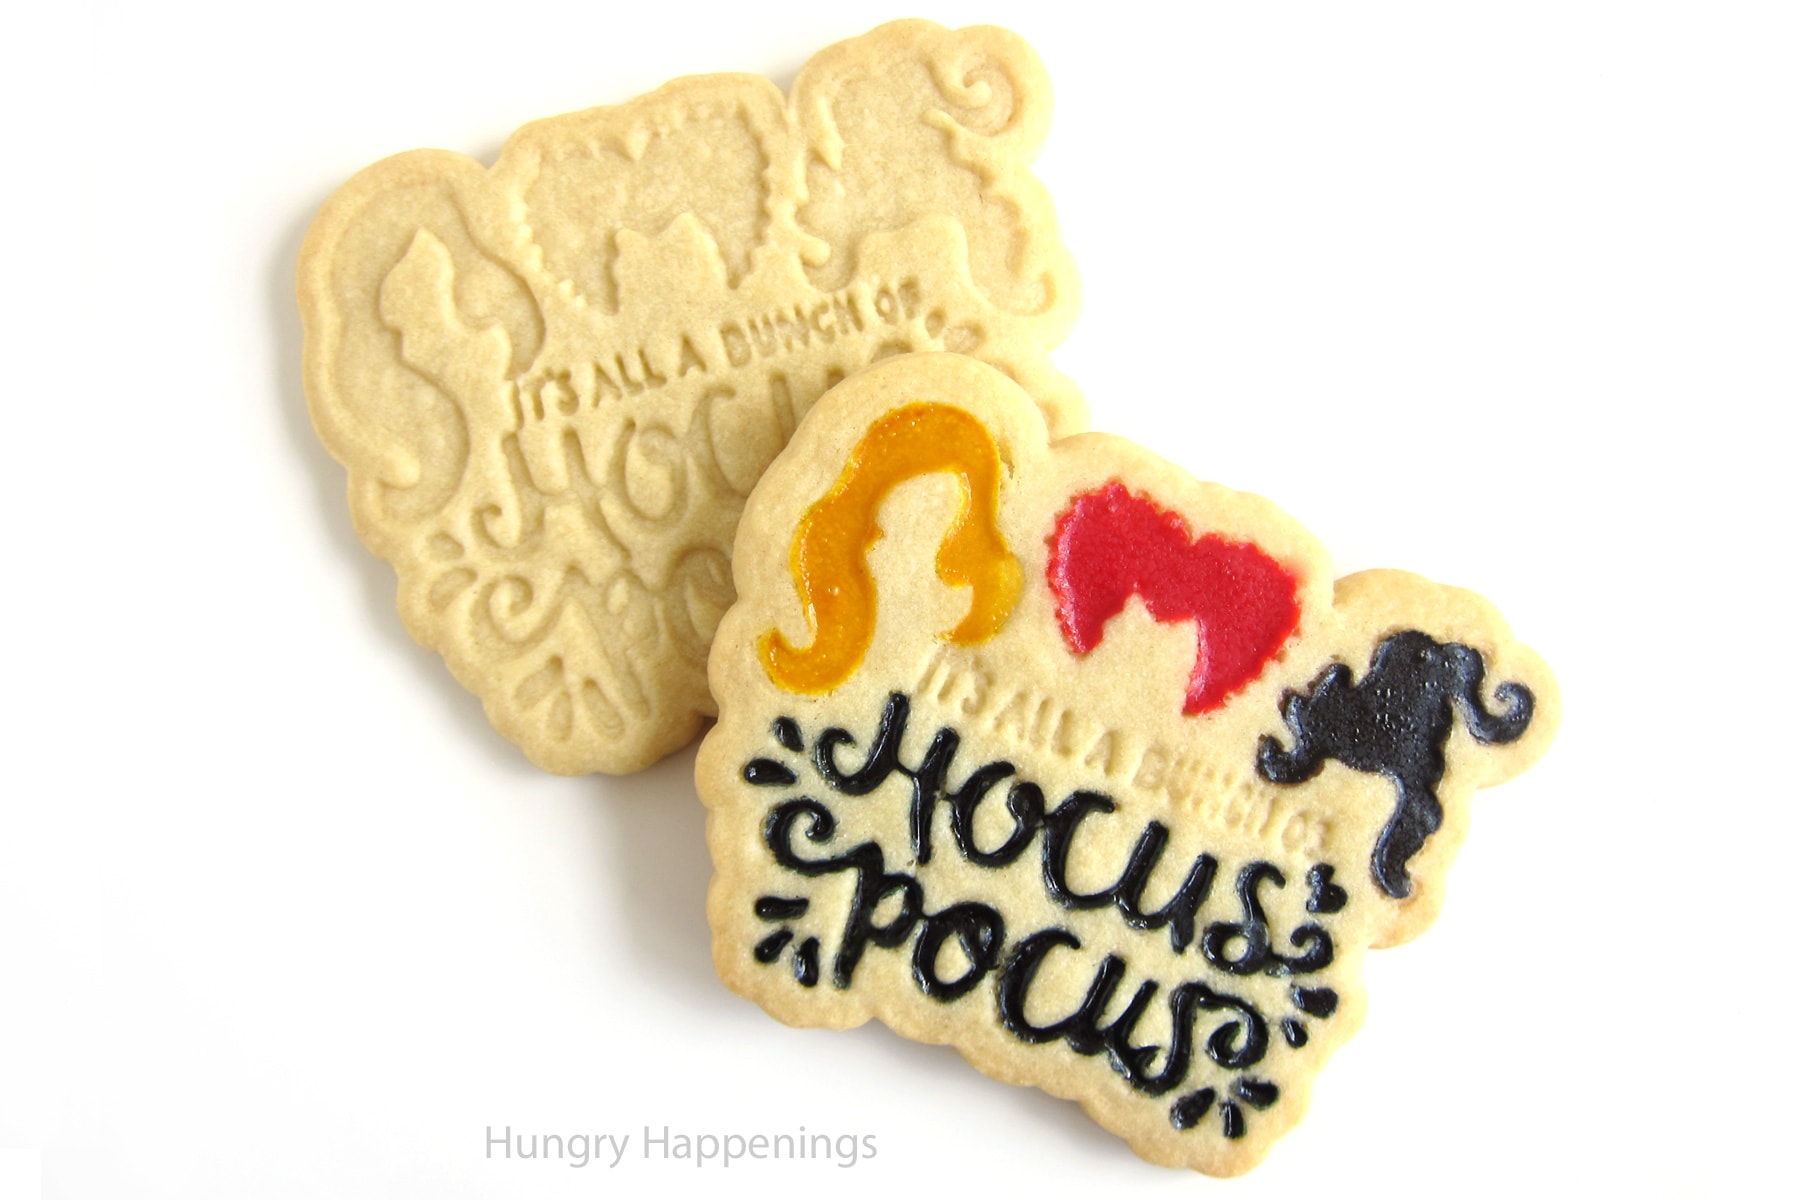

These colorful hand-painted Hocus Pocus Cookies will enchant your family and friends this Halloween. Have fun making, decorating, and eating these magical cut-out sugar cookies.
- 512 grams all purpose flour (4 cups)
- ½ teaspoon salt
- ¼ teaspoon baking powder
- 1 cup (2 sticks) unsalted butter, softened slightly
- 1 ½ cups granulated sugar (301 grams)
- 2 large eggs, at room temperature
- 1 ½ teaspoons pure vanilla extract
- ¾ teaspoon almond extract or lemon, peppermint, or butter rum extract
- 4 egg yolks
- food coloring (red, yellow, purple, and black)
-
Line your baking trays with parchment paper or with silicone baking mats.
-
Blend together the flour, salt, and baking powder using a whisk or fork. Then, set aside until needed.
-
Cream the butter and sugar on medium speed for about 2 minutes if using a stand mixer and for about 3 minutes if using a hand-held mixer until creamy and lighter in color. Scrape down the bowl midway through mixing.
-
Add one egg at a time mixing each until incorporated.
-
Scrape down the bowl making sure everything is well mixed.
-
Pour in the vanilla and almond extract and mix just until incorporated.
-
Add the flour mixture and beat on low speed just until the dough comes together.
-
Then, use your hands to pull the dough together into a ball.
-
Lightly dust your countertop or a silicone mat with flour.
-
Roll ⅓rd of the cookie dough out to ¼-inch thickness.
-
Cut the sugar cookie dough using a Hocus Pocus cookie cutter.
-
Dip the cookie cutter stamp insert into flour then tap it on the counter a few times to remove all the excess flour.
-
Press the stamp inside the cookie cutter and into the cookie dough.
-
Lift the stamp off the dough then remove the cookie cutter.
-
Repeat cutting more cookies out of the dough.
-
Remove the excess cookie dough and roll it together with some of the other dough to use to make more cookies.
-
Use a thin metal spatula to lift your cookies off your countertop and place them about an inch apart on the lined baking sheets.
-
If you rolled your cookies out on a silicone mat, you can freeze them for 5-10 minutes, then easily peel them off the mat before placing them on the baking trays. This method keeps your cookies perfectly shaped!
-
Once the cookies have cooled, prepare the cookie paint by mixing food coloring into an egg yolk.
-
Mix 1 drop of yellow food coloring into the egg yolk to make yellow cookie paint.
Mix 1-3 drops of red food coloring into the egg yolk to make red/orange.
Mix 1 drop of purple food coloring into the egg yolk to make purple paint.
Finally, add 1-5 drops of black food coloring to make black cookie paint.
-
Use food-use-only paint brushes to paint the egg yolk paint into the indentations in the cookie. Paint Sarah's hair yellow, Winefred's hair red/orange, and Mary's hair purple (or black). Then, paint the letters using black.
-
Chill the painted cookies in the refrigerator for 15-30 minutes. This will ensure they maintain their shape while baking.
-
While your cookies are chilling, preheat your oven to 350° Fahrenheit (177° C).
-
Bake the cookies for 12-16 minutes, depending on the size cookie cutter you used. Bake until the tops no longer look shiny and wet and the edges have set. For crispier cookies, bake until the edges become golden brown.
-
Allow the cookies to cool on the baking sheet for 5-10 minutes, then move them to a cooling rack to cool completely. For crispier cookies, just cool them on the baking tray.
-
Serve and enjoy!
Storage
Store your hand-painted Hocus Pocus cookies in an airtight container at room temperature for up to 3 days.
Freeze the cookies in an airtight container or zip-top bag for up to 6 months.
Measuring Flour
It's best to weigh your flour in order to get the most accurate measurement. If you do not have a kitchen scale, spoon the flour into your measuring cups, then scrape across the top of the cup using a straight edge to remove the excess flour.
Softening Butter
Soften the butter until it is just soft enough to press your finger into it leaving an impression. To soften butter quickly, cut it into small tablespoon-size pieces, and set them in a single layer in the mixing bowl for about 20 minutes. They should be ready then.
Baking Cookies
For even baking, bake one tray at a time on the middle rack and rotate the pan halfway through the baking cycle.
Cookie Paint
Start by adding 1 drop of food coloring to your egg yolk, then add more as needed. To dull the yellow tone add a tiny drop (using a toothpick) of purple to your colored egg yolk. Do not mix in any egg white or your paint will be too runny.
More Halloween Cookie Recipes
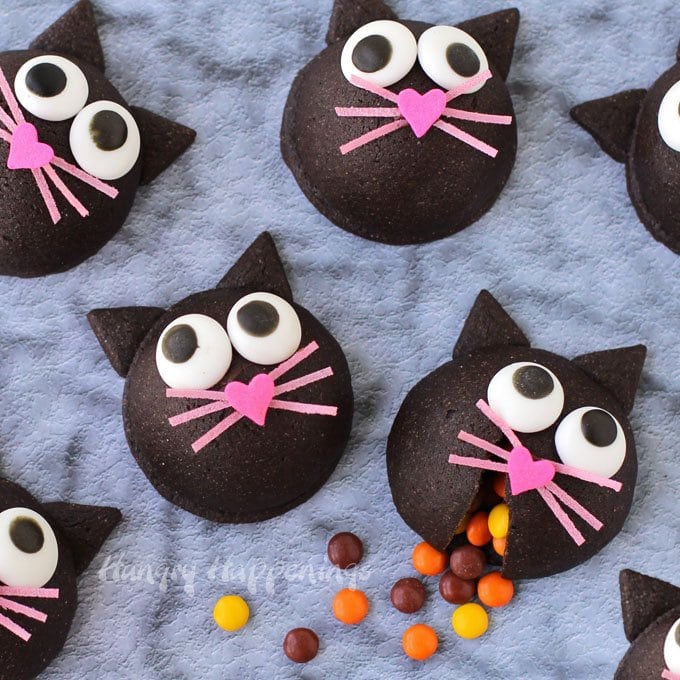

- Candy-filled Black Cat Cookies
- Candy-filled Cauldron Cookies
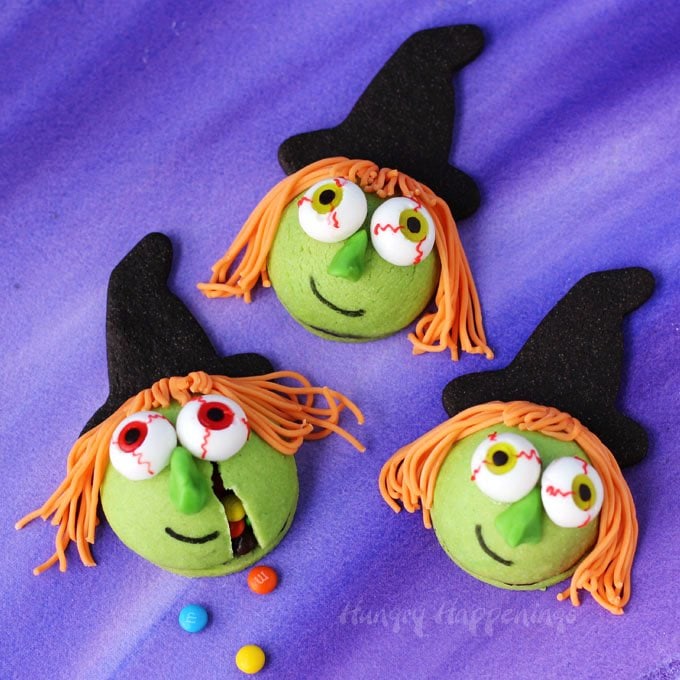
- Witch Cookies
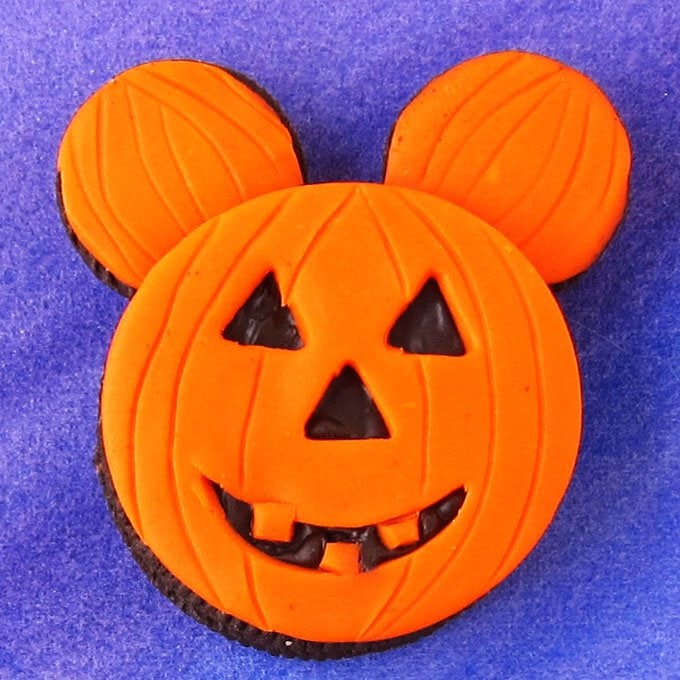
- Mickey Mouse Jack-O-Lantern Cookies

- Spider Oatmeal Raisin Cookies
- Peanut Butter Cookie Pumpkins
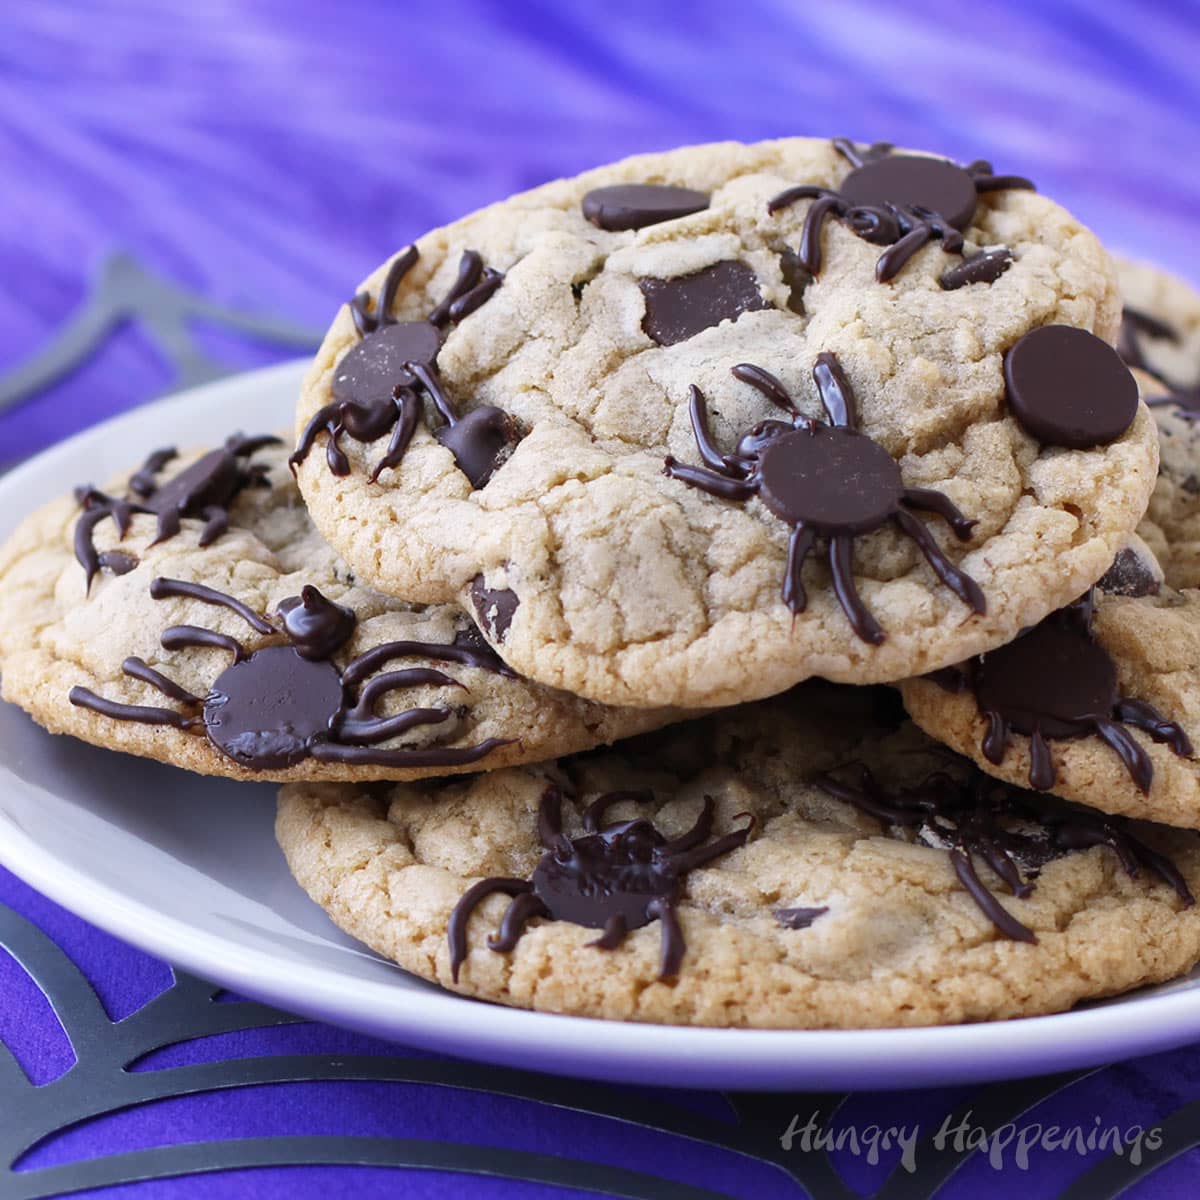
- Spider Chocolate Chip Cookies
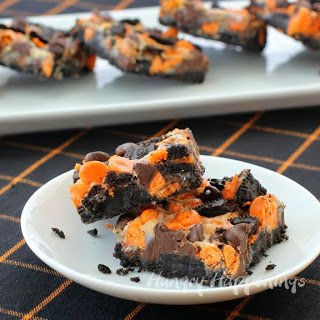
- Halloween Magic Bars

- Banana Split Bars – A Fun and Easy Summer Dessert - March 4, 2026
- Pineapple Fudge (No Candy Thermometer Needed!) - March 4, 2026
- No-Bake Peanut Butter Pie Recipe - March 3, 2026


Please leave a comment.