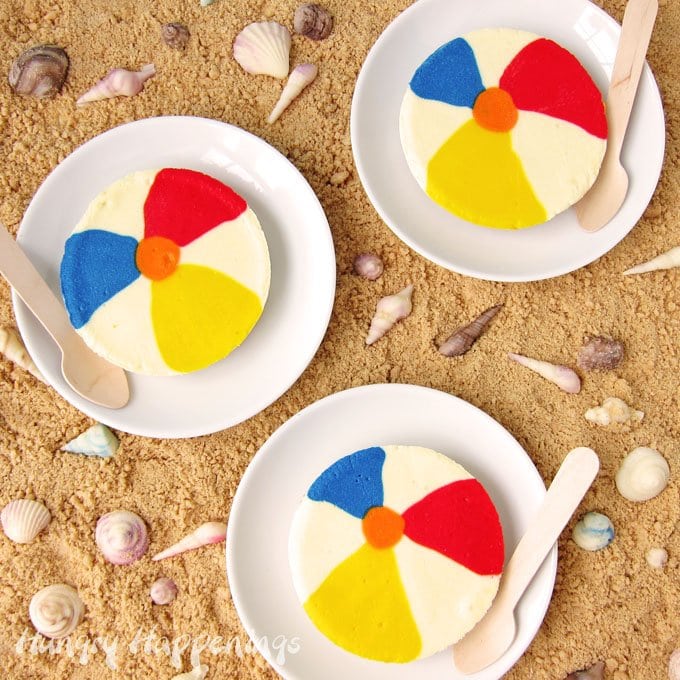
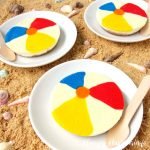
Make a splash at your pool party by serving these colorful Cheesecake Beach Balls. Each individual dessert is decorated using colored cheesecake filling to look like a festive beach toy.
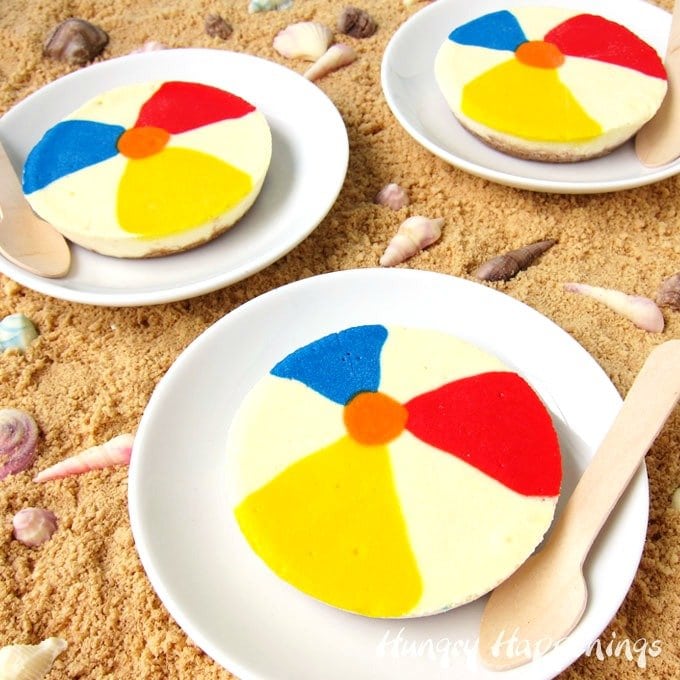
These little cheesecake beach balls were so popular at our beach-themed graduation party.
Even though there were so many treats for the party guests to choose from, including Sugar Coated Sea Horse Cookies, Chocolate Beach Pails, and Butterscotch Crunch Starfish, the beach ball-themed decorated cheesecakes were gobbled up quickly.
Cheesecake is definitely at the top of the dessert favorites list for my family so it was no surprise to see their popularity at the party.
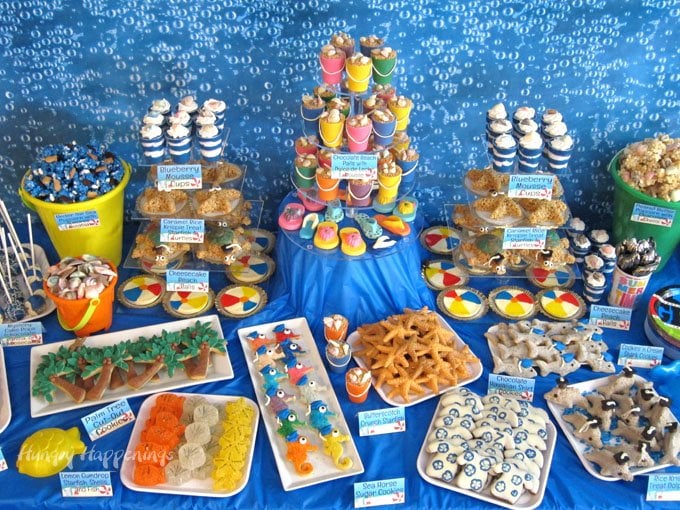
Can you imagine having all these amazing treats to choose from at a party? People went nuts over the Under the Sea Gumdrops, Caramel Rice Krispie Treat Starfish, and Chocolate Sea Shells.
The table was filled with individual-sized desserts. For large crowds at parties, I prefer to make small desserts that guests can just pick up. I'm not a fan of spending time during a party cutting up a cake or cheesecake.
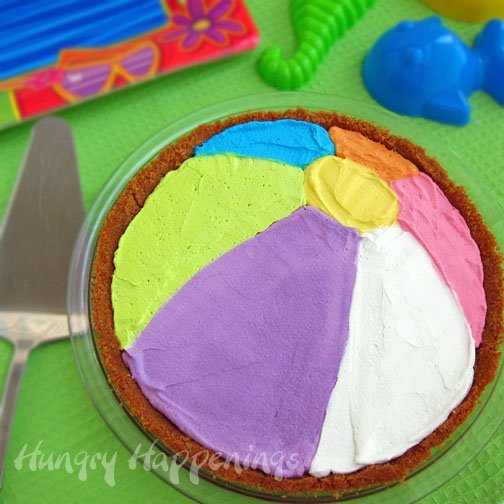
If you are having a small crowd and would prefer to make a single cheesecake decorated to look like a beach ball check out the recipe instructions for my Decorated Daisy Cheesecake.
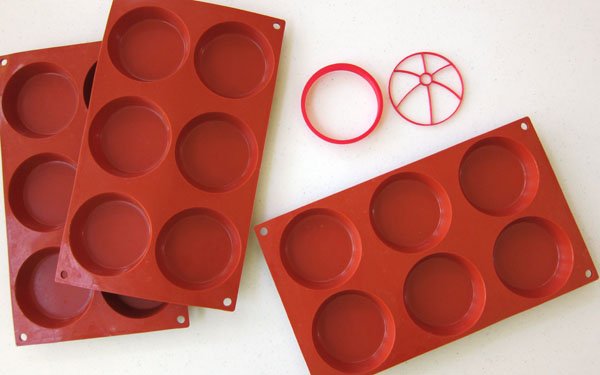
Muffin top silicone molds and cheesecake template.
If you plan to make these small cheesecakes, you are going to need to get 3 silicone molds that each have six 3-inch round cavities that are about a ¾ inch deep.
If you are like me and need a little bit of help getting the panels on your beach ball-shaped perfectly then you might also want to invest in a 3-D printed beach ball cookie cutter.
One piece of the beach ball cookie cutter is simply a circle cutter, the other has the outline of the beach ball. You can use the insert as a guide while piping the beach ball design onto the cheesecake.
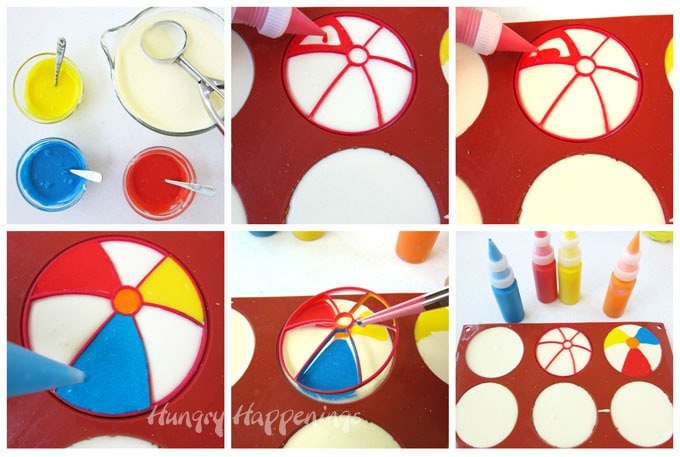
Fill the molds and add colored cheesecake filling.
To make the cheesecakes, start by making graham cracker crusts in the bottom of each round cavity (sorry, I didn't take a picture of that step,) then spoon in some plain filling, and decorate.
Color small amounts of the cheesecake filling with the colors you'd like on your beach ball, pour them into small squeeze bottles (or use pastry bags,) and pipe on your design.
You can set the cookie-cutter insert on top of the cheesecake filling and pipe in your first color. Then skip a panel, leaving it white, and pipe in another color. Repeat, creating three colored panels. Then pipe an orange circle in the center.
Use kitchen tweezers to lift the insert up carefully. Wash the insert and you are ready to decorate another cheesecake.
This method works well, but you have to be very careful when lifting the insert so that you don't smear your design.
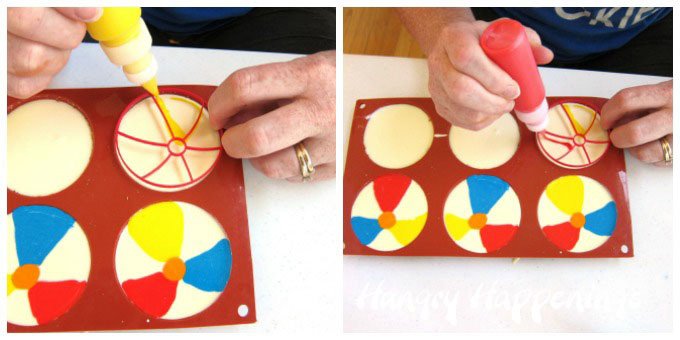
Add the colors to the beach balls.
To avoid that, you can simply hold the insert just above the cheesecake filling and pipe an outline, then move the insert and fill in the colored panel.
You don't have to use the insert at all, however. You can simply pipe on the design freehand.
Once you get all of the cheesecakes decorated you are ready to bake them.
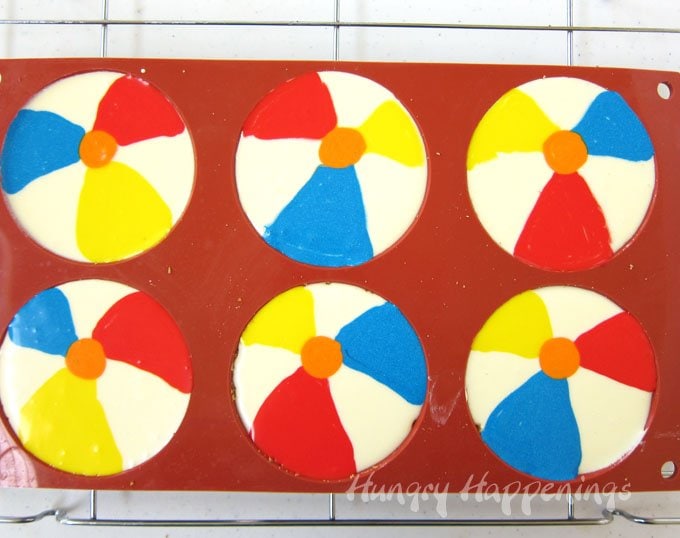
To keep your cheesecakes smooth and creamy, I suggest baking them in a water bath.
To do this, you'll want to set the molds in a rimmed baking sheet on a rack in your oven, then fill the baking sheet with a little less than ½ inch of boiling or very hot water. You want just enough to go halfway up the sides of the molds.
Notes:
- If you have cooling racks that are just a bit larger than the mold, you can set them on the cooling rack, then place the rack and mold into the baking sheet. This will make removal from the very hot water a lot easier.
- If you use an aluminum baking pan the water may etch the pan turning it a darker color.
- You can skip the water bath altogether if you want. Just be sure to keep an eye on your cheesecakes at about the 12-minute mark. If you over-bake them, they will crack.
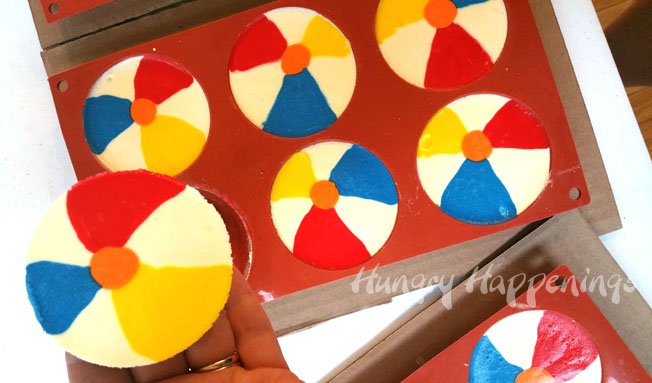
Bake.
If you look at the picture above, you will notice that some air bubbles came to the surface and popped, leaving dimples in some of the cheesecakes (see the cheesecake on the lower right side of the mold.) There wasn't much I could do about it after they baked, unfortunately.
Usually, I will tap my pan or mold to remove air bubbles before I bake them. I forgot.
But, overall, they looked great. I just set the dimpled ones in the back on my display and no one really noticed.
Supplies
You can find items needed to make these Cheesecake Beach Balls on Amazon.com. I earn a small commission when you use any of the Amazon links in this post at NO extra cost to you.
 Walfos Silicone Whoopie Pie...Shop on Amazon
  Beach Ball Cookie CutterShop on Amazon
  Americolor Soft Gel Paste F...Shop on Amazon
  Americolor Soft Gel Paste F...Shop on Amazon
  AmeriColor, Royal Blue.75 O...Shop on Amazon
  Americolor Soft Gel Paste F...Shop on Amazon
  Excellante Half Wire Grates...Shop on Amazon
  Nordic Ware Natural Aluminu...Shop on Amazon
Related Recipes
If you want to make more beach ball-themed treats, check out these recipes.
Be sure to check out all of my Summer Fun Recipes for more ideas.
Recipe
- 1 ½ cups graham cracker crumbs
- 6 tablespoons butter melted
- 3 8 oz. blocks cream cheese, softened
- 1 cup sugar
- 3 large eggs
- ½ cup heavy whipping cream
- 1 teaspoon vanilla
- red. blue yellow, and orange food coloring
-
Preheat oven to 325 degrees Fahrenheit.
-
Stir together graham cracker crumbs and melted butter.
-
Spoon a heaping tablespoon of crumbs into each of 18 round cavities in 3 silicone molds.
-
Press crumbs into an even layer.
-
Bake for 8-10 minutes until fragrant and golden brown.
-
Remove and cool completely.
-
Set molds on baking pans.
-
Beat cream cheese until light and fluffy.
-
Add sugar, eggs, heavy whipping cream, and vanilla and beat just to combine.
-
Spoon ⅓ cup of filling into a bowl and color it blue.
-
Repeat, coloring ⅓ cup red, and another ⅓ cup yellow.
-
Color 3 tablespoons of filling orange.
-
Tap the bowls on the counter several times to remove air bubbles.
-
Pour individual colors of filling into squeeze bottles.
-
Spoon the plain filling over top of each of the crusts, diving filling equally.
-
Pipe red, blue, and yellow beach ball panels onto the plain filling.
-
Pipe an orange circle in the middle of the cheesecake beach balls.
-
Set pans in oven.
-
Pour water into the pan, being careful not to pour any onto the cheesecake filling.
-
Bake for 16-22 minutes until the edges of the cheesecake look set. The center will still be jiggly.
-
Remove molds from water bath, set on a cooling rack, and cool for 30 minutes .
-
Freeze for at least an hour until firm enough to remove from molds.
-
Remove and push cheesecakes out of silicone molds.
-
Cover with paper towels and refrigerate until ready to serve.
Store your cheesecakes in the refrigerator for up to 3 days. You can also freeze them in a single layer in large zip-top freezer bags for up to 3 months.
- How to make peanut butter? - February 15, 2024
- OREO Penguins - December 20, 2023
- OREO Snowmen - December 20, 2023

Karen @ Sugartown Sweets
Everything looks so amazing at your party. I imagine you spent weeks/months putting this all together, much to the delight of your guests! I like your idea of making individual beach balls so you won't have one messy looking cut up ball cake. Perfect!
Beth
Thanks, Karen. I actually got all these treats done in two, very, very, busy weeks. I did nothing else and thankfully had help. These mini cheesecakes were some of the favorite creations and the guests loved them.
The Partiologist
I have that cutter and now I can add another use for it! These cheesecake beach balls are so much fun, the entire party looks fantastic!
Beth
Thanks, Kim. I love the cutter and had planned to use it to make cookies, but just had to make some cheesecakes and these worked out perfectly.