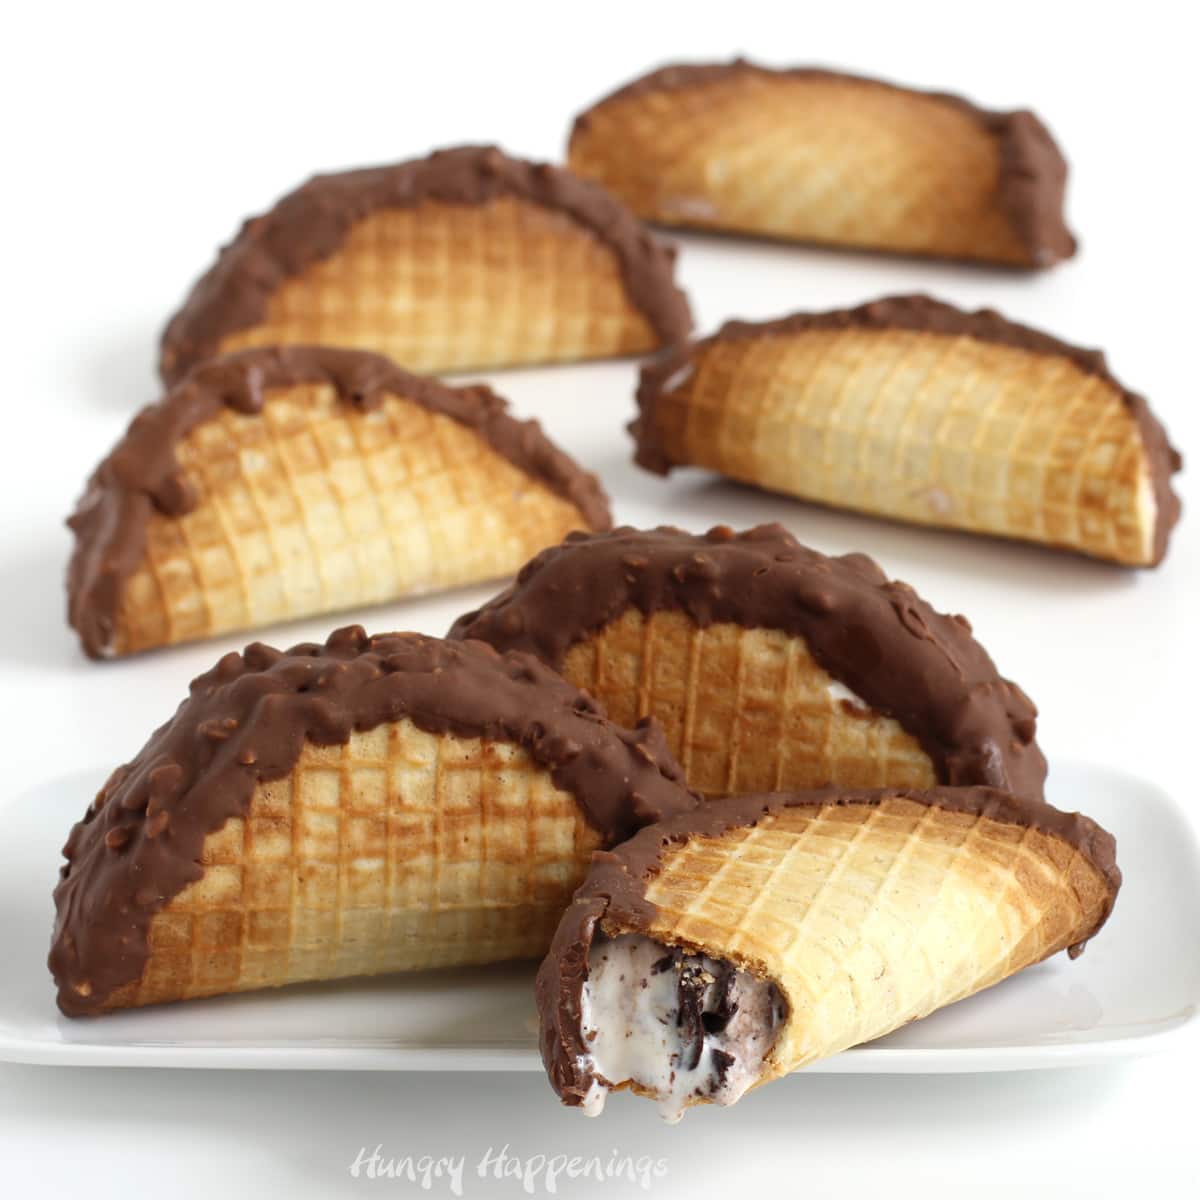
These copycat Choco Tacos will become a family favorite! Crispy waffle cones shaped into taco shells are filled with fudge ripple ice cream and are dipped in a blend of milk chocolate and peanuts.
I was so excited to share these homemade choco tacos with my friends and family. They are my new favorite ice cream dessert and I happily made this recipe several times to get it just right so I had 30 of them in my freezer. Everyone was happy that I shared!
To make these copycat choco tacos, I started by making homemade waffle cones. The recipe makes delicately crunchy cones with a wonderful caramel flavor.
Once filled with ice cream and stored in the freezer, the cones stay nice and crispy.
Just like the originals, I filled the waffle cone taco shells with fudge ripple ice cream. You can fill yours with your favorite ice cream but I highly recommend trying some filled with vanilla ice cream with fudge swirls. The combination of flavors is a winner!
Plus, the addition of milk chocolate and peanuts makes this dessert even more delicious.
Recipe

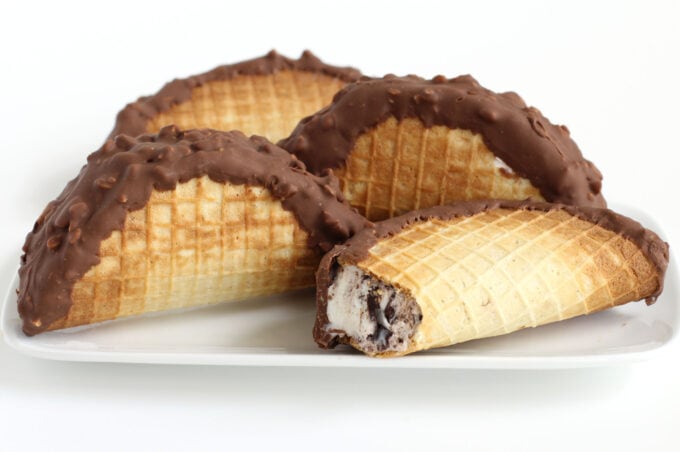
What happens when you combine a taco with an ice cream cone? You get these Copycat Choco Tacos®, a waffle cone taco shell filled with fudge ripple ice cream and a nutty peanut butter chocolate coating topping.
- ⅓ cup heavy whipping cream
- ½ teaspoon vanilla extract
- ¾ cup powdered sugar
- ¾ cup all purpose flour
- 1 ½ teaspoons cornstarch
- ⅛ teaspoon cinnamon
- 1 pinch of ground nutmeg
- ½ gallon fudge ripple ice cream
- 10 ounces milk chocolate
- ⅓ cup chopped peanuts
-
Whisk the heavy whipping cream and the vanilla until thickened but before it holds peaks. This will add air to your waffle batter making delicate waffle cones.
-
Sift the powdered sugar, flour, cornstarch, cinnamon, and nutmeg over the whipped cream.
-
Fold the dry ingredients into the whipped cream.
-
The batter will be very thick like sticky cookie dough.
-
Cover and let the batter rest at room temperature for 20 minutes.
-
Then, heat your waffle cone maker to medium-high. This will take 5-10 minutes depending on the waffle cone maker.
-
Scoop 1 ½ tablespoons of batter using a #40 medium cookie scoop onto the middle of the waffle maker.
-
Close the lid and the batter will flatten out.
-
Heat for 1 ½ – 2 minutes, depending on your waffle cone maker, until the waffle cone is deep golden brown. The cones will have a better caramelized flavor if you heat them until deep golden brown.
-
Remove the waffle cone cookie and set it on a paper towel.
-
Carefully fold it into a taco shape. The waffle will be very hot! You can fold it over a small round fondant roller or the edge of a tin-foil covered book to get nicely shaped tacos. You want the taco to have at least a 1-inch opening across the top.
-
Repeat the process making a total of 10 waffle cone taco shells.
-
Allow the taco shells to cool completely.
-
Set your carton of fudge ripple ice cream on the counter and let it soften for 10-20 minutes.
-
Scoop the ice cream into your taco shells filling them to the top edge.
-
Freeze after filling each taco shell and let the ice cream firm up for about 30-60 minutes.
-
Heat the milk chocolate for 20-second bursts of high power in the microwave, stirring after each, until melted. Or, use a double boiler set over low heat to melt your chocolate.
-
Stir the chopped peanuts into the melted chocolate.
-
Dip the top edge of your choco tacos in the melted chocolate and place back into the freezer. See notes below.
-
Once the chocolate has hardened, place the frozen tacos in an airtight container or wrap them in plastic wrap and keep them stored in the freezer for up to 3 months.
You can use a taco holder or the grid inside your freezer to keep your choco tacos upright while the chocolate is hardening or you can flip a cupcake pan upside down and set your tacos in between the cups to keep them upright.
Individually wrap each chocolate taco, once frozen, in plastic wrap and store in the freezer for up to 6 months.

- Banana Split Bars – A Fun and Easy Summer Dessert - March 4, 2026
- Pineapple Fudge (No Candy Thermometer Needed!) - March 4, 2026
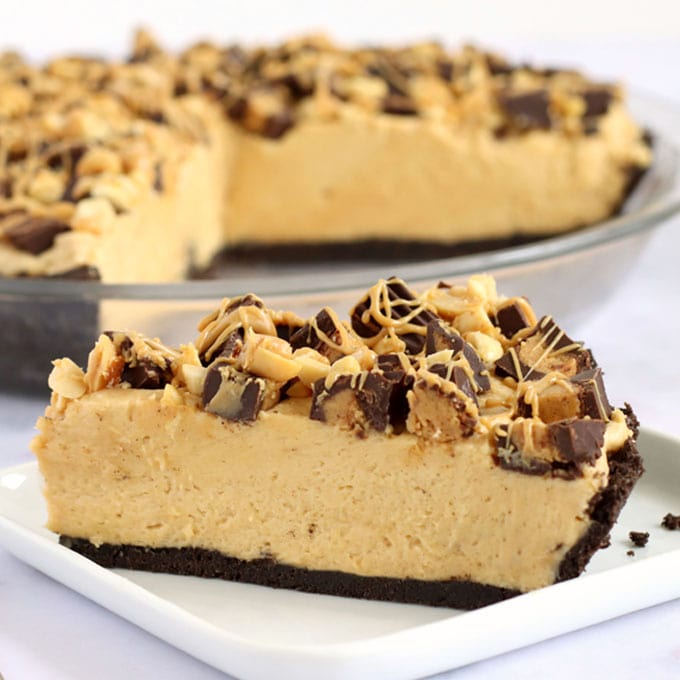
- No-Bake Peanut Butter Pie Recipe - March 3, 2026

Please leave a comment.