Turn a store-bought brownie mix into the coolest Day of the Dead dessert. It's so easy to create these Sugar Skull Brownies using a cookie stamp for your Dia de Los Muertos or Halloween Party.
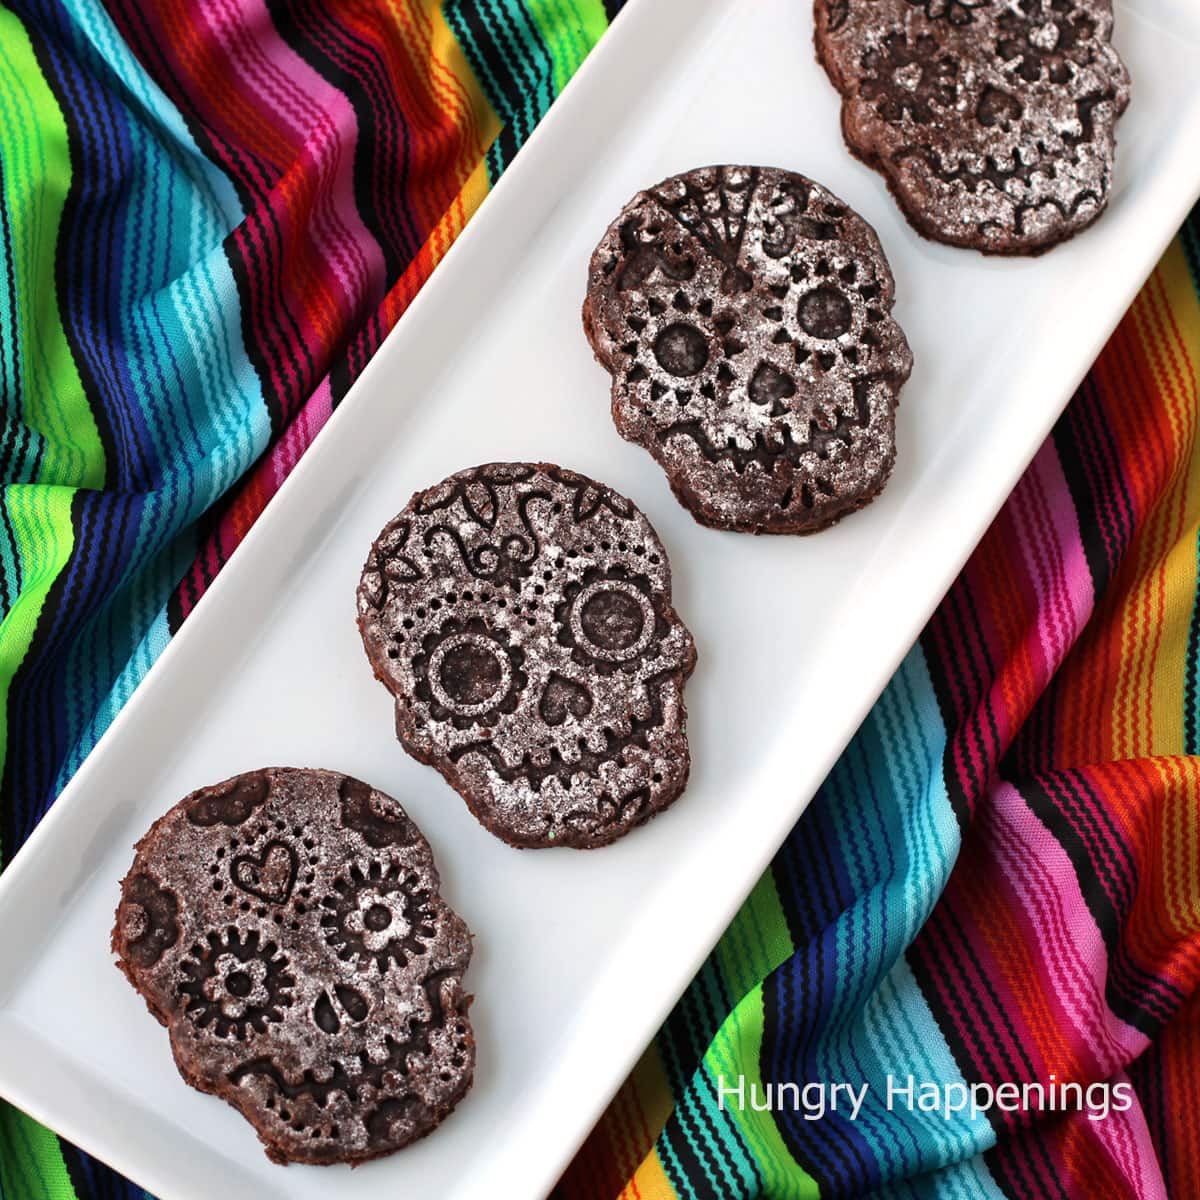
You are going to love how easy it is to make these decadent Sugar Skull Brownies for your Day of the Dead event or Halloween party. This post was originally published on October 29, 2013, but I wanted to update it and show you how you can make these fun skull-shaped brownies in a video tutorial.
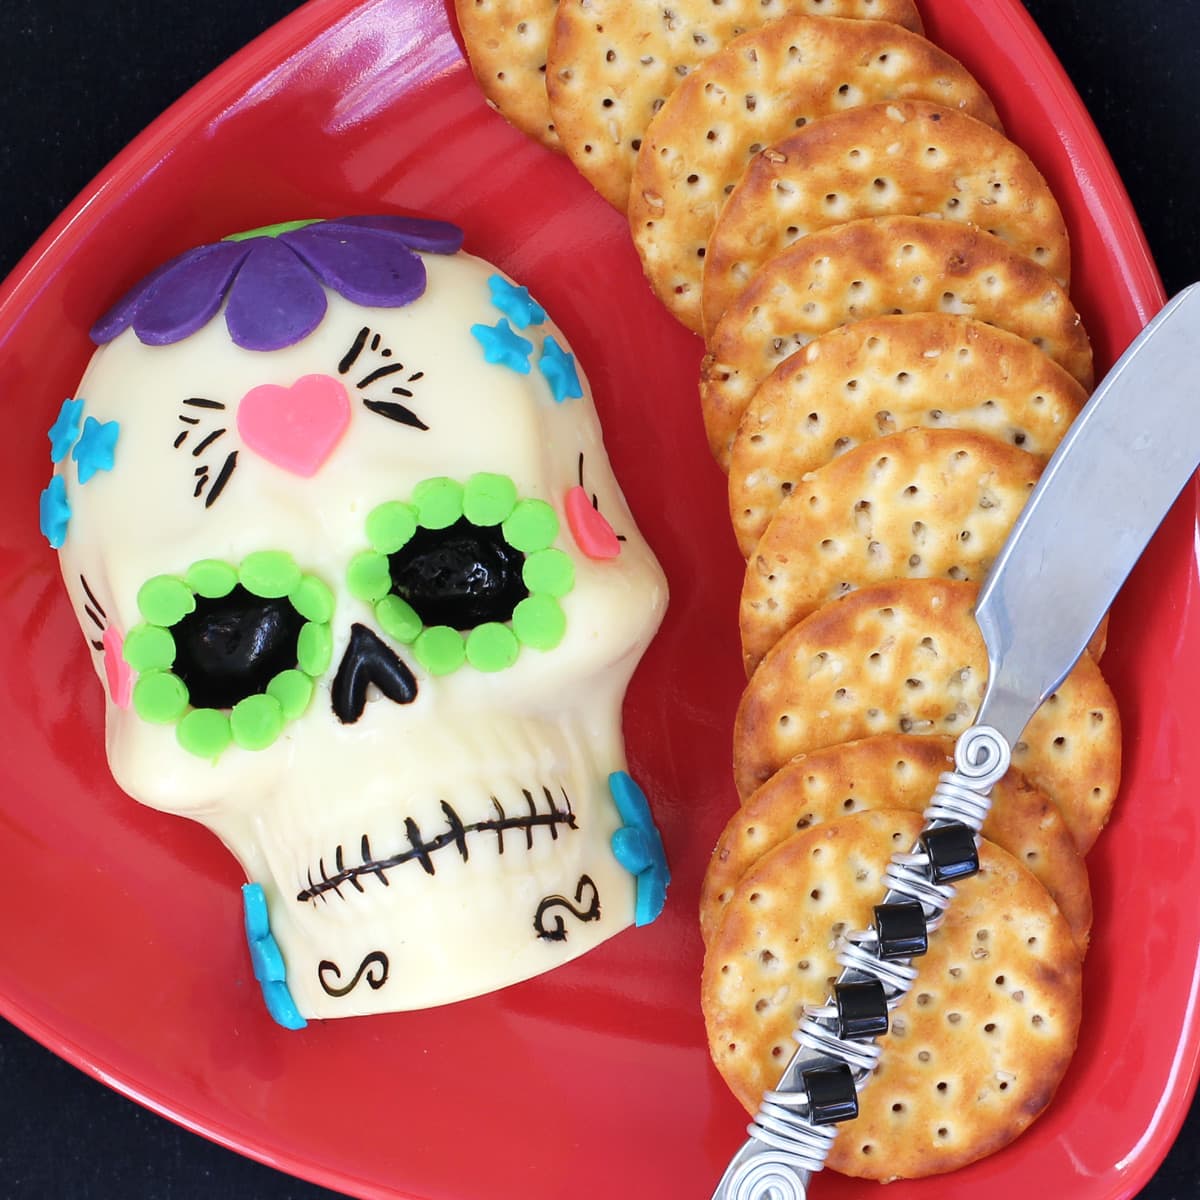
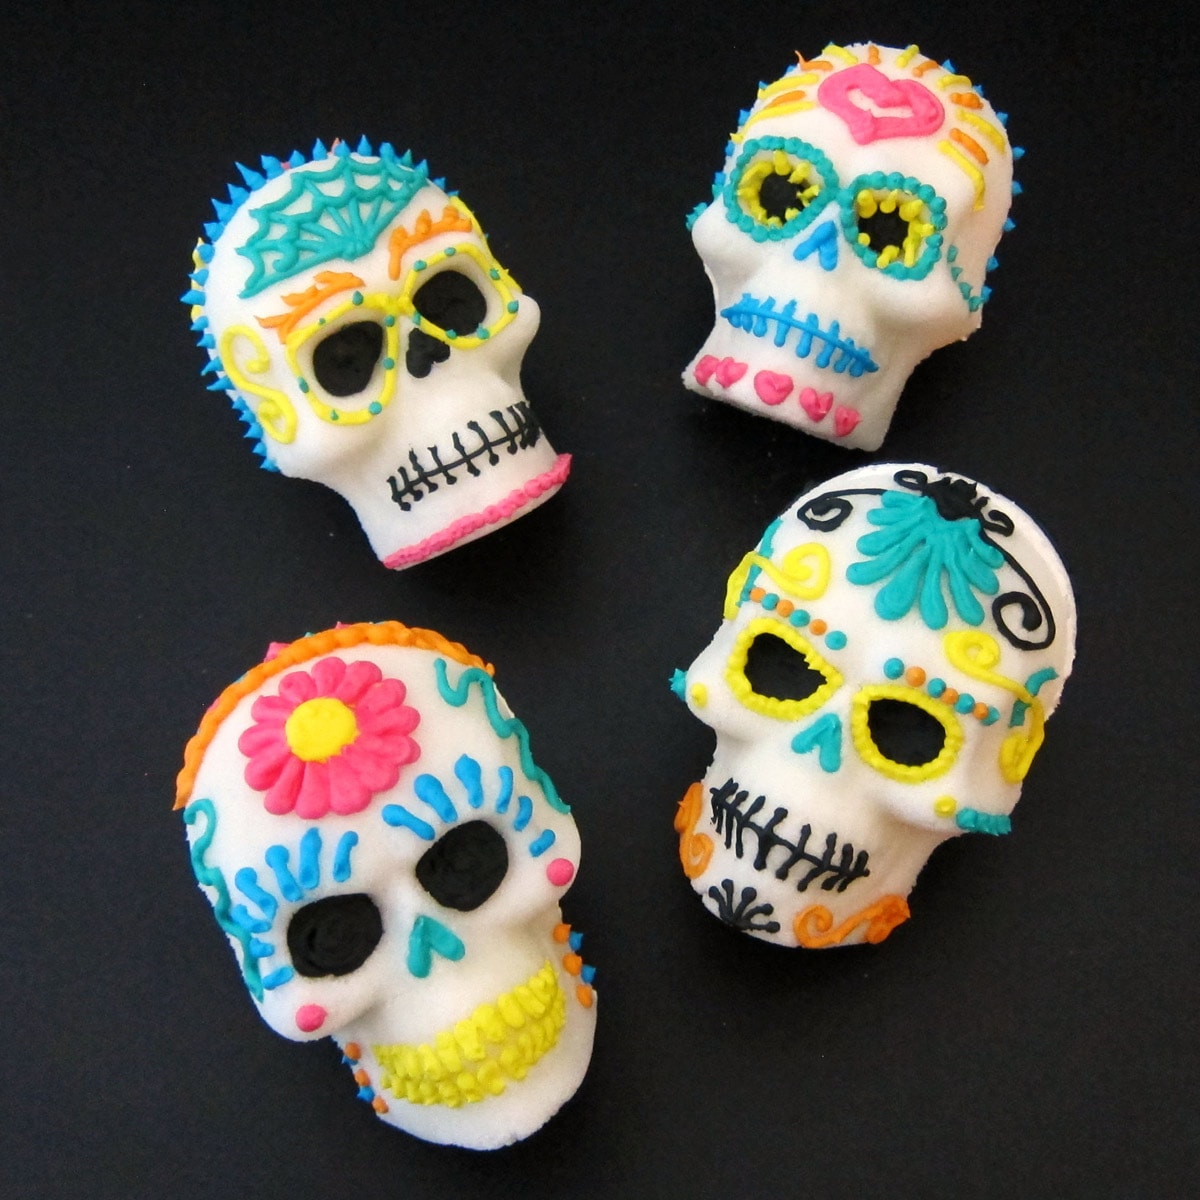
Back in 2013 we hosted a Day of the Dead party and served these Sugar Skull Brownies along with a Sugar Skull made out of cheese and we had decorated Sugar Skulls on our dessert table along with dozens of Day of the Dead-themed desserts.
Then in 2017, we chose to decorate each room in our house using a different theme for our Halloween party, and our dining room was decked out for the Day of the Dead. I hosted a dinner party before our big Halloween party and served Enchilada Skulls, Cheesecake Mousse in Skull Glasses, and Mexican Hot Chocolate Sugar Skull Truffles and set my table using felt skulls for placemats and metal skull-shaped spoons.
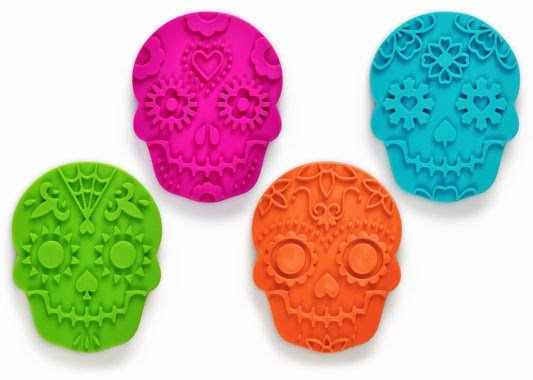
The year we hosted the Day of the Dead party, I purchased a set of Fred and Friends Sweet Spirits Day of the Dead Cookie Cutter/Stamps and I used them to imprint sugar cookies, some modeling chocolate decorations, and these Sugar Skull Brownies.
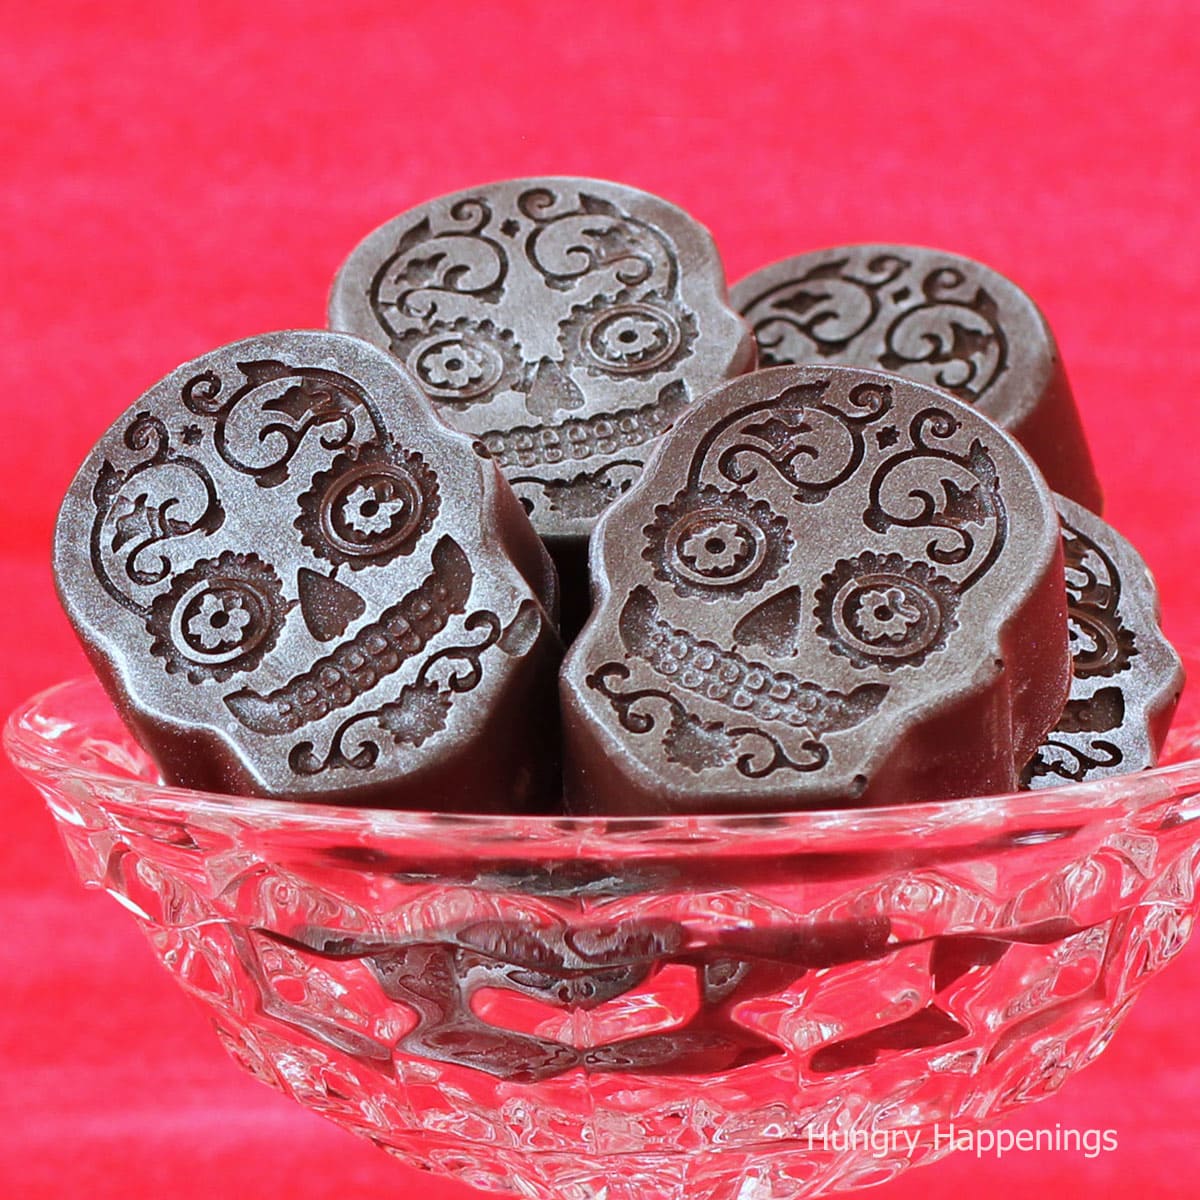
I was so excited about how much detail showed up on my brownies, especially when I sprinkled on some powdered sugar, and was thrilled at how easy they were to make.
Whenever I am hosting one of my Halloween parties, I have to have some super easy desserts to make to go along with my more elaborately decorated treats. I spend weeks making all the food, so having something easy like these Brownie Sugar Skulls is always great.
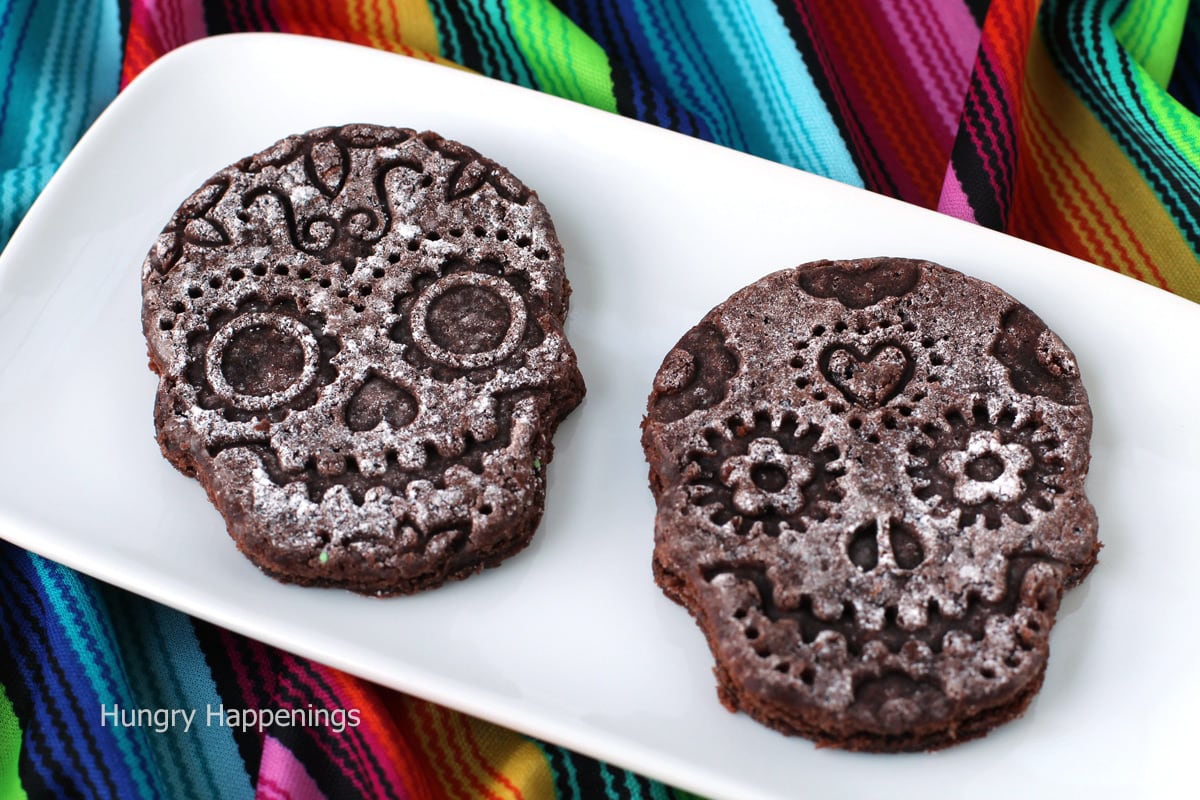
Let's make some brownie sugar skulls.
Ingredients
- family-size brownie mix (that bakes in a 9 x 13-inch pan) plus the ingredients called for on the box (eggs, oil, and water)
- powdered sugar
Supplies
- 12 x 18 inch half size baking sheet
- non-stick tin foil or parchment paper
- sifter or powdered sugar duster
- Fred Sweet Spirits Cookie Stamp (sugar skull cutter)
Items used to create this project are available on Amazon. I earn a small commission when you make a purchase using any Amazon affiliate links at no extra cost to you.
 Genuine Fred SWEET SPIRITS ...Shop on Amazon
 Pillsbury Brownie Mix, Rich...Shop on Amazon
 Wilton Performance Pans Alu...Shop on Amazon
 Reynolds Wrap Heavy Duty No...Shop on Amazon
 IPOW Set of 3 Stainless Ste...Shop on Amazon
Instructions
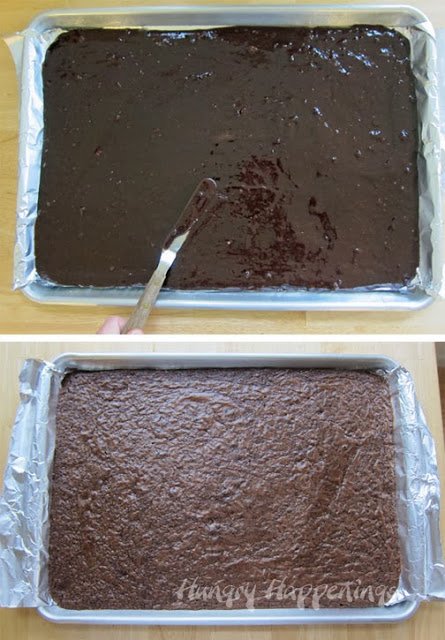
Bake brownie.
- Make the brownie mix according to the package instructions.
- Line the 12 x 18 baking sheet with non-stick aluminum foil or parchment paper.
- This allows for easy removal from the pan.
- This is a very large very thin brownie and it will be difficult to remove from a pan that is not lined.
- Pour your brownie batter into the pan and spread it into an even layer.
- Yes, this brownie is super thin. It should be about as thick as a sugar cookie.
- Bake at 350 degrees for 16-20 minutes until the edges are set.
- Allow the brownies to cool completely in the pan.
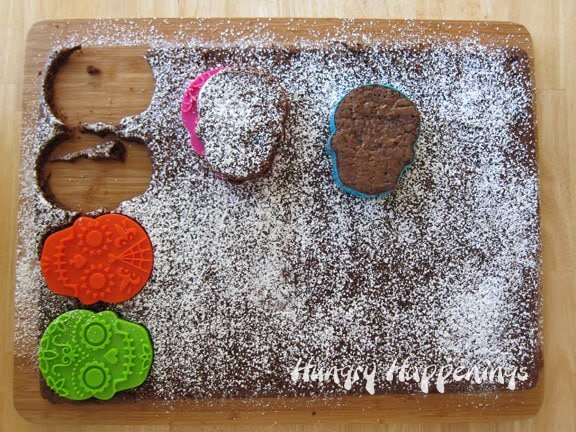
Cut out the sugar skulls.
- Set a large cutting board over the top of the pan.
- Flip the pan upside down allowing the brownie to drop out onto the cutting board.
- Peel off the tin foil and discard.
- Dust powdered sugar over the surface of the brownie.
- You will have flipped the brownie over so that the underside is now facing up. You want to sprinkle the powdered sugar over the underside because the stamp will look better if you press it into this side as opposed to the side that is baked on top.
- Cut the brownie using the sugar skull-shaped cutter.
- Tap the cutter on the counter and allow the brownie to pop out or hold the cutter in one hand and tap it with the other allowing the brownie to fall out into your hand that is holding the cutter.
- If it doesn't fall out, insert the tip of a knife into the mold to help it out.
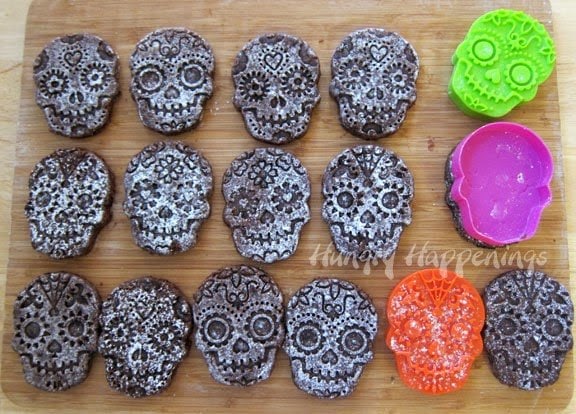
Stamp.
- If after you have cut out the brownie, it looks dark, you can sprinkle more powdered sugar over top.
- Press the Sweet Spirit Cookie Stamp onto the backside of the brownie skulls leaving an imprint on each sweet treat.
- Depending on how you place your cutter, you should get between 16-18 skull-shaped brownies out of one large brownie.
That's it. These are so easy to make, but really look cool. I was so happy to find something so quick and simple to add to our display of desserts for Dia de Los Muertos.
Storage
You can bake these Day of the Dead brownies and keep them in an airtight container on your counter for a few days or you can freeze them for up to 3 months.
Related Recipes
Recipe
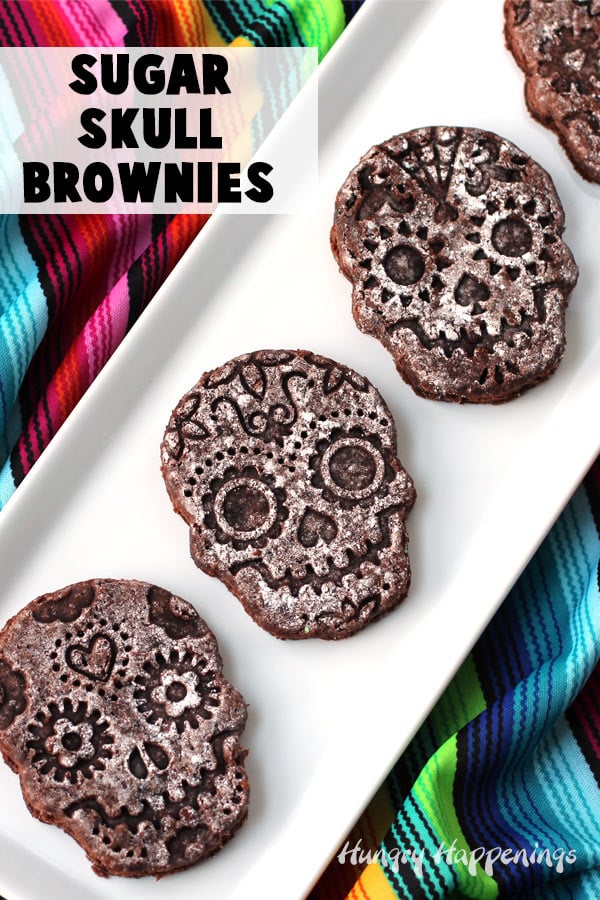
Brownies cut into skull shapes are imprinted using a Sweet Spirits Cookie Stamp and are dusted with powdered sugar to be served for the Day of the Dead or a Halloween party.
- 1 box (18.4 ounce) Pillsbury brownie mix*
- ⅔ cup vegetable oil
- ¼ cup water
- 2 eggs
- 2-3 tablespoons powdered sugar
-
Preheat oven to 350 degrees Fahrenheit.
-
Pour brownie mix into large mixing bowl.
-
Add oil, water, and eggs and stir until well combined (about 40 strokes).
-
Line a 12 x 18 (or a 13 x 18) inch baking sheet with non-stick tin foil. Or spray the pan with non-stick baking spray and line with two sheets of overlapping parchment paper.
-
Pour brownie batter into the pan and spread into a thin layer using a spatula.
-
Bake for 16-20 minutes until the edges of the brownie feel firm to the touch and the surface no longer looks wet.
-
Remove from the oven and allow to cool completely.
-
Flip out onto a cutting board and peel off the tin foil.
-
Sprinkle with powdered sugar.
-
Cut out using skull shaped cutter then press the stamp into the brownie and peel it off carefully.
Recipe Video
* The ingredients listed are for the Pillsbury Family Size Fudge Brownie. If you use a different family size (bakes in a 9 X 13 inch pan) brownie mix be sure to use the ingredients listed on the box.
- How to make peanut butter? - February 15, 2024
- OREO Penguins - December 20, 2023
- OREO Snowmen - December 20, 2023

Christine
Gorgeous brownies! I always wanted to make a Day of the Dead treat without whipping out all of the royal icing. Thanks for sharing!
Beth
I'm so glad you like these brownies! They are really so easy to make.
The Partiologist
YUM! I remember always eating brownies dusted in powdered sugar and with the imprint, they are so much more fun!
Beth
I had never had a brownie with powdered sugar before I made these. It is so yummy!!!
Linda @ Bubble and Sweet
I love these stamps what a great way to make day of the dead decorations without to much fuss. Nice find.
Beth
Me too! They were definitely a great find for me for our Day of the Dead party. They work great on cookie dough, brownies, fondant or modeling chocolate.
Nikki P.
I made these for my son's Spanish class along with sugar skull cupcakes for their Day of the Dead party; they were simple to make and turned out great...the kids loved them!
Beth
I'm so happy to hear they were a hit with the kids!
Lisa
Since these brownies are so thin, were they pick-up-able? Or do you have to just eat these off of a plate with a fork?
Second question: the stamps are able to make a lasting impression on the brownies? They don't just bounce back after being stamped? How hard did you have to press down? Thank you!!!!!!!
Beth
Hi Lisa,
When I baked these brownies, I served them at my Halloween party and my guests picked them up to eat them. The brownies aren't soft and gooey being they are so thin. They are a bit more firm. The stamped impression stayed put. I made these then froze them, thawed them and served them at our party, and they looked just like they did when they went into the freezer. I honestly don't remember having to press too hard, but just enough to make a really nice impression.
AJ
I’m having trouble with the stamps showing. Any tricks?
Beth
Make sure you are pressing the stamps into the underside of the brownie. Also, be sure the brownie is dusted with powdered sugar. The powdered sugar really helps to make the indentations in the brownie show up. You can press on the brownie, pushing it into the stamp, to make sure you are getting a deep impression.
I hope this helps.
Natalie Coleman
It is not clear to me if you are dusting the brownie with powdered sugar on the top of the brownie or on the bottom (side closest to the bottom of the pan; the side from which the parchment/foil was removed).
The following direction is the one that is confusing me:
"Press the Sweet Spirit Cookie Stamp onto the 'back side' of the brownie skulls ... "
Thank you for the clarification. The brownie in the pan awaits your answer.
N. Coleman
Beth
So sorry, I didn't respond sooner. I was traveling and did not have access to the internet.
I pressed the stamp into the bottom side of the brownie because it made a nicer impression. The top of the brownie usually cracks a bit as it bakes so it's not best to press the stamp into the top. I sprinkled the powdered sugar over the stamped side of the brownie. I hope you were able to get your's to work out.
Ana
If I decided to freeze these for 1 week, what is the process to dethaw and reheat? Will it change the quality of the texture? If I reheat, should I pop them in the oven at low heat? Would that damage powdered sugar?
Beth
I actually made these brownies and froze them for our Day of the Dead Party. I placed them in an airtight container, froze them, then the day I wanted to serve them, I set them on my counter and left them in the container for an hour. By that time, they were thawed, so I opened the container, and removed them, set them on my serving platter, and put them out for my guests to enjoy. They tasted great. I didn't reheat mine. If you do, then your powdered sugar will probably melt. Have fun!
Hani Bacova
I have the same cutters sitting on the kitchen counter ...I guess I'll use them next year. I had such high plans for them but kind of ran out of time this year. These look fantastic Beth.
beth
High plans! I know how that goes. I realized today that I posted 2/3 as many Halloween recipes this year as I did last year. I had so many ideas, just not enough hours in the day. Oh, well, there is always next year.
dropdeadglamrous1
These are my favorite creation!
Stephanie Jackson
Super Cool
*pinned
beth
They are really great cutters. We've had fun making all sorts of desserts for our party.
The Bearfoot Baker
I never thought I would say a skull is cute but, these really are. I love details. Day of the Dead party for Halloween is such a great idea! Hope you have a blast!!
beth
Working with sugar skulls for our party has been so fun because they are so colorful and, well, cute. Our house is much more colorful than usual for our party and I love it.
Smita Srivastava
These are simply gorgeous !! Always love ur creations ...
I have a worldwide Giveaway of 2 copies of my book-"Fun Food for Fussy Little Eaters' would love you to join in !!
beth
Thanks Smita. I did stop by and enter. Congrats, by the way on your new book!
Anonymous
Beth, These are great. I love that they are all smiling. A cookie cutter and stamp all in one. Very clever. Thanks for the skulls. Trish Butler
beth
It is nice to see a happy skull. I have happy, colorful and beautiful skulls adorning my whole house right now. It's fun!