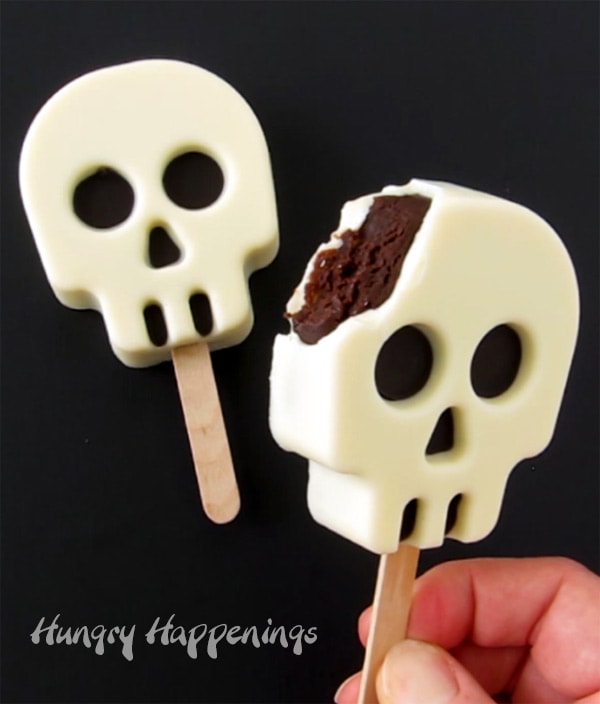
Create skull-shaped cake pops using a popsicle mold. These Cakesicle Skulls are perfect treats for Halloween or a Day of the Dead party but are fun to serve any time of year.
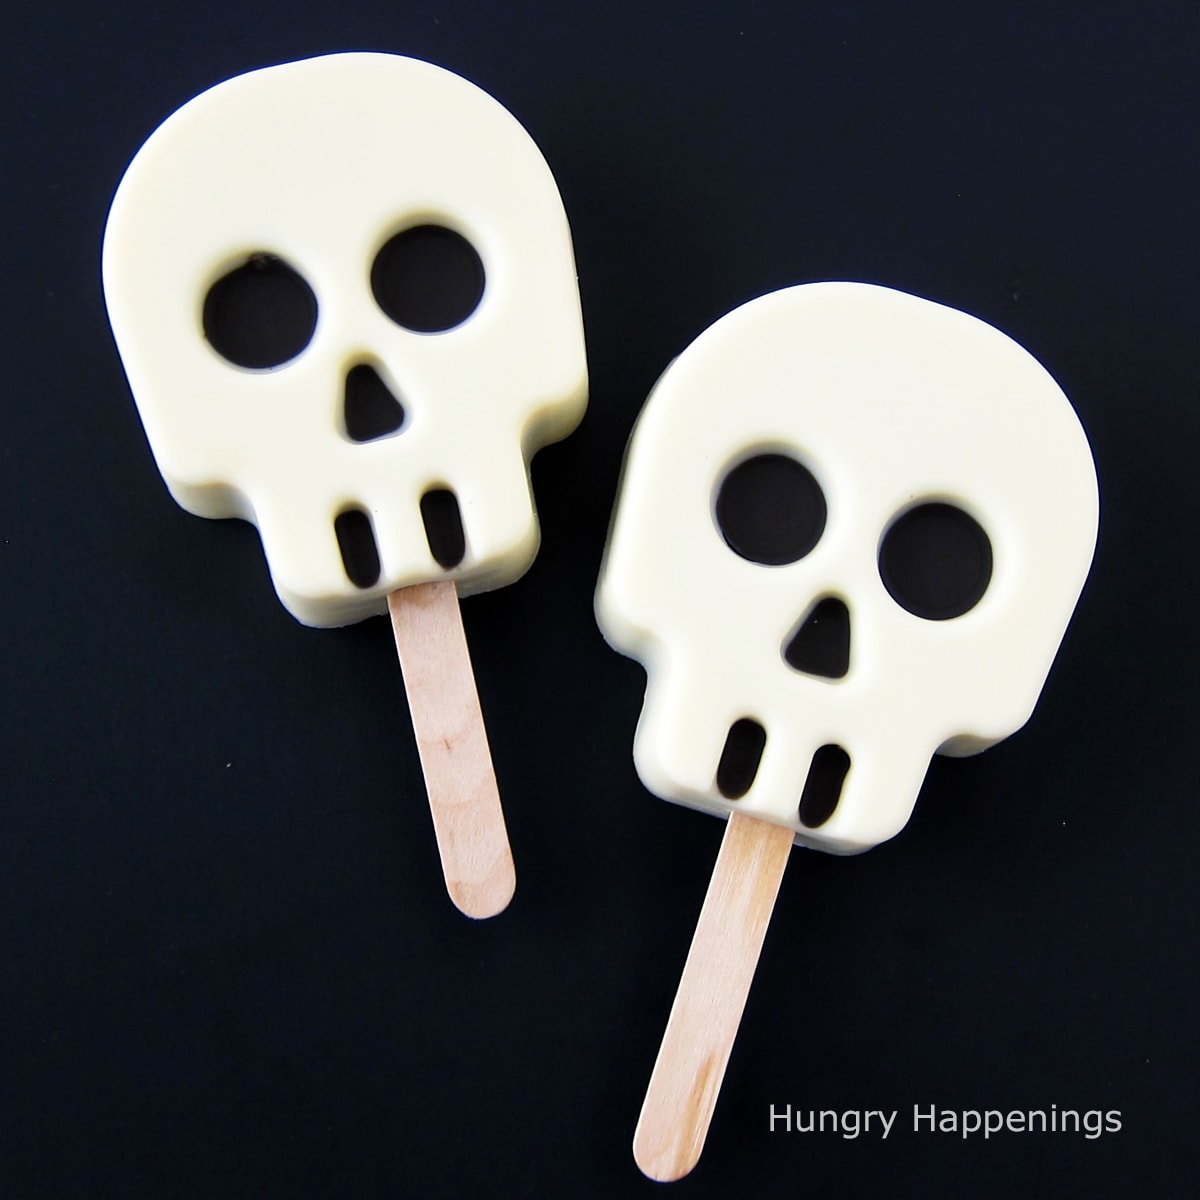
Recently I shared a "How to Make Cakesicles" tutorial featuring a step-by-step guide for making cake pops using popsicle molds.
As I was making my first batch of the plain cakesicles, I thought it would be fun to try creating some cakesicles using shaped popsicle molds too and have created Unicorn Cakesicles and Snowman Cakesicles.
For years I have been making handpainted lollipops by painting colored candy melts into plastic candy molds and knew that the same technique would be perfect for making festive cakesicle shapes like these Cakesicle Skulls.
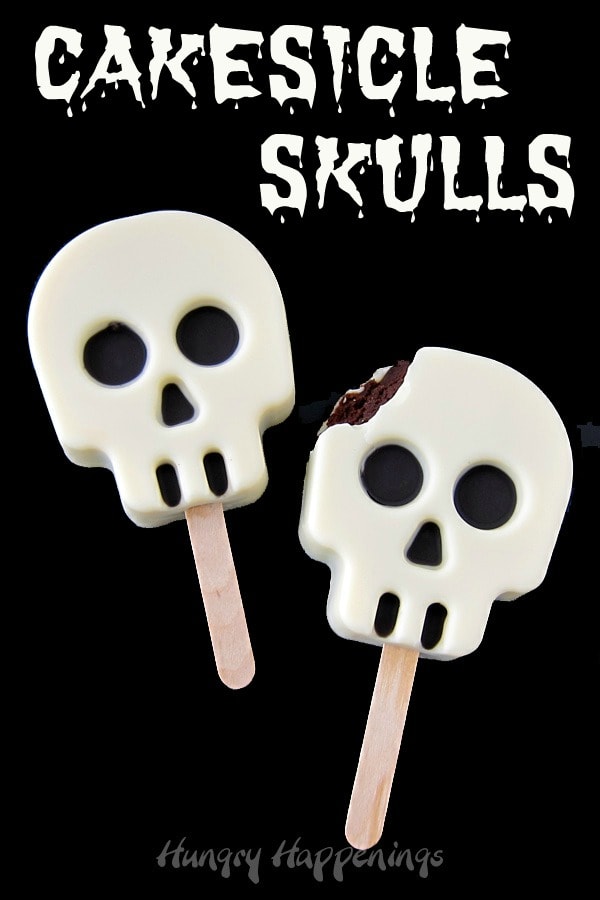
Let's make cakesicle skulls!
Start by making cake ball filling.
You can use any flavor of cake you like. I chose to use chocolate cake blended with vanilla frosting.

Make Cake Ball Filling
- Bake a cake either in a 9x13 pan or two 8-inch round pans.
- I used a chocolate cake mix and added milk, eggs, sour cream, and instant chocolate pudding mix.
- Follow the cake mix instructions, but swap out the milk for the water, and add ¼ cup of sour cream, and ¼ cup of instant chocolate pudding mix.
- You'll notice in the recipe and video that I didn't add oil to the cake mix. I wanted to experiment with this, as so many people complain about having oily cake pops.
- The cake baked without oil baked up beautifully and was only slightly dryer than a cake baked with oil. Once the frosting was mixed in you couldn't even tell the difference in flavor, but the filling was not greasy at all.
- Crumble the cake into a bowl or preferably into the bowl of a stand mixer (my favorite method for getting super smooth cake ball filling.)
- Add some frosting and mix using a stand mixer or your hands.
- The amount of frosting may vary depending on your cake.
- Start by adding ⅓ cup of frosting, then add more if desired.
- If you like your filling to be really gooey you can add up to 16 ounces of frosting.
- You don't have to dip these so it won't matter if the cake ball filling is soft. That's one of the benefits of this method of making cake balls.
- If using a stand mixer to combine the frosting and cake, beat on medium speed until well blended and smooth.
- Your cake ball filling with be really smooth and creamy! I love using my stand mixer to create cake balls.
- If mixing by hand, literally use your hands to blend the cake and frosting together. This will help you achieve a better texture.
- The amount of frosting may vary depending on your cake.
You'll notice in the video below that I only crumbled one of my 8-inch round cakes and added a few tablespoons of frosting. This recipe will make about 16 cakesicles with 1 ½ ounces of filling in each. I didn't need that many, so I used one of my 8-inch round cakes for another purpose. The picture above shows the full amount of frosting and a whole cake.
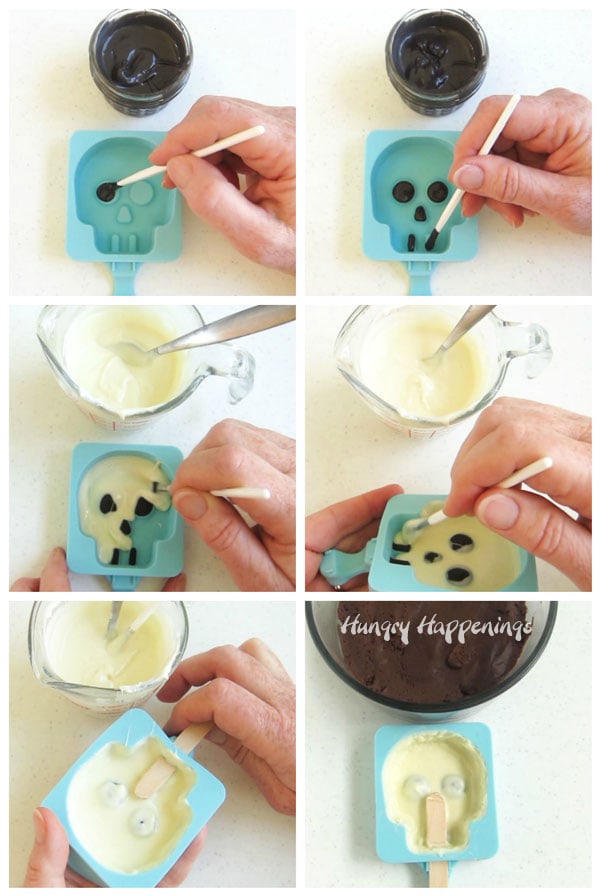
I found these skull-shaped silicone popsicle molds from Amazon.
UPDATE: As of 2021, these molds are no longer available! You can use this same technique using any silicone popsicle mold or skull mold.
Paint the eyes, nose, and teeth.
- Using a food-use-only paintbrush, brush black candy melts or dark chocolate over the areas for the eyes, nose, and teeth.*
*If you are going to create your white chocolate shell using pure, melted, and tempered white chocolate then use pure dark chocolate. If using white compound chocolate (also known as confectionery coating or candy melts) then use either black candy melts or dark cocoa candy melts.
- Pop the mold into the freezer for about 1 minute just until the chocolate hardens.
- Remove the mold and let it sit at room temperature for at least five minutes before creating the white chocolate shell.
You can find pure chocolate or candy melts from Amazon (commission earned for sales at no additional cost to you.)
 Callebaut Finest Belgian Se...Shop on Amazon
  Wilton Black Vanilla Candy ...Shop on Amazon
  Merkens Cocoa Dark 1# lb Ba...Shop on Amazon
 Merckens Coating Wafers Bla...Shop on Amazon
  Wilton Dark Cocoa Candy Mel...Shop on Amazon
Create a white chocolate shell.
You can use melted and tempered pure white chocolate or melted white compound chocolate (confectionery coating). I've shared detailed information regarding the differences between the two on my Chocolate Making Tips page but here's a short recap.
What type of white chocolate should I use?
- Pure White Chocolate
- Pure white chocolate made with cocoa butter has a wonderful flavor and creamy texture and tastes amazing as a coating for cakesicles or cake balls.
- You can buy bars, blocks, chips, or wafers (also called callets).
- Pure white chocolate will need to be melted then tempered in order for the white chocolate to set hard and be free of any fat or sugar bloom (white streaks or spots).
- Callebaut and Lindt make really nice white chocolate.
Simple Chocolate Tempering Method:
- Chop ¾ of your white chocolate into really fine pieces if using bars or blocks.
- Heat the chopped white chocolate in the microwave at 50% power for 15-second increments, stirring after each, and allowing the chocolate to rest for a minute, then stirring again.
- Heat until about 75% of the white chocolate is melted.
- Remove and continue to stir until all the chocolate is melted.
- Check the temperature of the chocolate.
- If it hasn't gone above 88-89 degrees Fahrenheit then your chocolate will still be in temper and it's ready to use and you can skip the rest of these steps.
- If it has gone over 88-89 degrees, then you'll need to continue to heat the chocolate until the temperature reaches 110 degrees Fahrenheit.
- Then stir in the remaining chunk of white chocolate and stir continuously until the chocolate cools to 88 degrees F.
- Remove the chocolate chunk and test the temper of the chocolate by dipping the tip of a knife into the melted chocolate and setting it on your counter. If the chocolate hardens within a few minutes and is shiny the chocolate is tempered and ready to work with.
- If needed you can return the chocolate to the microwave and heat at 50% power for 5 seconds to keep it warm.
NOTE:
- If you simply melt pure white chocolate and use it to create the outer shell of your cakesicles the white chocolate will not set up hard, may be difficult to remove from the mold, and may bloom a day or so afterward, leaving streaks and spots on the exterior of the cakesicle.
White Compound Chocolate
Compound chocolate is also known as Confectionery Coating, White Candy Melts, White Melting Candy, or White Almond Bark.
- Compound chocolates are similar to white chocolate but are made using a form of vegetable oil, typically palm kernel oil, instead of cocoa butter.
- If you like the flavor of the candy straight out of the package then you will also enjoy it as a coating on your cakesicles.
- I actually prefer the flavor of some white confectionery coating to pure white chocolate and it's so much easier to work with being it doesn't require tempering.
- I usually use Peter's IceCaps for my candy making and used it to make these cakesicles but you can use Merckens, Girardelli, or Wilton's Candy Melts. You can even purchase Nestle Premier White Morsels or white almond bark from the grocery store and use those. They are also compound chocolates (confectionery coating) and can simply be melted to make the candy shell around your cakesicles.
You can find white chocolate and white confectionery coating on Amazon (commission earned for sales at no extra cost to you)
 OliveNation Callebaut 25% W...Shop on Amazon
 Lindt CLASSIC RECIPE White ...Shop on Amazon
 ZUNKOM Peter's White Caps C...Shop on Amazon
 Nestle Premier White Chocol...Shop on Amazon
 Merckens Coating Melting Wa...Shop on Amazon
 Ghirardelli Chocolate White...Shop on Amazon
How to melt confectionery coating?
You need to heat your confectionery coating so that it registers between 100° and 120° Fahrenheit. If you get it too hot, it will thicken and may burn.
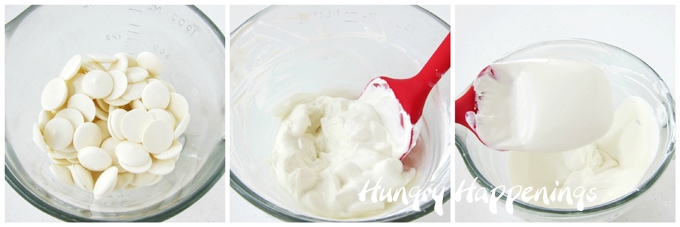
- Pour your compound chocolates (confectionery coating/candy melts) wafers into a microwave-safe bowl.
- Heat on high power for 30-second increments, stirring after each, until about 75% melted.
- Then let the candy rest for 3 minutes before stirring until melted.
- It's best to allow the residual heat of the melted candy to melt the remaining wafers so that the candy does not get too hot.
Paint White Chocolate Into Popsicle Molds
- Spoon about 1 ½ tablespoonsful of white chocolate or white confectionery coating into the skull-shaped popsicle mold.
- Brush the chocolate around the painted areas and up the sides of the mold, adding more chocolate as needed.
- You can then cover the painted areas completely.
- Immediately, while the chocolate is still wet, insert a popsicle stick.
- Pop the mold into the refrigerator if using pure white chocolate or into the freezer if using confectionery coating.
- Let the candy shell chill for 3-5 minutes, just until hardened.
- Remove and allow the mold to sit at room temperature for 10 minutes.
- Then paint a second layer of white chocolate just around the edges of each popsicle cavity.
- Chill for about 2 minutes just until the chocolate hardens.
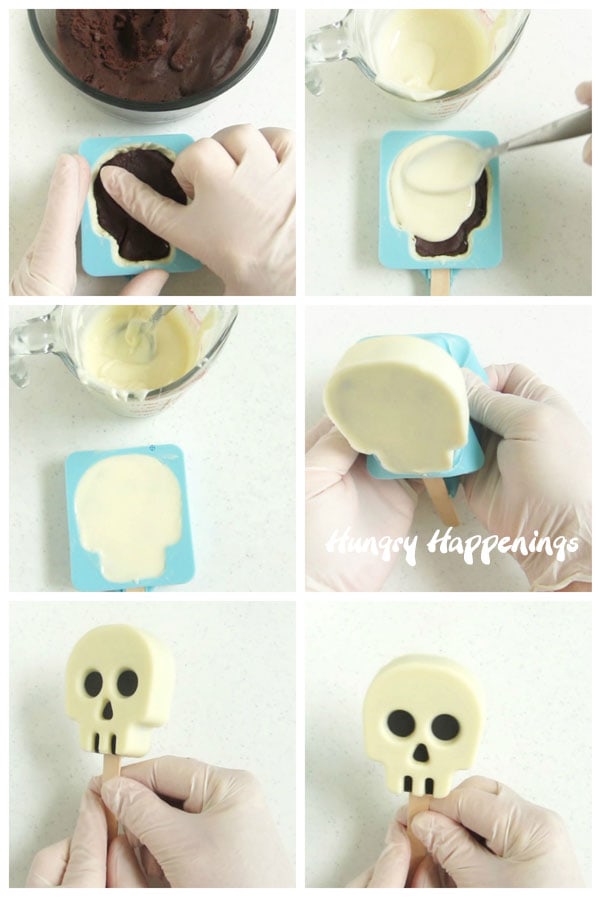
Fill your cakesicles.
- Pinch off about 1 ½ ounces of cake ball filling and press it into the candy shell, leaving about 1/16 of an inch space on top to add more white chocolate.
- Spoon white chocolate over the filling then spread it into a thin layer.
- For a nice flat surface, scrape off any excess chocolate using an offset metal spatula.
- Pop the cakesicles into the refrigerator (pure white chocolate) or into the freezer (for white confectionery coating) for 3-5 minutes until the chocolate hardens.
NOTE: You may see some of the darker chocolate cake through the white chocolate on top, but as long as the candy is at least 1/16 of an inch thick over the top of the filling, the cake filling won't come through. If you scrape, and you actually see cake ball filling sticking through, then cover it again, and just leave it a bit thicker on top.
Un-mold Cakesicles
- Press the pops out of the silicone mold.
- Use a sharp thin knife to remove any excess chocolate around the outer edges of the cakesicles after they have come to room temperature. If you try to shave off bits of cold chocolate, the pieces will stick to the outer shell of the cakesicles.
Related Recipes
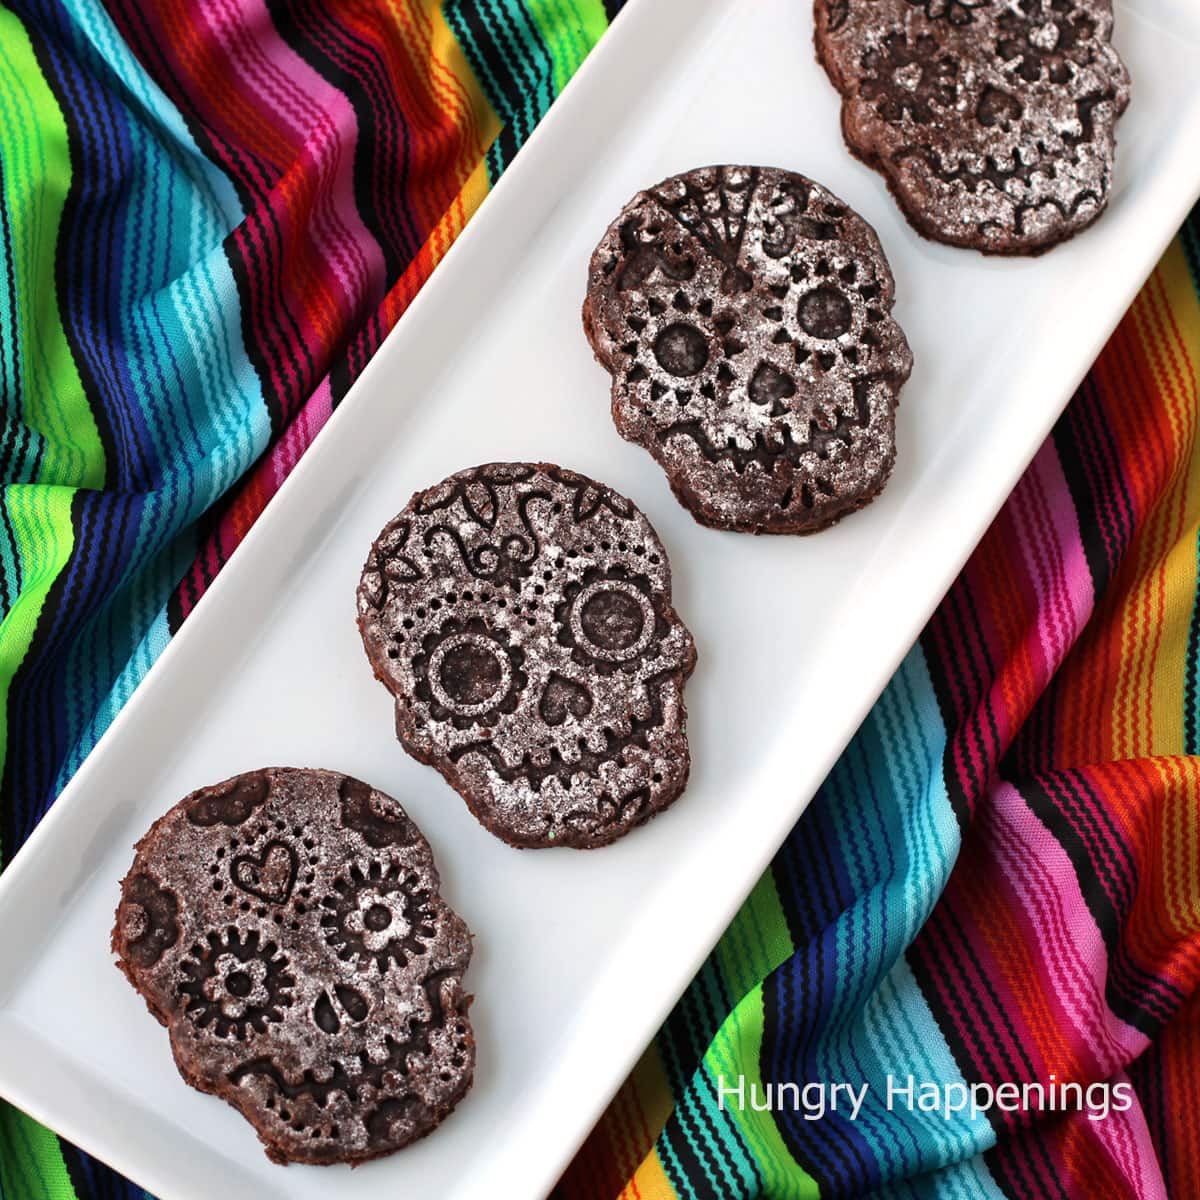
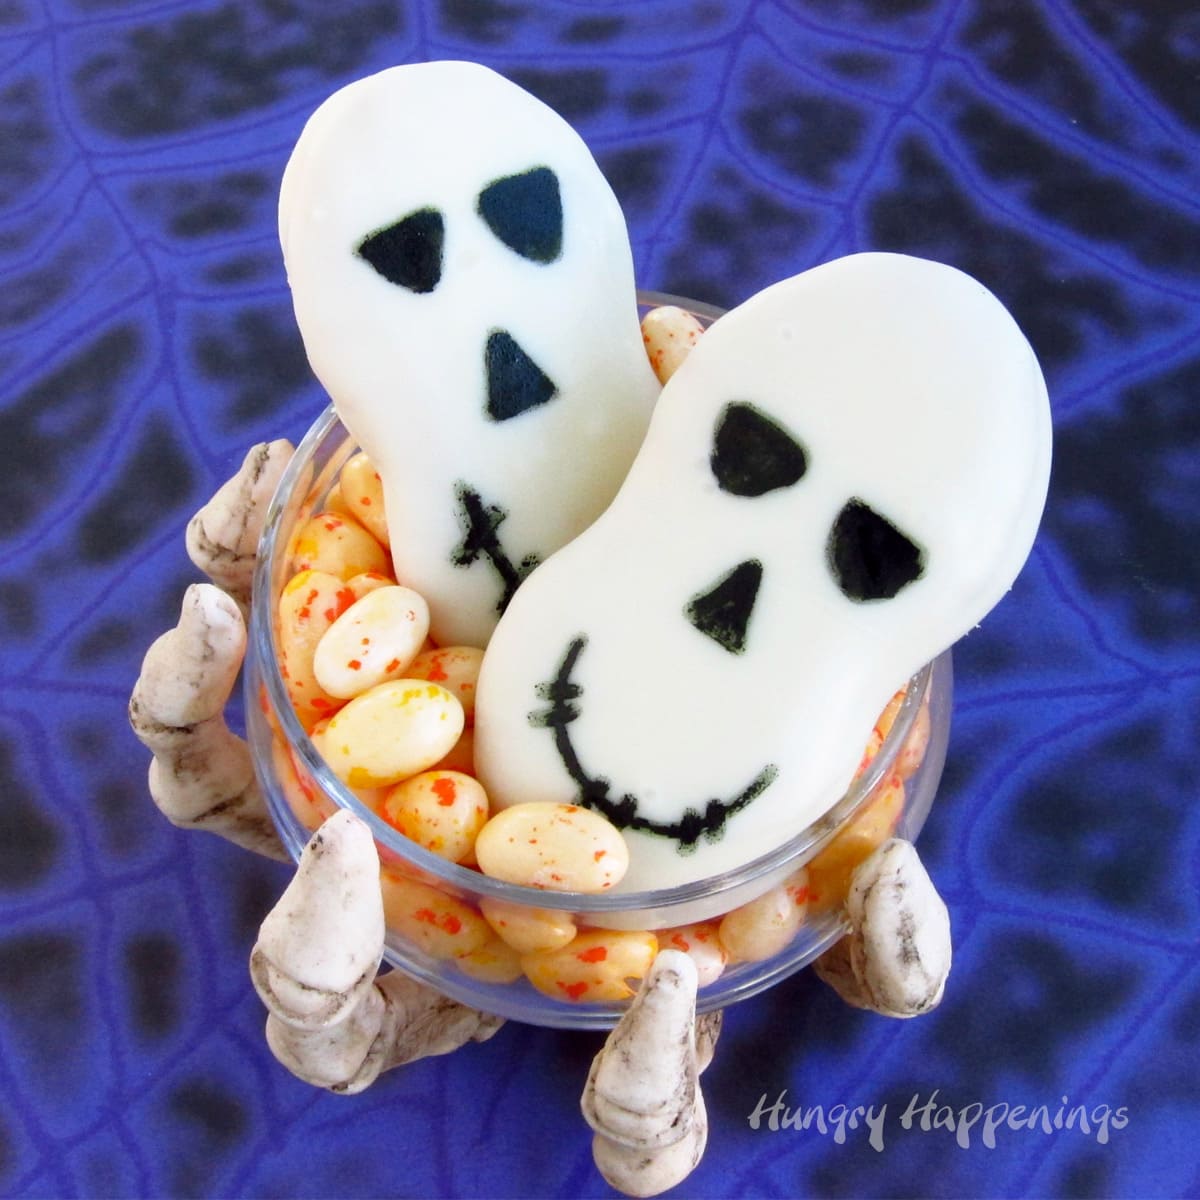
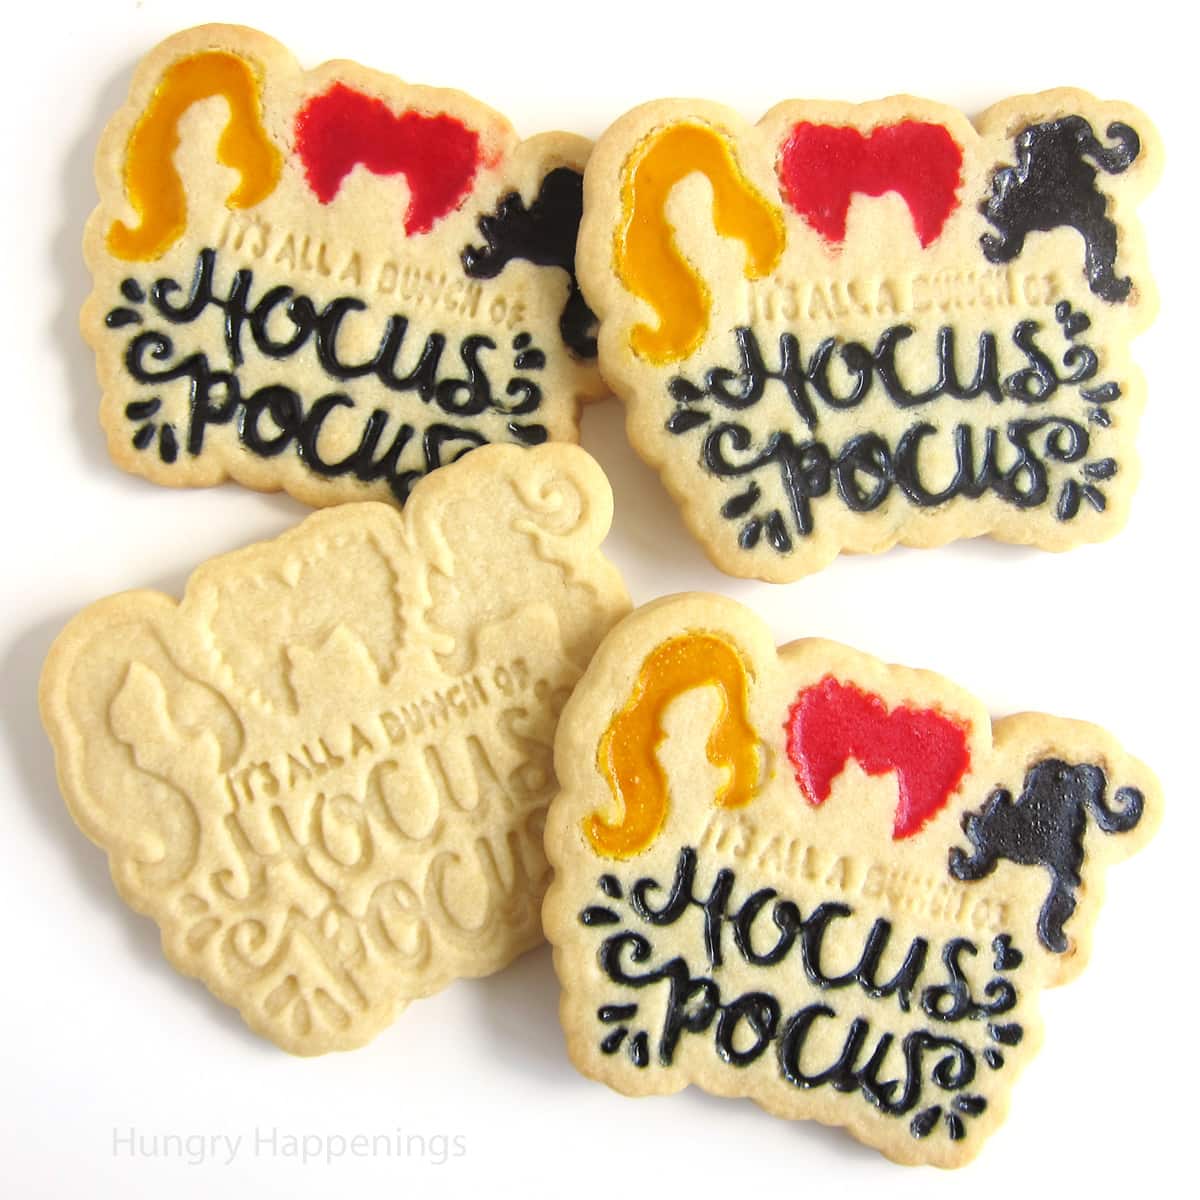
If you are looking for some more fun skull shapes recipes for your Halloween or Dia de Los Muertos party, be sure to check these out.
Video
Recipe
Skull-shaped cakesicles filled with your favorite cake and frosting combination make great treats for Halloween or the Day of the Dead.
- 1 baked 9 inch by 13-inch sheet cake or two 8-inch round or square cakes
- ⅓ cup frosting plus more if desired
- 4 ounces melted and tempered dark chocolate or melted black or dark cocoa confectionery coating (candy melts)
- 32 ounces melted and tempered white chocolate or melted white confectionery coating
-
Cakesicle Filling
-
Crumble the cake and blend it together with the frosting.
-
Add more frosting if desired until the cake ball filling has a nice chocolate truffle style texture.
-
White Chocolate Shell
-
Paint black candy melts or dark chocolate over the eyes, nose, and teeth.
-
Freeze, if using candy melts, or refrigerate, if using pure chocolate, for about 2 minutes just until the candy hardens.
-
Remove the mold and allow it to come to room temperature before adding the white chocolate.
-
Spoon about 1 ½ tablespoons of white chocolate into one popsicle cavity.
-
Paint it into a thin layer on the bottom and up the sides of the mold.
-
Immediately insert the popsicle stick which the chocolate is still wet.
-
Pop the mold into the refrigerator, if using pure white chocolate, and into the freezer if using confectionery coating (Candy Melts).
-
Chill for 3-5 minutes until the candy hardens.
-
Scoop out about 1 ½ ounces of the cake ball filling and press it into the candy shell, leaving at least 1/16 of an inch of space at the top for the additional layer of chocolate.
-
Spoon white chocolate over top and spread it out thin.
-
Use an offset spatula to scrape off any excess white chocolate.
-
Chill for about 2 minutes until the candy layer hardens.
-
Unmold the cakesicles and they are ready to serve.
- How to make peanut butter? - February 15, 2024
- OREO Penguins - December 20, 2023
- OREO Snowmen - December 20, 2023

Margarita
Hi, can you please tell me how much milk, pudding and sour cream should I add in the cake, thanks 🙏
Beth
Follow the cake mix instructions, but swap out the milk for the water, and add 1/4 cup of sour cream, and 1/4 cup of instant chocolate pudding mix. You can add the oil called for in the cake mix or leave it out. Either way will work fine.
The Partiologist
I have the molds now I just need to get started on the cakesicles, they're so fun. Love those skulls!
Beth
Have fun!
Jamie
Where would I find these moulds please? Super keen to give these ago 😀
Beth
Unfortunately, these molds are no longer available from Amazon. I did find someone on Etsy selling them - https://www.etsy.com/listing/1017867235/silicone-popsicle-mold-with-20-sticks
Margo
It would be more helpful if you can tell us how much milk, sour cream and instant pudding we adding into the cake mix. Which I agreed I don’t like the oily way it comes out doing it with the oil. Thanks 🙏
Beth
Sorry about that! Follow the cake mix instructions, but use milk instead of water, and add 1/4 cup of sour cream, and 1/4 cup of instant chocolate pudding mix.