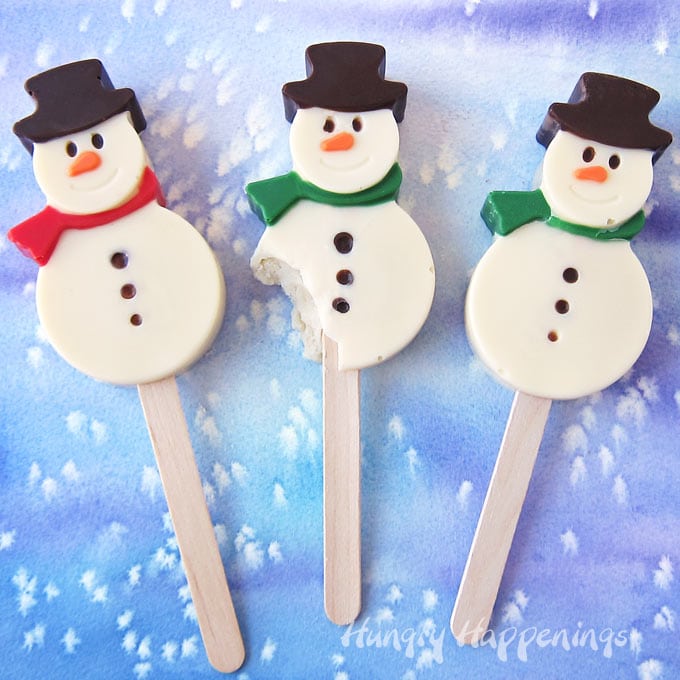
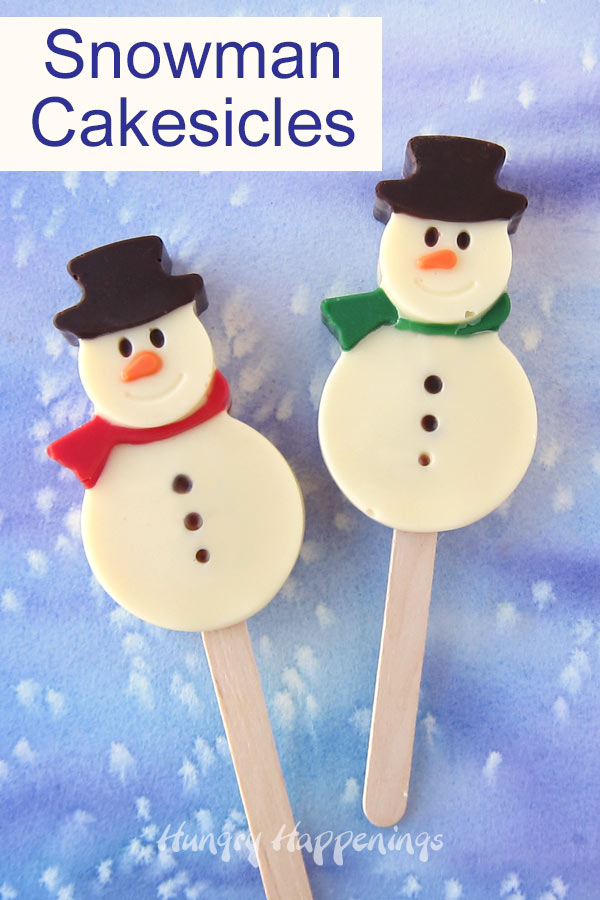
Hand-painted white chocolate snowmen have their bellies filled with a creamy blend of white cake and vanilla frosting. These Snowman Cakesicles make festive holiday treats.
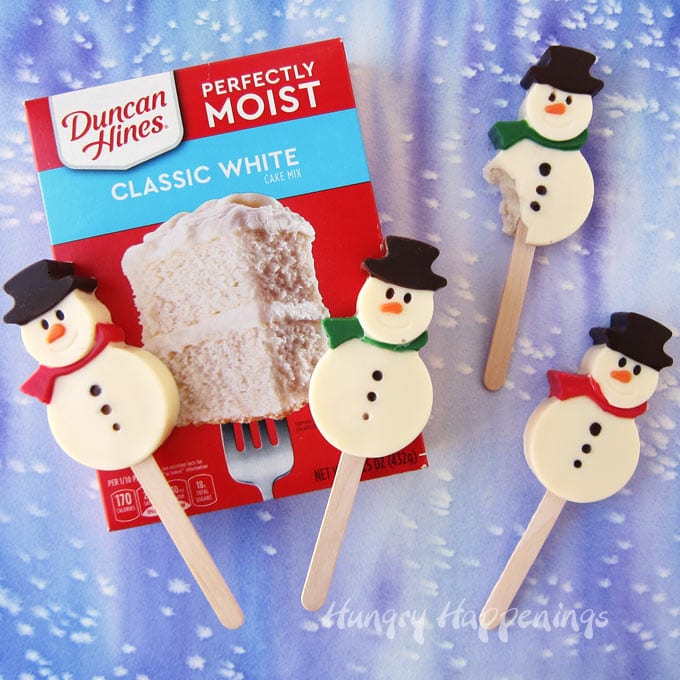
Ever since I crafted my first cakesicles a few months ago, I have been eager to find unique ways to create more for holidays and couldn't resist using a silicone snowman popsicle mold to create these adorable Christmas cakesicles.
I hope you take the time this holiday season to gather your family together to make some of these cute Christmas treats. I know you will love these holiday sweets as much as I do.
If you haven't made a cakesicle yet, they are similar to a cake ball only they are made in a popsicle mold, and in this case, the design is already created for you, all you have to do is paint in the colorful decorations.
To create your cakesicles you first need to bake a cake.
You can make a homemade cake or use a cake mix. I use a mix but I doctor it up a bit. I like to reduce the amount of oil when I'm using the cake to create cake balls or cake pops so my filling has the perfect texture.
I like to use sour cream and I add a bit of instant white chocolate pudding mix to make the cake a bit more dense which is ideal for making cake ball filling.
To make the cake ball filling I stir in some Duncan Hines® Whipped Fluffy White Frosting. I start with ¼ cup of the frosting then add more until the cake comes together in a smooth ball. If you like a lot of frosting in your cake ball filling, go ahead and add the entire tub.
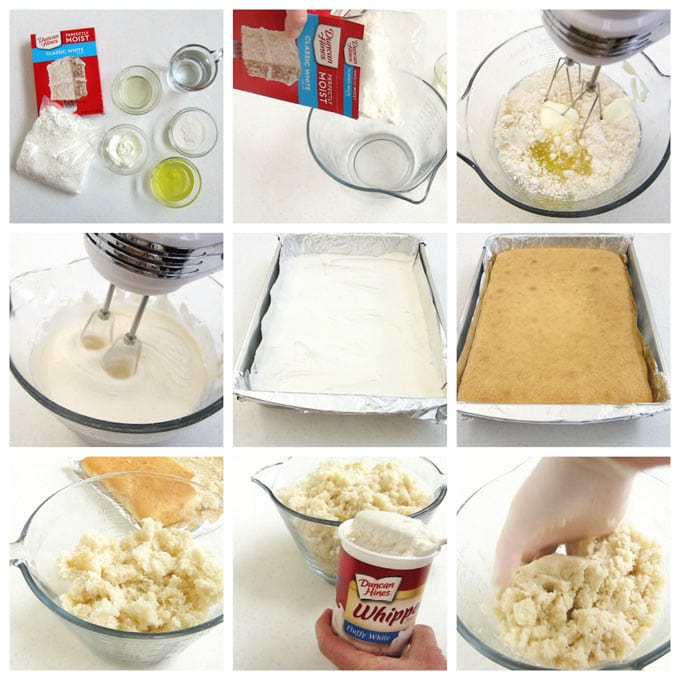
You can see the printable recipe and video at the bottom of this post, but I suggest you read through these detailed step-by-step instructions first. There's important information below.
Ingredients
Duncan Hines Classic White Cake Mix
instant white chocolate or vanilla pudding mix
sour cream or Greek Yogurt
water or milk
vegetable oil
egg whites
Duncan Hines Whipped Fluffy White Frosting
Instructions
- Preheat your oven to 350° Fahrenheit.
- Grease and flour a 9 x 13-inch pan or line the pan with non-stick tin foil.
- Combine the cake mix with the instant pudding mix, sour cream, water, oil, and egg whites.
- Using an electric mixer, beat on low speed for 30 seconds.
- Then increase the speed to medium and beat for 2 minutes.
- Pour the batter into the prepared cake pan.
- Bake for 24-30 minutes until a toothpick inserted into the center of the cake comes out clean.
- Allow the cake to cool completely.
- If you want your cake ball filling to be really white, then carve off the top of the cake to remove the browned cake.
- Crumble the cake into a large mixing bowl.
- Stir in ¼ cup of frosting.
- Add more frosting if desired until the cake comes together.
I like to use a stand mixer when blending my cake ball filling but mixing it by hand works well too. Just use your hands to really blend it together once you get the frosting mixed in. This will help to create a really smooth filling.
Paint the White Chocolate Snowmen
You'll start by melting white compound chocolate, also known as confectionery coating, candy melts, melting wafers, or almond bark. You can add oil-based candy coloring to the white chocolate to create colors or you can use colored wafers.
If you don't have experience melting or working with compound chocolates, be sure to read my Chocolate Making Tips page for detailed instructions.
You can find the snowman molds and other popsicle molds at Amazon. I earn a small commission at no extra cost to you if you make a purchase using the links below.
 Popsicles Molds, 2 Pack Pop...Shop on Amazon
  Mini Skater Purple Ice Crea...Shop on Amazon
  Snowman Shape Popsicle Mold...Shop on Amazon
  TANCHEN 4pcs Silicone Popsi...Shop on Amazon
You'll need:
- silicone snowmen popsicle molds
- 24 popsicle sticks
- food-use-only paintbrushes
- 32-36 ounces white compound chocolate (confectionery coating, candy melts, almond bark), melted
- 2 ounces orange compound chocolate, melted
- 2 ounces red compound chocolate, melted
- 2 ounces green compound chocolate, melted
- 6 ounces dark or black compound chocolate, melted
As an alternative, you can use oil-based candy coloring to color white compound chocolate.
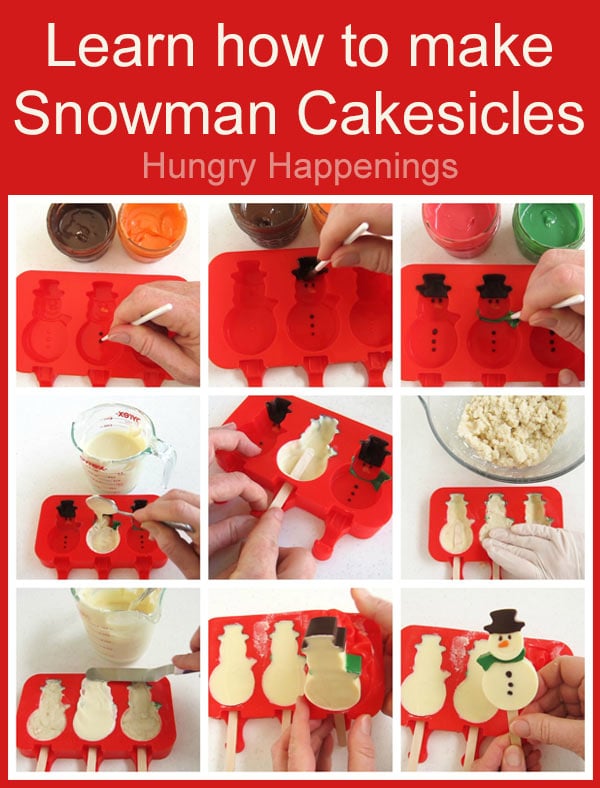
Painting the molds.
- Dip a clean, food-use-only, fine-tipped paintbrush into the orange chocolate.
- Dab the candy over the carrot cavity in the mold.
- Then dip another clean paintbrush into the dark chocolate and dab small dots over the eyes and buttons.
- Then using a larger paintbrush, pick up more dark chocolate and dab it into the top hat area, completely covering the hat with chocolate.
- Once you have all of the noses, eyes, buttons, and hats painted, pop the mold in the freezer for about 3 minutes until the candy hardens.
- Remove the mold and let it sit at room temperature for 10 minutes.
- You don't want to begin painting into a cold mold.
- Then paint the scarfs using either green or red chocolate.
- Pop the mold back in the freezer for 2-3 minutes until the candy hardens.
- Remove the mold and let it sit for just a few minutes.
- Make sure your white chocolate is not hot to the touch.
- Dab some white chocolate over the buttons and face and don't brush it around. This will help to keep the chocolate decorations from bleeding.
- Spoon in about a tablespoon of white chocolate and brush is around the edges of the mold, filling in the corners, and making sure the sides have a nice coating.
- Immediately, while the chocolate is still wet, insert a popsicle stick then paint more white chocolate around the stick.
- Add white chocolate to another snowman and insert a stick.
- Repeat with the final snowman.
- Freeze for about 5 minutes until the candy hardens.
- Then spoon in about 1 ounce of the cake ball filling into each snowman.
- Flatten the filling out so that you have about ⅛ of an inch to add more white chocolate over top.
- Spoon some white chocolate over top of the cake ball filling and spread it out to cover the entire surface of the snowman.
- Immediately scrape off any excess.
- I like to use a stainless steel putty knife to get a nice clean scrape but a clean metal, offset spatula works well too.
- Freeze the cakesicle snowmen one more time for just a few minutes until the candy coating hardens.
- Then unmold the snowmen and allow them to warm to room temperature.
- I know most snowmen would melt at room temperature, but not these little guys. They will only melt your heart!
- You can package your snowman cakesicles in clear cellophane bags tied with a ribbon to pass out as Christmas party favors, to put into Christmas stockings, or to add to the tops of Christmas gifts.
- Or you can fill a jar with Christmas candy then insert the sticks into the candy and arrange the snowmen to create a cute centerpiece for your holiday dessert table.
If you want to keep your chocolate melted and warm for hours you can set your jars into a water bath in an electric skillet.
I can't wait to share more fun cakesicle designs with you like my Skull Cakesicles or Classic Cakesicles.
Video
Recipe
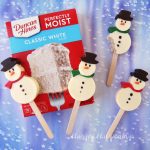
Hand-painted white chocolate snowmen lollipops have a blend of white cake and frosting in their bellies. These Snowman Cakesicles make festive Christmas treats.
- 1 box Duncan Hines Classic White Cake Mix
- 3 tablespoons instant white chocolate or vanilla pudding mix
- 3 tablespoons sour cream or Greek yogurt
- 1 cup water or milk
- 2 tablespoons vegetable oil
- 3 egg whites
- ¼ cup Duncan Hines Whipped White Frosting, plus more, if needed
- 32 ounces white compound chocolate (confectionery coating, candy melts, melting wafers, almond bark)
- 4 ounces dark or black compound chocolate
- 2 ounces orange compound chocolate
- 2 ounces red compound chocolate
- 2 ounces green compound chocolate
-
Preheat oven to 350 degrees Fahrenheit.
-
Grease and flour a 9x13 pan or line it with non-stick tin foil.
-
Combine all the cake ingredients in a mixing bowl and beat, using an electric mixer, on low speed for 30 seconds.
-
Increase the speed to medium and beat for 2 minutes.
-
Pour batter into pan and spread into an even layer.
-
Bake for 24-30 minutes until a toothpick inserted in the center of the cake comes out clean.
-
Allow the cake to cool completely.
-
Crumble the cake into a large mixing bowl.
-
Stir in ¼ cup of the frosting.
-
Add more, if desired.
-
Mix with your hands until smooth.
-
Paint an orange nose, chocolate eyes and top hat, and a green or red scarf into each of the snowman popsicle mold cavities.
-
Freeze until the candy hardens.
-
Paint white chocolate over the buttons and facial features then spoon in more white chocolate and spread it around the bottom and sides of the mold.
-
Freeze until hardened.
-
Fill the snowmen bellies with cake ball filling leaving ⅛ inch at the top of the mold.
-
Spread white chocolate over top of the cake ball filling and scrape off the excess.
-
Freeze again then once the candy has hardened you can un-mold the snowmen cakesicles.
Related Recipes
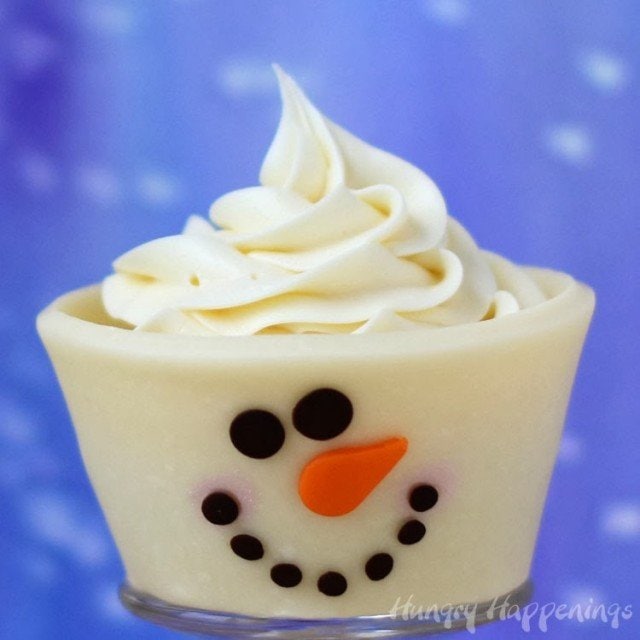
Bake white cupcakes then wrap them in edible white chocolate snowman cupcake wrappers.
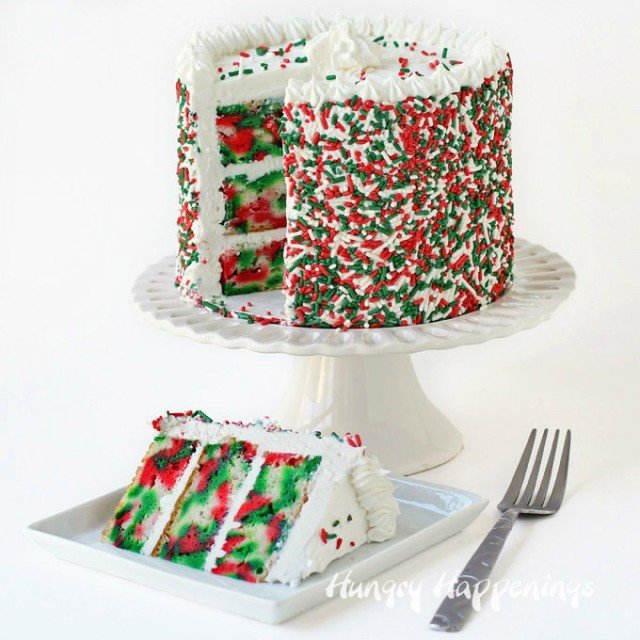
Mix up a white cake mix then color ¼ of the batter green and ¼ of the batter red. Then pipe squiggles of the red, white, and green cake batter into your pans. When it bakes, it has a really colorful tye-dye effect.
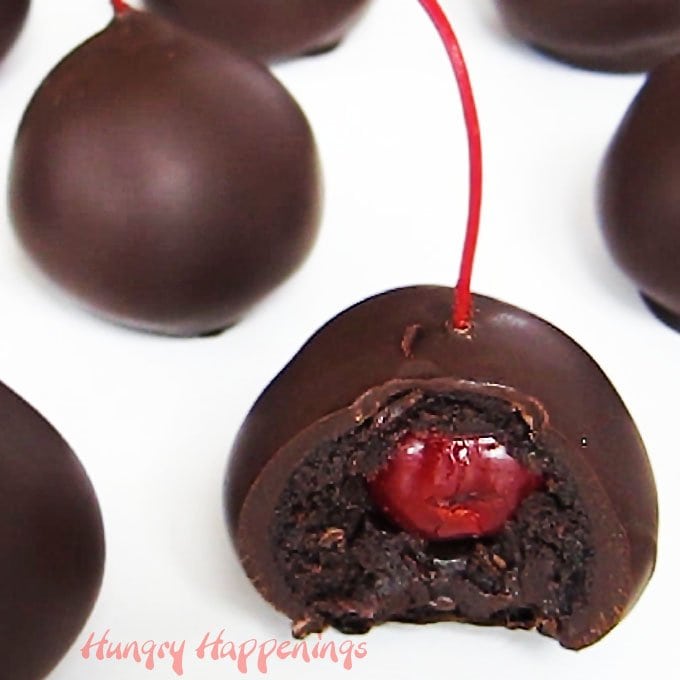
Bake a chocolate cake mix and blend it with some white frosting to create the cake ball centers of these chocolate-dipped cherries.
- How to make peanut butter? - February 15, 2024
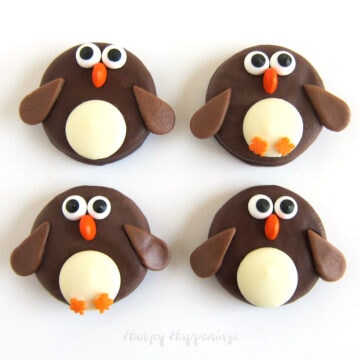
- OREO Penguins - December 20, 2023
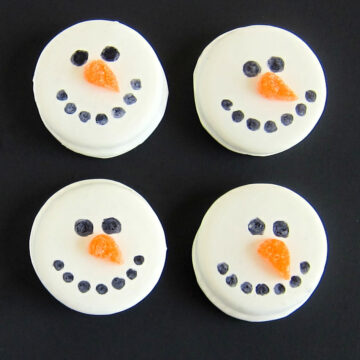
- OREO Snowmen - December 20, 2023

Rachel Quesada
I am making these today. Your instructions are wonderful and very thorough. I just wanted to let you know that you accidentally left off the oil in the printable recipe. You included it in your video and above in the text of the blog. Just wanted to let you know! Thanks for all of your fantastic ideas!
Beth
I'm so happy to hear you are making these snowman cakesicles. Have fun! Thanks for letting me know about the oil. I'm going to go fix that right now. 🙂
Rachel
Great instructions and fantastic idea as usual!
Beth
Thanks, Rachel.
The Partiologist
Oh my, those little snowman cakesicles are fantastic... Perfect for Christmas or any winter party!
Beth
Thanks! I'm glad you like these cute Christmas cakesicles.