Top these Cute Bunny Cupcakes with a handmade chocolate-dipped vanilla wafer bunny. Each bunny with its white candy tail is nestled among green frosting grass atop a white cupcake. They will look so cute on your Easter dinner table.

The bunnies that are sitting atop these Cute Bunny Cupcakes are one of my most popular Easter treats. I made the Chocolate Bunny Silhouettes for the first time back in 2012.
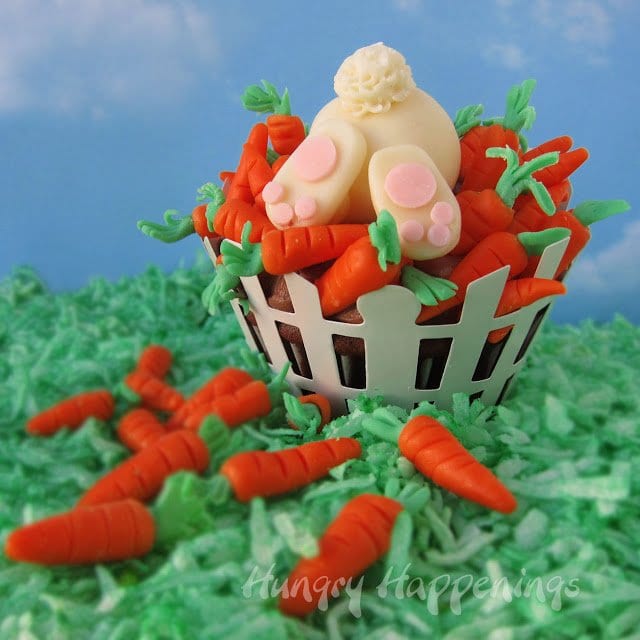
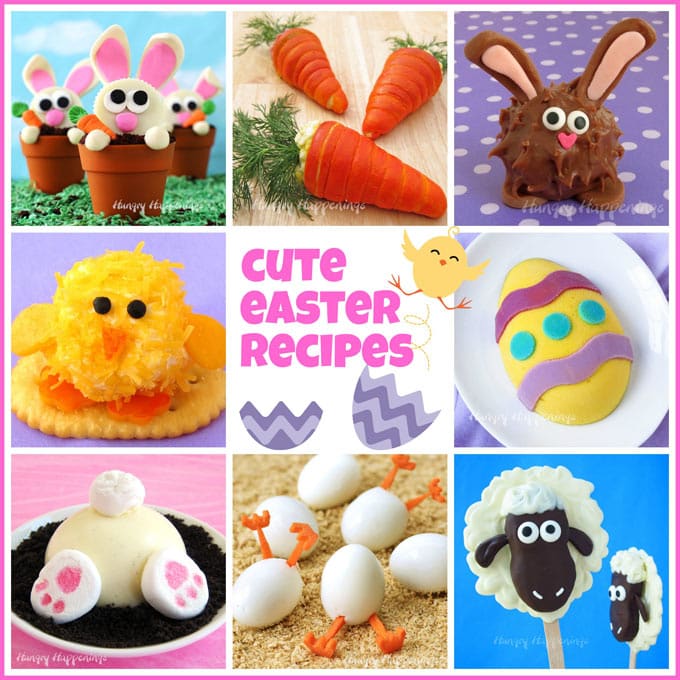
As I looked back at all my Easter recipes, as I compiled my round-up of 100+ Easter recipes last week, I realized these backside bunnies would make the perfect Easter cupcake topper.
I had been planning to create a video to show you how easy these chocolate vanilla wafer bunnies are to create anyway, so now you can see how cute they will look as a decoration for your Easter cupcakes. The video is below in the recipe card.

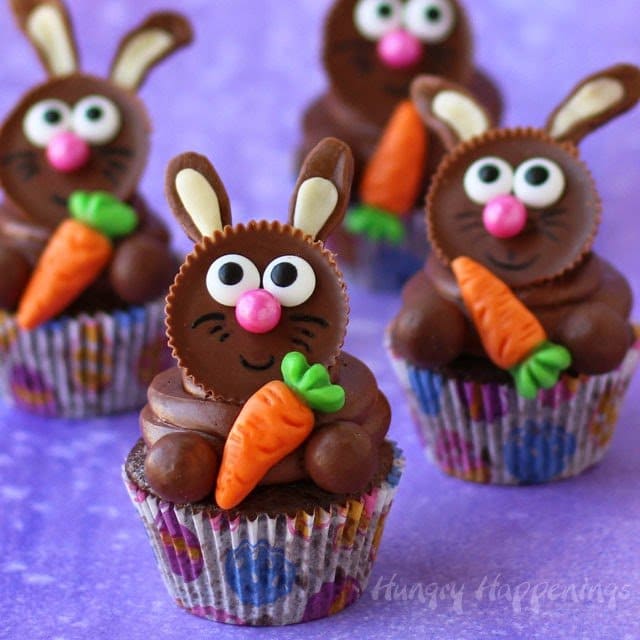
RELATED: See all my Bunny Butt Treats here.
Whether you plan to just make the chocolate bunnies or to use them to top cupcakes, I know your family will love them.
When I made these years ago, I dipped a vanilla wafer in chocolate to make the bunny's body because I liked that the vanilla wafer had curved edges. It gives the bunny's body a nice shape.
But you can use just about any round cookie, or you can just pipe out a chocolate Easter bunny if you prefer.

Ingredients
- milk chocolate (pure chocolate or compound chocolate/candy melts)
- vanilla wafer cookies
- white Sixlets (tails)
- white cake mix and ingredients (add oil, water, eggs, vanilla pudding mix, and sour cream to make super moist cupcakes)
Supplies
- small bowl and a dipping fork or a kitchen fork
- Squeez-it Mold Painting squeeze bottles or pastry bag
- parchment paper
- baking sheet or cutting board
- cupcake pan
- greaseproof cupcake liners
- pastry bag fitted with a grass tip

Instructions
Make chocolate bunnies.
- Start by melting and tempering pure milk chocolate or melting Light Cocoa Confectionery Coating/Candy Melts. (See chocolate information below.)
- Submerge a vanilla wafer into the bowl of melted chocolate.
- Remove it using a kitchen fork or a candy dipping fork.
- Tap the fork on the side of the bowl several times, allowing the excess chocolate to drip off the cookie.
- Gently scrape the bottom of the cookie along the edge of the bowl to remove any chocolate drips.
- Set the chocolate-dipped cookie onto a parchment paper-lined baking sheet.
- Immediately pipe a chocolate bunny head and ears right next to the cookie.
- Then, if you plan to use these chocolate bunnies to top cupcakes, pipe a long triangle-shaped pick opposite the bunny's head; otherwise, do not.
- Pop the chocolate bunny in the refrigerator, if using pure milk chocolate, or in the freezer, if using candy melts, for 4-5 minutes, just until the chocolate hardens.
- Remove and pipe a dot of chocolate on the bottom and attach one white Sixlet bunny tail.
- I used mini marshmallows and rolled them into fluffy-looking tails when I made these originally, but decided to use white Sixlet candies this time. It was a bit easier, and they look just as cute.
Tip
- I love using Squeez-it Mold Painting squeeze bottles when piping out chocolate, but you could also use a disposable pastry bag or even a zip-top bag. Just snip the tip off the bag, and you can pipe out your chocolate.

What type of chocolate should I use?
You can use pure milk chocolate, which contains cocoa butter and needs to be tempered, or light cocoa candy melts, which contain palm kernel oil and simply need to be melted. You can read about the different types of chocolate and confectionery coating (candy melts) on my Chocolate Making Tips page.
If you choose to use pure milk chocolate, you will need to temper it. Use the simple method below.
Simple Chocolate Tempering Method
I’ve already gone into great detail on how to temper chocolate properly, so click that link if you need those instructions. Here’s a quick recap:
- Chop ¾ of your chocolate into really fine pieces.
- Heat the chopped chocolate in the microwave on 50% power for 15-second increments, stirring after each, and allowing the chocolate to rest for a minute, then stirring again.
- Heat until almost all the chocolate is melted.
- Remove and continue to stir until all the chocolate is melted.
- Check the temperature of the chocolate.
- If it hasn't gone above 89 degrees, then your chocolate will still be in temper, and it's ready to use.
- If it has, then continue to heat the chocolate until the temperature reaches 115 degrees Fahrenheit.
- Then add the remaining chunk of chocolate and stir continuously until the chocolate cools to 89-90 degrees F.
- Remove the chocolate chunk and test the temper of the chocolate by dipping the tip of a knife into the melted chocolate and setting it on your counter. If the chocolate hardens within a few minutes and is shiny, the chocolate is tempered and ready to work with.
- If needed, you can return the chocolate to the microwave and heat at 50% power for 5 seconds to keep it warm.
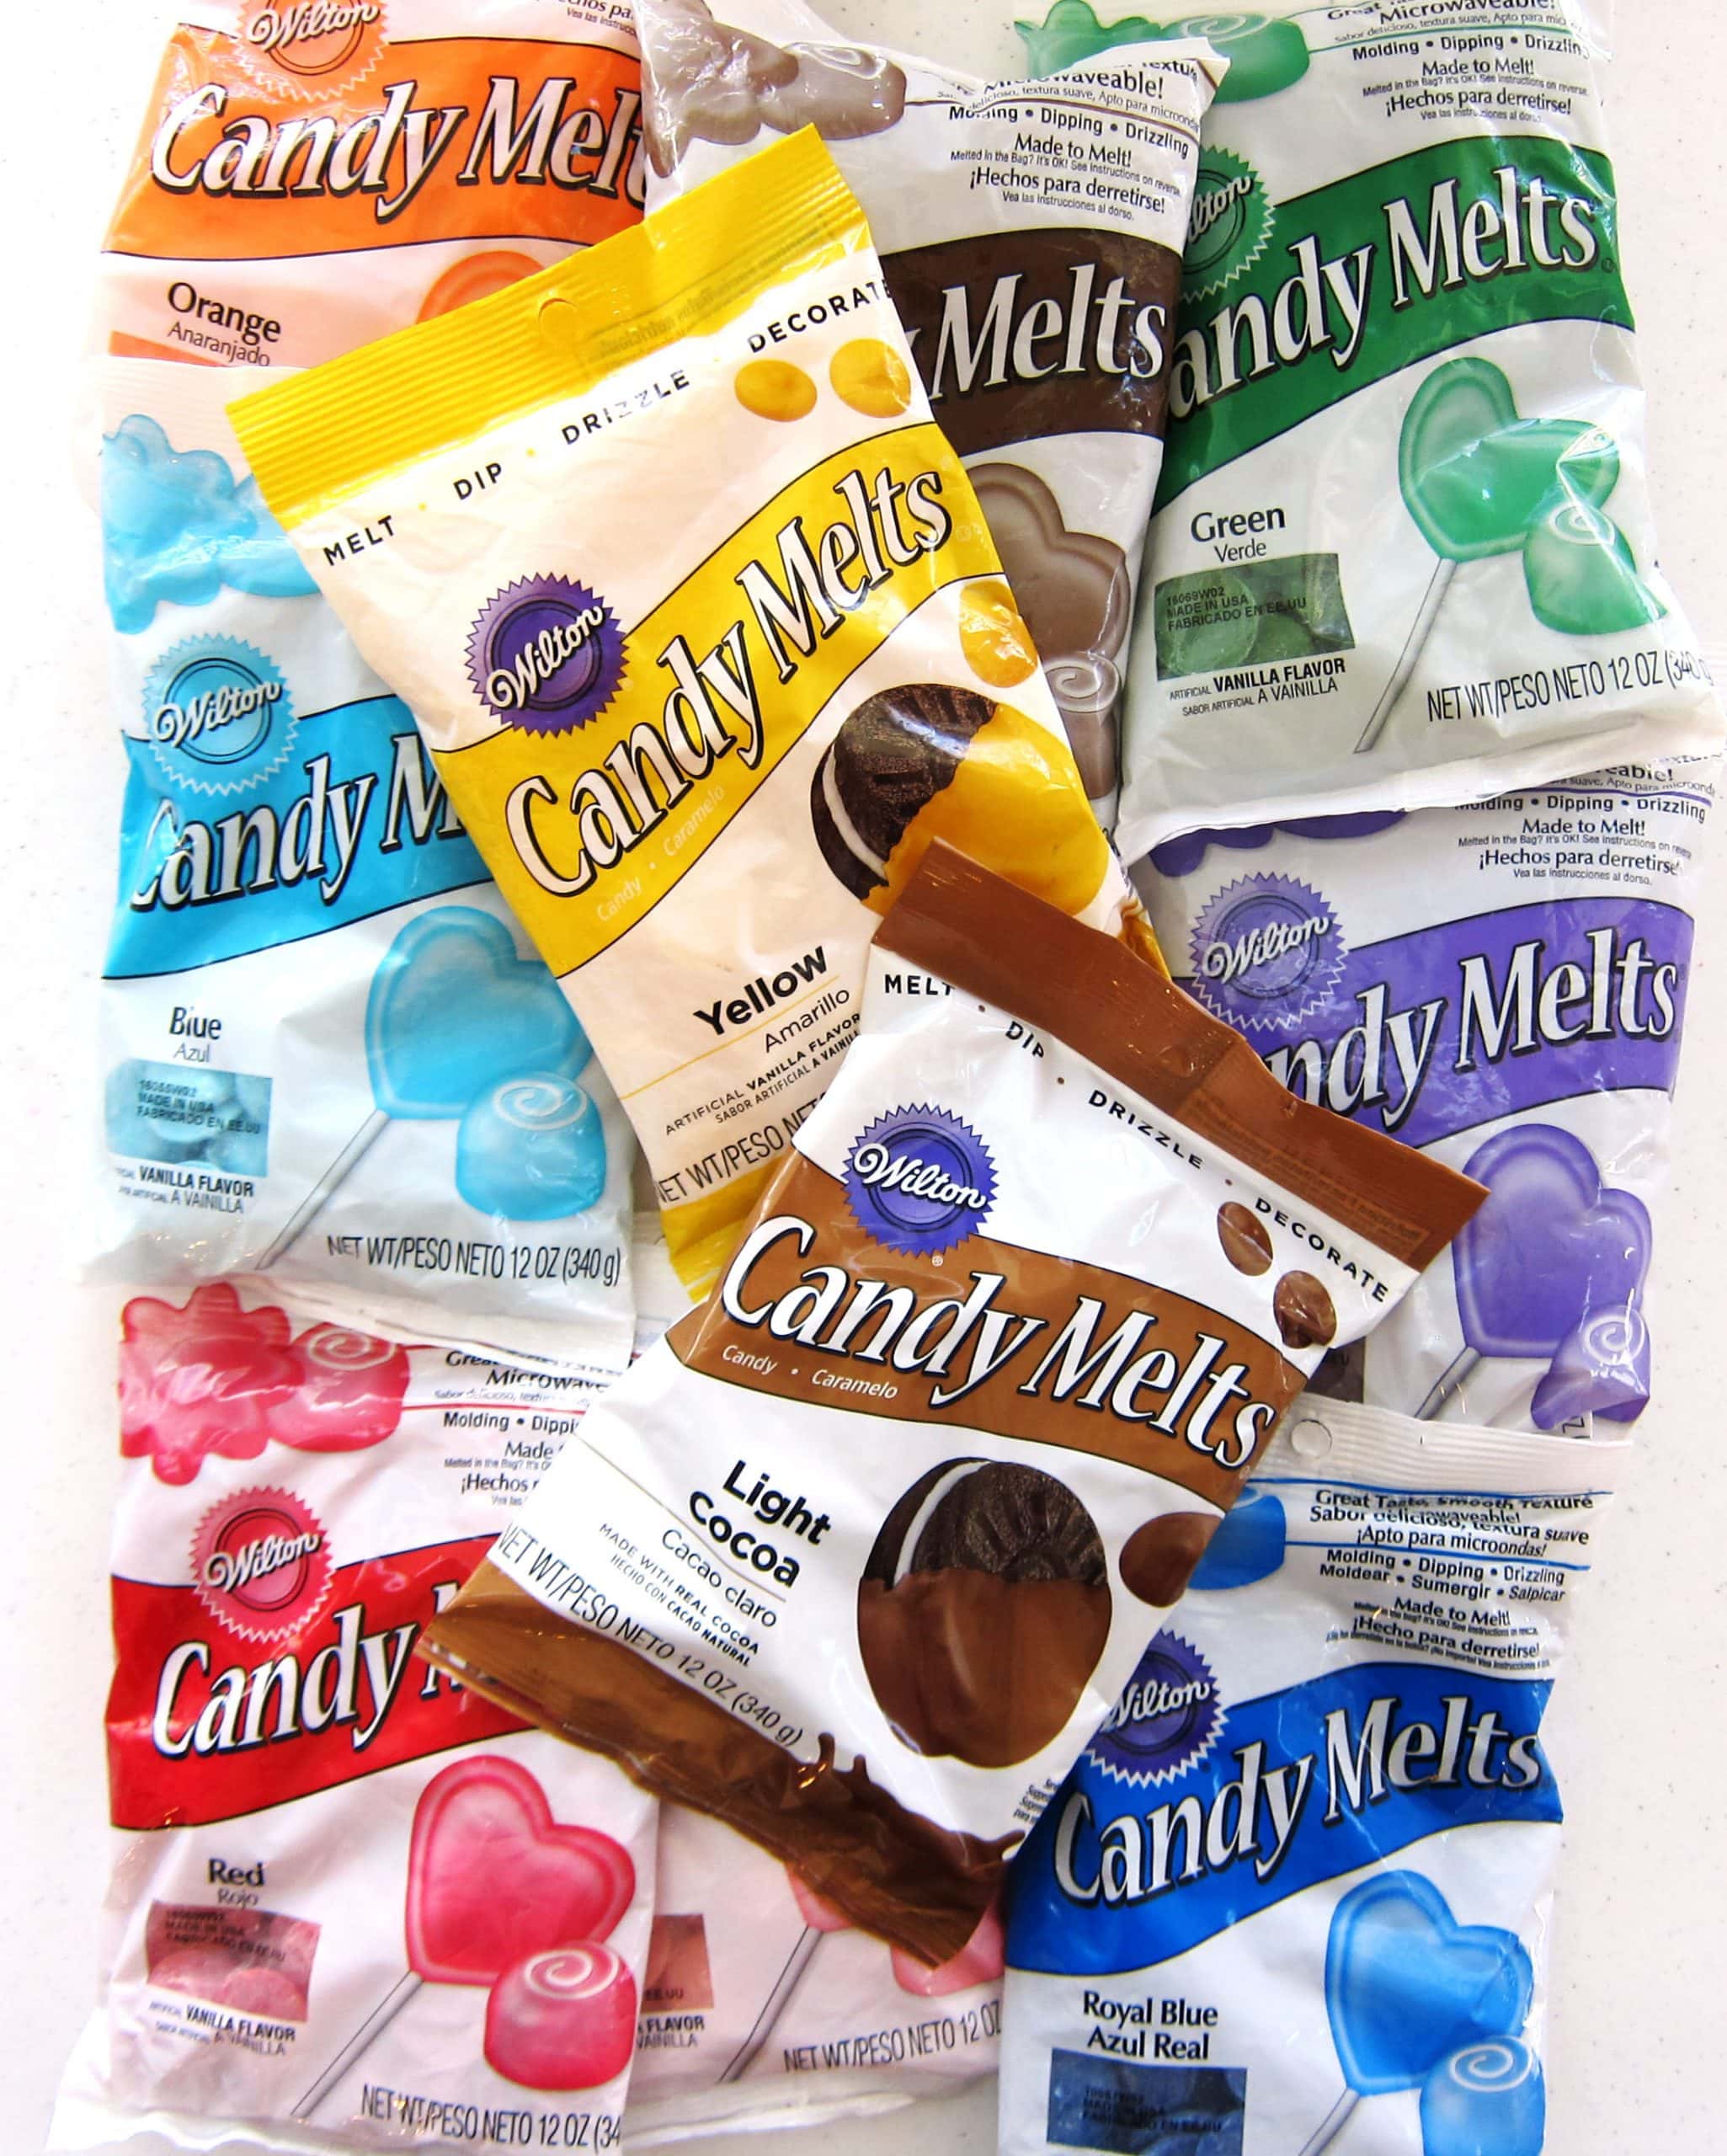
Can I use Candy Melts?
- Yes, you can.
- Melting candy melts, or any other type of confectionery coating like Ghirardelli Melting Wafers (for a light color, mix the dark and white wafers together), Peter's West Chester, Merkens Coco Lite Coatings, almond bark, or Candi Quik, is easier than hand tempering chocolate. It only requires being melted to about 110-115 degrees Fahrenheit.
How do I melt candy melts?
- Pour 12 ounces of candy melts wafers into a microwave-safe bowl.
- Heat on high power for 30-second increments, stirring after each, until about 75% melted.
- Allow the residual heat of the melted chocolate to melt the remaining wafers as you stir until completely melted.

Bake your cupcakes.
To keep things simple, I started out by doctoring white cake mix cupcakes by adding some instant vanilla pudding mix and a few tablespoons of sour cream. I have not yet found a white cupcake recipe that I like better than this.
I usually use Pillsbury White Cake Mixes. Once doctored a bit, they make the most amazing cupcakes. They have a delicate crumb but are still moist and very flavorful.
Doctored White Cake Mix Cupcake Recipe
- Combine 1 (15.25 ounce) white cake mix, 3 tablespoons vanilla or white chocolate pudding mix (instant), 3 tablespoons sour cream, and the ingredients called for on the box.
- I used a Pillsbury White Cake Mix and needed 1 ¼ cups of water, ½ cup vegetable oil, and 4 egg whites.
- Beat the ingredients on low speed for 30 seconds and on medium-high speed for two minutes.
- Then divide the batter among 21 cupcake liners and bake for 18-22 minutes.
- To test if your cupcakes are done, press down in the center of a cupcake. If it springs back, it's ready. If it stays indented slightly, it needs more time.
Frosting Recipe
- Beat ¾ cup vegetable shortening and ¾ cup softened butter until light and fluffy.
- Add 6 cups of powdered sugar and beat until combined.
- Add 3 tablespoons of milk and some Kelly green or leaf green icing coloring and beat until smooth.
- If needed, add more milk, a teaspoon at a time, and more coloring, until the frosting reaches a pipeable consistency and is a nice bright shade of green.
- Spoon the frosting into a pastry bag fitted with a coupler and a multi-hole grass pastry tip.
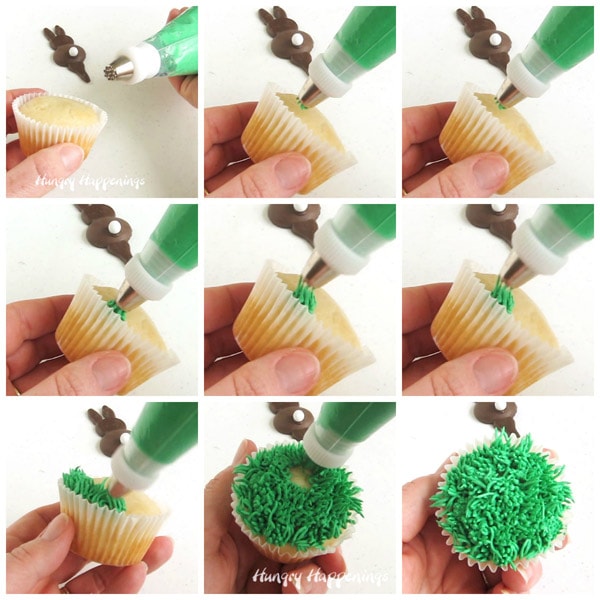
Pipe green frosting grass onto your cupcakes.
- Squeeze a small amount of frosting out through the multi-hole grass tip.
- Press the frosting onto the cupcake.
- Pull up, continuing to gently squeeze the bag, allowing a little more frosting to come out.
- Then pull up and stop squeezing. The frosting will break off into short blades of grass.
- Repeat, going all around the top of the cupcake until it's completely covered in green frosting grass.

Add the chocolate Easter bunny to your cupcakes.
- Simply insert the chocolate pick into the cupcake, snuggling the chocolate bunny down into the frosting grass.
Storage
- You can store the cupcakes in an airtight container stored at room temperature for 2-3 days.
- NOTE - Because of the large amount of sugar, the U.S. Food Safety and Inspection Services agrees that buttercream frosting made with small amounts of milk is safe to leave out at room temperature for two to three days.
- You can also refrigerate the cupcakes for up to a week, but I do not suggest refrigerating the chocolate bunnies. Just store them at room temperature then attach them to the cupcakes before serving.

Related Recipes

Recipe

Did you make this recipe or do you just think it is super cute? Let me know by leaving a comment and rating the recipe below.

Make Chocolate Vanilla Wafer Bunnies to sit on top of cupcakes decorated with green frosting grass. These Cute Bunny Cupcakes make a fun Easter dessert.
- 12 ounces milk chocolate or light cocoa candy melts
- 21 vanilla wafer cookies
- 21 white Sixlets or mini marshmallows
- 1 (15.25 ounce) box white cake mix
- 3 tablespoons vanilla or white chocolate instant pudding mix
- 1 ¼ cups water
- ½ cup vegetable oil
- 4 egg whites
- ¾ cup shortening
- ¾ cup butter, softened
- 6 cups powdered confectioners sugar
- 3-6 tablespoons milk
- Kelly or Leaf Green icing coloring
-
Melt and temper pure milk chocolate or melt the candy melts. (See tutorial for instructions).
-
Dip one vanilla wafer in the chocolate.
-
Remove using a fork and allow excess chocolate to drip off.
-
Set chocolate dipped cookie on a parchment paper lined baking sheet.
-
Immediately pipe a round head and two pointed ears next to the chocolate dipped cookie then pipe a long triangle shaped pick opposite the head.
-
Refrigerate, if using pure chocolate, and freeze, if using candy melts, for about 5 minutes just until the chocolate hardens.
-
Repeat creating 21 bunnies.
-
Pipe a small dab of chocolate on the bottom edge of the bunny, just above the chocolate pick, and attach one white Sixlet candy.
-
Optionally, roll a mini marshmallow in the palms of your hand until it looks like a fluffy bunny tail. Attach that to the bunny instead of the white Sixlet.
-
Preheat your oven to 350 degrees Fahrenheit.
-
Line 21 muffin tin cavities with paper cupcake liners.
-
Combine the white cake mix, vanilla pudding mix, sour cream, water, oil, and egg whites in a mixing bowl.
-
Beat on low speed for 30 seconds.
-
Beat on medium-high speed for another two minutes.
-
Equally divide the cake batter among 21 cupcake liners.
-
Bake for 18-24 minutes then remove and cool completely.
-
Beat the shortening and butter until light and fluffy.
-
Add the powdered sugar and beat until well combined.
-
Pour in 3 tablespoons of the milk and green food coloring and beat until smooth and creamy.
-
If needed, add more milk, a teaspoon at a time, until the frosting is of piping consistency.
-
Spoon into a pastry bag that has a multi-hole grass tip attached.
-
Pipe green grass over top of each of the cooled cupcakes.
-
Insert a chocolate bunny in the center of each frosted cupcake before serving.
Recipe Video

- Banana Split Bars – A Fun and Easy Summer Dessert - March 4, 2026
- Pineapple Fudge (No Candy Thermometer Needed!) - March 4, 2026
- No-Bake Peanut Butter Pie Recipe - March 3, 2026
Esther says
Me encanta tu blog. Siempre me sorprende con cosas maravillosas como esta 😉
(I love your blog. You always surprise me with these kind of amazing things. Thank you)
Beth says
Thank you so much, Esther! I am so happy to hear you enjoy the projects on my blog. I hope you have had fun making some of my recipes. If you ever have any questions, do not hesitate to ask. 🙂
The Partiologist says
Oh my goodness, you're taking the bunny cupcakes to the next level!
Rachel says
Oh my goodness! I just love absolutely everything that you create! This one is no exception. I just love it!
Beth says
That is so nice to hear! Thanks.