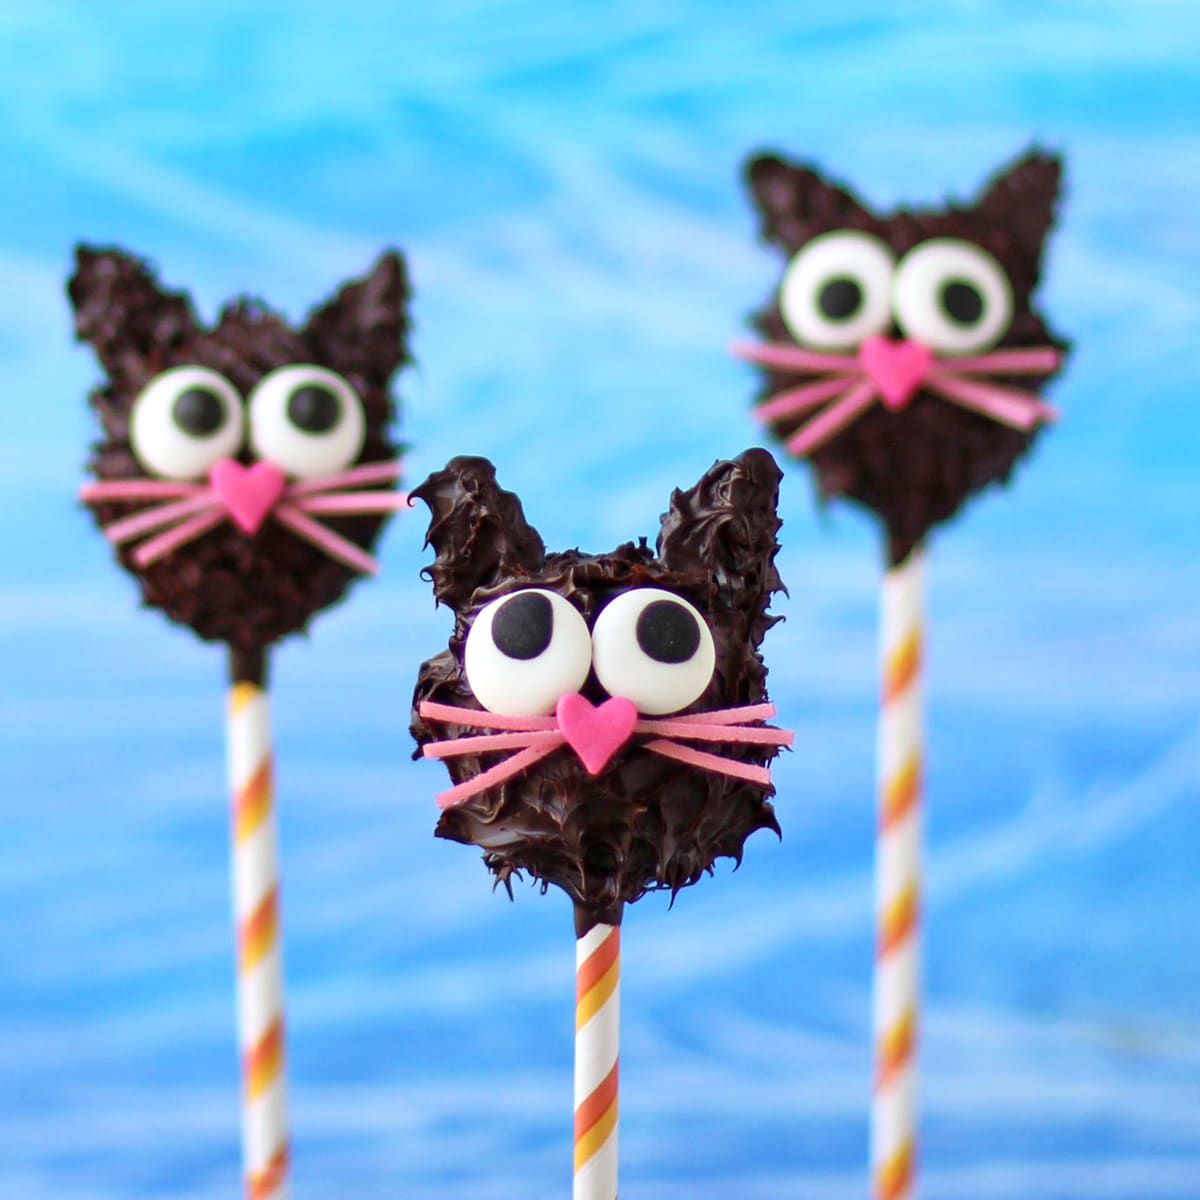
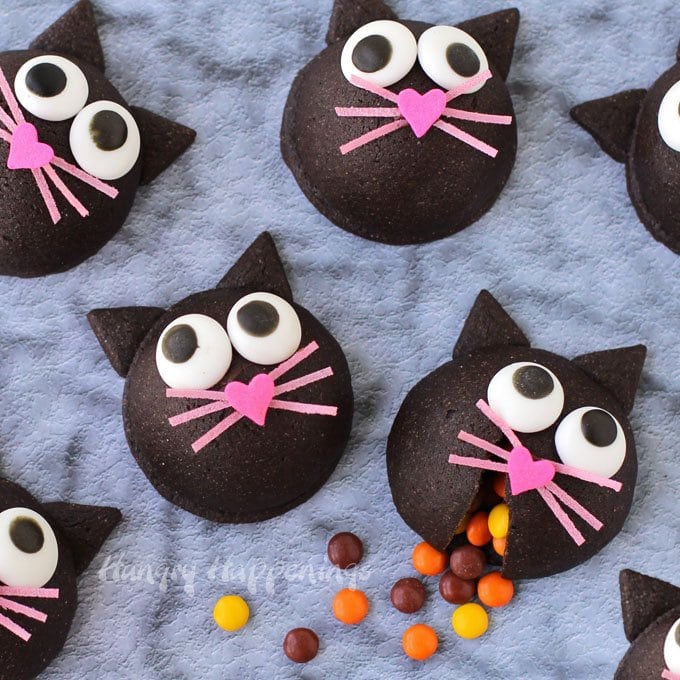
Dip cookies into dark chocolate or black Candy Melts to create these adorable Black Cat Cookies for Halloween or a cat-themed party. These sweet treats are delicious and fun!

It is so much fun creating cute treats for holidays and special occasions and I particularly love making Halloween desserts.
The idea to create black cats using chocolate-coated cookies has been lurking in the back of my mind for some time.
These Halloween treats are similar to my Chocolate Bunny Silhouettes, which you all loved so much. Those little treats are one of my most popular projects, so I felt it was about time I tried to recreate that magic, and what better way to do that, than with a black cat for Halloween?

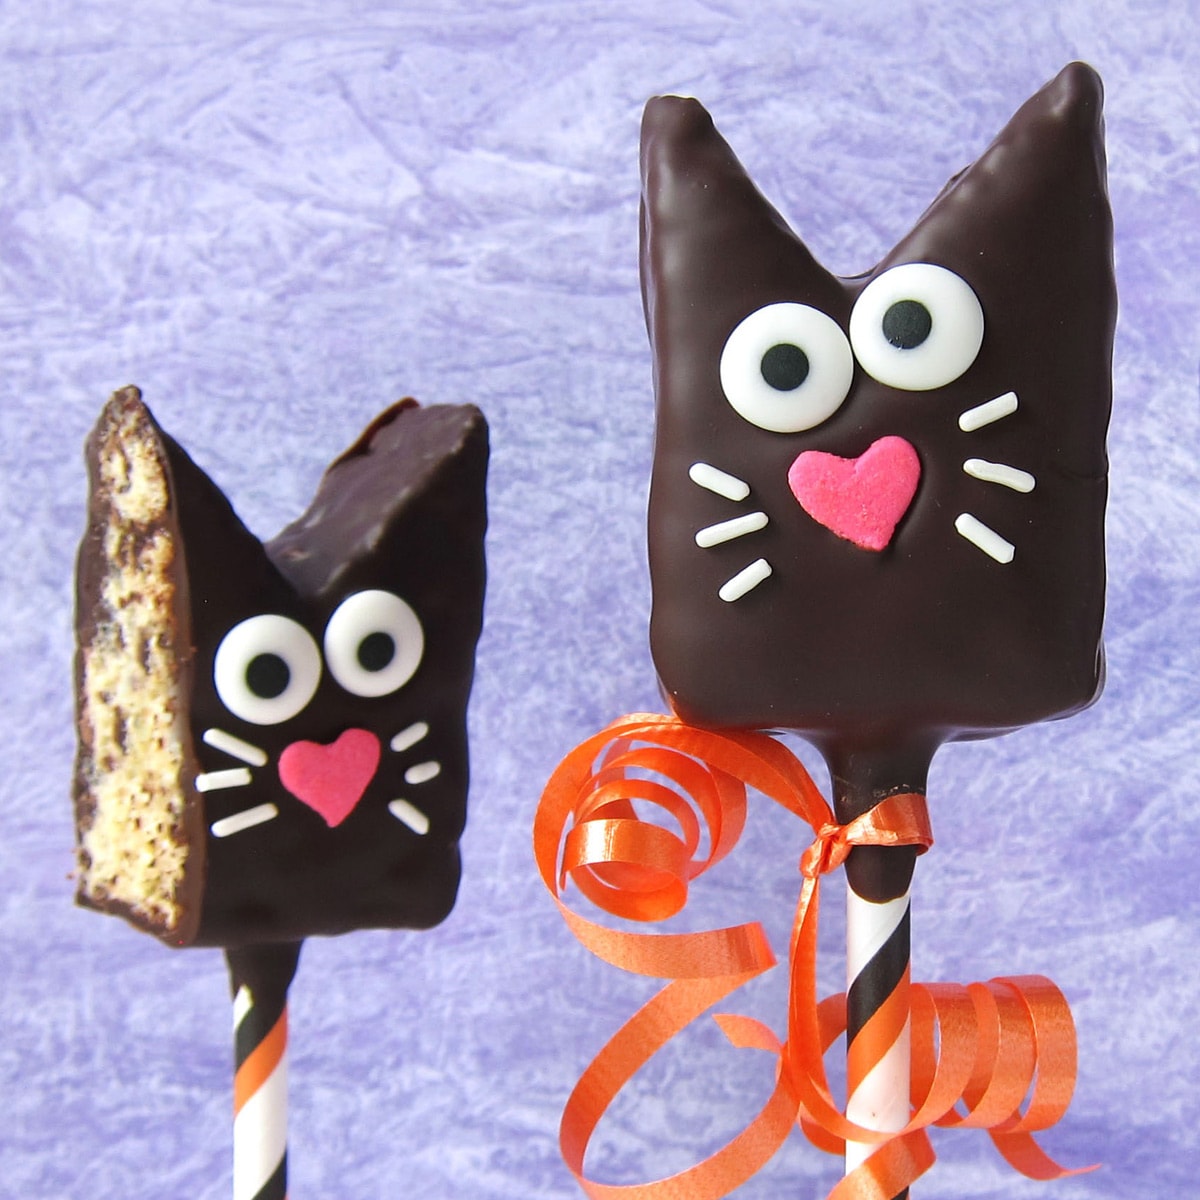
Each of these black cats is created with a chocolate-coated OREO Cookie body and a vanilla wafer head. Then a chocolate tail and ears are added to complete the cat.
They are so cute in their simplicity.
And they taste delicious too! Kids of all ages will love these chocolate desserts and you don't just have to make them at Halloween. They'd be a perfect treat to give as a gift to your favorite cat lady, vet, or animal rescue worker.
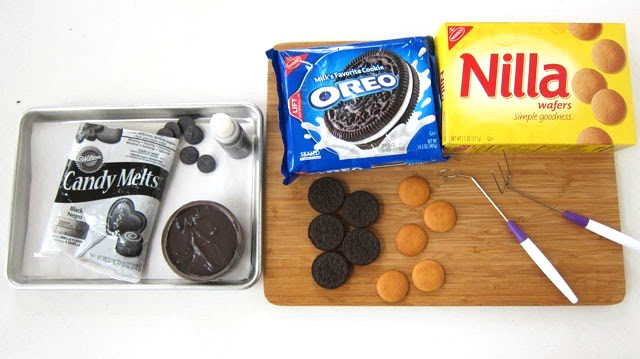
Ingredients
(makes 8)
- 10 ounces Black Candy Melts, melted or semi-sweet chocolate melted and tempered*
- 8 Oreo Cookies
- 8 Nilla Wafers
*For a richer black color, mix the Black Candy Melts with some Dark Cocoa Candy Melts. I did this. If you'd like to use pure semi-sweet chocolate you'll need to temper the chocolate. Check out my chocolate making tips page for melting and tempering instructions.
Supplies
- dipping fork or kitchen fork
- parchment paper-lined baking pans
- Squeeze it Mold Painter (small squeeze bottle) or a small zip-top bag
Items used to create this project are available from Amazon.com. I earn a small commission at no extra cost to you when you use the links below.
 Wilton Black Vanilla Candy ...Shop on Amazon
 Nabisco Nilla Wafers - 2/15...Shop on Amazon
 OREO Chocolate Sandwich Coo...Shop on Amazon
  Wilton Candy Melts Candy De...Shop on Amazon
Instructions
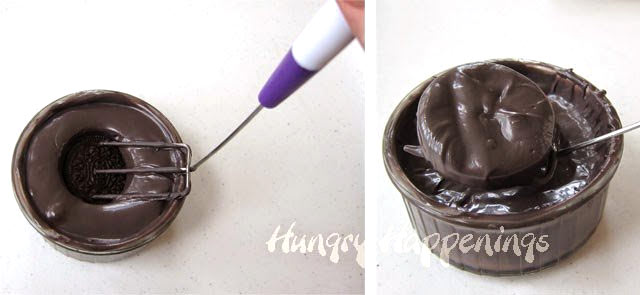
Dip the OREO Cookie in chocolate.
- Pour the melted candy coating or melted and tempered semi-sweet chocolate into a small shallow bowl.
- Dip an Oreo into the chocolate, lift it out using a dipping fork, allow the excess chocolate to drip off, then set the cookie on a parchment paper-lined baking sheet.
Tips
- Lift the chocolate-coated cookie out of the bowl then dunk just the bottom back into the bowl, lift it out, dunk it, and repeat a few more times.
- By doing this the excess chocolate is pulled back into the bowl.
- Then once most of the excess chocolate has dripped off, you can gently scrape the bottom of the dipping fork on the edge of the bowl. That will remove all of the drips of chocolate.

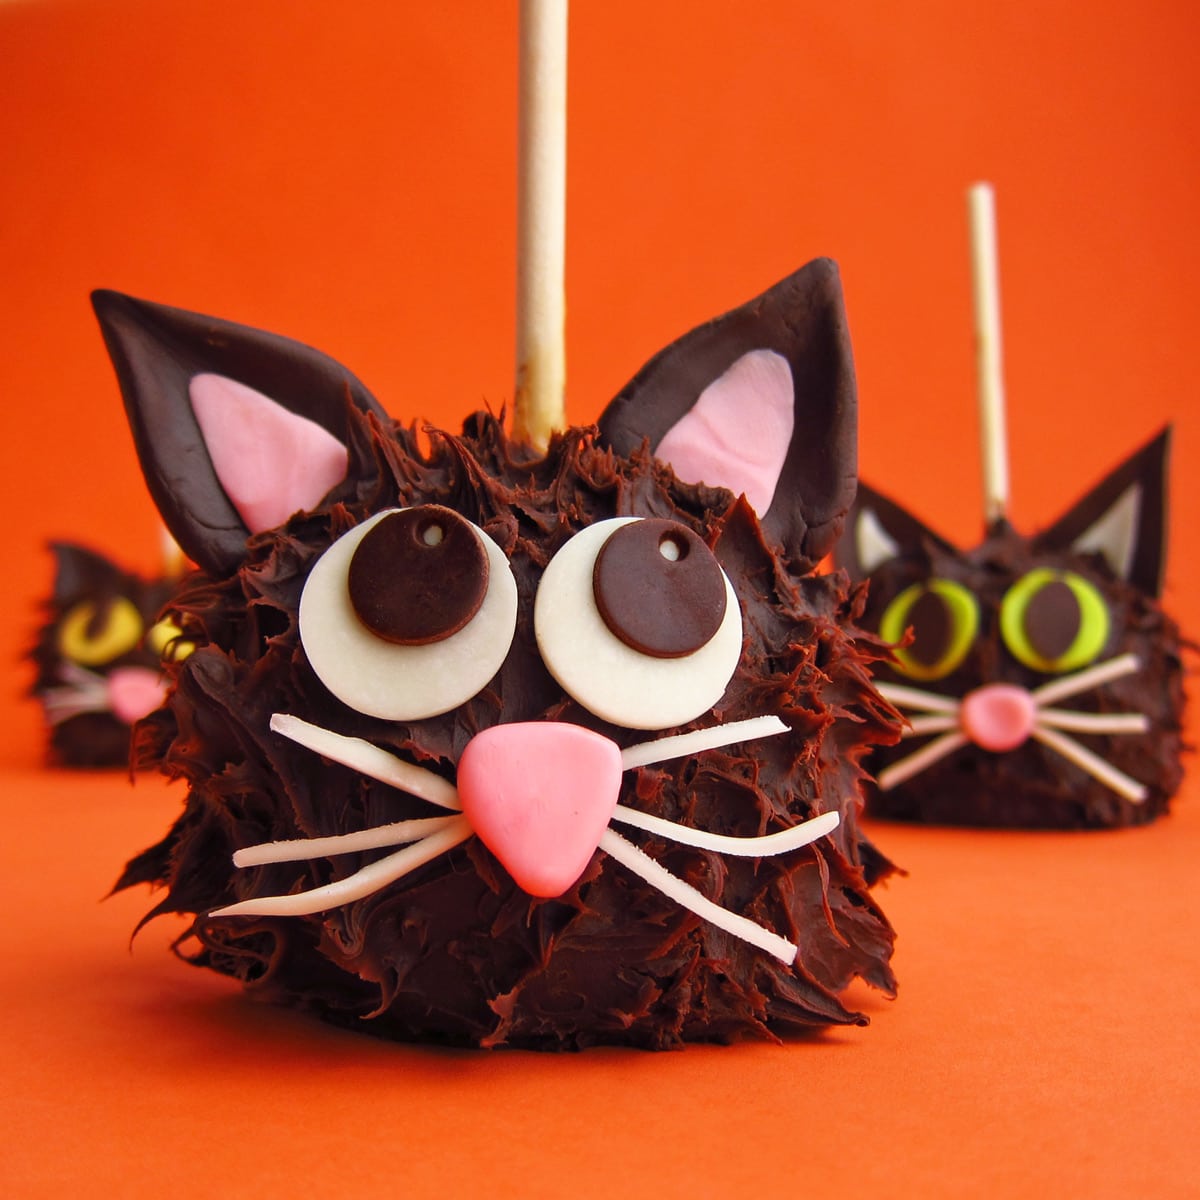
Make the chocolate look furry.
- Allow the chocolate to dry for a moment, then using the fork, press down on the chocolate, and lift the fork away quickly, pulling the chocolate up into furry-looking peaks.
- Do this all over the cookie, rotating the fork, so you don't just end up with lines of fur.


Make the cat's head.
- Repeat the process with a Nilla Wafer.
- Set the chocolate-coated Nilla Wafer next to the chocolate-coated Oreo.
- Make the chocolate look like cat fur too.
- Chill the cookies after you get each one made. If you are using pure chocolate chill the chocolate-dipped cookies in the refrigerator for about 5 minutes until the chocolate sets. If you use candy melts place the cookies in the freezer instead.

Make a chocolate tail and ears.
- Once you get all 8 cats made, pour the remaining chocolate into a Squeezeit Mold Painter or a zip-top bag.
- I like using the bottle because I feel like I have more control over the melted chocolate.
- Plus you can change the pastry tips in the bottle, so you can use a small round hole to make the ears and a larger round hole to make the tail.
- You can use a pastry bag or even a zip-top bag instead. Just snip the tip of the bag off and squeeze the chocolate out of the bag.
- Pipe two ears onto the cat's head.
- Add a few layers to the ears, so they have some dimension. If they are too thin, they might break off.
- Then pipe a curled tail onto the parchment paper. Once again, make this rather thick, so it won't break easily.
- Chill the chocolate tails until hardened.
- Then remove them and peel the tails off the parchment paper.

Attach the cats' tails.
- Attach the tails using a dab of chocolate.
- They will stick up a bit.
- Chill just until the ears harden and the tail stays in place.
- Remove and peel the chocolate cats off the parchment paper and they are ready to serve.
Serve at a party.
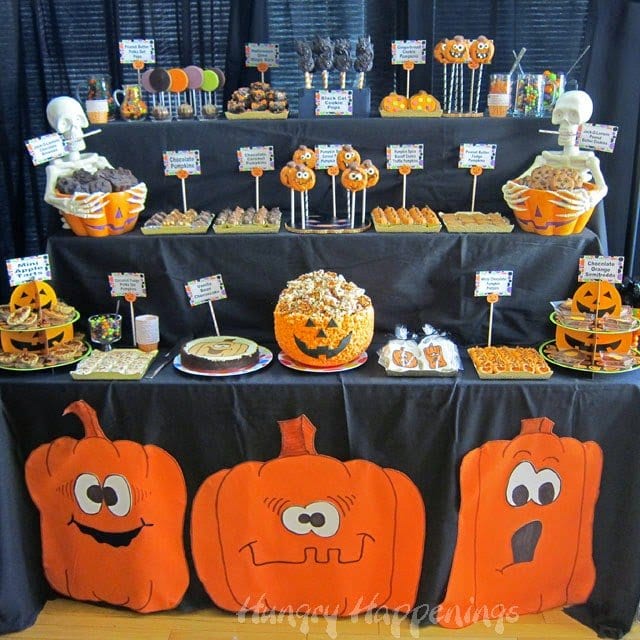
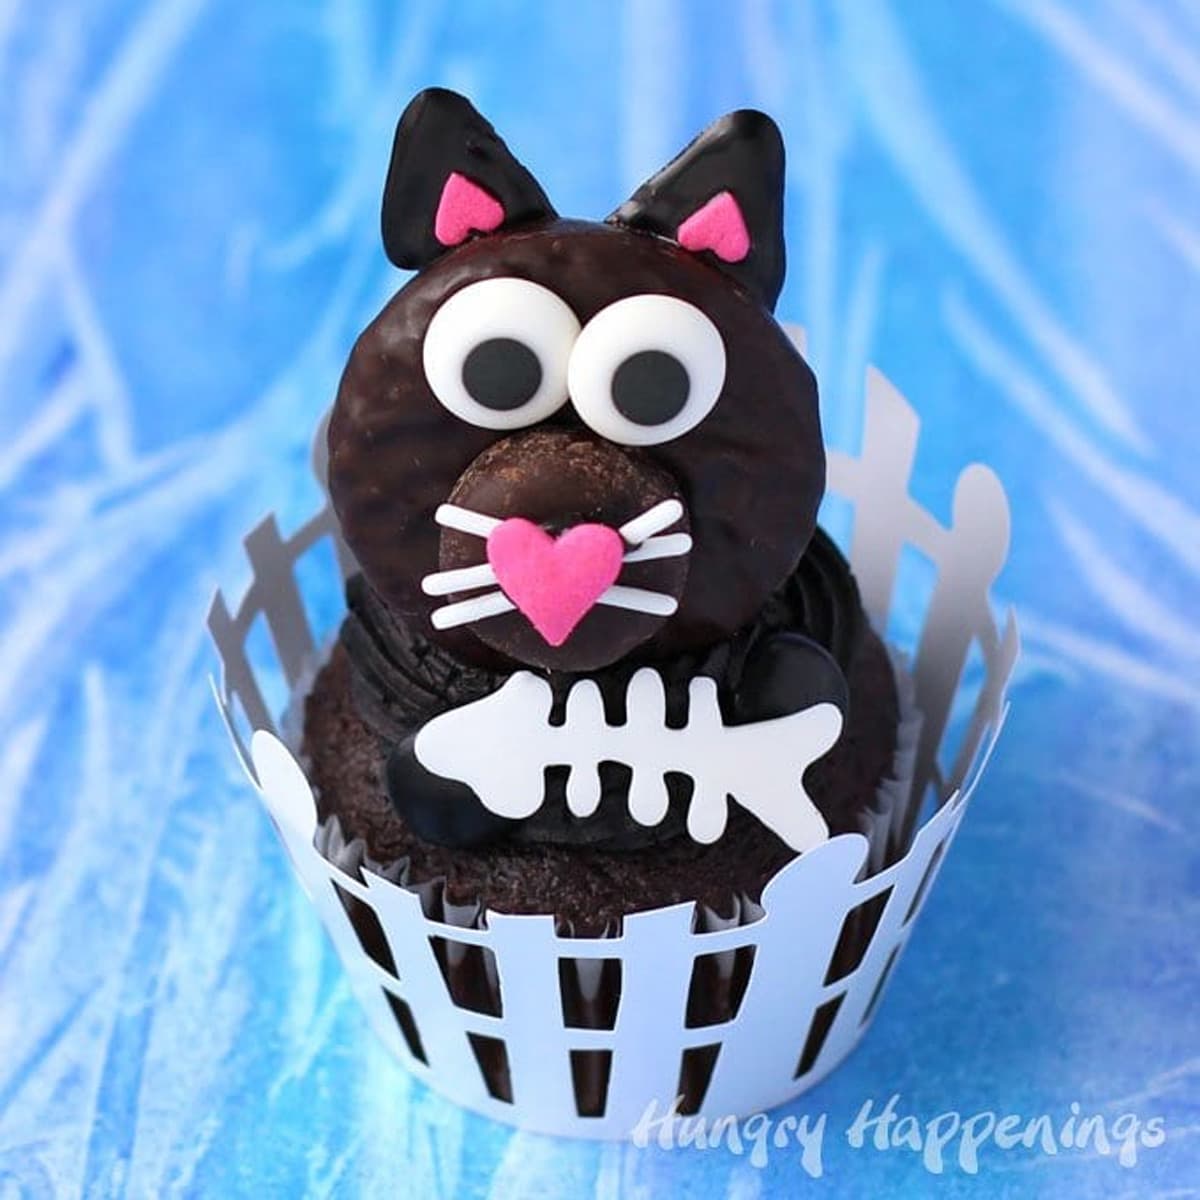
See the cats on the top shelf of this display? I know they don't show up really well against the black curtains, but all the orange-colored pumpkin desserts sure did.
I made all of these fun Halloween desserts for our pumpkin carving party. Check them out, here.
Variation
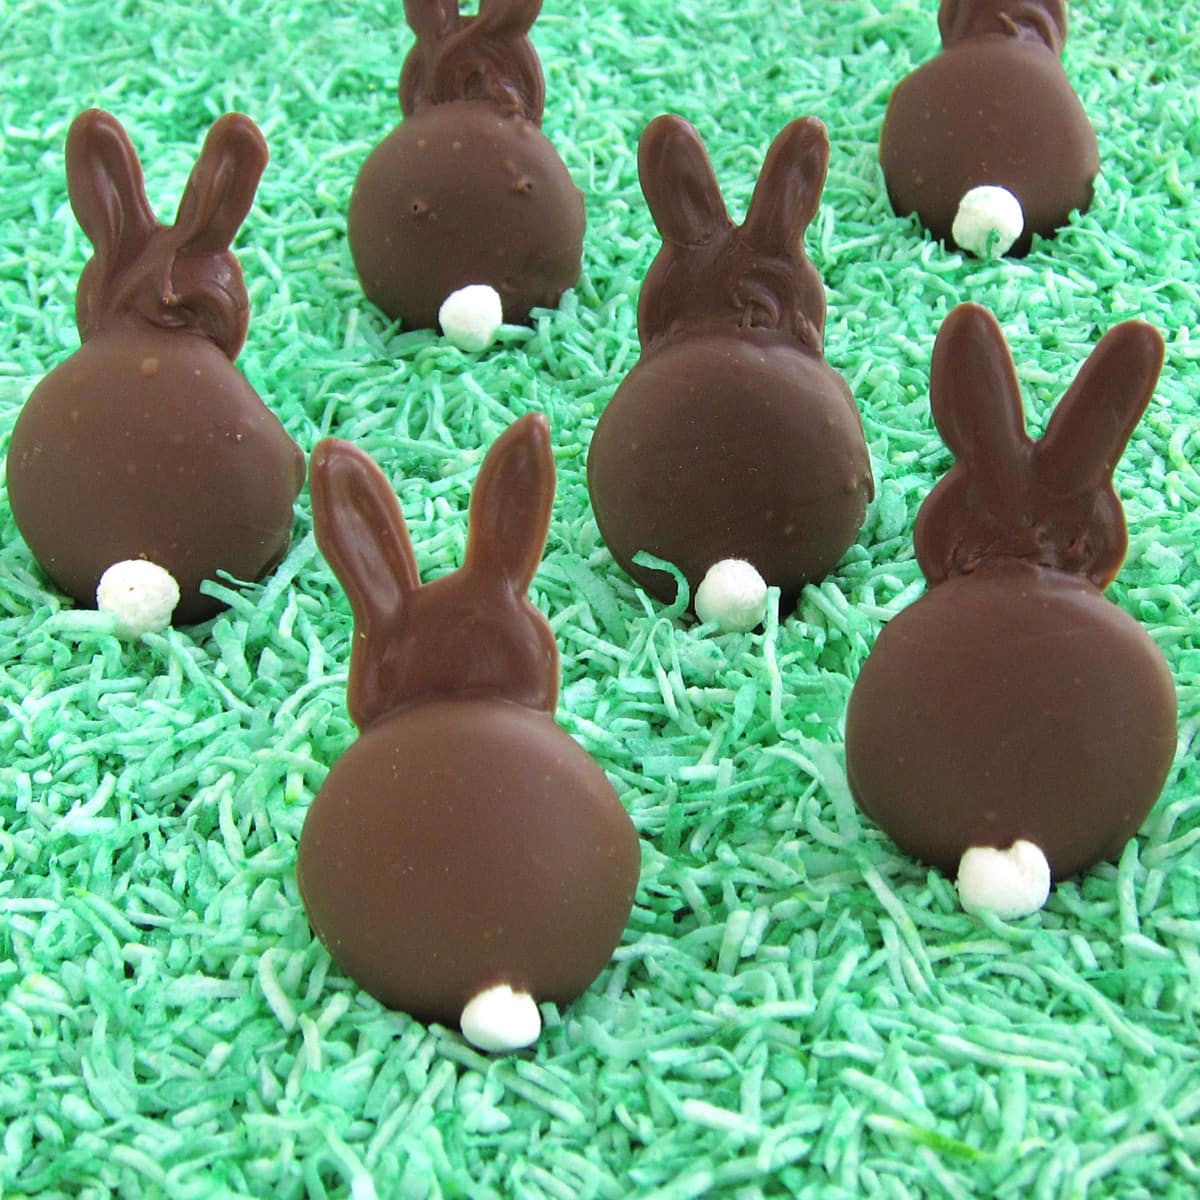
You can use the same technique to create Chocolate Bunny Cookies.
Related Recipes
Check out all of my Halloween recipes.
Recipe
This recipe was originally published on October 14, 2014.

Chocolate dipped OREO Cookies and vanilla wafers are used to create cute black cat cookies with chocolate ears and tails.
- 10 ounces Black Candy Melts, melted or semi-sweet chocolate melted and tempered
- 8 Oreo Cookies
- 8 vanilla wafer cookies
-
Pour the melted candy coating or melted and tempered semi-sweet chocolate into a small shallow bowl.
-
Dip an Oreo into the chocolate, lift it out using a dipping fork, allow the excess candy to drip off, then set the cookie on a parchment paper-lined baking sheet.
-
Allow the candy coating to dry for a moment, then using the fork, press down on the candy, and lift the fork away quickly, pulling the candy up into furry looking peaks.
-
Do this all over the cookie, rotating the fork, so you don't just end up with lines of fur.
-
Repeat the process with a vanilla wafer.
-
Set the chocolate-coated vanilla wafer next to the chocolate-coated Oreo.
-
Use the dipping fork to create spikes of fur on this cookie too.
-
Chill the cookies after you get each one made. If you are using pure chocolate chill the chocolate-dipped cookies in the refrigerator for about 5 minutes until the chocolate sets. If you use candy melts place the cookies in the freezer instead.
-
After all 8 cats are created, pour the remaining chocolate in a Squeezeit Mold Painter or a zip-top bag.
-
Pipe two thick ears onto the cat's head.
-
Then pipe a thick curled tail onto the parchment paper.
-
Chill the tails until they are hardened.
-
Remove the tails from the refrigerator (pure chocolate) or freezer (candy melts) and peel them off the parchment paper.
-
Attach the tails using a dab of chocolate.
-
Chill just until the ears harden and the tail stays in place

To get my black cat cookies to stand up, I set some black modeling chocolate in front of them and propped the cookies up. It worked like a charm.
When my photo shoot was done, I actually used some more Black Candy Melts to attach them to large paper straws. That way I could store them standing up by putting them in a display.

- Banana Split Bars – A Fun and Easy Summer Dessert - March 4, 2026
- Pineapple Fudge (No Candy Thermometer Needed!) - March 4, 2026
- No-Bake Peanut Butter Pie Recipe - March 3, 2026

Karly Campbell says
So great for Halloween! Thanks for linking up with What's Cookin' Wednesday!
The Partiologist says
I love all your cat creatures, especially how you did the back side cats - so clever!
Michelle Clausen says
awesome awesome awesome!!! I love they are standing up, so creative!
Julie says
These are adorable. Heading over to look at the spiker infested cookies next!
The Bearfoot Baker says
I love these! They are so cute and they look like they would be fun to make. Pinning now!
Vanessa @Vanessa Baked says
These are adorable and simple. Very creative and perfect for Halloween.
Sue says
LOVE your black cats! Pretty simple with a high cuteness factor! You are so creative, Beth!