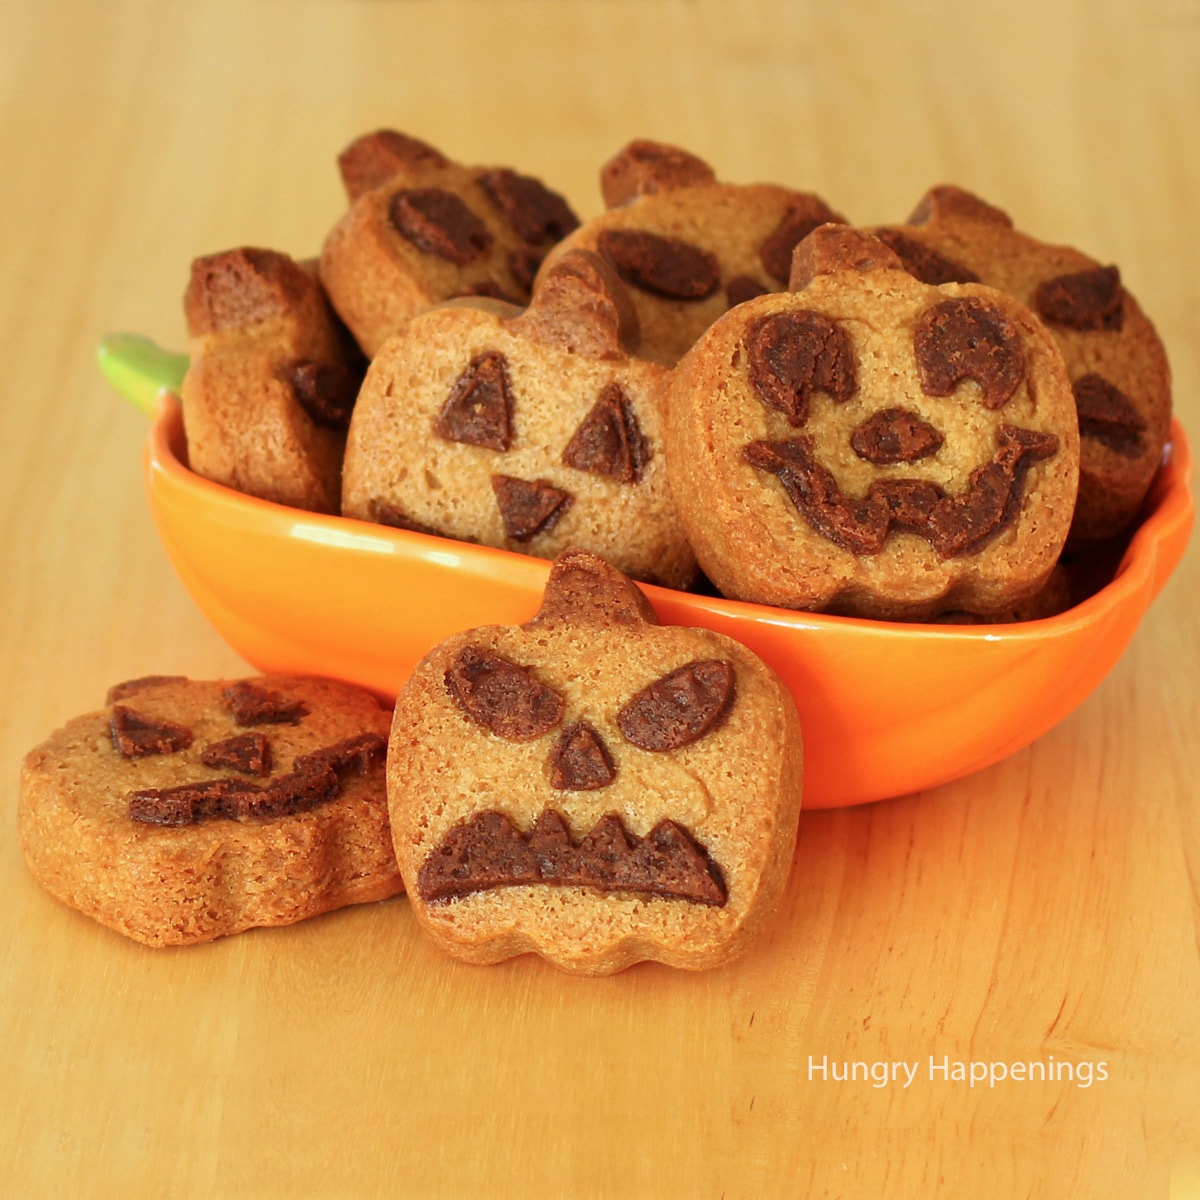
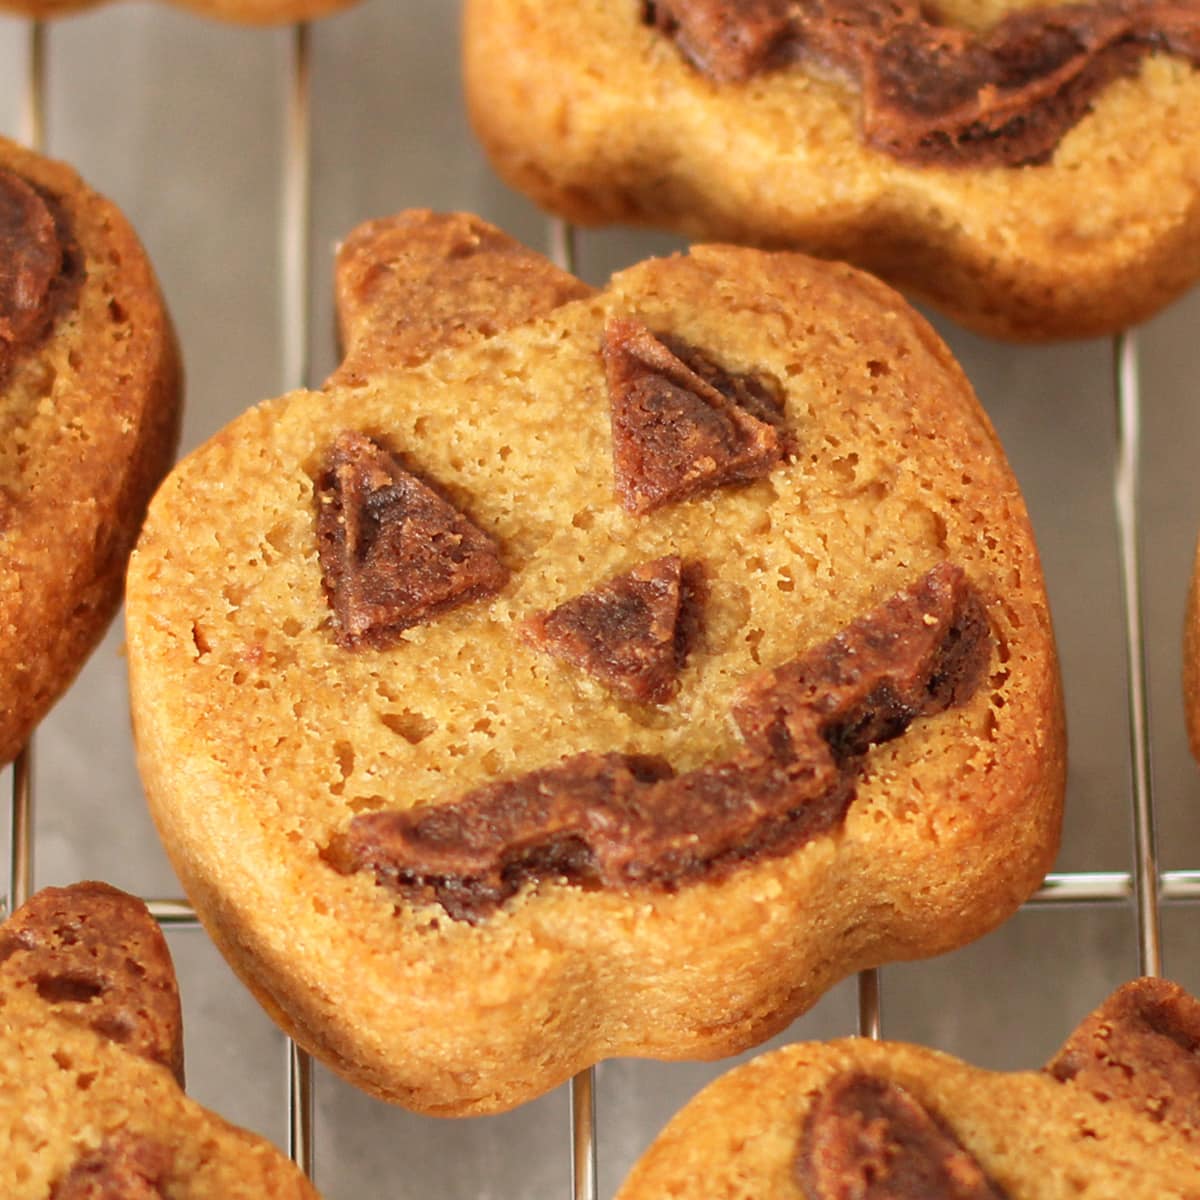
This Halloween, dress up your peanut butter cookies by turning them into pumpkins. Each of these pumpkin-shaped cookies is decorated with a chocolate Jack-O-Lantern face made from cookie dough.
My husband begs me to make peanut butter cookies all the time and he was hoping I'd make some for our Halloween party.
I wanted the cookies to look festive for our pumpkin carving party, so I baked them in pumpkin-shaped silicone molds.
I used a recipe that has been in my recipe box since I was in elementary school. I've never tried baking a batch of peanut butter cookies using any other recipe. I figure, why mess with a good thing?
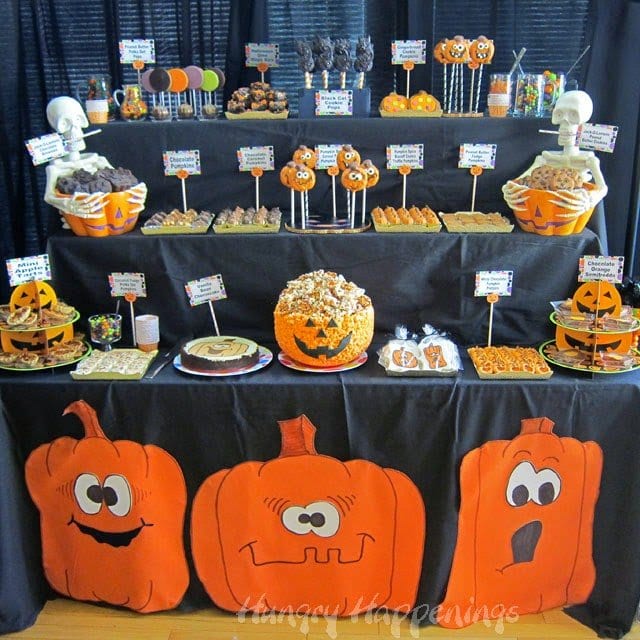
The pumpkin-shaped cookies looked amazing on my dessert table and they tasted great.
They were gobbled up quickly and I realized that I never got any good pictures so I had to make more so that I could share the recipe with you. I can't say anyone around here complained about having extra peanut butter cookies to eat this week.
The cookies are crunchy on the outside, chewy on the inside, and packed with peanut flavor.

So, let's make some cookies!
Peanut Butter Jack-O-Lantern Cookies
Ingredients
butter - use unsalted butter that is softened at room temperature for two hours
brown sugar - makes these peanut butter cookies nice and chewy
granulated sugar - adds sweetness
creamy peanut butter - use peanut butter you enjoy eating out of the jar
egg - set your egg out at room temperature along with the butter
flour - use all-purpose flour
baking soda - adds lift and helps with browning
baking powder - add volume
salt - balances out the sweetness and rounds out the flavor
cocoa powder - used to color some of the dough to make the Jack-O-Lantern faces and stems
Supplies
3 Wilton Silicone Jack-O-Lantern Molds
You can find supplies needed to create this recipe on Amazon. I earn a small commission when you use the sales links in this post to make a purchase at no extra cost to you.
 Wilton Jack-O-Lantern Non-S...Shop on Amazon
Instructions

Make cookie dough.
- Preheat oven to 350 degrees Fahrenheit.
- Cream butter, brown sugar, granulated sugar, and peanut butter.
- Add egg and stir to combine.
- Stir in the flour, baking soda, baking powder, and salt.

Fill pumpkin molds with cookie dough.
- Pinch off 2 tablespoons of dough and mix in 2 ½ teaspoons of cocoa powder until well blended.
- Pinch off 1 ½ tablespoons of dough and mix in the remaining ½ teaspoon of cocoa powder.
- Pinch off tiny pieces of the dark dough and press it into the jack-o-lantern faces in the mold. You can be messy at first, then simply wipe over the features with your finger and remove any excess dough.
- Pinch off ¼ teaspoon pieces of the light brown dough and press it into the stem area.
- Scoop out about 1 ½ tablespoons of the peanut butter dough and press it into the mold, over the jack-o-lantern face.
- Fill all 18 cavities in the three silicone molds.

Bake pumpkin cookies.
- Bake for 14 minutes, turning them around after 10 minutes, just so they brown evenly.
- Allow them to cool in the mold for ten minutes, then turn the mold upside down, tug on the mold around the cavities, and the cookies will fall out.
- Allow the cookies to cool completely before serving.

Storage
- Store in an airtight container for up to a week. They do taste best if eaten within a few days but will still be fresh up to a week after baking.
- Or, wrap them well and freeze them for up to 3 months.
I made my first batch of these cookies about a week before my party, froze them, and then thawed them the day of the event. They tasted like they just came out of the oven.
Related Recipes
If you enjoy making these Jack-O-Lantern Cookies, you might also like these other pumpkin-themed recipes.
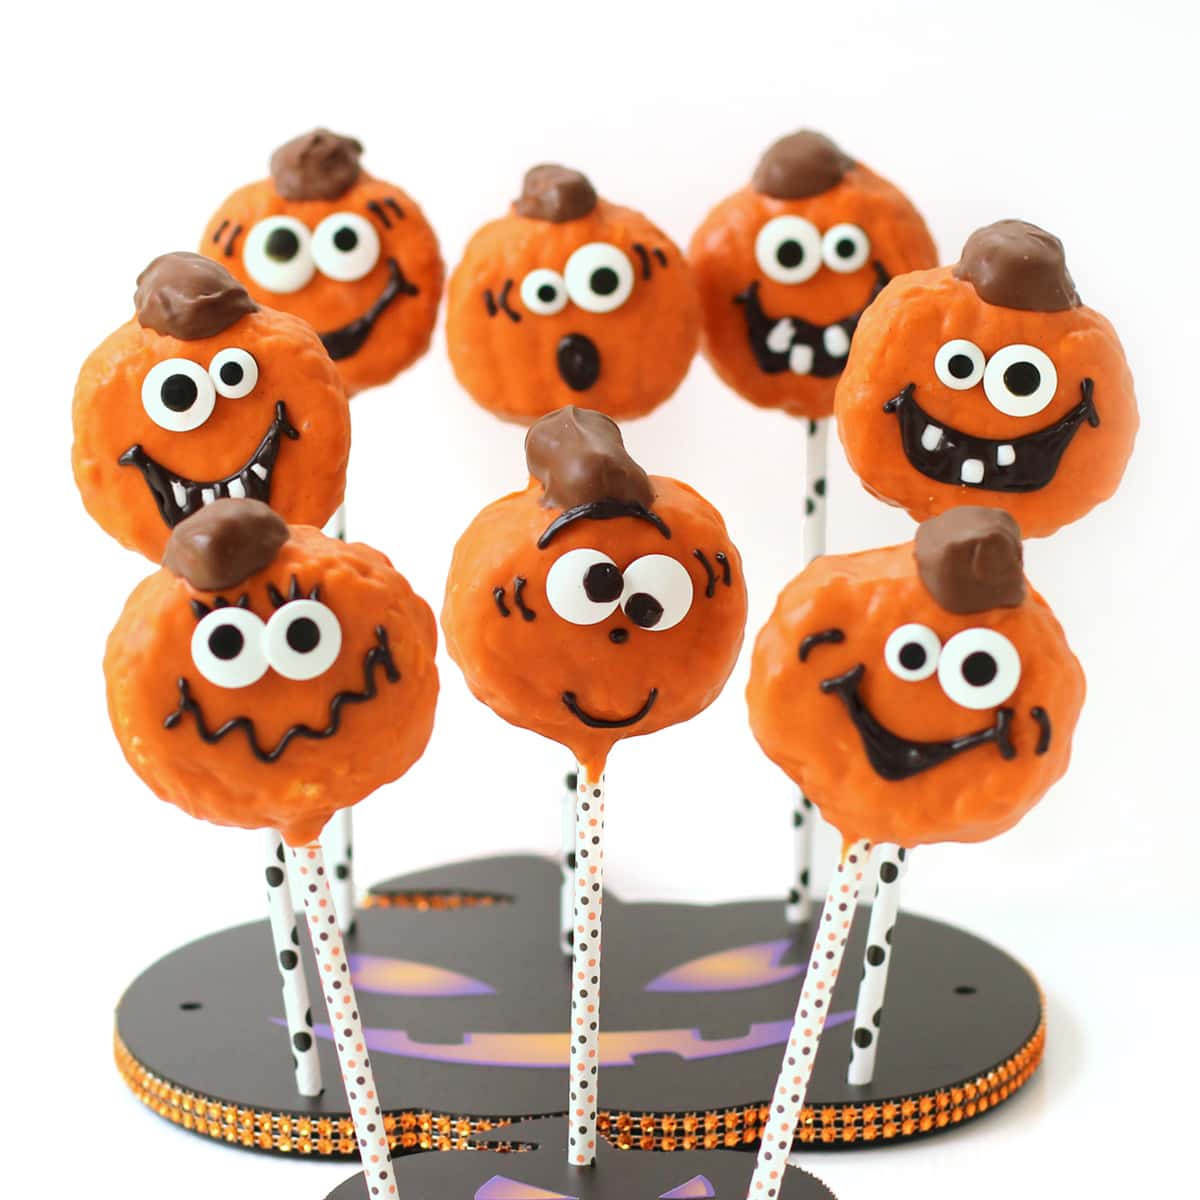
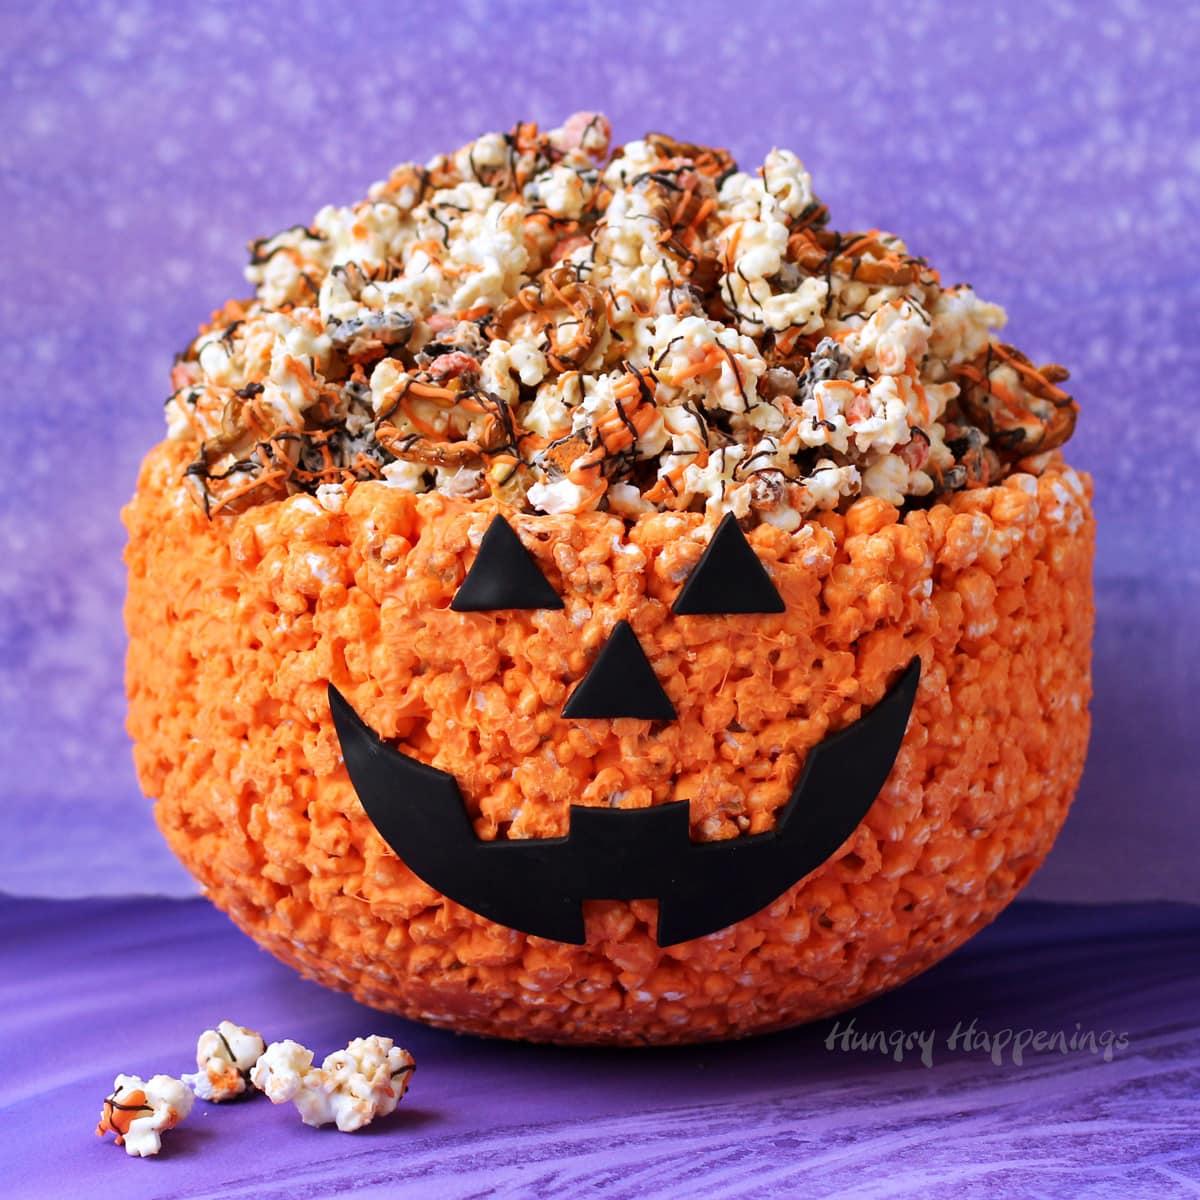
Be sure to also check out all of my fun Halloween recipes.
Recipe
This recipe was originally published on October 29, 2014.

Bake peanut butter cookies in pumpkin-shaped silicone molds and decorate them using cookie dough colored with cocoa powder. Each pumpkin has a spooky Jack-O-Lantern face.
- ½ cup butter softened
- ½ cup brown sugar
- ½ cup granulated sugar
- ½ cup creamy peanut butter
- 1 egg
- 1 ½ cups flour
- ¾ teaspoon baking soda
- ½ teaspoon baking powder
- ½ teaspoon salt
- 3 teaspoons cocoa powder
-
Preheat oven to 350 degrees Fahrenheit.
-
Cream butter, brown sugar, granulated sugar and peanut butter. Add egg and stir to combine.
-
Stir in the flour, baking soda, baking powder, and salt.
-
Pinch off 2 tablespoons of dough and mix in 2 ½ teaspoons of cocoa powder until well blended.
-
Pinch off 1 ½ tablespoons of dough and mix in the remaining ½ teaspoon of cocoa powder.
-
Pinch off tiny pieces of the dark dough and press it into the jack-o-lantern faces in the mold then wipe out excess so just the indentation is filled.
-
Pinch off ¼ teaspoon pieces of the light brown dough and press it into the stem area.
-
Scoop out about 1 ½ tablespoons of the peanut butter dough and press it into the mold, over the jack-o-lantern face.
-
Fill all 18 cavities in the three silicone molds.
-
Bake for 14 minutes until golden brown.
-
Allow them to cool in the mold for ten minutes before un-molding.
-
Allow them to cool completely.
Store these pumpkin-shaped cookies in an airtight container for up to a week or wrap well and freeze for up to 3 months.

- Banana Split Bars – A Fun and Easy Summer Dessert - March 4, 2026
- Pineapple Fudge (No Candy Thermometer Needed!) - March 4, 2026
- No-Bake Peanut Butter Pie Recipe - March 3, 2026


The Partiologist says
They turned out fantastic - I love the 3-D look of the combined colors! I just made Peanut butter cookies yesterday!
Jo and Sue says
Apparently I need to invest in more silicone molds. I never bake with them as I find them "weird" but after seeing how creatively you keep using yours I am starting to think I need to try them again. 🙂 P.S. - Peanut butter cookies are my favorite. I definitely would have to hoard these for myself!
Jill @ KitchenFunWithMy3Sons.com says
These are so cute Beth!