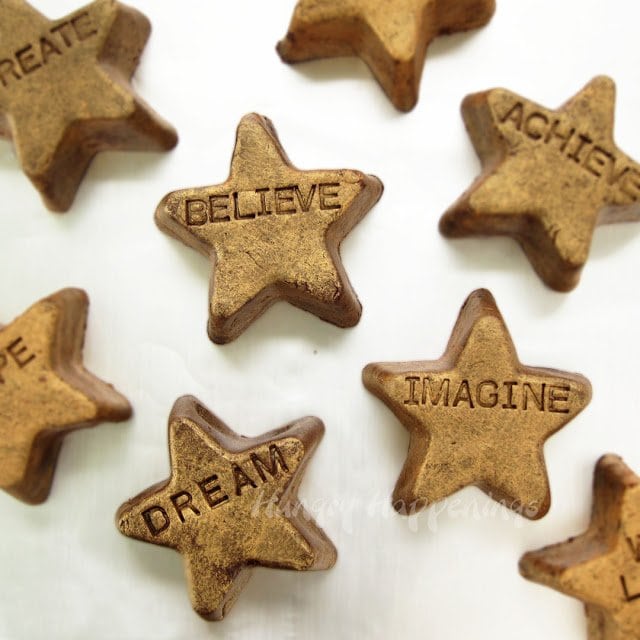
These shiny Chocolate Fudge Gold Stars are a great motivational treat for anyone! Personalize these simple snacks with any words you'd like and inspire everyone you love!
The end of the school year is coming too fast. Ten months with our exchange student was not enough. Sadly, she will fly back to Germany just days after her final exams. I'm not ready to let go.
Tonight we are sitting together on the front porch. She's doing homework as I write this. I'm finding it hard to concentrate, but she seems to be doing a great job writing a poem about the king of the jungle.
Her writing is witty and sharp. I wonder what the poem would have sounded like in August before she opened herself up to being truly creative.

At the beginning of the school year, she told me she had no talent. By October, she was decorating cookies, carving pumpkins, and planning parties.
In December, she felt confident enough to make chocolates to send to her family and friends. By Easter, she was working on her own, hand-painting chocolates that rivaled mine.
Yesterday, my mom taught her to paint with watercolors, and here's what she made...
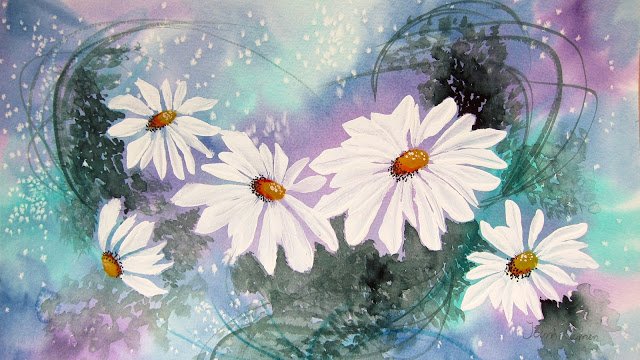
This is her first painting - ever! Talented, YES! Creative, ABSOLUTELY!
Soon, she'll be back home, and I hope she continues to believe in her creativity, dream of a bright future, and imagine a wonderful life.
I created these Fudgy Gold Stars to share those sentiments with her.

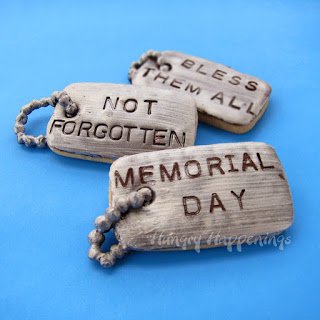
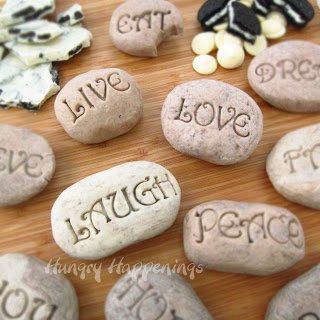
I know I've used this stamped fudge technique quite a lot in the last year, but it just works for so many special occasions.
I hope I've convinced you that fudge + letter stamps = so many possibilities.
Inspire graduates, teachers, actors, employees, students, family, and friends to believe, achieve, create, hope, dream, and imagine by presenting them with Fudgy Gold Stars.

Fudgy Gold Stars (makes 9 chocolate fudge stars)
Ingredients
16 ounces semi-sweet chocolate, finely chopped
1 (14 ounce) can sweetened condensed milk
1 teaspoon gold luster dust
1 teaspoon clear vanilla extract or vodka (it will evaporate)
Supplies
medium saucepan
2 Wilton Silicone Star Molds
food use only paint brush or pastry brush
small letter embossing stamps or rubber stamps
Instructions
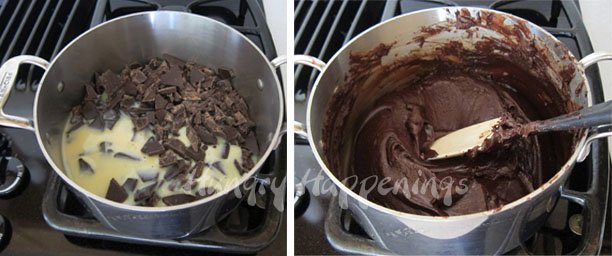
Pour chopped chocolate and sweetened condensed milk into a medium saucepan.
Heat over low, stirring often until the chocolate melts.
Pour into a glass dish.
Allow to cool for about an hour until it firms up.
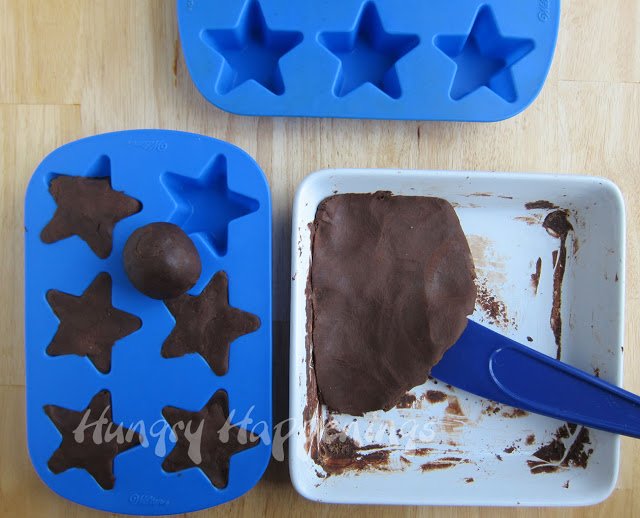
Scoop out the fudge and knead until smooth. Roll about ½ cup into a ball.
Press into the star mold, removing excess or adding more if needed to completely fill 9 stars.
You can, if you prefer, fill 12 stars about ¾ full.
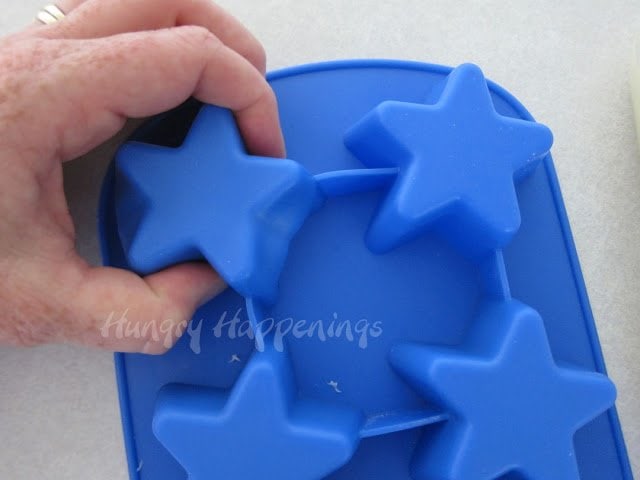
Being the molds are flexible, as you press the fudge into the star cavity, it might bulge out. As you work, turn the mold over, and press around the points of the star, making sure the fudge stars don't become misshapen.
Leave fudge stars at room temperature for at least 2 hours, so that they will hold their shape.
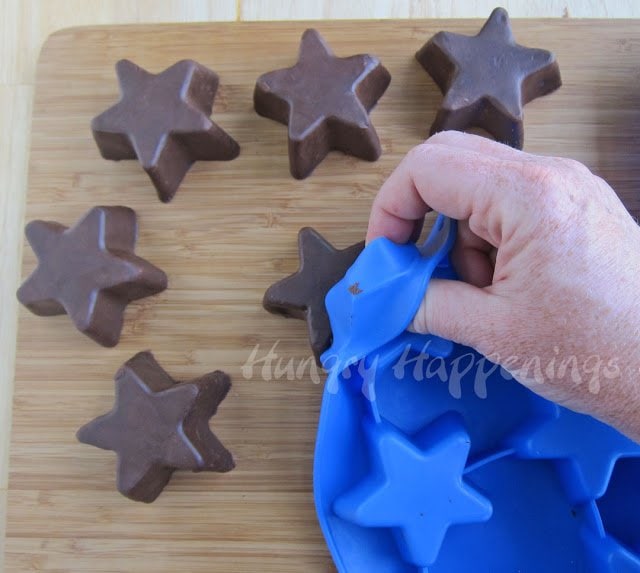
To remove fudge stars out from the silicone mold, turn it upside down, press on the backside of each star, and push the fudge out.
Reshape chocolate fudge stars if needed.
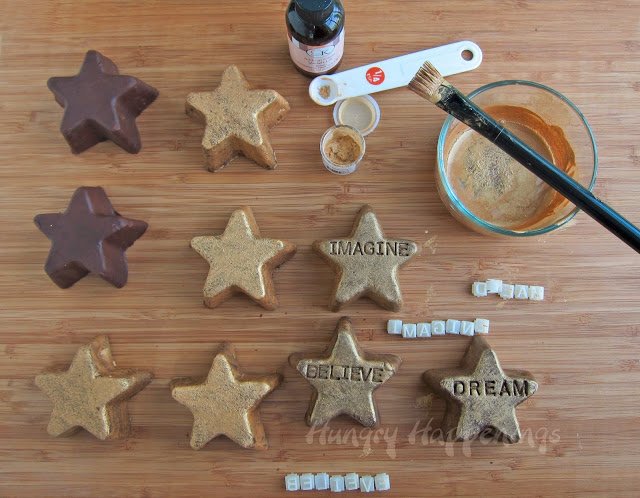
Mix gold luster dust with vanilla extract until well blended. Use a paintbrush to dab the gold over the fudge hearts. Allow the luster dust to dry completely.
I like the stars that have a bit less gold on them because the fudge shows through.
Press letter stamps into the fudge creating inspirational words like, "dream," "believe," and "imagine." If you prefer, you can paint the words using black food coloring.

Packaging and Storage
Package individual stars in clear cellophane bags or place them all in a nice box to give as a gift.
Store in an airtight container for up to 10 days. The fudge will harden as it sits but will still be creamy once bitten into.
Related Recipes
Below are more stamped fudge and modeling chocolate projects
from Hungry Happenings.
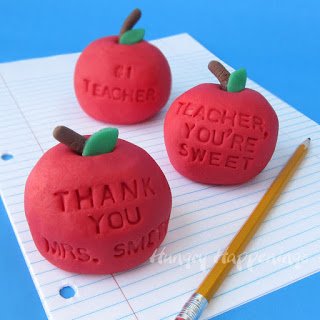
Personalized Vanilla Fudge Apples

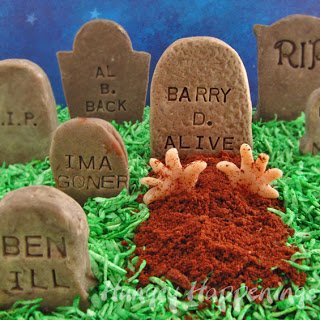
Cookies 'n Cream Tombstones with clever epitaphs

- Banana Split Bars – A Fun and Easy Summer Dessert - March 4, 2026
- Pineapple Fudge (No Candy Thermometer Needed!) - March 4, 2026
- No-Bake Peanut Butter Pie Recipe - March 3, 2026
Anonymous says
Beth, I am so sorry it took me so long to see your recipe in Woman's World AGAIN!!! I buy it every Saturday but just got a chance to leaf thru it
today. Congrats Lady. I am so jazzed for you. This has always been a favorite of mine. I have folders for all of the holidays and this recipe is in each one. It can be decorated for any holiday. Again, Congratulations. P.S. I'm in love with your brain. lol Trish Butler
Beth Jackson Klosterboer says
Oh, I didn't even realize the issue was on the stands, and now I missed buying it. I'm bummed. I'll have to write to them and ask for a copy. I assume you saw the wedding cake cheese ball. I kept leafing through the magazines, but haven't done that in a few weeks. What date was the magazine issued?
Anonymous says
It was the June 10th issue. If you get to Wal-Mart early tomorrow, they will probably still have some. If not I will send you mine. Also I said I was behind, well I just opened up the Tablespoons site for sometime in the 20's of May and thee you are again, main feature. There is no stopping you now. I am so thrilled for you. Also, sorry for your student moving back home. My friend had a student from Sweden for a year and he just wrote to me. He was here about six years ago. She will always remember you and stay in touch. Again, Congrats. Trish Butler
Beth Jackson Klosterboer says
Thank you for letting me know. I was able to find the magazine at the store. I took a picture of me standing with the magazine in the store.
Ilim is packing up right now. She leave on Sunday. I am so sad. I know she will be a part of our lives forever. We plan to visit her next summer, which is what will make her leaving a bit easier.
Tiffany@Fizzy Party! says
Having an exchange student is so wonderful and can last a lifetime. We had 2 from Japan when I was in high-school and we're still friends. More like sisters. That was 25 years ago. That girl has some talent and I'm sure she has you to thank for inspiring her.
Beth Jackson Klosterboer says
Hosting exchange students has changed my life for the better in so many ways. We've also hosted two students from Russia. One was an official exchange student, the other her brother. He will be visiting us this summer, and I'm so excited. It will make Ilim's departure just a bit easier, knowing I have something to look forward to later this summer. It's so nice to hear that you are still in touch with the girls who came to live with you so many years ago. I hope to remain a part of the kids' lives forever.
Ilim has had such a wonderful year here, and has thoroughly enjoyed everything including all the creative activities we've done together. I am going to miss her terribly, but know that we will see each other soon. We hope to visit Germany next year.
Beth Jackson Klosterboer says
Thanks!
Anonymous says
love these ideas
Beth Jackson Klosterboer says
Thanks.
Maria Zioga says
This is such an inspiring post! I wish I had someone to guide me to find my creativity the way you have guided this girl! She was very lucky to have found you!
Beth Jackson Klosterboer says
Thanks, Maria. I was lucky enough to have a very creative mom, and I'm so honored to be able to share my talents and passion with our exchange student and all of you.
Brenda @ SweetSimpleStuff says
I always enjoy seeing your stamped creations! Your exchange student seems to have discovered her creative side 🙂
Beth Jackson Klosterboer says
I'm so glad to hear that, as I just can't stop myself from stamping my food:)
Anonymous says
All of these stars should say Beth on them as you are all of these words. Thank you for all of your time and talent. You have inspired many women to try their hands at this. You are something else. Trish Butler
Beth Jackson Klosterboer says
That is so sweet:)
TracyG says
Thank you for putting links to the products used in your projects. It makes it much easier for us to attempt the project!
Beth Jackson Klosterboer says
I always like to see the products bloggers use too, so I don't have to guess when I'm trying to replicate the project. I'm glad you find it helpful.
The Partiologist says
Oh Beth - I know you'll really miss Ilim and I'm sure you'll always stay in touch with her! You have truly brought out her talents and I'm sure she'll continue creating after she's home again. What a lucky girl to have had you to learn from! 🙂
P.S. I love all you're stamped fudge ideas! Like you said the possibilities are endless!
Beth Jackson Klosterboer says
I feel like I've been the lucky one to have had such a wonderful girl become part of our family. I loved seeing the look of pride on her face when she showed me her painting. She was glowing. I'm happy to have influenced her in a positive way this year.
Georgiana says
Wow! Love all the stamping food projects. Hopefully I can try one this summer.
Beth Jackson Klosterboer says
They are so easy to do that I hope you try it out. Be sure to send me pictures of your creations!
Jill @ KitchenFunWithMy3Sons.com says
Love them! I need to try stamping. I know how much you have enjoyed having your exchange student living with you...so sorry you have to see her go!
Beth Jackson Klosterboer says
Stamping on food has been so much fun that I just can't resist doing more projects. I know you and your boys could come up with some really clever stamped projects.
I love to watch how you and your boys create, and it has been so wonderful to experience that this year with Ilim. I am going to miss her terribly.