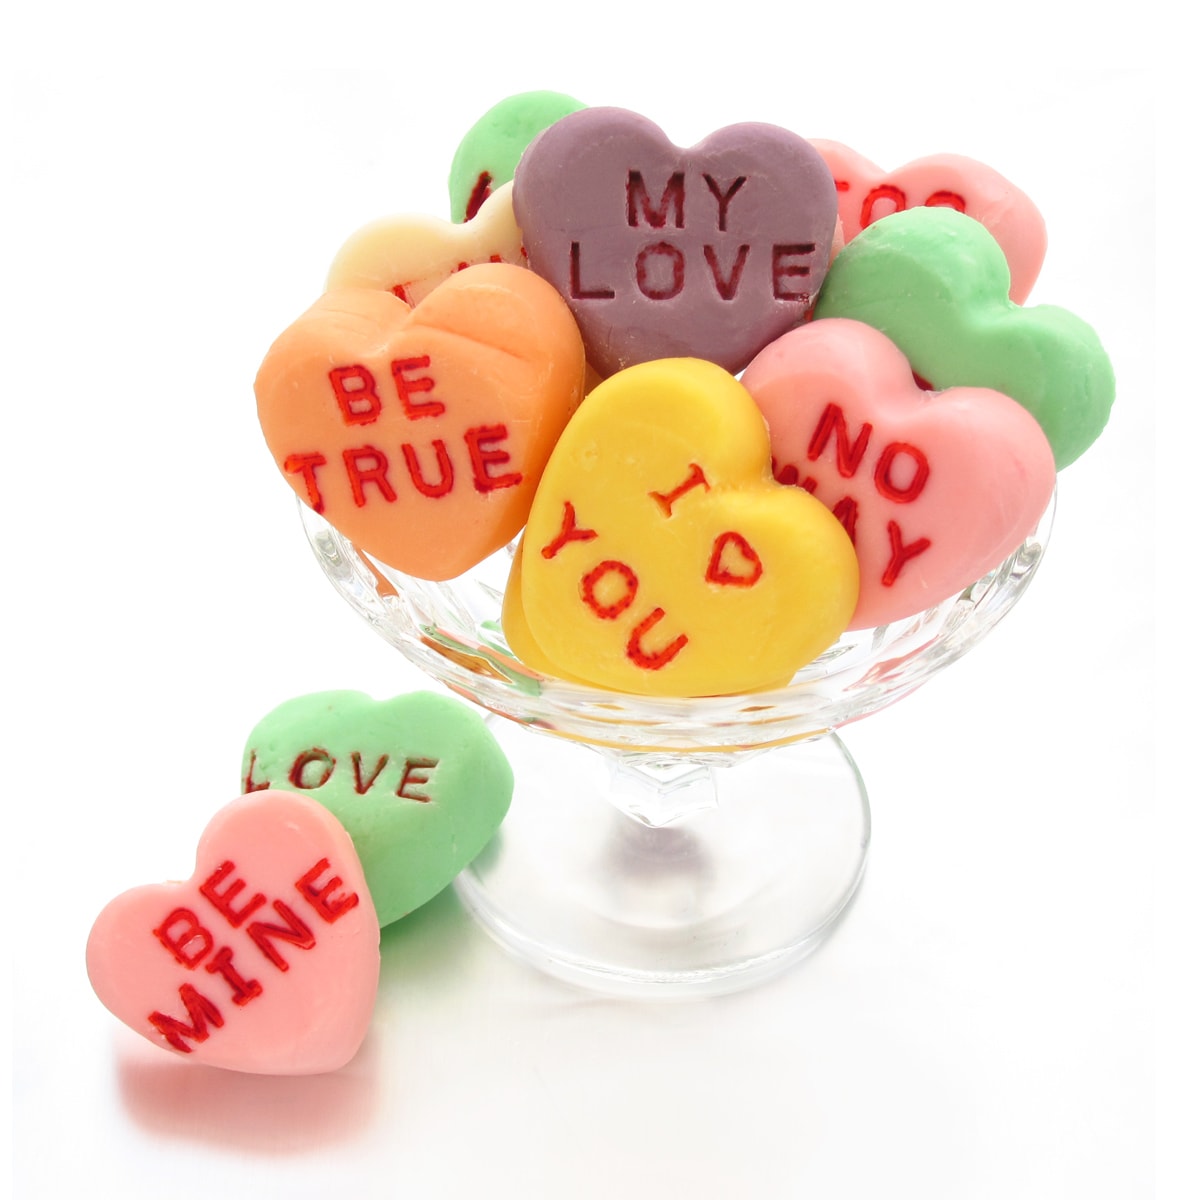
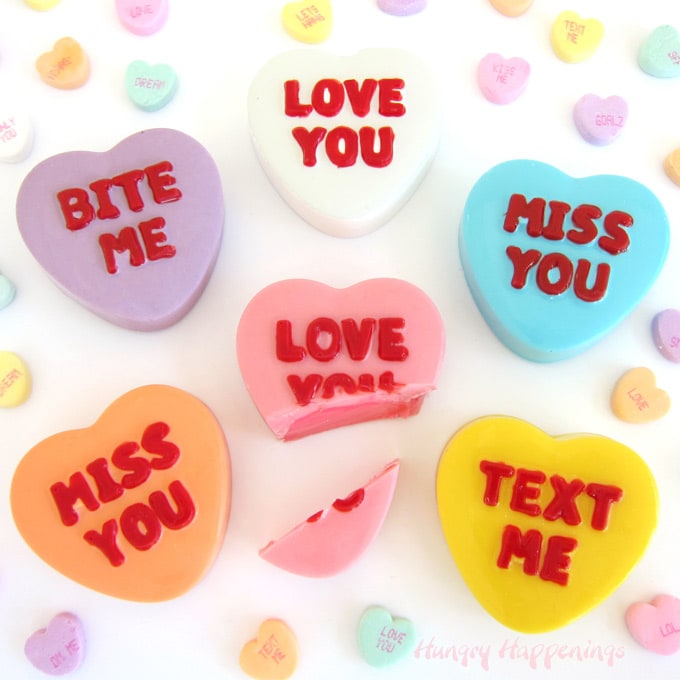
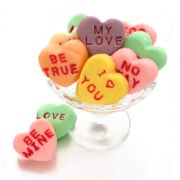
This Valentine's Day tell your loved ones how you feel by making colorful white chocolate Conversation Heart Fudge. Each bite-sized candy can be imprinted with traditional conversation heart phrases or something more personal.
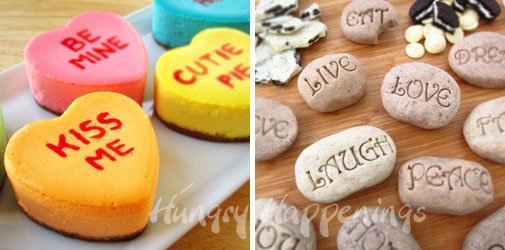
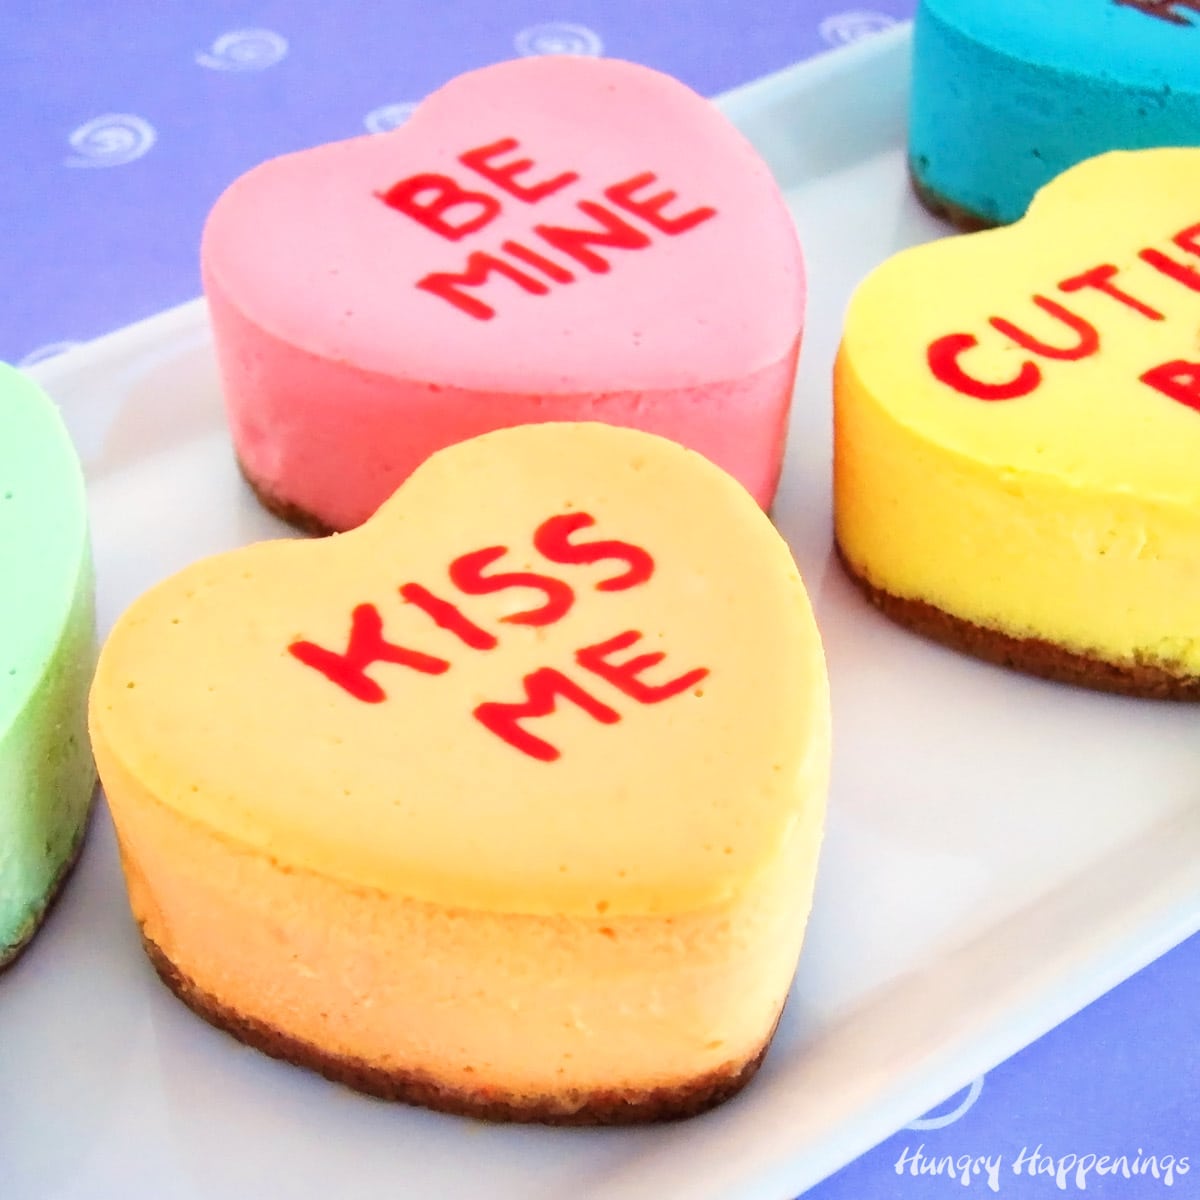
The idea to make conversation hearts out of creamy white fudge came to me last year after I had created my Conversation Heart Cheesecakes and my Sweet Serenity Stones.
I knew by combining the two edible craft ideas, I'd come up with some really sweet-looking Valentine's Day treats.
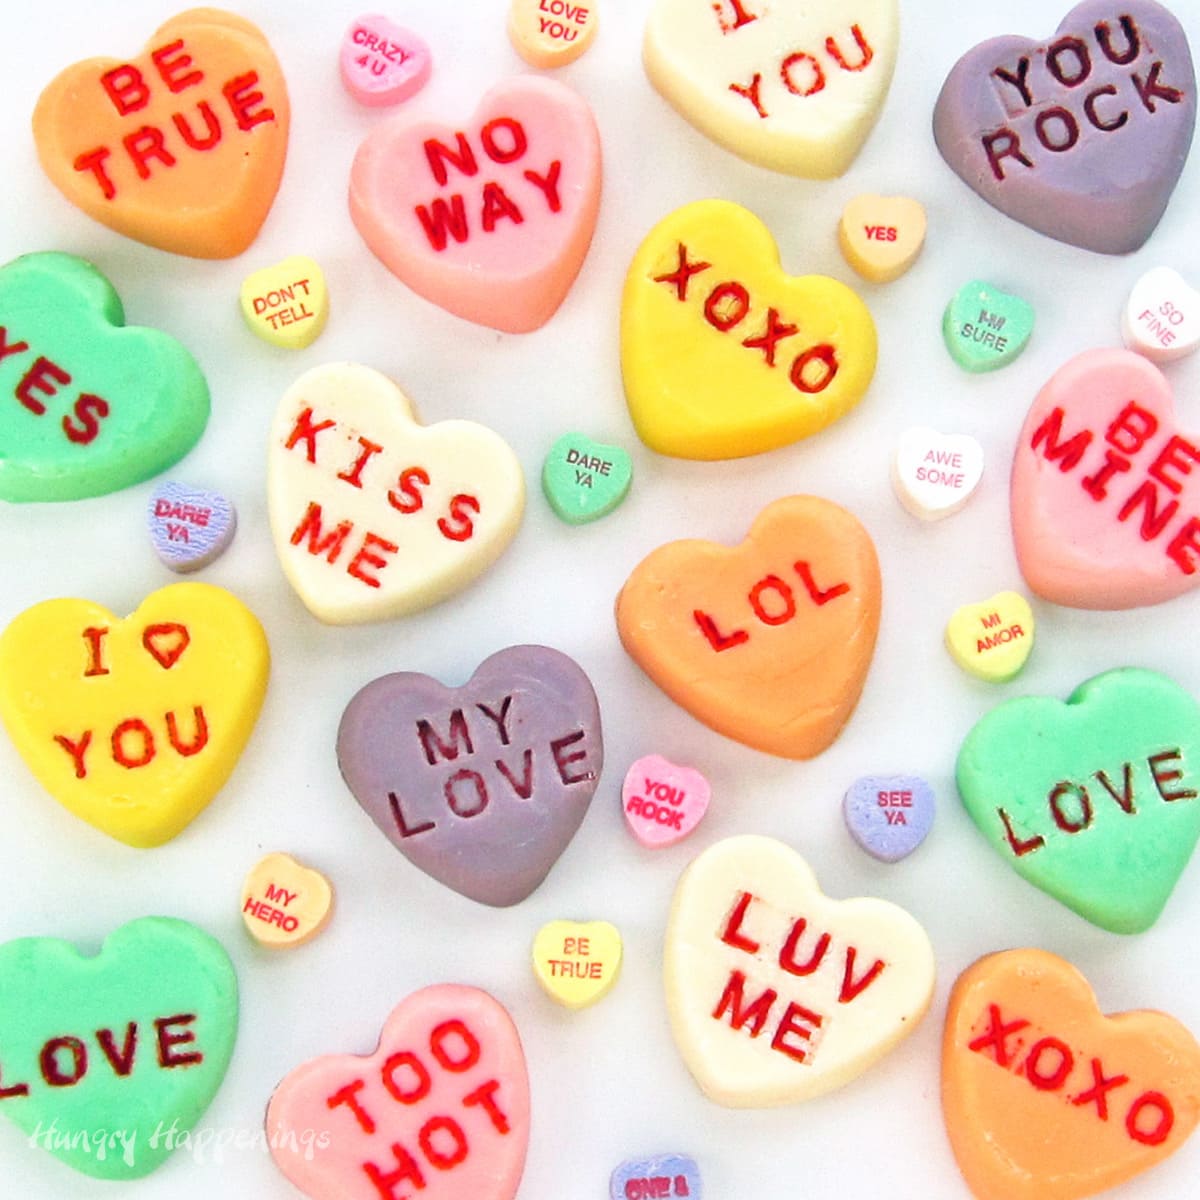
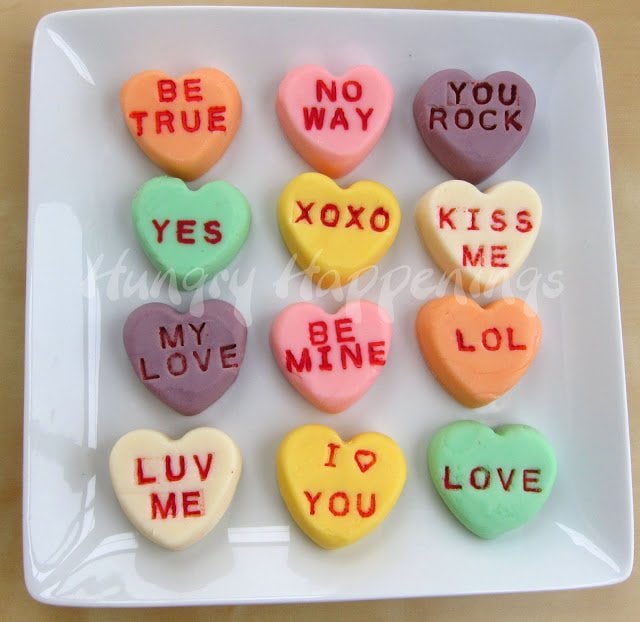
I waned small bite-sized heart-shaped fudge in a variety of colors that I could imprint with Valentine's Day messages like "Kiss Me," "Be Mine,' and "Luv Me."
Even though I had made fudge rocks that were imprinted with letter stamps, I had to play around with this recipe to get the heart-shaped fudge to be smooth. I tried pouring the warm fudge into a silicone heart mold but ended up with wrinkles and lots of air bubbles (holes) in my fudge.
After a lot of playing around, I found that cooling the fudge completely and then pressing it into a heart-shaped silicone mold worked the best.
The final hearts turned out pretty great, don't you think?
So, let's make some fudge hearts!
RELATED: Find dozens of easy fudge recipes at HowToMakeEasyFudge.com.
Ingredients
white chocolate or white compound chocolate (candy melts, melting wafers, almond bark, confectionery coating)
sweetened condensed milk
pink, green, orange (or mix red and yellow), purple (or mix red and blue), and yellow food coloring
red food coloring
Supplies
medium saucepan
1 or 2 Wilton Silicone 24 Cavity Heart Molds
clay text embossing set (plastic alphabet stamps) - used for food only
small food-only paintbrush or pastry brush
Items used to create this project are available on Amazon.com (commission earned for sales).
 Wilton Easy-Flex Heart-Shap...Shop on Amazon
  Cookie Stamps, Numbers Alph...Shop on Amazon
  Tool Gadget Cookie Stamps, ...Shop on Amazon
 Instructions
Make the white chocolate fudge
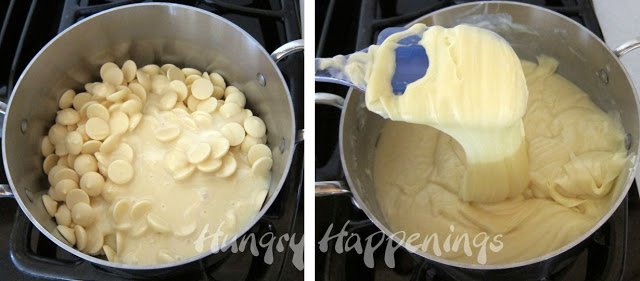
Heat white chocolate or white confectionery coating and sweetened condensed milk in a medium saucepan over low heat. Stir frequently until about half of the chocolate or candy coating is melted.
Turn off the heat or remove from the stovetop and let sit for two minutes then stir until smooth. The heat from the melted chocolate will help to melt the remaining pieces of chocolate.
If you still have un-melted pieces, set the pan back over low heat for a minute, then repeat.
Tips
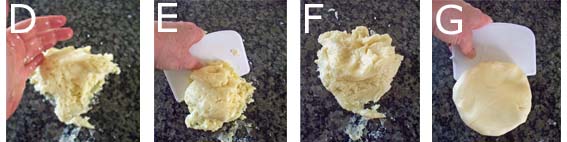
If you overheat this creamy white fudge, it will become greasy as the cocoa butter may seep out of the chocolate. If that happens, the best way to salvage the fudge is to cool it down by spreading it on marble or granite and kneading it until the cocoa butter mixes back into the fudge.
The cold from the marble or granite will help cool the fudge. Use a plastic bench scraper or spatula to scrape the fudge up off the marble and continually knead it until all the cocoa butter is worked back into the fudge and it is smooth. (This is actually a picture of greasy white modeling chocolate from my Chocolate Making Tips page, but this technique can help save greasy fudge too.)
Another option is to add a tablespoon or two of sweetened condensed milk or cold heavy whipping cream. Once you stir the fudge it will cool down and the cocoa butter should mix back in. This will make your fudge softer, but it will work in a pinch.
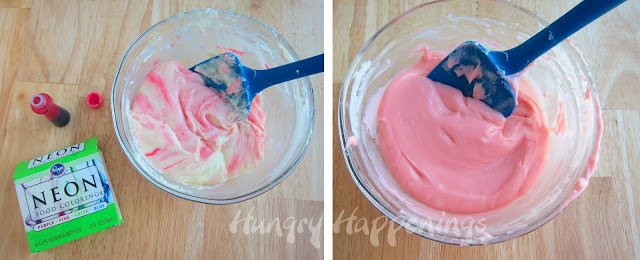
Color the white chocolate fudge.
Equally, divide the fudge into six bowls. Stir in food coloring, adding one drop at a time until you get the colors you like. You'll want a bowl of pink, orange, green, yellow, purple, and white. These are traditional conversation heart colors.
You can use grocery store food coloring or any type of candy or frosting coloring you have.
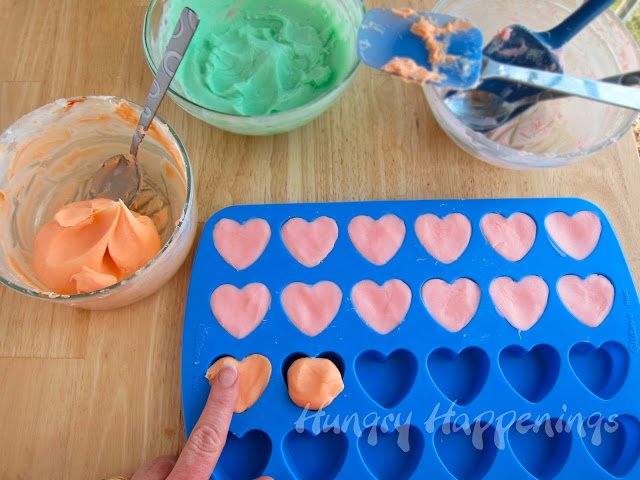
Form the fudge hearts.
Allow the fudge to cool and thicken for 30-60 minutes. If you are in a hurry, you can refrigerate the fudge for about 15 minutes.
Scoop the fudge out of the bowl and knead it in your hands until smooth. Pinch off about a tablespoonful and roll it into a ball. Set it in one of the heart cavities in the silicone mold. Press it into the heart cavity flattening it and removing any fudge that doesn't fit in the cavity. Really press down on the fudge, eliminating any air bubbles or holes.
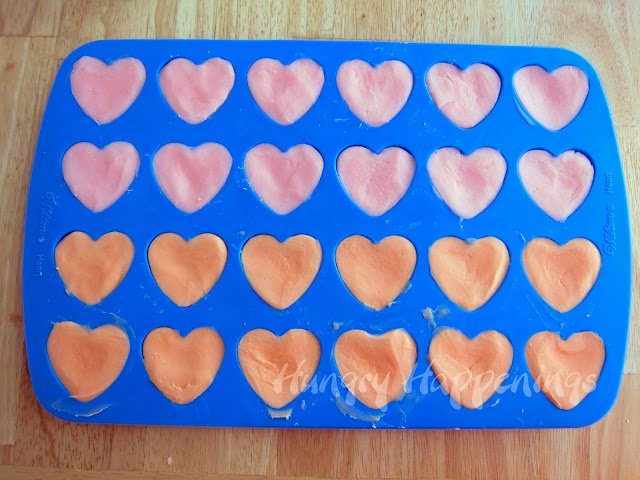
I made a double batch of fudge, so there are 12 pink and 12 orange hearts, you should have 6 of each color if you use the recipe above.
Chill.
Place the filled mold in the freezer for 15-20 minutes.
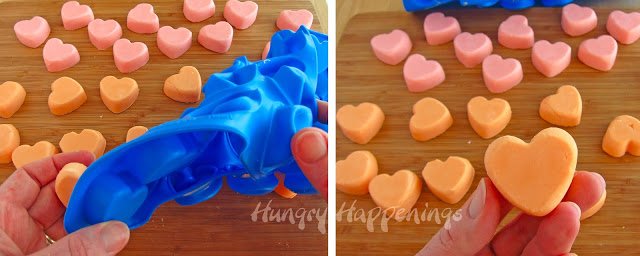
Unmold the hearts.
Remove fudge hearts from the freezer and turn the mold upside down, pressing on the backside of the mold allowing the hearts to fall out. If they don't come out nicely, put them back in the freezer for a few more minutes.
If these fudge hearts are left in the freezer for too long, they will get sticky as condensation will adhere to them, so don't let them freeze for much more than a total of 20 minutes.
Wash and dry the mold and repeat the process with the remaining colors of fudge.
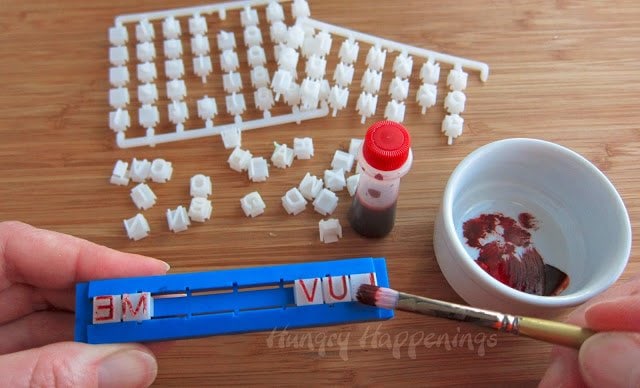
Brush red food coloring over the letter stamps.
Create conversation heart phrases using the letters from a clay text embossing set. I used Walnut Hollow's Clay Embossing Set, but any small alphabet stamps should work just be sure to lay out the letters in a mirror image of what will be printed.
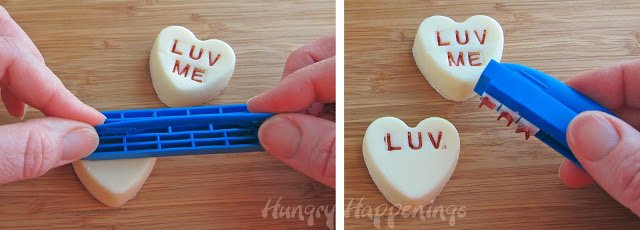
Imprint the fudge.
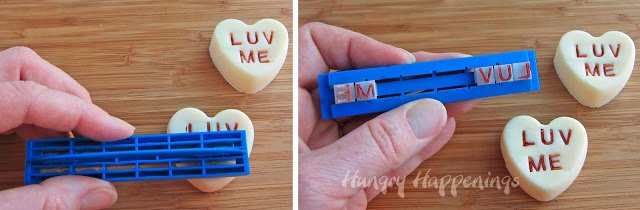
Press the first word of your conversation heart phrase onto the top part of your fudge hearts. Press down so that the letters imprint into the fudge.
Press the second word of your conversation heart phrase onto the bottom part of your fudge hearts making sure the whole word fits.
Use a nice variety of phrases on your conversation heart fudge. You can add whatever phrases you like, just be aware that only 4 letters will fit across each heart. Don't worry if your letters look a bit smudged, as that is really what many conversation hearts look like anyway.
If you don't have or don't want to buy the embossing letters, you can use a food coloring marker to add your sweet messages to your conversation heart fudge.
Storage
Store your Conversation Heart Fudge in an airtight container for up to a few weeks. You can also freeze the fudge for up to 3 months if you wrap it well in plastic wrap and place it in an airtight container or zip-top bag.
Related Recipes
Check out all of my Valentine's Day recipes.
Recipe
Brightly colored heart-shaped fudge imprinted with sweet Valentine's Day messages. This Conversation Heart Fudge can be personalized for your loved ones.
- 24 ounces finely chopped white chocolate (or chips) or white confectionery coating
- 14 ounces (1 can) sweetened condensed milk
- pink, green, orange (or mix red and yellow), purple (or mix red and blue), and yellow food coloring
- red food coloring
-
Heat white chocolate or white confectionery coating and sweetened condensed milk in a medium saucepan over low heat.
Stir frequently until about half of the chocolate or candy coating is melted.
Turn off the heat or remove from stove top and let sit for two minutes then stir until smooth. The heat from the melted chocolate will help to melt the remaining pieces of chocolate. If you still have un-melted pieces, set the pan back over low heat for a minute, then repeat.
-
Equally, divide the fudge into six bowls and color each bowl a different conversation heart color.
-
Allow the fudge to cool and thicken for 30-60 minutes. If you are in a hurry, you can refrigerate the fudge for about 15 minutes.
-
Scoop the fudge out of the bowl and knead it in your hands until smooth.
Pinch off about a tablespoonful and roll it into a ball.
Set it in one of the heart cavities in the silicone mold.
-
Press it into the heart cavity flattening it and removing any fudge that doesn't fit in the cavity. Really press down on the fudge, eliminating any air bubbles or holes.
-
Place the filled mold in the freezer for 15-20 minutes.
-
Remove fudge hearts from the freezer and turn the mold upside down, pressing on the backside of the mold allowing the hearts to fall out.
-
Press letter stamps into the fudge hearts creating your conversation heart phrases like "be mine" or "true love."
-
Brush red food coloring over the letter stamps.
-
Alternately, you can draw on the phrases using a food coloring marker or paint them on using red food coloring and a paintbrush.
-
Let the fudge dry for about an hour before packaging.
Store your Conversation Heart Fudge in an airtight container for up to a few weeks.
Be sure to allow the fudge to cool, then roll it into a ball and press it into the mold. If you pour the warm fudge into your molds, you may end up with lots of air bubbles.

- Banana Split Bars – A Fun and Easy Summer Dessert - March 4, 2026
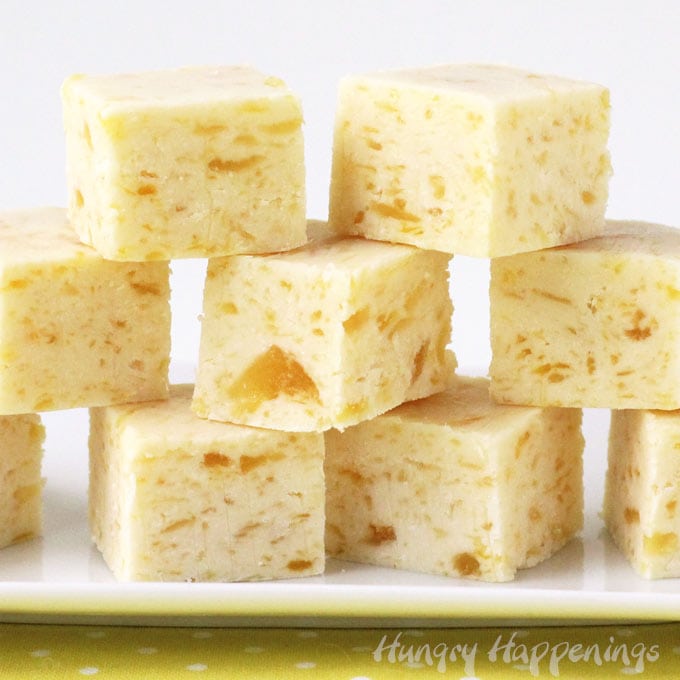
- Pineapple Fudge (No Candy Thermometer Needed!) - March 4, 2026
- No-Bake Peanut Butter Pie Recipe - March 3, 2026
Disney Buddies says
Love this blog 😀
beth says
Thanks, Disney Buddies!
Jeanne says
Those are amazing! When seeing the first pic, you had me wondering how you made the letters so neat, but now I get it.
Cheryl Kirkness says
How creative! I never knew there was such a thing as the letter embossing tool. Thanks for linking up to Family Fun Friday!
Melissa O'Brien says
I LOVE these and your cheesecakes as well! Would the embossing kit work for the cheesecakes instead of hand painting the phrases on?
Beth Jackson Klosterboer says
Thanks Melissa. I have not tried it on the cheesecakes, but think that once you break through the top of the cheesecake it might crack around the letters. It might work best if you try to do it while the cheesecakes are frozen. If you try it, I'd love to hear how it works for you. Have fun!
The Better Baker says
These beautiful little bites of yum could not be cuter! I <3 <3 <3 them! Way to go!
The Partiologist says
What fun to make conversation FUDGE ~ That's my kind of conversation! 🙂
Diana - FreeStyleMama says
Super duper cute!!!
Brenda says
LOVE these!! Thanks for sharing ... pinning 😉
~Brenda @ChattingOverChocolate.blogspot.com
Beth Jackson Klosterboer says
Thanks for pinning!
Beth Jackson Klosterboer says
Thanks Cheryl. I've not had much time to link up lately, but am glad I did this week. I really appreciate you featuring the Fudge Conversation Hearts:)
Lisa@hooplapalooza says
i'm not too crazy about the taste of conversation hearts, just the look of them-LOL
but i KNOW i would LOVE these! brilliant as always Beth 🙂
Beth Jackson Klosterboer says
Thanks, Lisa.
I can't say I'll eat just about anything sweet, but the bag of conversation hearts I got for our exchange student to try is almost gone and she hasn't been the one eating them:) She really loved the fudge conversation hearts thank goodness or I'd be eating all of them too.
Karen @ Sugartown Sweets says
Picture perfect! These are adorable..thanks for doing all the hard work for us. 😉
Anonymous says
These are just the right size. I see a lot of these in my future like the 105 brains. lol Thanks so much for your time and trouble. You feeling 100% yet? Trish (Motheroverkill)
Beth Jackson Klosterboer says
Thanks for asking Trish. After almost 3 weeks I'm still coughing and still have a bit of a sore throat, but other than that I feel great. I've actually been busy in the kitchen creating new blog posts.I may be doing better, but sadly that can't be said for other household members who have gotten the bug too.
I can't wait to see the picture of your trays and trays of Conversation Heart Fudge! Have fun:)
sandy says
those are just way too cute!!!!!
sandy says
those are just tooo cute !!!!
Executiva de Panela says
What a lovely suggestion!
Michelle | Creative Food says
These are just brilliant!!
Jill @ KitchenFunWithMy3Sons.com says
They turned out so cute! Love them!!
sugarswings says
beth i love these and love the embossing with the letters, so neat!