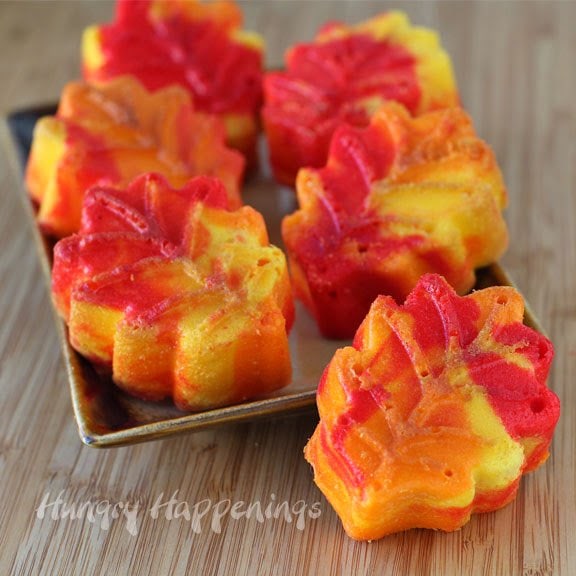
Add a burst of color to your Thanksgiving dessert table. These mini fall leaf cakes are so pretty and they taste great too.
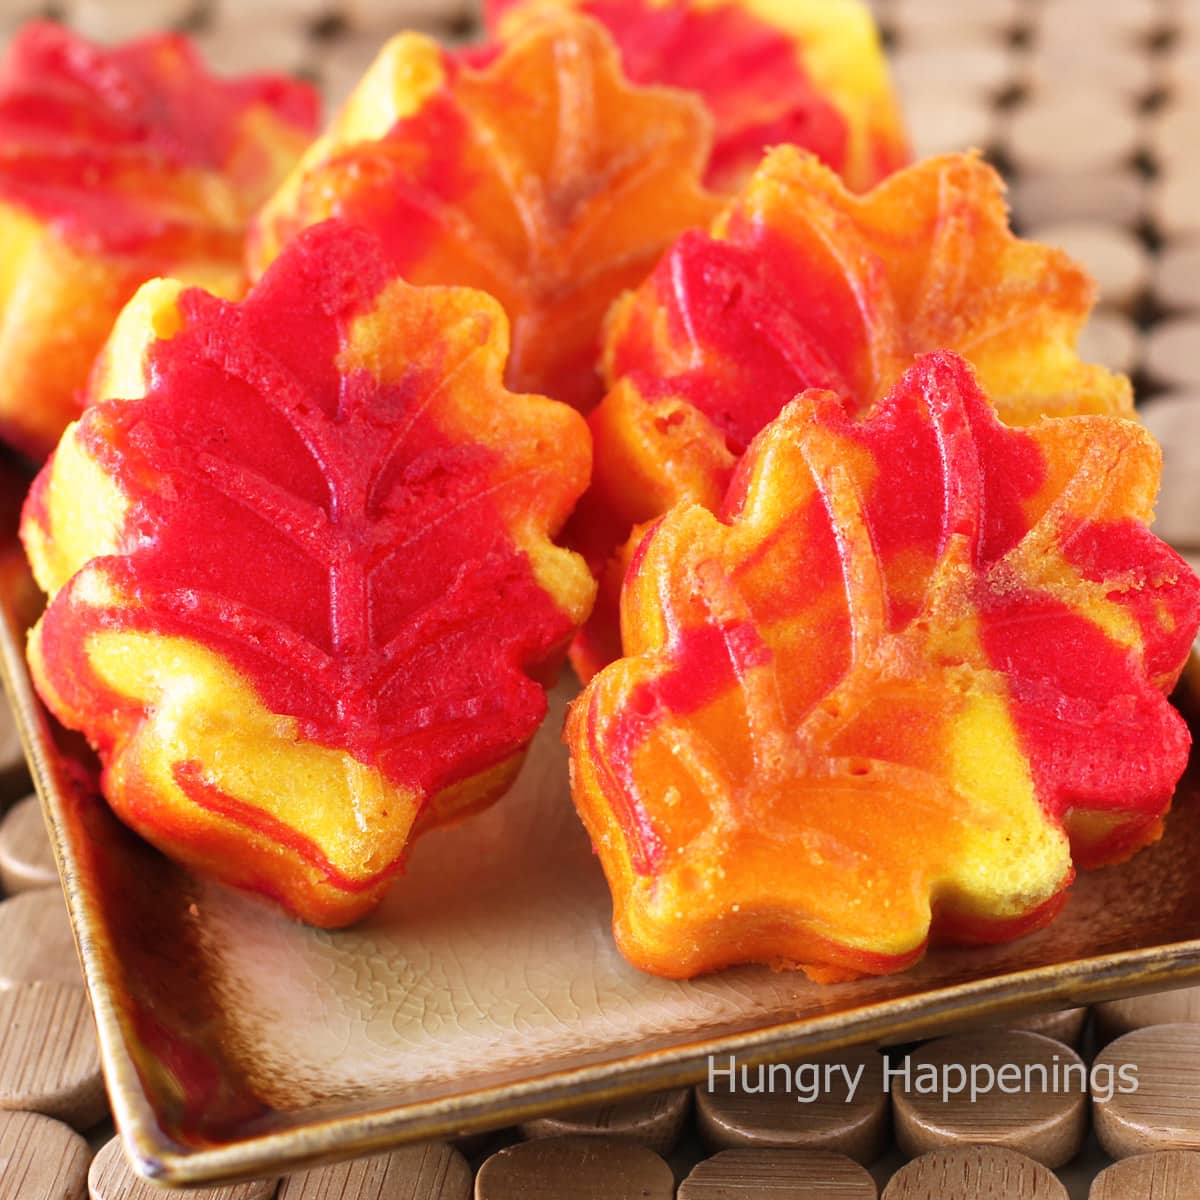
Sometimes I come up with an idea that I really love and use it more than once.
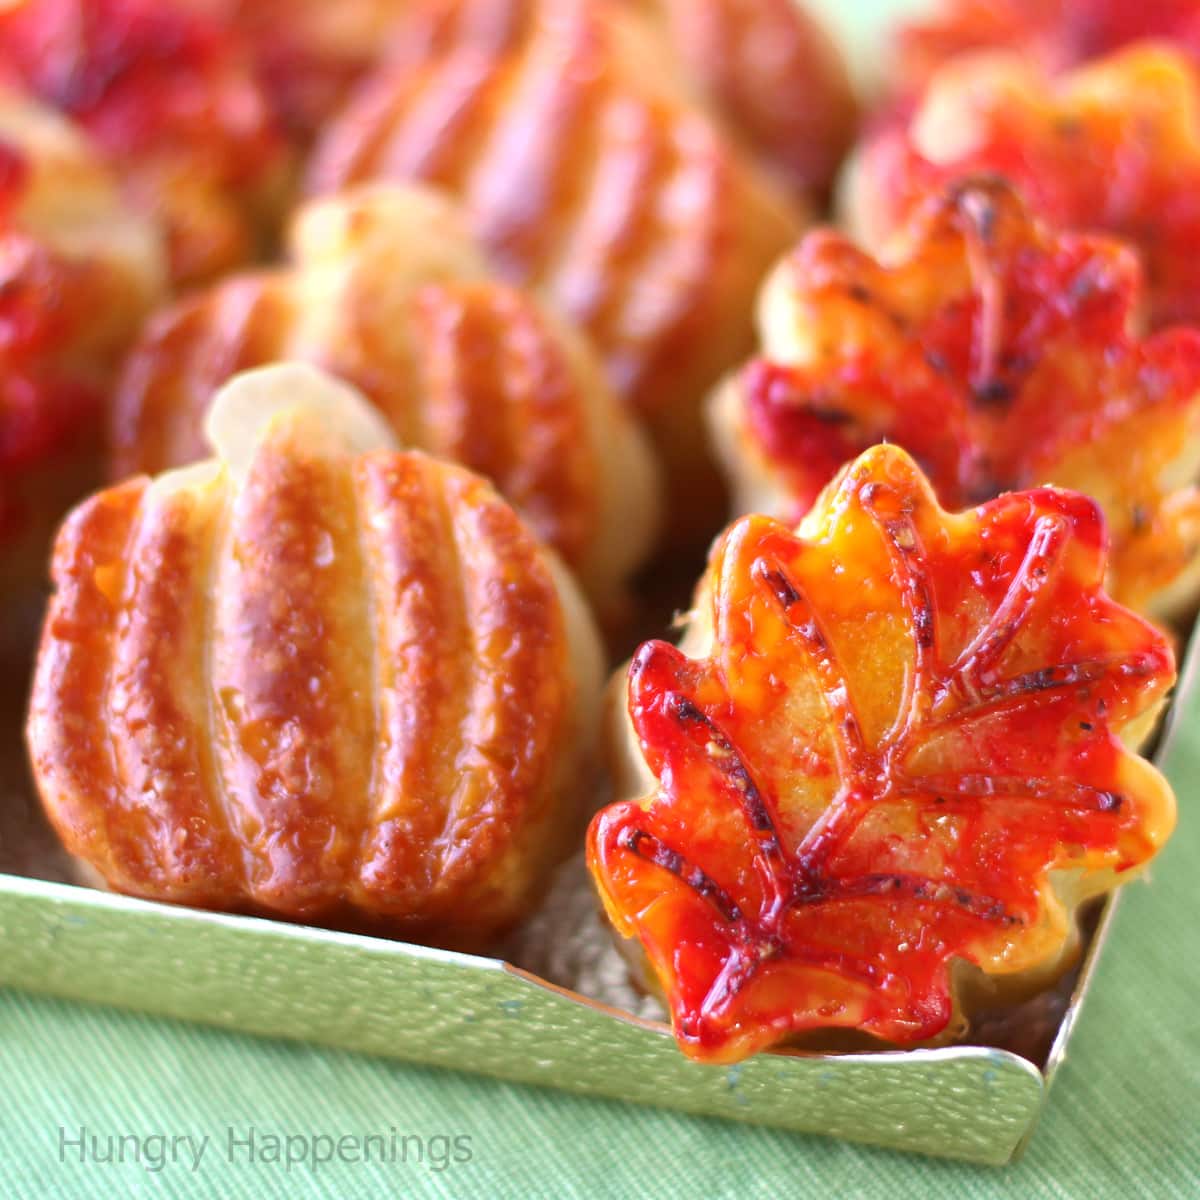
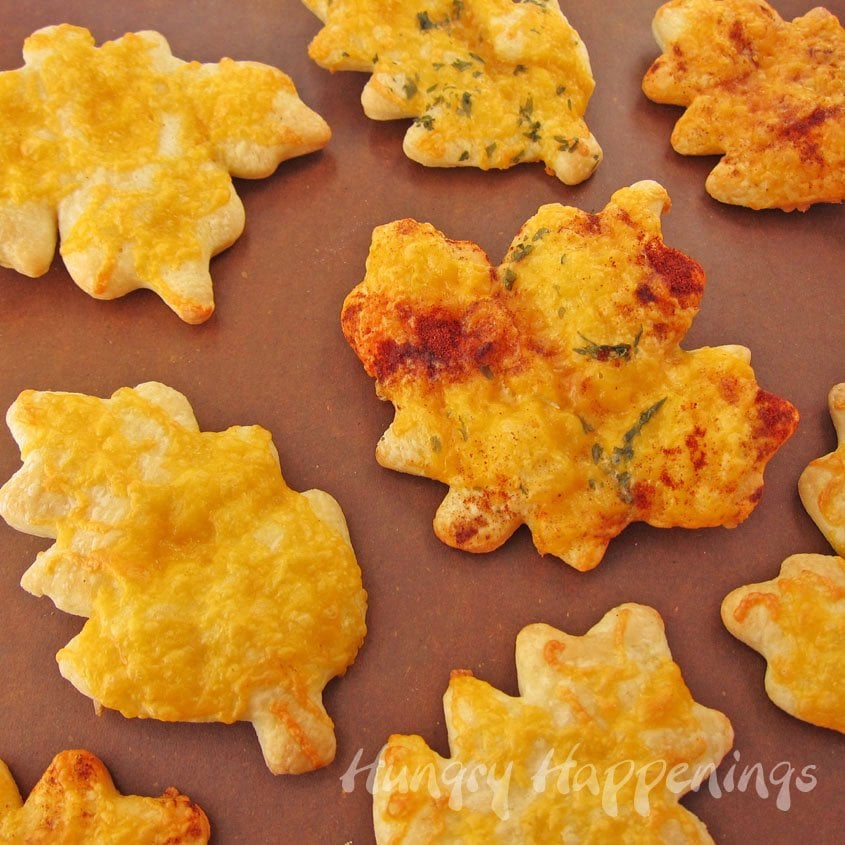
You know how much I love fall leaves, and I recently made some Easy Cheese Bread Leaves and Pumpkins using a leaf and pumpkin silicone mold.
I know many of you purchased that mold to use for Thanksgiving, so I thought I'd share another idea with you, so you can get more use out of it.
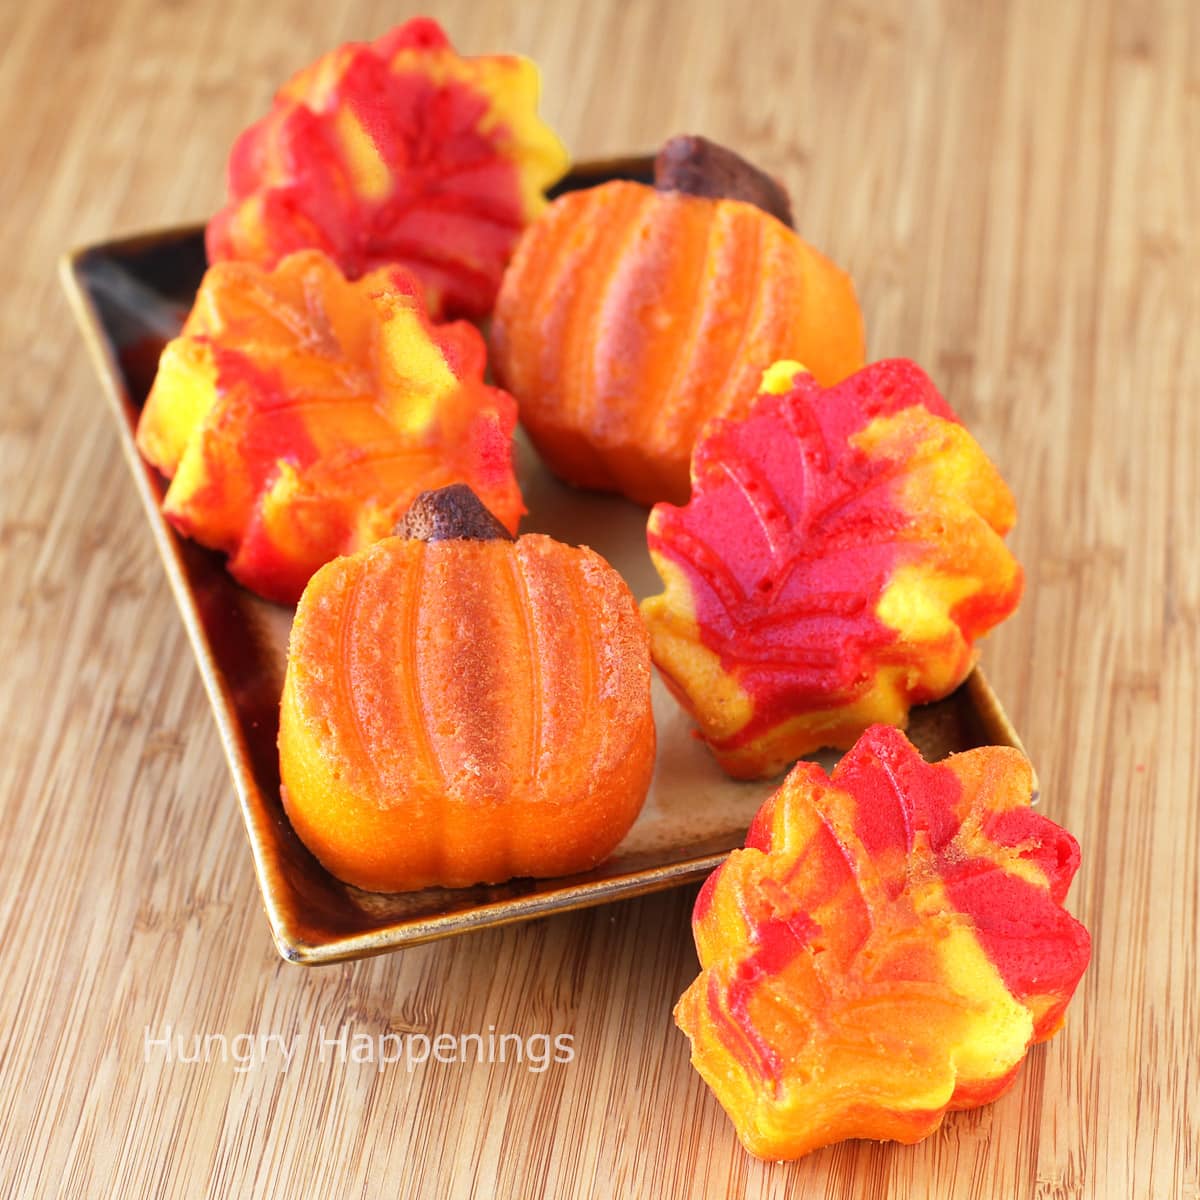
The techniques I've used to create these Pound Cake Leaves and Pumpkins aren't new. I used them last year when I made Cheesecake Leaves and Pumpkins.
I just wanted to see if I could do the same thing using pound cake batter and was happy with the results. They are more vibrant and colorful than I expected and will be so pretty on the table at Thanksgiving.
Let's make some Fall Leaf Cakes and Mini Pumpkin Cakes.
Ingredients
¼ cup (½ stick) butter, softened, plus more to grease molds
Betty Crocker Pound Cake Mix (16-ounce box)
⅔ cup milk or water
2 large eggs
½ teaspoon almond extract, optional
orange, red, yellow, and green food coloring
Supplies
3 Wilton Leaf and Pumpkin Silicone Molds
food use only paintbrush
baking sheets
Items used to create this project are available on Amazon.com. I earn a small commission when you make a purchase using the links below at no extra cost to you.
 X-Haibei Autumn Fall Decora...Shop on Amazon
 Creativemoldstore 1pcs 6-Ho...Shop on Amazon
Instructions
- Heat oven to 350 degrees Fahrenheit.
- Grease the pumpkin and leaf molds.
- Cream butter just to soften.
- Add pound cake mix, milk, eggs, and almond extract, if using.
- Beat on low for 30 seconds, then beat on medium speed for 2 minutes. The batter will be very thick.
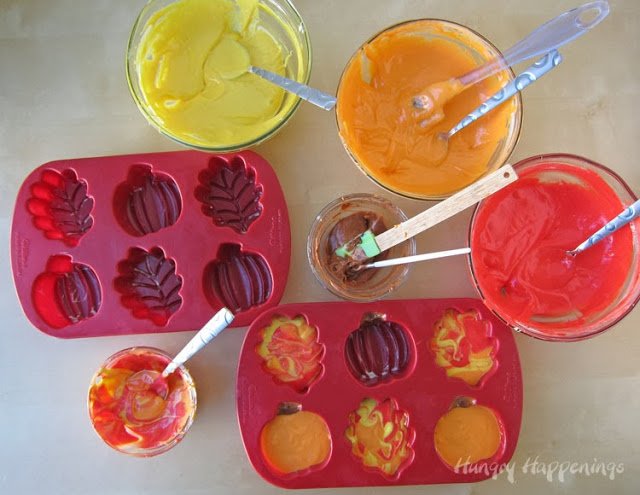
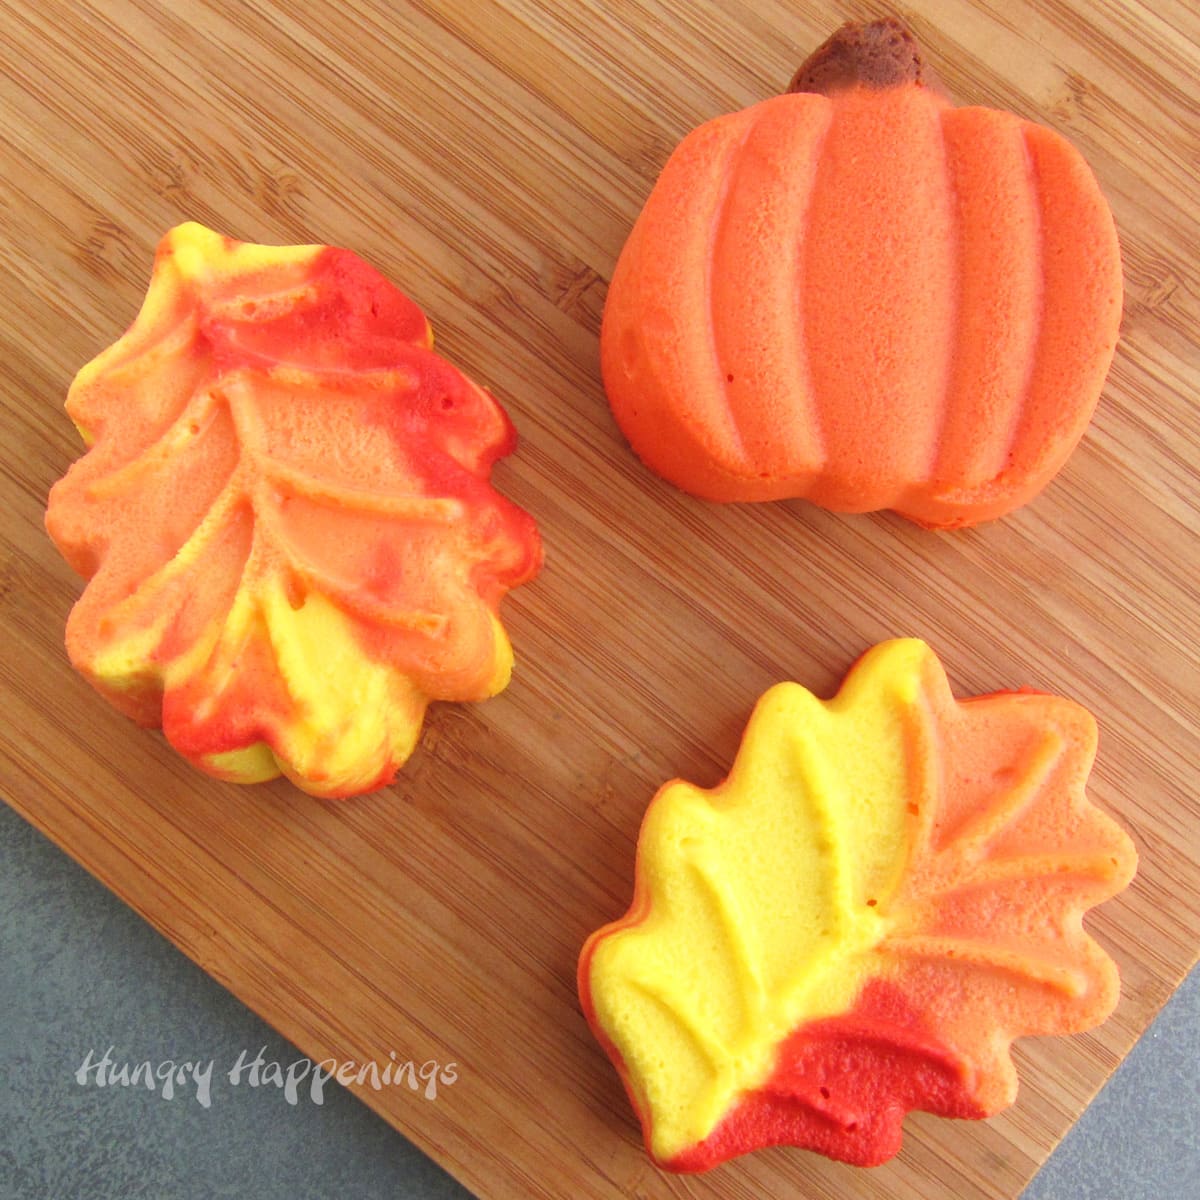
Swirl the fall leaf-colored cake batter in the leaf molds.
- Divide the batter into three bowls.
- Put a little more than half of the batter in one bowl and color it using orange food coloring and divide the rest among the other two bowls coloring one yellow and one red.
- Pull about a tablespoon of batter out of the red bowl and add some green food coloring to make it brown.
- Spoon about a tablespoon of each of the colored batter into a small bowl.
- Pour it into the leaf molds, allowing the colors to swirl.
- Fill 9 leaf cavities with the swirled colors halfway up the sides. I filled 6 leaf cavities ¾ full and they were too full.
- For detailed images of this swirling technique, see the Cheesecake Leaves and Pumpkins post.
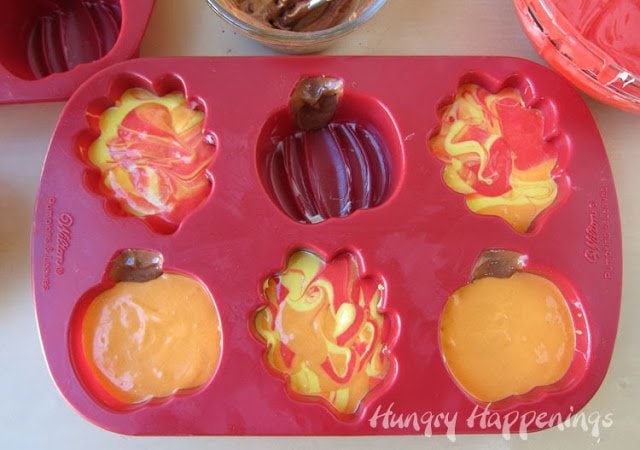
Paint pumpkin cakes in the mold.
- Use a paintbrush to paint the pumpkin stems with the brown batter.
- Paint the entire stem. Fill the pumpkin cavities halfway with orange batter.
- As the cakes bake the orange will puff up and match up with the brown stems.
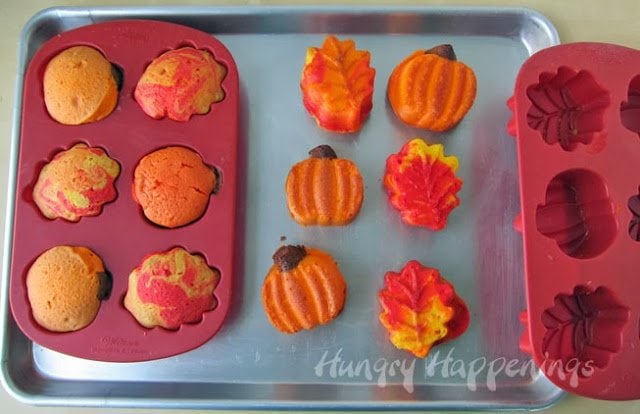
Bake.
- Set molds on baking sheets then lift the mold up a few inches and tap the mold on the pan. Do this a few times. It will help to remove air bubbles.
- Bake for 18-22 minutes until a toothpick comes out clean. Being I only used two molds and they were filled more, I baked them for 24 minutes. I recommend making 18 cakes not 12.
- Remove from oven and allow to cool for 5 minutes.
- Tug at the mold, loosening the cakes from the sides.
- Turn mold over, and un-mold the cakes.
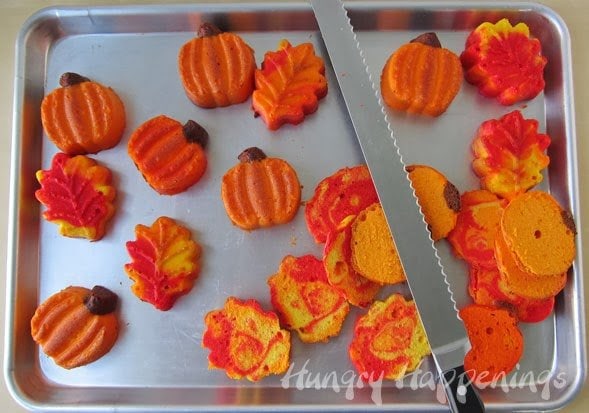
I made 12 cakes, but the batter puffed up over the edge of the mold so much that I had to cut it off. I suggest making 18 cakes instead.
You can see here how much excess cake I cut off each leaf and pumpkin so that they would sit flat.
You can also see how pretty they look inside with all the swirled colors.
Storage
- Store in an airtight container for up to 4 days.
- I wrapped my cakes in plastic wrap, put them in a zip-top bag and froze them.
- I'll thaw them out on Thanksgiving morning so we can enjoy them for dessert.
Related Recipes
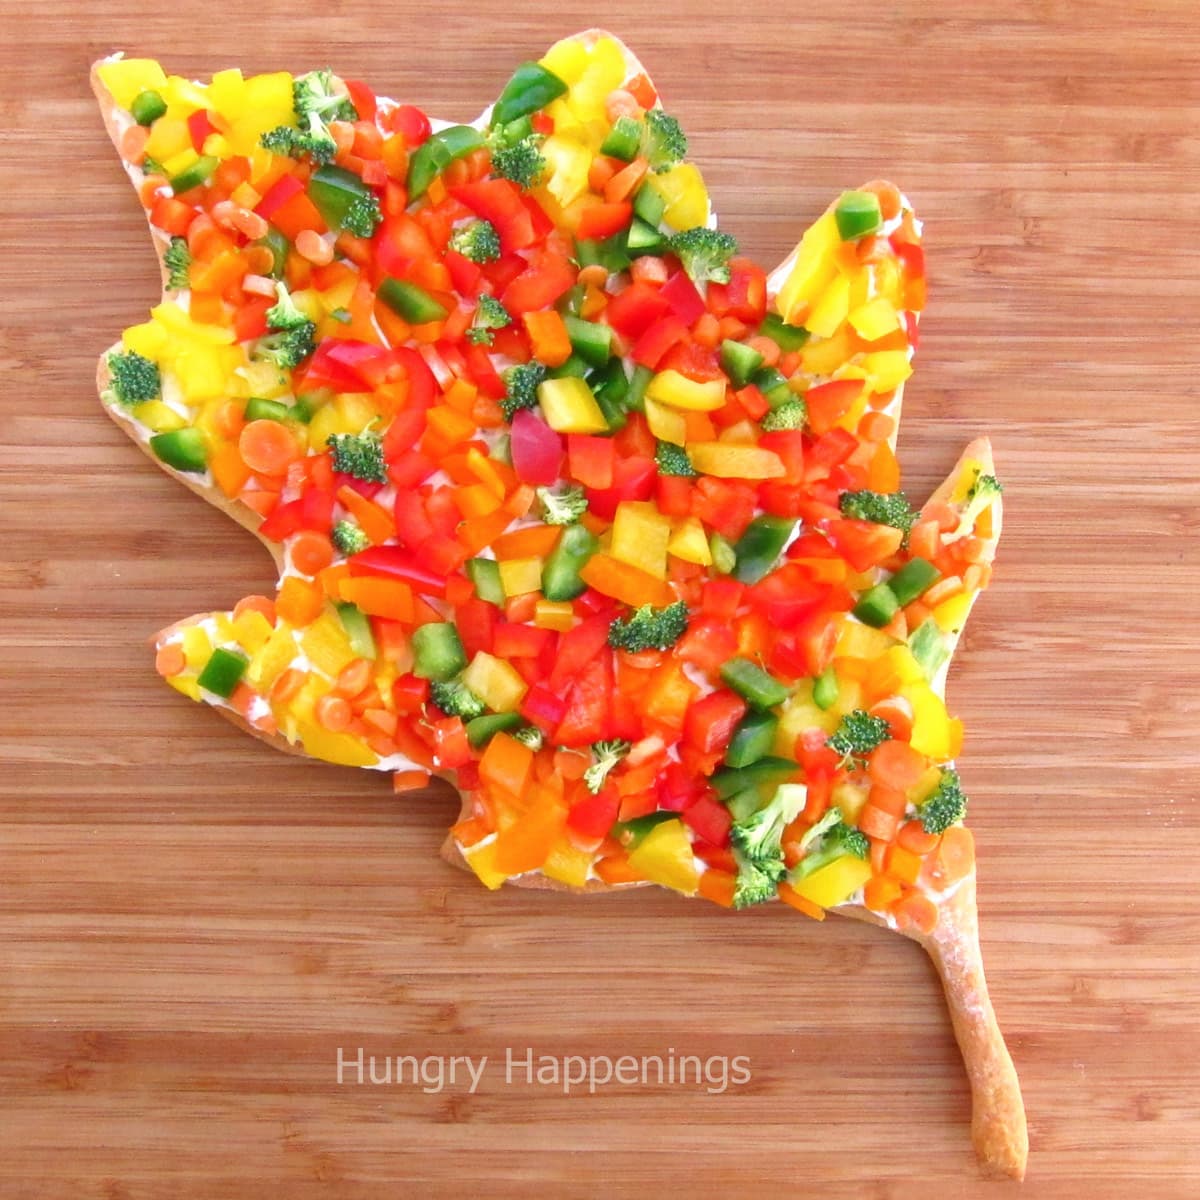
If you enjoy making these pound cake leaves, you might also enjoy making these other leaf-themed desserts and appetizers.
Be sure to check out all of my amazing Thanksgiving Recipes.
Recipes
Make pretty Autumn colored leaves and pumpkin cakes using a silicone mold.
- ¼ cup (½ stick butter), softened, plus more to grease molds
- 1 Betty Crocker Pound Cake Mix 16-ounce box
- ⅔ cup milk or water
- 2 large eggs
- ½ teaspoon almond extract optional
- orange red, yellow, and green food coloring
-
Heat oven to 350 degrees Fahrenheit.
-
Grease all 18 cavities in the three pumpkin and leaf molds.
-
Cream butter just to soften.
-
Add pound cake mix, milk, eggs, and almond extract, if using.
-
Beat on low for 30 seconds, then beat on medium speed for 2 minutes. The batter will be very thick.
-
Divide the batter into three bowls.
-
Put a little more than half of the batter in one bowl and color it using orange food coloring and divide the rest among the other two bowls coloring one yellow and one red.
-
Pull about a tablespoon of batter out of the red bowl and add some green food coloring to make it brown.
-
Spoon about a tablespoon of each of the colored batter into a small bowl.
-
Pour it into the leaf molds, allowing the colors to swirl.
-
Fill each of the leaf cavities halfway.
-
Use a paintbrush to paint the pumpkin stems in the molds with the brown batter.
-
Paint the entire stem. Fill the pumpkin cavities halfway with orange batter.
-
As the cakes bake the orange will puff up and match up with the brown stems.
-
Set molds on baking sheets and bake for 18-22 minutes until a toothpick comes out clean.
-
Being I only used two molds and they were filled more, I baked them for 24 minutes.
-
Remove from oven and allow to cool for 5 minutes.
-
Tug at the mold, loosening the cakes from the sides.
-
Turn mold over, and un-mold the cakes.
Store in an airtight container for up to 4 days.
Or freeze them for up to 3 months. I wrapped my cakes in plastic wrap, put them in a zip-top bag, and froze them. I'll thaw them out on Thanksgiving morning so we can enjoy them for dessert.
- How to make peanut butter? - February 15, 2024
- OREO Penguins - December 20, 2023
- OREO Snowmen - December 20, 2023

Crystal
So creative! Love them. And I love that you can cut them down and they're still so pretty.
Auro @ Add that Xtra in the Ordinary
How pretty and innovative. I understand how it feels when your mind is full of these ideas you actually cannot sleep till you make them happen.Thanks for sharing.Lovely post, must try!
beth
Thank, Auro. Yes, I have had my share of sleepless nights, but if I wake up with the attitude that I'm going to get something done, then I don't even feel terribly tired. Us creative folks have that problem!
The Partiologist
I love how you marbleized the leaves to make them look so realistic! Have that pan, must try!
Kathy
Looks beautiful!
Brenda @ SweetSimpleStuff
I love the colors! Freezing cake is such a time saver ... especially this time of year 🙂
beth
I create so much as I blog, but I have to make it too early for the actual holiday, so freezing is a life saver!
Lizbeth McGow
OMG Beth I thought they were fake, I mean I thought they were made out of something non edible whatsoever, How Pretty and clever! and oh...yummmo! almost too pretty to eat...Almost, lol! Have a great week!
beth
I was so excited when these cakes came out of the oven because the colors were so much more vibrant than I expected. I shared these on Fox 45 this morning, and the anchors both said they looked too pretty to eat!
Michelle Clausen
so pretty! i love love love the look of these leaves, and the pumpkins too!!
Janine Eshelbrenner
So pretty, so simple! Your a genius with those silicone molds!
beth
Thank you, Janine. I love baking in silicone molds. There are so many possibilities.