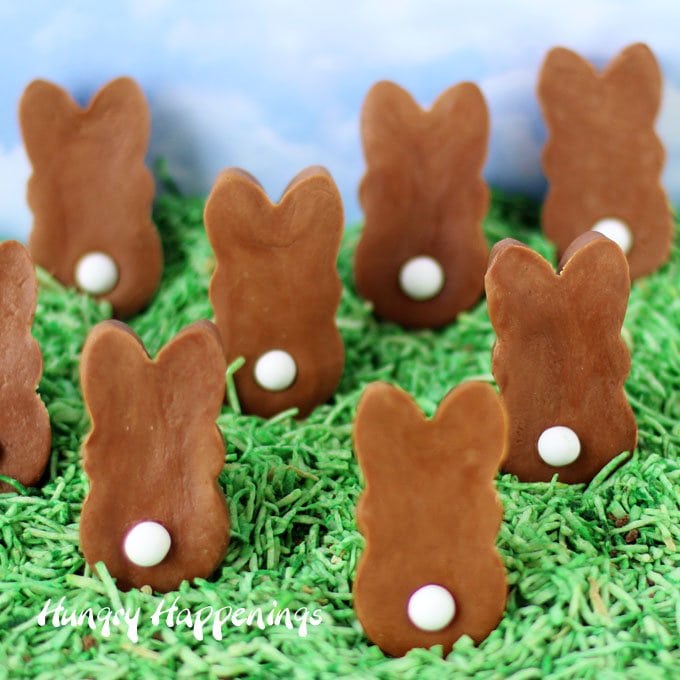
2-ingredient Reese's Fudge Easter Bunnies are so simple to make in a silicone bunny mold and can be decorated using a few sprinkles and a food coloring marker.

If you are looking for a super easy Easter recipe to make this year, this is it!
These little bunnies are quick and easy to make using chocolate and Reese's Peanut Butter Spread (or Nutella). If you want to make them really cute, you can add some confetti sprinkles and use a food coloring marker to add eyes and a sweet or silly smile.
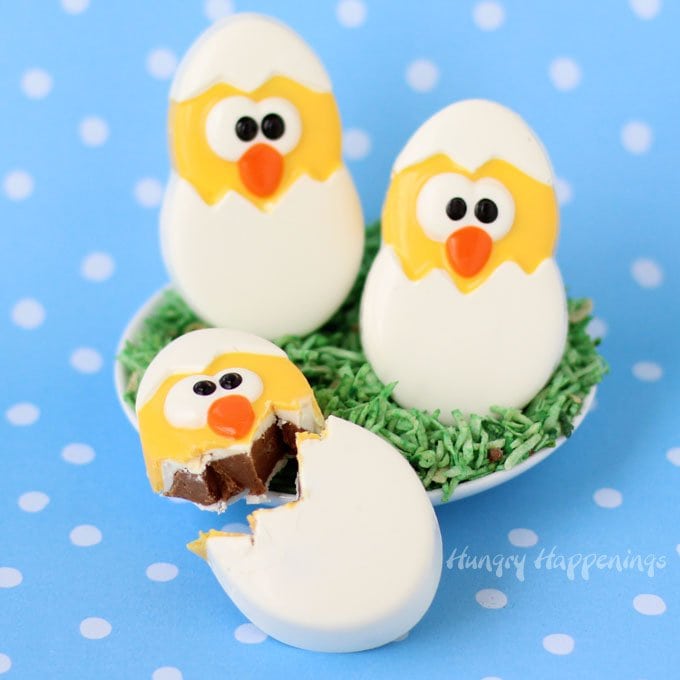
They'll be a great addition to other homemade Easter chocolates including peanut butter eggs, caramel chocolate eggs, coconut cream eggs, marshmallow eggs, chocolate bunnies, and painted Easter lollipops.

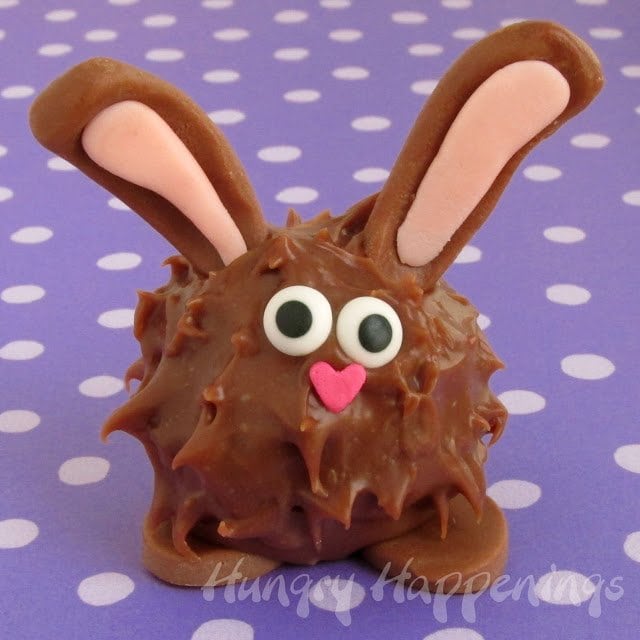
Hani from Haniela's invited me to join her and Kim, The Partiologist, in making a sweet treat using one bunny silicone molds.
Kim made Easter Bunny Rice Krispies Treats and Hani made Rocky Road Bunny Bites. Be sure to stop by their blogs to check out the tutorials for their treats. Hani even has a video tutorial.

Let's make fudge bunnies.
Ingredients
- 12 ounces light cocoa candy melts
- ¾ cup of Reese's Peanut Butter Chocolate Spread or Nutella, creamy peanut butter, or Biscoff Cookie Butter
RELATED: Find dozens of easy fudge recipes at HowToMakeEasyFudge.com.
Supplies
I earn a commission for sales when you use an affiliate link at no extra cost to you.
disposable pastry bag or zip-top bag
Silicone Bunny Mold
food use only paint brush
Instructions

Melt the chocolate and Reese's Spread.
- Heat the Light Cocoa Candy Melts on high in the microwave for 30 seconds, then stir.
- Heat for 30 more seconds, then let the bowl sit in the microwave for 2 minutes, then stir.
- Heat for another 30 seconds and stir.
- Then, if needed heat for 10-15 second increments, stirring after each, until melted.
- Stir in Reese's Chocolate Peanut Butter Spread or Nutella, peanut butter, or Biscoff Cookie Butter until smooth.

Fill the bunny molds.
- Reserve 1 tablespoon of the fudge to use later to attach your decorations.
- Pour the remaining fudge into a disposable pastry bag and snip off the tip so the chocolate flows easily.
- Set the silicone mold on a cutting board or baking sheet and pipe the remaining chocolate fudge into the 24 bunny cavities in the silicone mold.

Chill.
- Place the filled mold in the freezer for 15-20 minutes until the fudge is firm.

Unmold the fudge bunnies.
- Unmold the fudge bunnies by turning the mold upside down and pressing on the backside of the bunny cavities.
- Allow the bunnies to sit at room temperature for 15 minutes before decorating.

Decorate the fudge bunnies.
- Heat the reserved fudge for 10-second increments, stirring after each until melted.
- Attach two white confetti sprinkles and one pink confetti sprinkle to each bunny.
- Use a candy decorating pen to draw pupils onto each white sprinkle, creating eyes.
- Add a smile.

- Get creative and have fun with the bunny face designs.

- Each bunny can have its own unique look.
Related Recipes
If you like these cute bunny-shaped fudge treats, you might also like these other Easter recipes.
Recipe

- 12 ounces Wilton Light Cocoa Candy Melts
- 8 ounces (= rounded ¾ cup) Reese's Chocolate Peanut Butter Spread (or Nutella, Peanut Butter, or Biscoff Spread)
- white and pink round confetti sprinkles
- black edible ink marker
-
Heat the Light Cocoa Candy Melts for 15-30 second increments stirring after each until melted.
-
Stir in the Reese's Chocolate Peanut Butter Spread until smooth.
-
Reserve 1 tablespoon of the fudge.
-
Pour the remaining fudge into a disposable pastry bag.
-
Snip off the tip.
-
Pipe fudge into the 24 bunny cavities in the silicone mold.
-
Freeze for 15-20 minutes.
-
Un-mold.
-
Thaw for at least 15 minutes.
-
Heat the reserved fudge in the microwave for 10 second increments, stirring after each until melted.
-
Attach two white confetti sprinkles and one pink confetti sprinkle to each bunny.
-
Use a candy decorating pen to draw pupils onto each white sprinkle, creating eyes.
-
Draw on a smile.

- Banana Split Bars – A Fun and Easy Summer Dessert - March 4, 2026
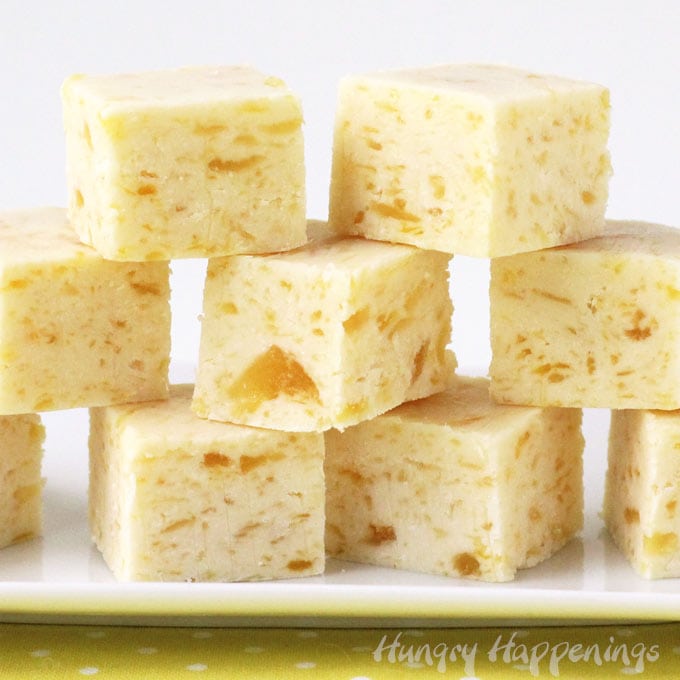
- Pineapple Fudge (No Candy Thermometer Needed!) - March 4, 2026
- No-Bake Peanut Butter Pie Recipe - March 3, 2026
Laurie says
How long do they stay good, and do they need refrigerated?
Beth says
Store them at room temperature for up to a month. It's best to keep them in an airtight container.
Michelle @ A Dish of Daily Life says
How cute are these?! Beth, your creations always amaze me! Thanks for sharing these adorable treats with us at #FoodieFriDIY!
Hani Bacova says
Ooh Beth I love how you add the faces to these, so adorable!
Anonymous says
Would these turn out the same, if I used Hersey's Milk Chocolate chips, instead of the candy melts?
beth says
No they wont, unless you temper the chocolate chips. My first attempt with this recipe was using pure chocolate (with cocoa butter.) I did not temper the chocolate and the bunnies did not set correctly. They were soft and sticky and after a few days they turned dry and crumbly. I highly recommend using the candy melts unless you want to temper the chocolate chips.
Robin says
Hello Beth I’m new here , how do I get your recipes and what does temper the chocolate mean? Thanks Robin T
Beth Klosterboer says
Hi Robin,
Welcome! Most of my posts will have printable recipes, but many of my older posts that are food crafts do not. Back in the day, I added so many step-by-step instructions, that I assumed people would need to have the blog post open in order to follow all of the instructions.
I do have a very helpful post all about tempering chocolate which is the process of heating and cooling pure chocolate so that it hardens properly. If you've ever melted chocolate and noticed that it was soft once "hardened" or that it became spotty, it was not tempered. You can read my post all about making chocolate here - https://hungryhappenings.com/chocolate-making-tips/
I hope this helps.
The Resourceful Mama says
Yummy! Love chocolate and peanut butter! Pinning this to try later.
beth says
Thanks for the pin:)
Brenda @ SweetSimpleStuff says
Hope you're feeling better 😉 The bunny faces make me smile and there's nothing better than chocolate mixed with peanut butter!
beth says
Thanks, Brenda, I am feeling back to myself. It is so nice to have energy again. I'm happy my bunnies made you smile:)
Kathy says
Just made mine. They turned out great and were so easy. First time I've used the writing pen and after just a few faces, I had a problem with the ink going on. Can you give me any tips on why that might have happened. Thank you so much for your wonderful recipes!
beth says
Glad to hear they turned out great! I have an entire tutorial about using the food coloring markers. Copy and past this link to go to the page - https://hungryhappenings.com/2012/08/tips-on-how-to-use-edible-ink-food.html
Tiffany@Fizzy Party! says
Oh my goodness! When I saw the Reeses Spread in the stores I thought the exact same thing! Make Easter chocolates with it. I haven't made mine yet but I'm glad I came across this post because now I know it will turn out.
Woo Hoo!
beth says
I have gone through so many jars of the Reese's Spread lately. I love it in this easy fudge, but know it can be used for so many recipes.
Sugartown Sweets says
I'm so sorry you're still sick..y'all have had a rough month. Praying you're feeling better soon for good this time.
These sweet little bunnies are sooo cute..and made with peanut buttery chocolate we know they're super yummy. I bought a jar of this Reese's spread a while back and was thinking about making a caramelly candy with them but I like your idea of a two ingredient fudge better!
beth says
I am happy to report that we are both finally feeling better. There is still lots of coughing and sniffling going on, but we feel human again. I actually got a lot of work done yesterday which felt so good.
Ooh, if you do make the caramel candy using the spread, I'll be excited to see how you do it. Sounds yummy!
Alexandra Richards says
Too cute! And very simple. Can't get any easier than 2 ingredients and 30 minutes! Pinned and shared.
Alexandra
EyeLoveKnots.blogspot.com
beth says
Thanks, Alexandra. It was so nice to have these done so quickly.
Two PlusCute says
So creative (as usual) and I love the face expressions you made on them.
You are very talented Beth!
beth says
Thanks so much!
The Partiologist says
So sorry you haven't been feeling well, from the looks of these adorable peanut butter bunnies no one would ever know. PB and chocolate is one of my FAVORITE combos!
beth says
Thanks, Kim. I'm sure some of my ill feelings have to do with the crazy changes in weather. One day it's snowing, the next it's 64, then it's freezing again. Over the weekend, when I felt good it was sunny and warm, then the cold and snow moved in then we had a day of rain. I'm dreaming of sunshine!!!