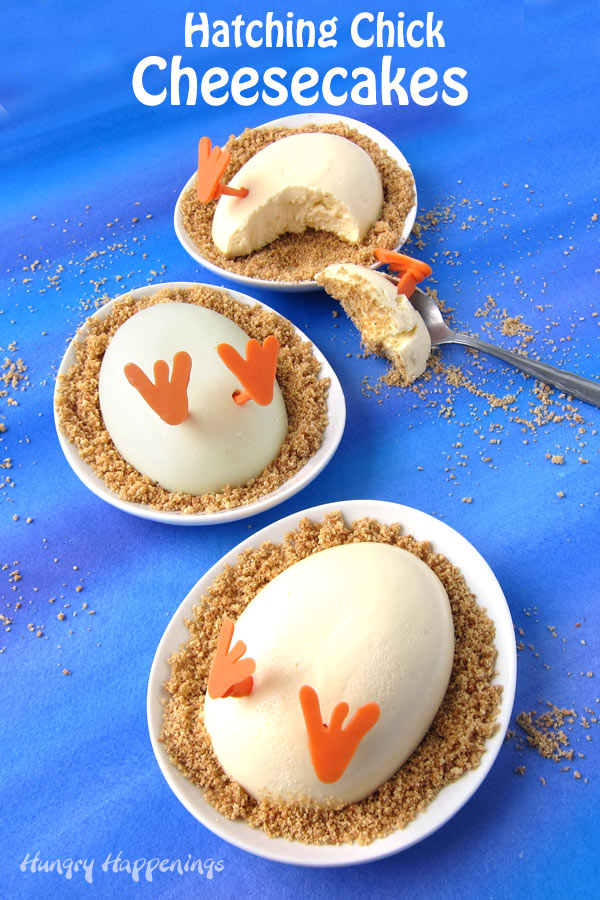
Bring some humor to your Easter dinner by serving these fun Hatching Chick Cheesecakes for dessert. Each creamy cheesecake served on top of graham cracker crumbs is easy to prepare and can quickly be decorated to look like a baby chick that is breaking out of its shell.
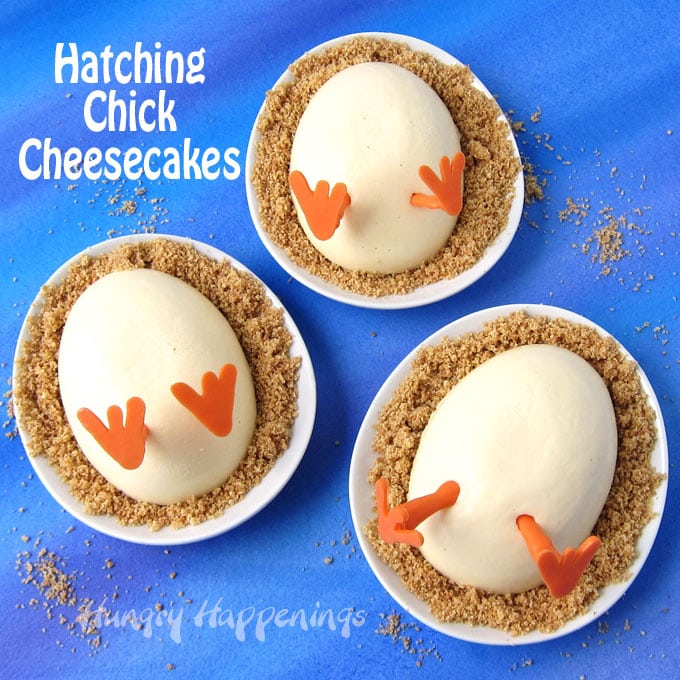
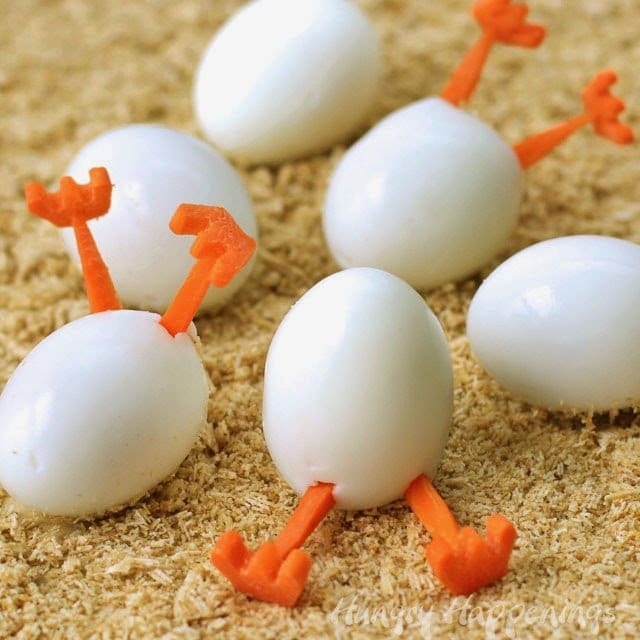
This week while I was cleaning out my silicone molds I came across a silicone egg mold and a flash of inspiration struck. Do you remember my Hatching Chick Hard Boiled Eggs? They are simply hard-boiled eggs with carrot feet sticking out. I thought they were so fun!
As I looked at the egg mold I envisioned how I could use that idea to make these hilarious Hatching Chick Cheesecakes.
My plan was to fill the egg-shaped silicone mold with my favorite cheesecake recipe then decorate them with candy chicken legs so that they look like hatching chicks and it worked!
RELATED: See all my Easter recipes, here.
Plus it was so simple.
These Hatching Chick Cheesecakes will make a cute dessert for Easter or Earth Day or even a baby shower.
They are perfect for adults who want to enjoy a luscious cheesecake for dessert and they are super fun for kids too.
I personally think they taste amazing plain but you could serve these Easter cheesecakes with a side of strawberry, raspberry, or chocolate sauce. Fresh berries would be a nice addition too.
Ingredients
Cheesecake Eggs
- cream cheese - Be sure to set the cream cheese out at room temperature for at least 3 hours before making the cheesecake filling.
- granulated sugar
- egg
- egg yolk
- pure vanilla extract
- sour cream - It's best if the sour cream isn't too cold. Set it out on the counter about an hour before mixing the filling.
Graham Cracker Crust
- graham crackers
- butter - You can use either salted or unsalted butter.
Candy Legs/Feet
- orange candy melts
Supplies
mixing bowl and mixer
silicone egg molds
baking pan with an optional flat roasting rack
microwave-safe bowl
squeeze bottle or pastry bag
You can find items needed to make these fun Easter cheesecakes on Amazon (commission earned for sales at no extra cost to you).
![Silicone Molds [Half Egg, 5 Cup] Cupcake Baking Pan - Free Paper Muffin Cups - Non Stick, BPA Free, 100% Silicon & Dishwasher Safe Silicon Bakeware Tin - Kitchen Rubber Tray & Soap Molds](https://m.media-amazon.com/images/I/31nVjloK69L._AC_AC_SR98,95_.jpg) Silicone Molds [Half Egg, 5...Shop on Amazon
Silicone Molds [Half Egg, 5...Shop on Amazon Food Coloring AmeriColor - ...Shop on Amazon
 T-fal A85797 Specialty Nons...Shop on Amazon
 Wilton Orange Candy Melts C...Shop on Amazon
 10 Strawberry Street IZABEL...Shop on Amazon
 CK Products Squeeze Bottle ...Shop on Amazon
 Reynolds Kitchens Cookie Ba...Shop on Amazon
Instructions
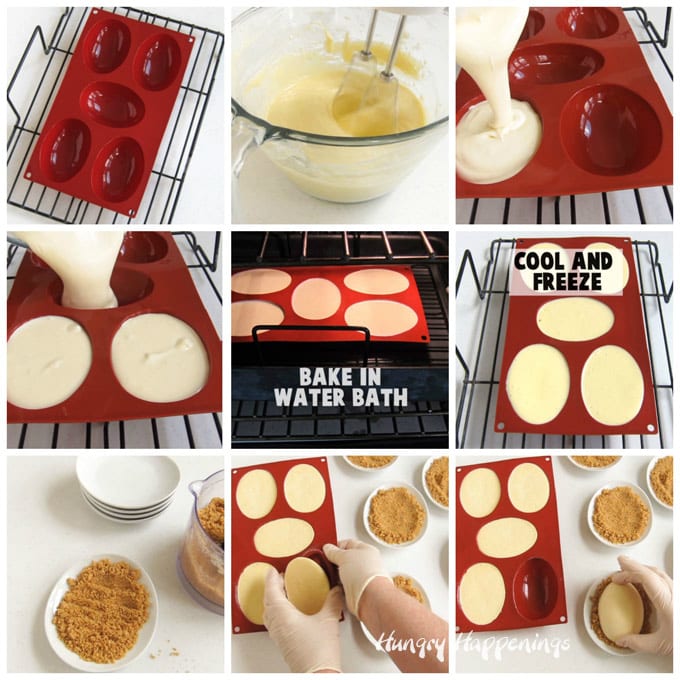
Start by making a simple cheesecake filling.
Cheesecake Recipe
- Beat 1 ½ blocks (12 ounces) of cream cheese until light and fluffy.
- Add ½ cup of sugar and beat until smooth.
- Pour in 1 whole egg and 1 egg yolk and ½ teaspoon of vanilla extract and beat until well blended.
- Spoon in ½ cup of sour cream and beat just to combine.
- If desired, add some drops of white food coloring.
- Some eggs will have really vibrantly orange yolks which will make your cheesecakes look off-white or even yellow.
- If you want your finished cheesecake eggs to be a more vibrant white you can add some white food coloring.
Pour Filling into Silicone Egg Mold and Bake
- Pour the filling into 5 cavities in your silicone egg mold.
- Bake in a water bath in a 325-degree F oven for about 18 minutes.
- I have a wonderful roasting pan that has a flat rack that fits down into it.
- I add about an inch of water to the pan and set it in the oven while it preheats.
- I set the mold on the rack before filling the mold with the cheesecake filling.
- Then I can simply set the rack/mold down in the water bath and allow my cheesecakes to bake. (See more details below).
- When the cheesecakes are ready, I simply lift the rack/mold out.
- Once the cheesecakes are baked, they should still jiggle in the center but not look wet.
- Remove them from the water bath and allow them to cool completely for about an hour.
- Pop them in the freezer for at least 3 hours until they are well frozen.
- The reason for freezing the cheesecakes is so that you can push them out of the silicone mold without denting the cheesecakes.
- Once frozen, the cheesecake will pop right out of the mold.
- While the cheesecakes are freezing, crush 4 graham crackers (the whole rectangle with 4 smaller rectangles) along with 2 tablespoons of melted butter to form the loose crust for the cheesecakes.
- Sprinkle about 2 tablespoons of the crumbs onto 5 small dessert plates.
- Remove the frozen cheesecakes and un-mold, immediately placing one on each of the serving plates.
- Then let the cheesecakes sit at room temperature for about 45-60 minutes until thawed before inserting the feet.
- You can refrigerate the cheesecakes at this point for up to 3 days before adding the feet and serving.
*Why bake the cheesecakes in a water bath?
- A warm water bath will help to keep your cheesecakes from cracking and drying out.
- These cheesecakes are rather small and will bake pretty quickly so baking without a water bath might be alright, but the water bath is still advisable so that you get the most amazingly creamy cheesecakes.
How to make a water bath for these cheesecakes?
- You can heat the water in your roasting pan as the oven preheats or you can bring a pot of water to a boil and then pour the water into the pan.
- Pour about an inch (you want the water to come about halfway up the sides of the mold) of water into a roasting pan and set it in the oven and allow it to heat up while the oven is preheating. Then set the mold in the hot water and bake.
- OR set the mold in the roasting pan and carefully pour boiling water into the pan until the water comes halfway up the sides of the mold.
- If you find it easier, you can also put a pan of water on the rack below the cheesecakes. It will keep moisture in the oven which will help to keep your cheesecakes from cracking.
Make orange candy chicken feet.
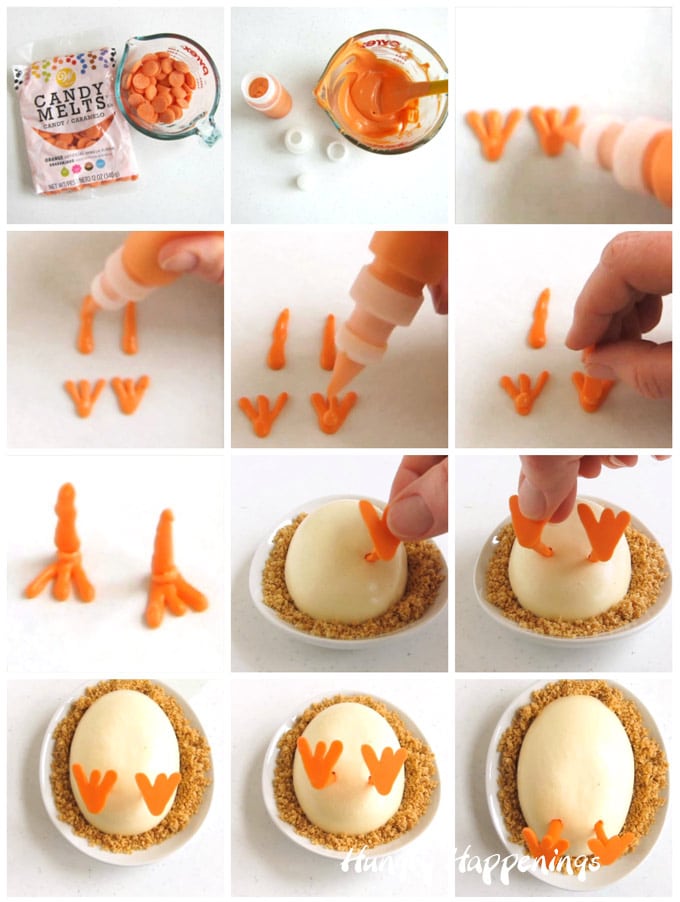
- Pour 2 ounces of orange candy melts into a glass cup and heat on high power in the microwave for 20-30 second bursts of power, stirring in between each, until melted.
- Fill a small squeeze bottle or a zip-top bag with the orange candy melts.
- Pipe ten triangle-shaped chicken feet onto a parchment paper-lined baking sheet.
- Then pipe ten 1 ½-inch long legs.
- Freeze for 3-5 minutes just until hardened.
- Peel the candy off the parchment paper.
- Pipe a dot of candy melts on the top, at the back end, of each foot then attach one leg and hold in place until it sticks.
- Let the legs harden for about 20 minutes before inserting them into the cheesecake eggs.
Add the legs and feet to each cheesecake egg.
- Once the cheesecakes have thoroughly thawed, insert two legs into each.
Your cheesecakes are ready to serve. It's best to add the feet/legs just before serving. If you refrigerate the candy chicken legs, they can develop beads of moisture and become sticky.
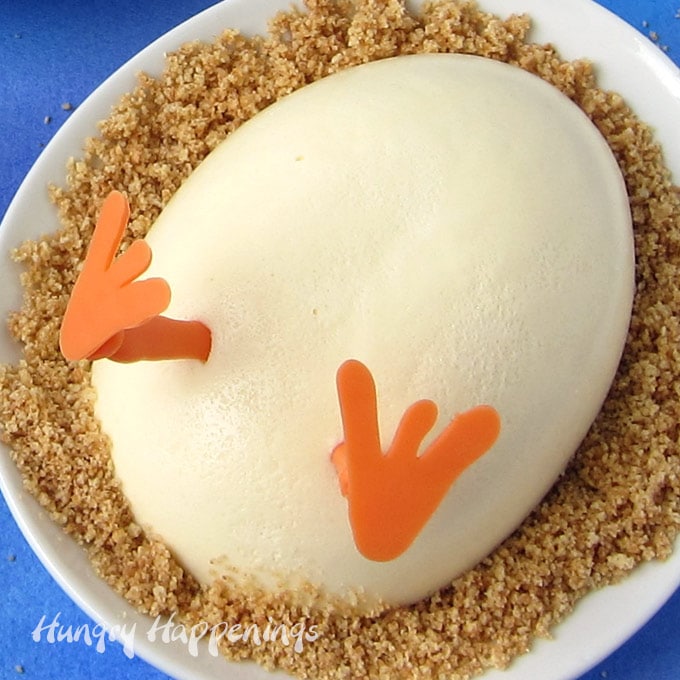
How cute are these Hatching Chick Cheesecakes?
If you want, you can pipe on some chocolate to create cracks in your eggs.
Storage
- Place your cheesecake eggs in an airtight container (without the legs/feet) and refrigerate for up to 3 days.
- You can keep your cheesecakes frozen for up to 3 months.
- Add the legs/feet just before serving.
Related Recipes
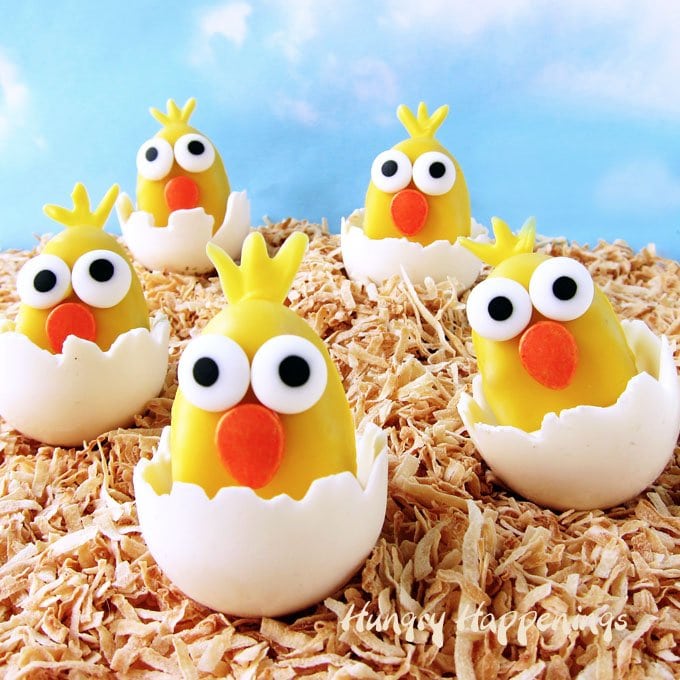
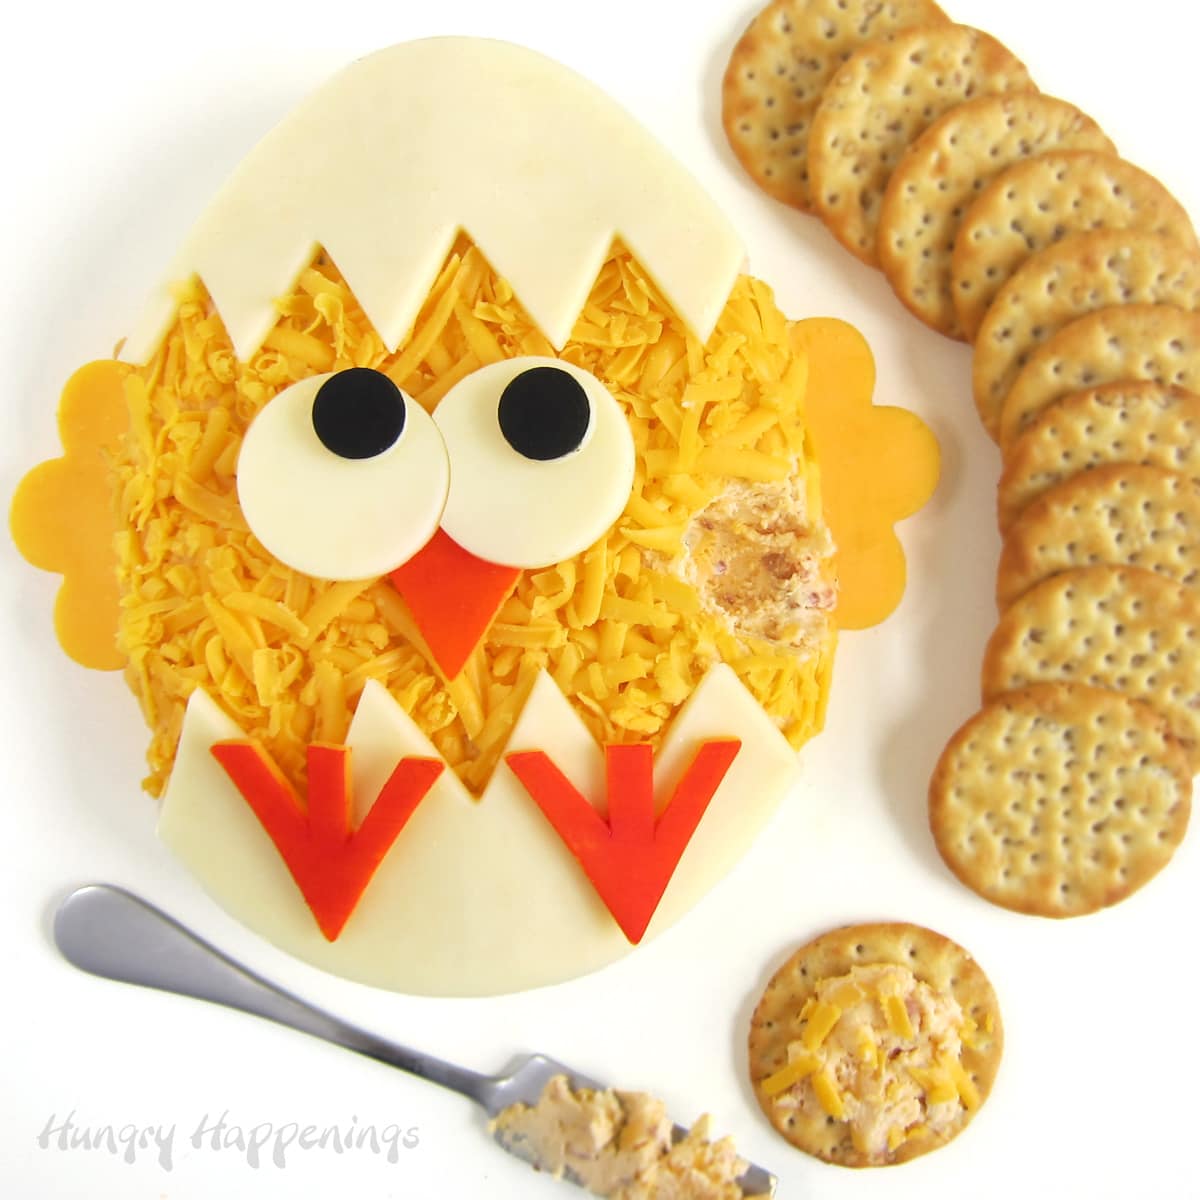
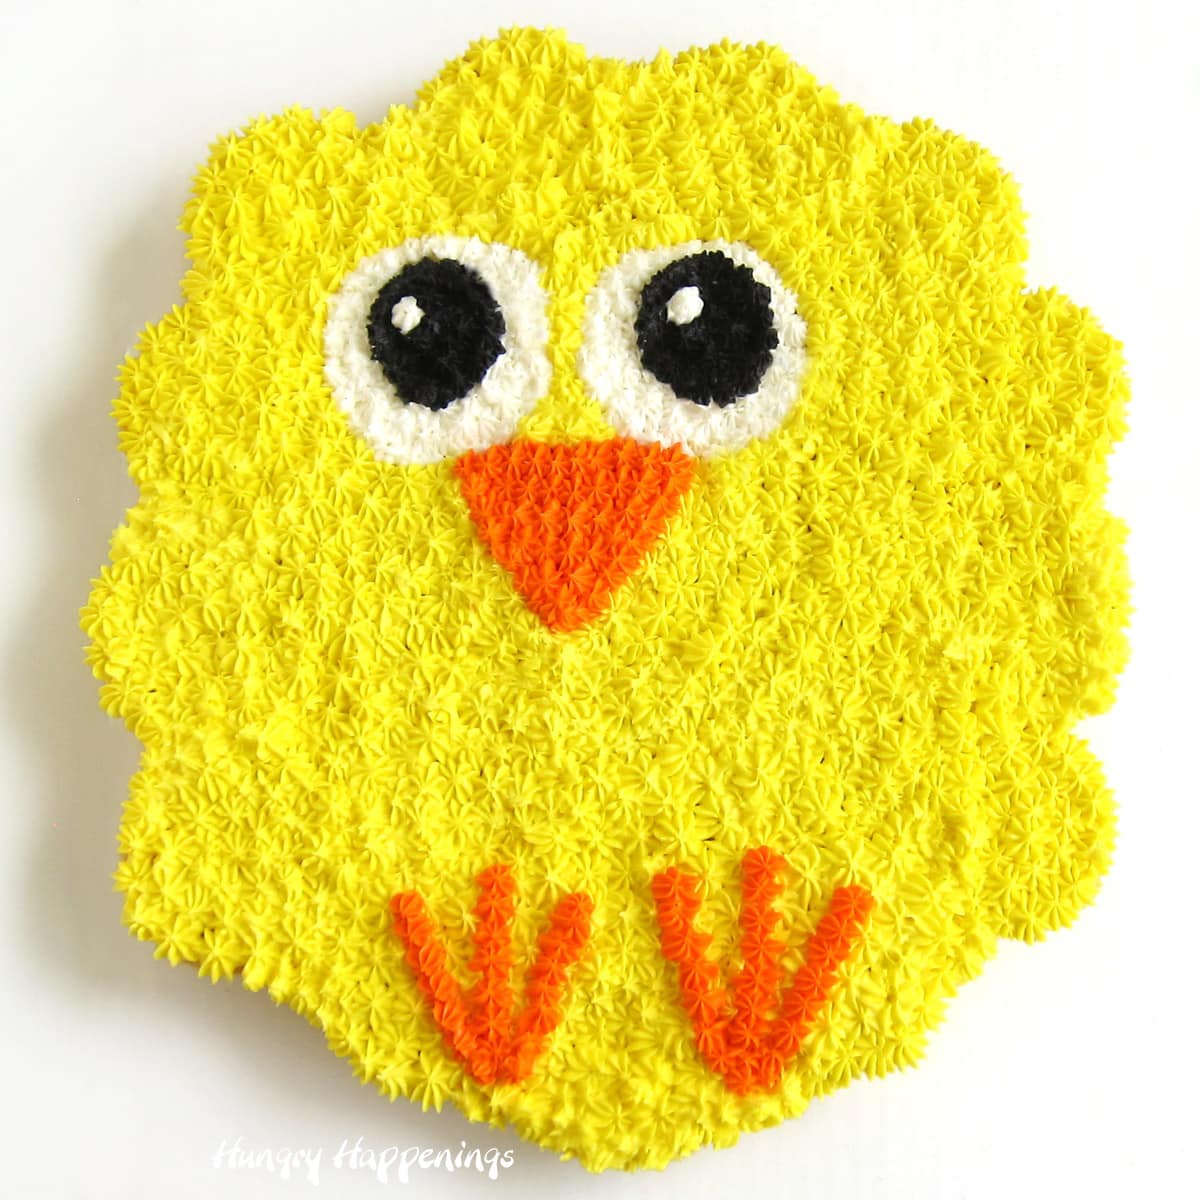
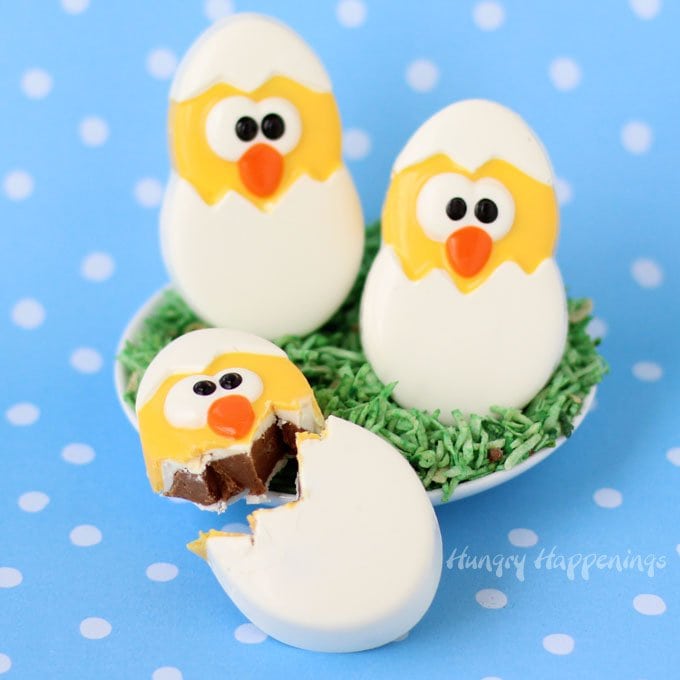
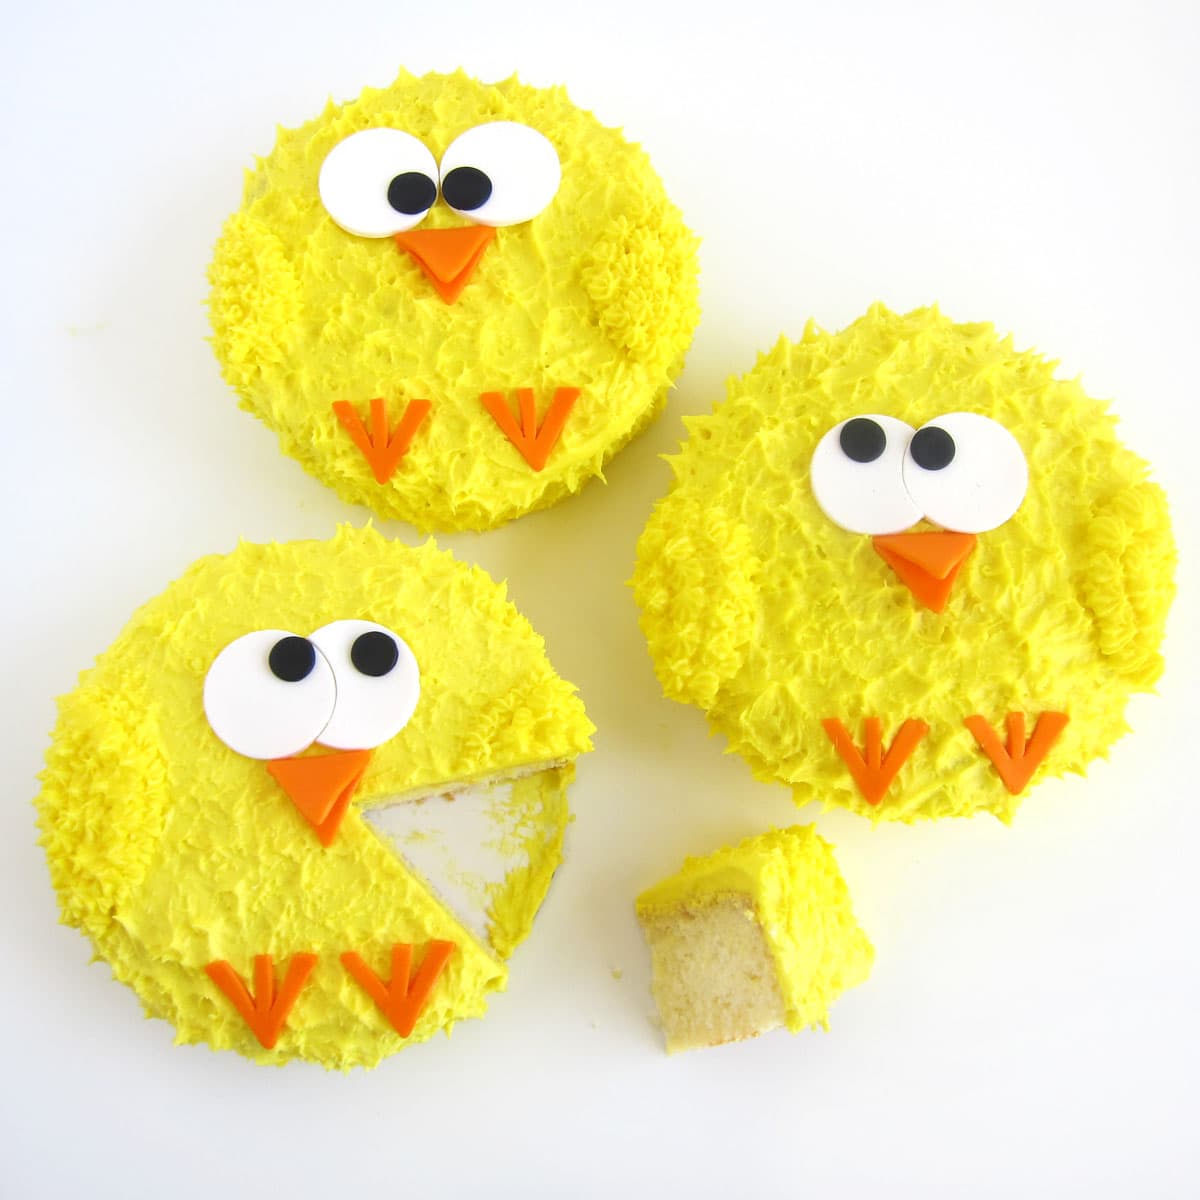
If you love celebrating Easter with cute treats, be sure to check out these other baby chick-themed recipes.
See all of my Easter recipes, here.
VIDEO
Recipe
Creamy cheesecakes shaped like eggs have orange candy feet poking out creating these funny Hatching Chick Cheesecakes which are perfect for Easter dessert.
- 12 ounces (1 ½ blocks) cream cheese, softened
- ½ cup granulated sugar
- 1 large whole egg
- 1 egg yolk
- ½ teaspoon pure vanilla extract
- ½ cup sour cream
- 4 graham crackers
- 2 tablespoons butter, melted
- 2 ounces orange candy melts
-
Preheat oven to 325 degrees F.
-
Pour enough water to come halfway up the sides of an egg silicone mold into a large roasting pan and set it in the oven and allow it to heat up as the oven preheats.
-
Beat cream cheese using an electric mixer until light and fluffy.
-
Add sugar and beat until smooth.
-
Pour in the whole egg and egg yolk along with the vanilla and beat until well combined.
-
Add the sour cream and beat just to combine.
-
Pour into 5 egg-shaped cavities in a silicone mold.
-
Set into the water bath in the roasting pan and bake for 18-20 minutes.
-
When set the cheesecakes should still jiggle but not look wet.
-
Remove the cheesecakes from the water bath and set them on a cooling rack to cool for an hour.
-
Freeze the cheesecakes for at least 3 hours until firmly set.
-
Place the graham crackers and butter in a food processor and pulse until you have fine crumbs. Alternatively, crush the graham crackers and stir in the butter.
-
Evenly divide the crumbs among 5 small serving plates.
-
Remove the cheesecake eggs and push them out of the mold, placing one on each of the plates.
-
Allow the cheesecake to thaw for about 45 minutes to an hour before adding the legs/feet.
-
Pour melted orange candy melts into a squeeze bottle or zip-top bag (snip off the tip.)
-
Pipe 10 chicken feet and 10 legs onto a parchment paper-lined baking sheet.
-
Freeze for 3-5 minutes just until hardened.
-
Remove and pipe a dot of candy melts on the back end of each foot then attach a leg coming out of the topside of the foot.
-
Let the chicken legs dry for at least 20 minutes.
-
Just before serving, insert two candy legs/feet into a thawed cheesecake.
-
Serve and enjoy!
Store your egg-shaped cheesecakes in the refrigerator for up to 3 days or in the freezer for up to 3 months. Add the orange chicken feet just before serving.
- How to make peanut butter? - February 15, 2024
- OREO Penguins - December 20, 2023
- OREO Snowmen - December 20, 2023



Karen @ Sugartown Sweets
Cheesecake and cute to boot!! Eggs-cellent!
lauren kelly
Oh my goodness, these are so adorable! And I love cheesecake!
Jamielyn Nye
These are the cutest Easter cheesecakes! You are so creative!
Julie
These are adorable! My family is going to love these.
Suzy
Such a fun and tasty Easter treat!
Kimberly
Absolutely darling, my kids flipped over these!
The Partiologist
So many fun ideas you have created with a cute little chick! Love them all!
Beth
Thanks! 🙂
Rachel Quesada
You did it again! Another amazing idea! I made your hatching hard boiled eggs last year. I am going to have to make your cheesecakes this year!
Beth
Thanks Rachel! I'm so happy to know you made the hatching hard boiled eggs and hope you have fun making these hatching chick cheesecakes. I love that you get my humor.