If you can color in a coloring book, you can color with some chocolate! This Earth Day Brownie Cake topped with a hand-made chocolate decoration will make a wonderful dessert for this special day.
Originally posted April 18, 2015
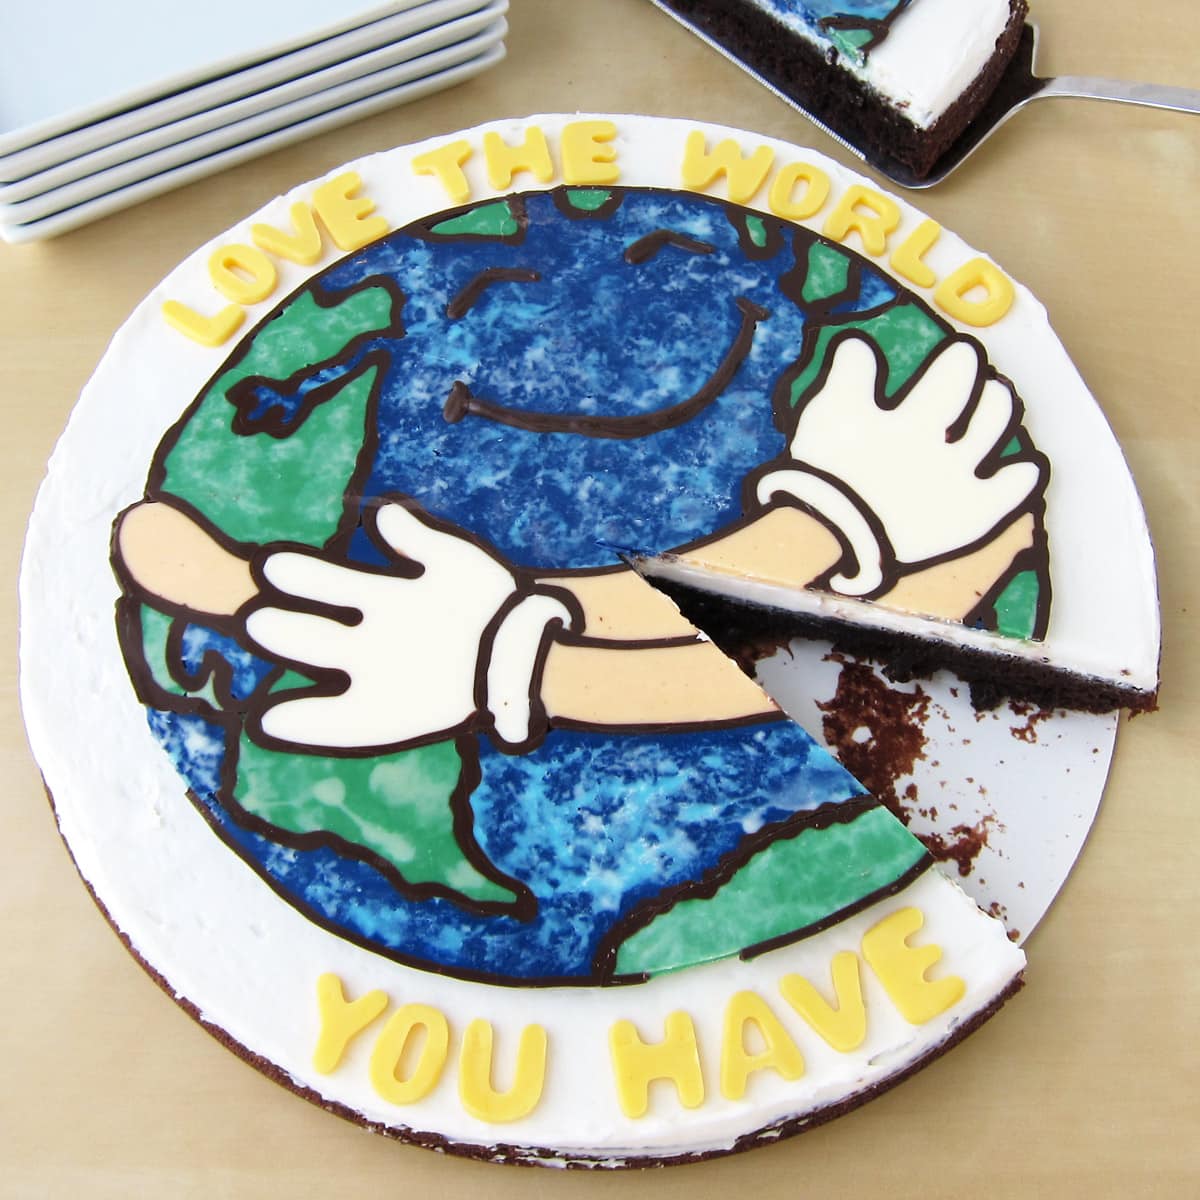
Even if you can't draw, you can make a cake, or in this case, a brownie topper that looks amazing.
All you need is a great drawing to use as a pattern.
When I was looking around the internet for inspiration for an Earth Day recipe, I came across a "Love the World Your On" coloring page created by children's book author and illustrator, Elizabeth Dulemba. The drawing of the Earth hugging itself was perfect.
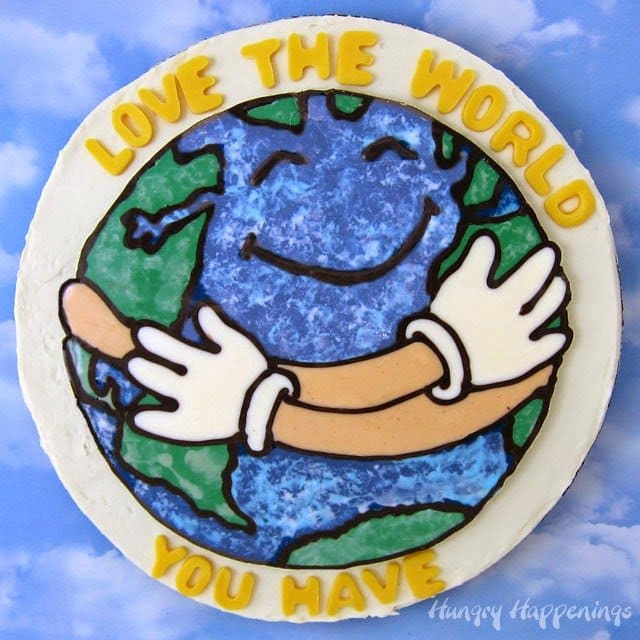
I'd love to have Elizabeth's ability to draw whatever pops into my head, but I don't. I can, however, color.
I was always good at turning a coloring page into a work of art worthy for the refrigerator gallery, so today I'm going to show you how I use that skill to create a colorful cake topper.
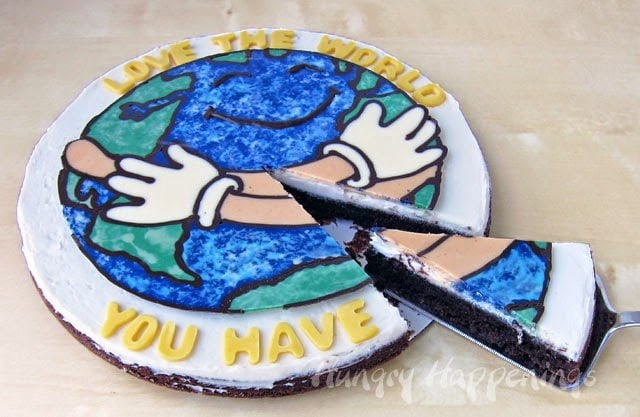
This method of decorating can be used with confectionery coating (also known as compound chocolates, Candy Melts, melting wafers, or almond bark) or buttercream frosting. I chose to use confectionery coating, but you may opt for the frosting.
To start, you'll first need a coloring page. You can find this "Love the World" page, here, but Elizabeth has dozens of really creative coloring pages on her Coloring Page Tuesday site. I used the artwork for this project with permission from Elizabeth. She is happy to allow you to use her coloring pages to create your own edible artwork.
Print out your coloring page so that it fits on the dessert you want to decorate. Be sure to print the coloring page in reverse (like you would if printing an iron-on for a shirt.)
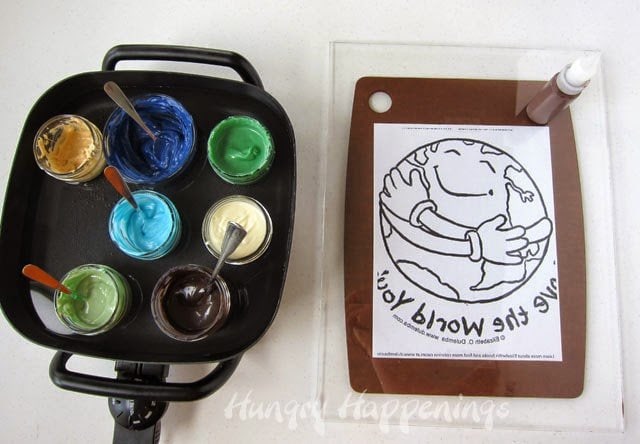
Melt your chocolate:
- If you choose to use confectionery coating, you'll want to melt small amounts of each color you'll need to color your drawing.
- My favorite method of melting small bowls of colored Candy melts is to set them in an electric skillet filled with some warm water. I turn the skillet onto the lowest heat setting and the candy coating will stay melted all day long.
- You can see more details about this melting method on my Chocolate Making Tips page.
- For this coloring page, you'll need black (or dark cocoa,) white, peach (lighten the orange with some white.) dark green, light green, dark blue, and light blue.
- Tape your coloring page to a board.
- Then set a piece of acetate paper (thin see-through art paper) over top. You can also use parchment paper but it's more difficult to see the design through the paper.
- I didn't have any acetate on hand, so I set a piece of lucite (clear plastic) over my coloring page, which worked fine, but it made it more challenging to remove the finished topper. I did like that I could easily lift the lucite up to see how my chocolate painting was looking as I worked. Next time I do this, I'll tape a piece of acetate to my lucite.
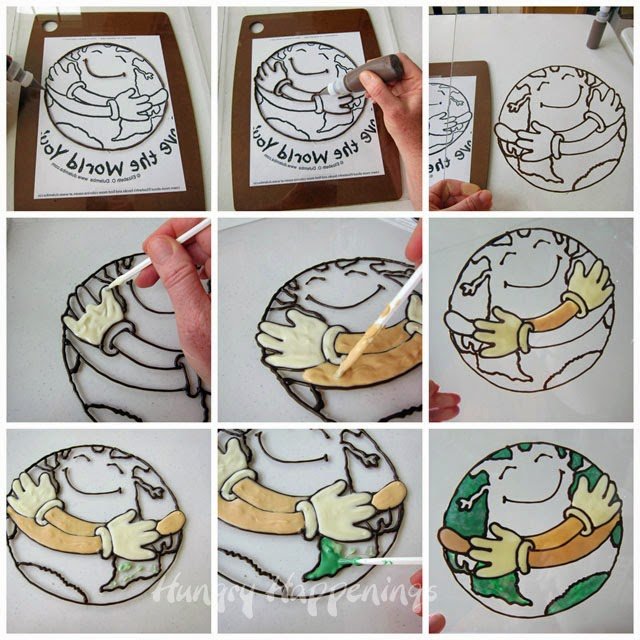
Paint the design.
- Now you color, using the candy coating (or frosting.)
- If using candy coating, pour some black or dark cocoa Candy Melts, into a squeeze bottle, and pipe the candy over the outline of the drawing.
- Allow that to dry, then start coloring inside those lines.
- You can pipe all the colors on or you can brush them on using food use only paintbrushes.
- I found that to be the quickest and easiest method. That also allowed me to layer colors on the continents and in the ocean.
- As I worked, I turned my piece of lucite over so I could see how my colors looked. I could also see any spots I missed.
Frosting
- If using frosting, pipe the black frosting on then fill in with your colored icing. Be sure to check the underside of your design to make sure you don't have any gaps.
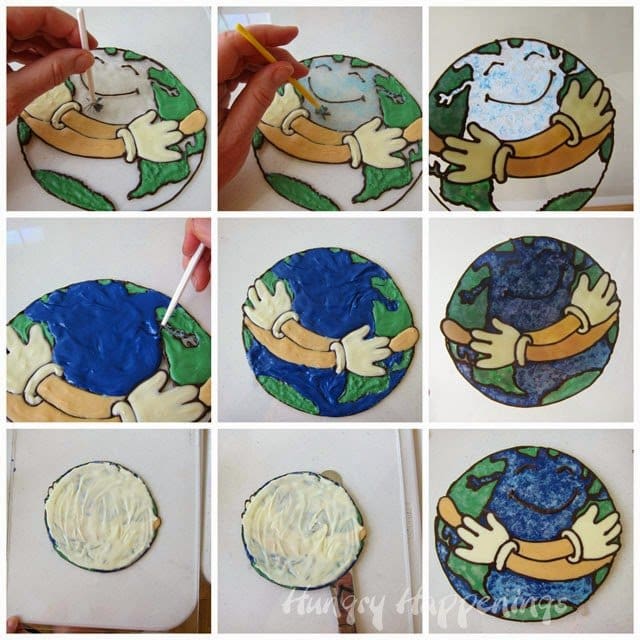
- To create some depth in my ocean and on the continents, I used a few different colors.
- For the ocean, I layered, white, light blue and dark blue. I dabbed the white and light blue on the lucite, then covered that in dark blue.
- Once the entire drawing was colored in with candy melts, I popped it in the freezer for 10 minutes.
- Being I didn't use a piece of acetate, I wanted to make sure I wouldn't break my drawing when I peeled it off the lucite, so I brushed a layer of white Candy Melts over the top to make a thicker layer of candy. I highly recommend this!
- Once the candy hardens, peel it off the acetate and it's ready to top a dessert.
- If using frosting, freeze the frosting for a few hours, then set it over your dessert and peel off the acetate.
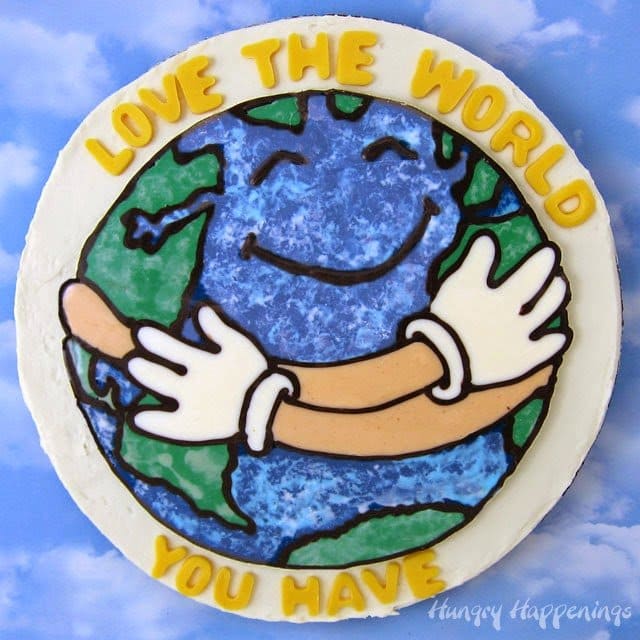
Earth Day Brownie
Ingredients:
1 brownie mix or your favorite recipe
1 -2 cups white frosting
1 (7 ½ inch) Earth Day candy topper
4 ounces yellow modeling chocolate (recipe, here) or fondant
Supplies:
10-inch baking pan
small alphabet cutters
Instructions:
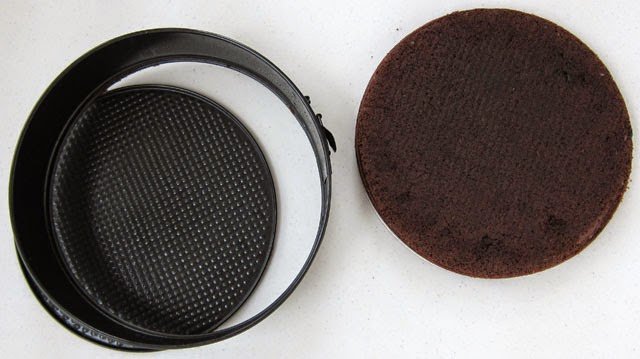
- Bake a brownie in a 10-inch baking pan.
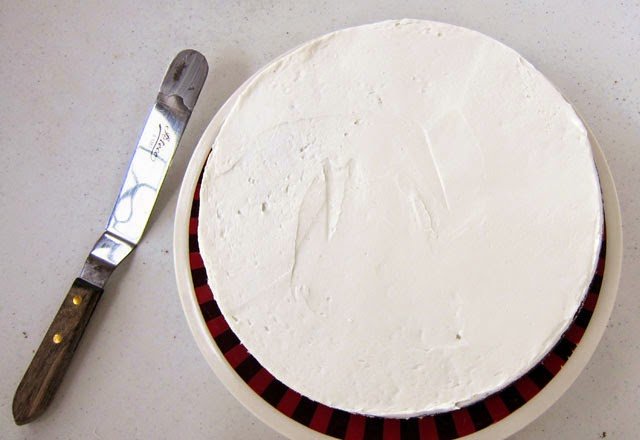
- Cover the brownie with white frosting.
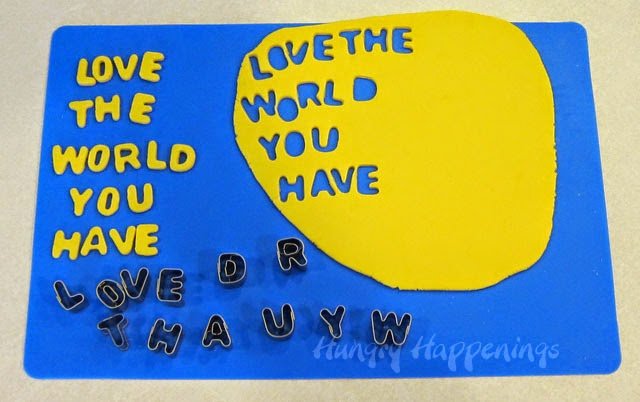
- Roll out yellow modeling chocolate or fondant and cut out "Love the World You Have" or "Love the World You're On."
- I recommend rolling out the modeling chocolate onto a non-stick silicone mat. If you don't have a mat then lightly dust a cutting board with cornstarch or powdered sugar and roll out the modeling chocolate on that.
- To remove the modeling chocolate letters from your cutters, you'll need to use a wooden skewer or lollipop stick to push them out.
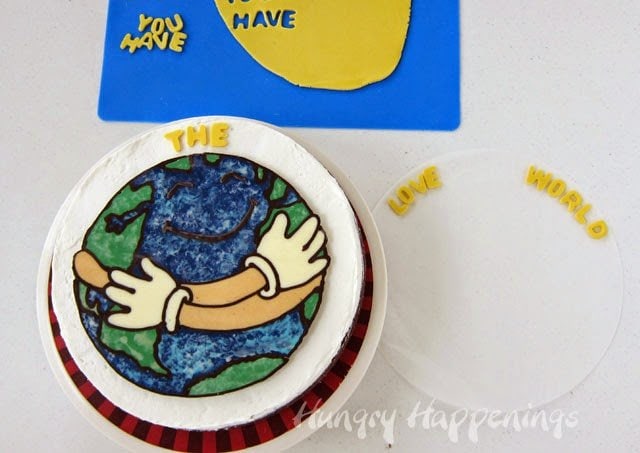
- Set candy topper in the center of the frosted brownie.
- Arrange letters around topper.

- Once it's decorated it's ready to serve.

How to cut chocolate.
- To cut through the chocolate, you'll need to heat up a sharp knife.
- If you have a gas stove, turn it on and carefully hold the metal blade of a long sharp knife over the flame. DO NOT get your hand near the flame. This only takes 5-10 seconds.
- You can also use a candle or lighter, but that takes longer.

- Once the blade of the knife is hot, it will cut right through the chocolate with ease.
- You'll need to wash off the knife, dry it, then heat the blade before making each cut.
Supplies
You can find supplies needed to create this recipe on Amazon. I earn a small commission when you use the sales links in this post to make a purchase at no extra cost to you.
 Squeezit Mold Painter Plast...Shop on Amazon
 Grafix Acetate Pad, 9 X 12 ...Shop on Amazon
 Wilton Candy Melts, 12-Ounc...Shop on Amazon
 Wilton Dark Green Candy Mel...Shop on Amazon
 Wilton White Candy Melts, 1...Shop on Amazon
 Wilton Orange Candy Melts, ...Shop on Amazon
 Wilton Blue Candy Melts® C...Shop on Amazon
 Wilton Fondant Alphabet Num...Shop on Amazon
 Presto 06852 16-Inch Electr...Shop on Amazon
 Darice Kid’s (24pc) – A...Shop on Amazon
If you’d like to have the ultimate guide to working with Candy Clay (modeling chocolate) be sure to get your printed or e-book copy of Candy Clay Creations. This 102 page book is filled with tips and tricks for making and working with candy clay along with 17 step-by-step tutorials for decorating cupcakes, cookies, and more using candy clay. It’s a fantastic resource for anyone who wants to make festively decorated treats.
More Earth Day Treats
from Hungry Happenings
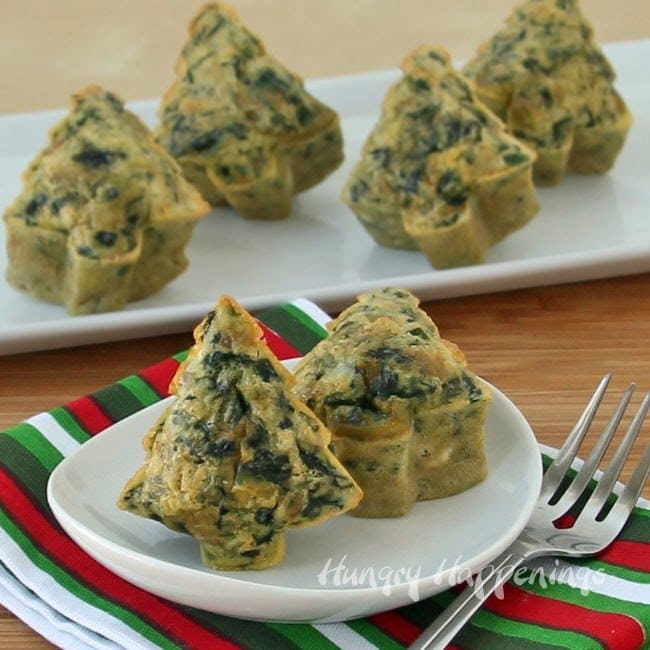
Spinach Artichoke Frittata Trees
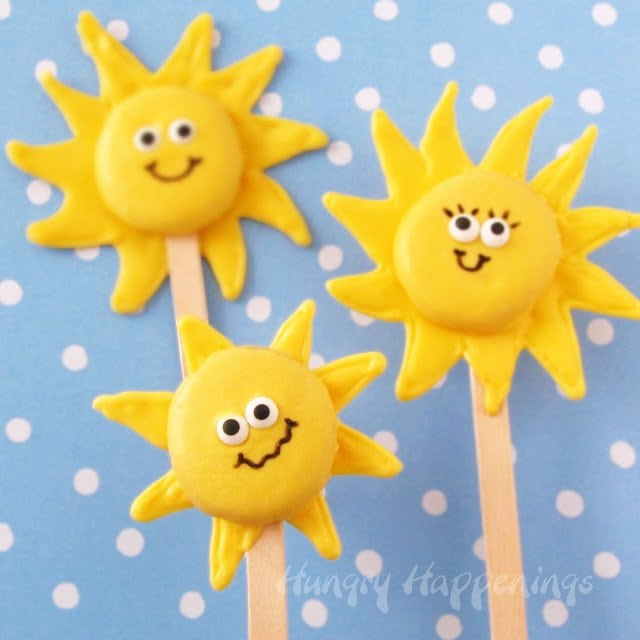
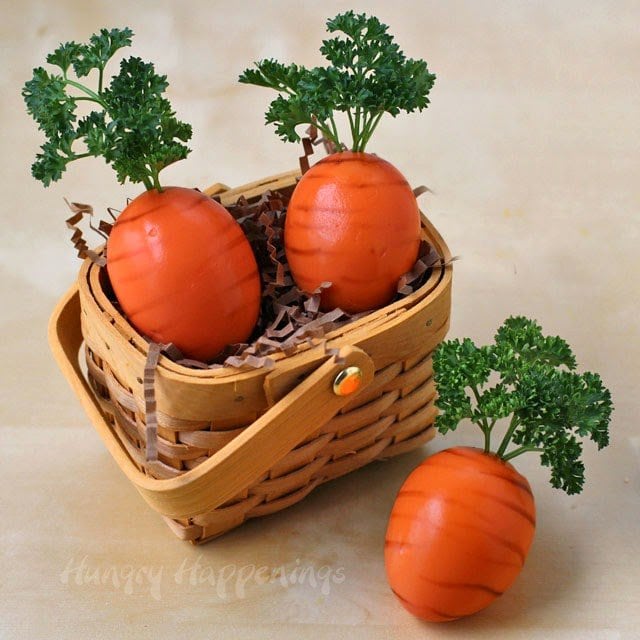
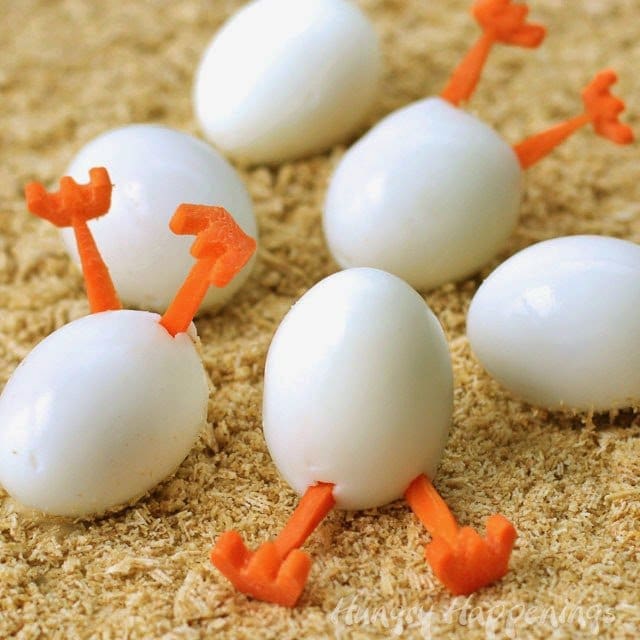
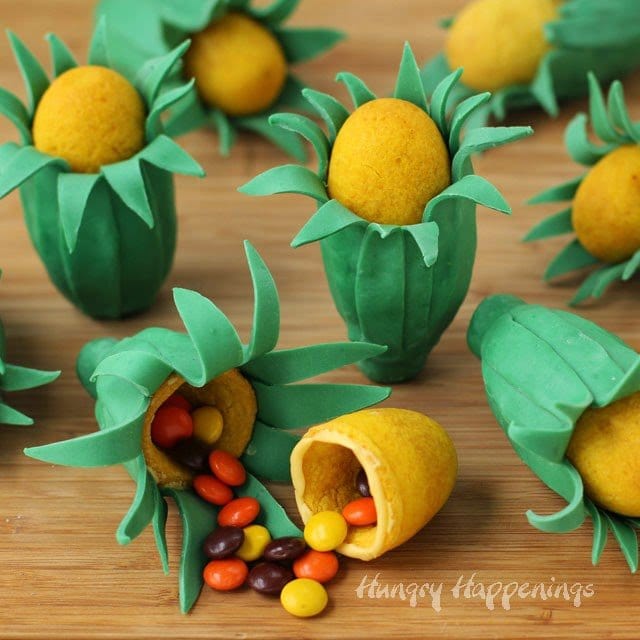
You can find all my Earth Day Recipes, here.
- How to make peanut butter? - February 15, 2024
- OREO Penguins - December 20, 2023
- OREO Snowmen - December 20, 2023



Elizabeth O. Dulemba
Hi Beth, I love what you did with my Earth Day image - so cute and yummy! If your readers would like to see more images to use - they can visit http://dulemba.com/index_ColoringPages.html . Cheers and happy Earth Day! - Elizabeth O. Dulemba http://dulemba.com
Adam Barnett
Wow, this looks not just like a brownie, but like a piece of art.
beth
Thanks Adam. I loved the artwork I used to create this fun Earth Day dessert.