Creating hand-painted chocolate lollipops is a fantastic craft for any occasion—and it’s easy enough that even kids can join the fun! Whether you’re making Easter bunnies, Christmas stars, or birthday treats, this guide covers everything you need to know about coloring, melting, and painting candy molds.

If you've ever wanted to make your own homemade chocolate lollipops, you will love learning the simple technique to color white chocolate and paint candy molds.
I've shared a video below, but I encourage you to read the step-by-step instructions and tips.
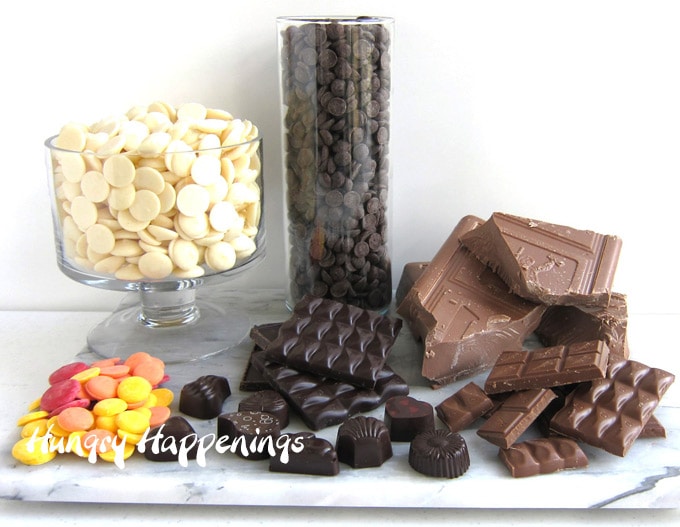
1. Choosing Your Chocolate: Pure vs. Compound
Before you start, you need to choose your base.
Pure Chocolate
- What it is: Contains cocoa butter; has a creamy texture and rich flavor.
- The Catch: It must be tempered to harden properly and stay shiny.
- Pro Tip: Keeping small amounts of pure chocolate in temper while painting lollipops is difficult for home cooks. I recommend using Compound Chocolate, also known as Confectionery Coating when hand-painting chocolates instead.
Compound Chocolate
- What it is: Made with palm kernel oil, it has a sweet vanilla flavor (e.g., Wilton Candy Melts, Almond Bark, Ghirardelli Melting Wafers).
- Benefits: Less expensive, easy to melt (no tempering required), and available in many pre-colored shades.
These colored candy wafers are available on Amazon.com (I earn a small commission on any sales from using the links below at no additional cost to you.)
 Wilton Candy Melts, 12-Ounc...Shop on Amazon
  Merckens Coatings, Pink, 1 ...Shop on Amazon
  Yellow Vanilla Flavored Mel...Shop on Amazon
  Strawberry Apeels: 25LBSShop on Amazon
  Clasens Coatings, RedShop on Amazon
2. Melting Chocolate
See the Chocolate Making Tips page for detailed instructions on melting chocolate using a double boiler or microwave.
 melted while you are painting candy molds.")
The "Electric Skillet" Hack
This is my favorite secret for keeping lots of different colored chocolates melted.
- Prep the Skillet: Fill an electric skillet with hot tap water and set it to "WARM" (the lowest setting).
- The Containers: Place your candy melts in glass jars, coffee mugs, or ramekins.
- The Bath: Place the jars in the water. The water should reach halfway up the shortest jar.
- Melting: Allow the chocolate wafers to slowly melt. Stir the chocolate occasionally until completely melted. To speed up the process, you can melt the chocolate wafers in the microwave and just keep them warm all day in the skillet.
- The Maintenance: If the water evaporates, carefully add more hot water.
 melted while you are painting candy molds.")
⚠️ Warning: Water is the enemy of chocolate! If you move a jar, hold a towel under it so drips of water don't fall into your other colors. If water splashes into the chocolate, scoop it out immediately—do not stir it in!
You can find skillets and other candy-making supplies on Amazon.
 Testor 8707 Economy Pointed...Shop on Amazon
  Presto 06852 16-Inch Electr...Shop on Amazon
  Regular Mouth Glass Mason Jars w/ Cap - Set of 12 AEP") Ball Half Pint (8 oz.) Regu...Shop on Amazon
Ball Half Pint (8 oz.) Regu...Shop on Amazon  Wilton Candy Melts Melting ...Shop on Amazon
  Testors 8706MT Economy Vari...Shop on Amazon
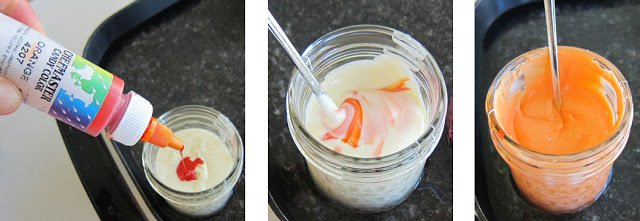
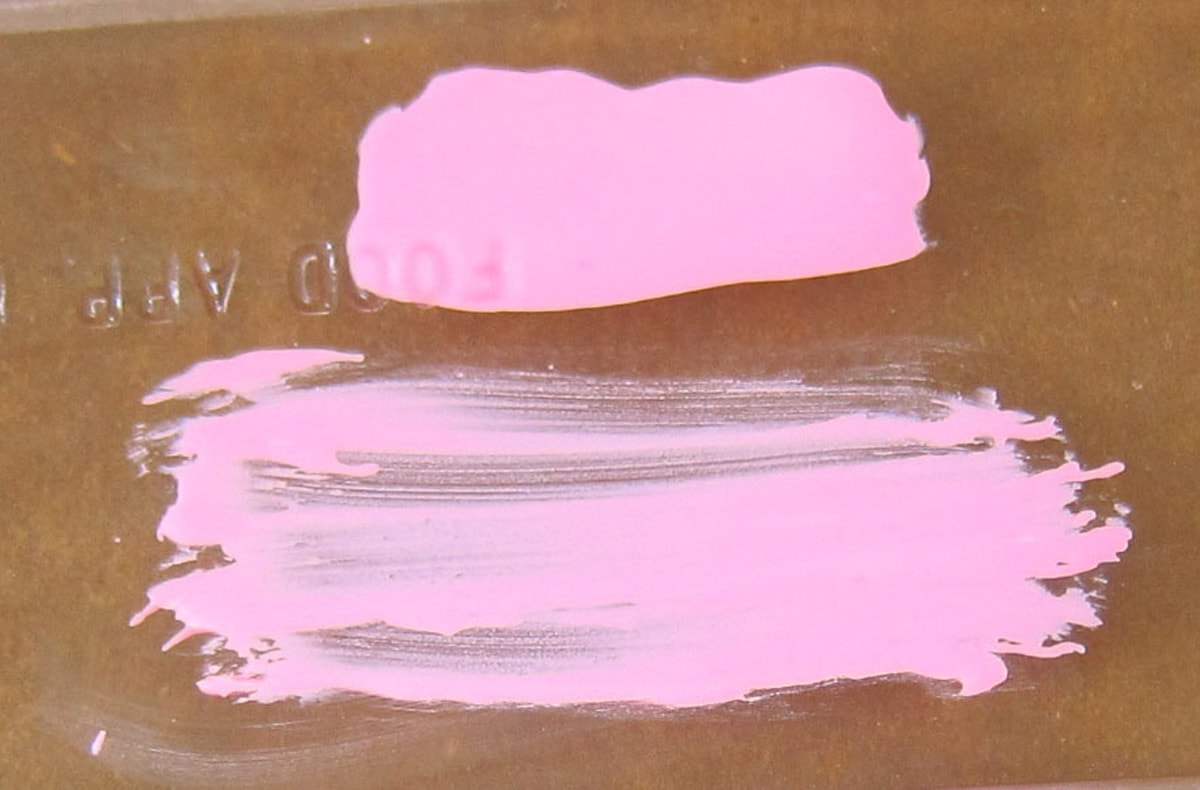
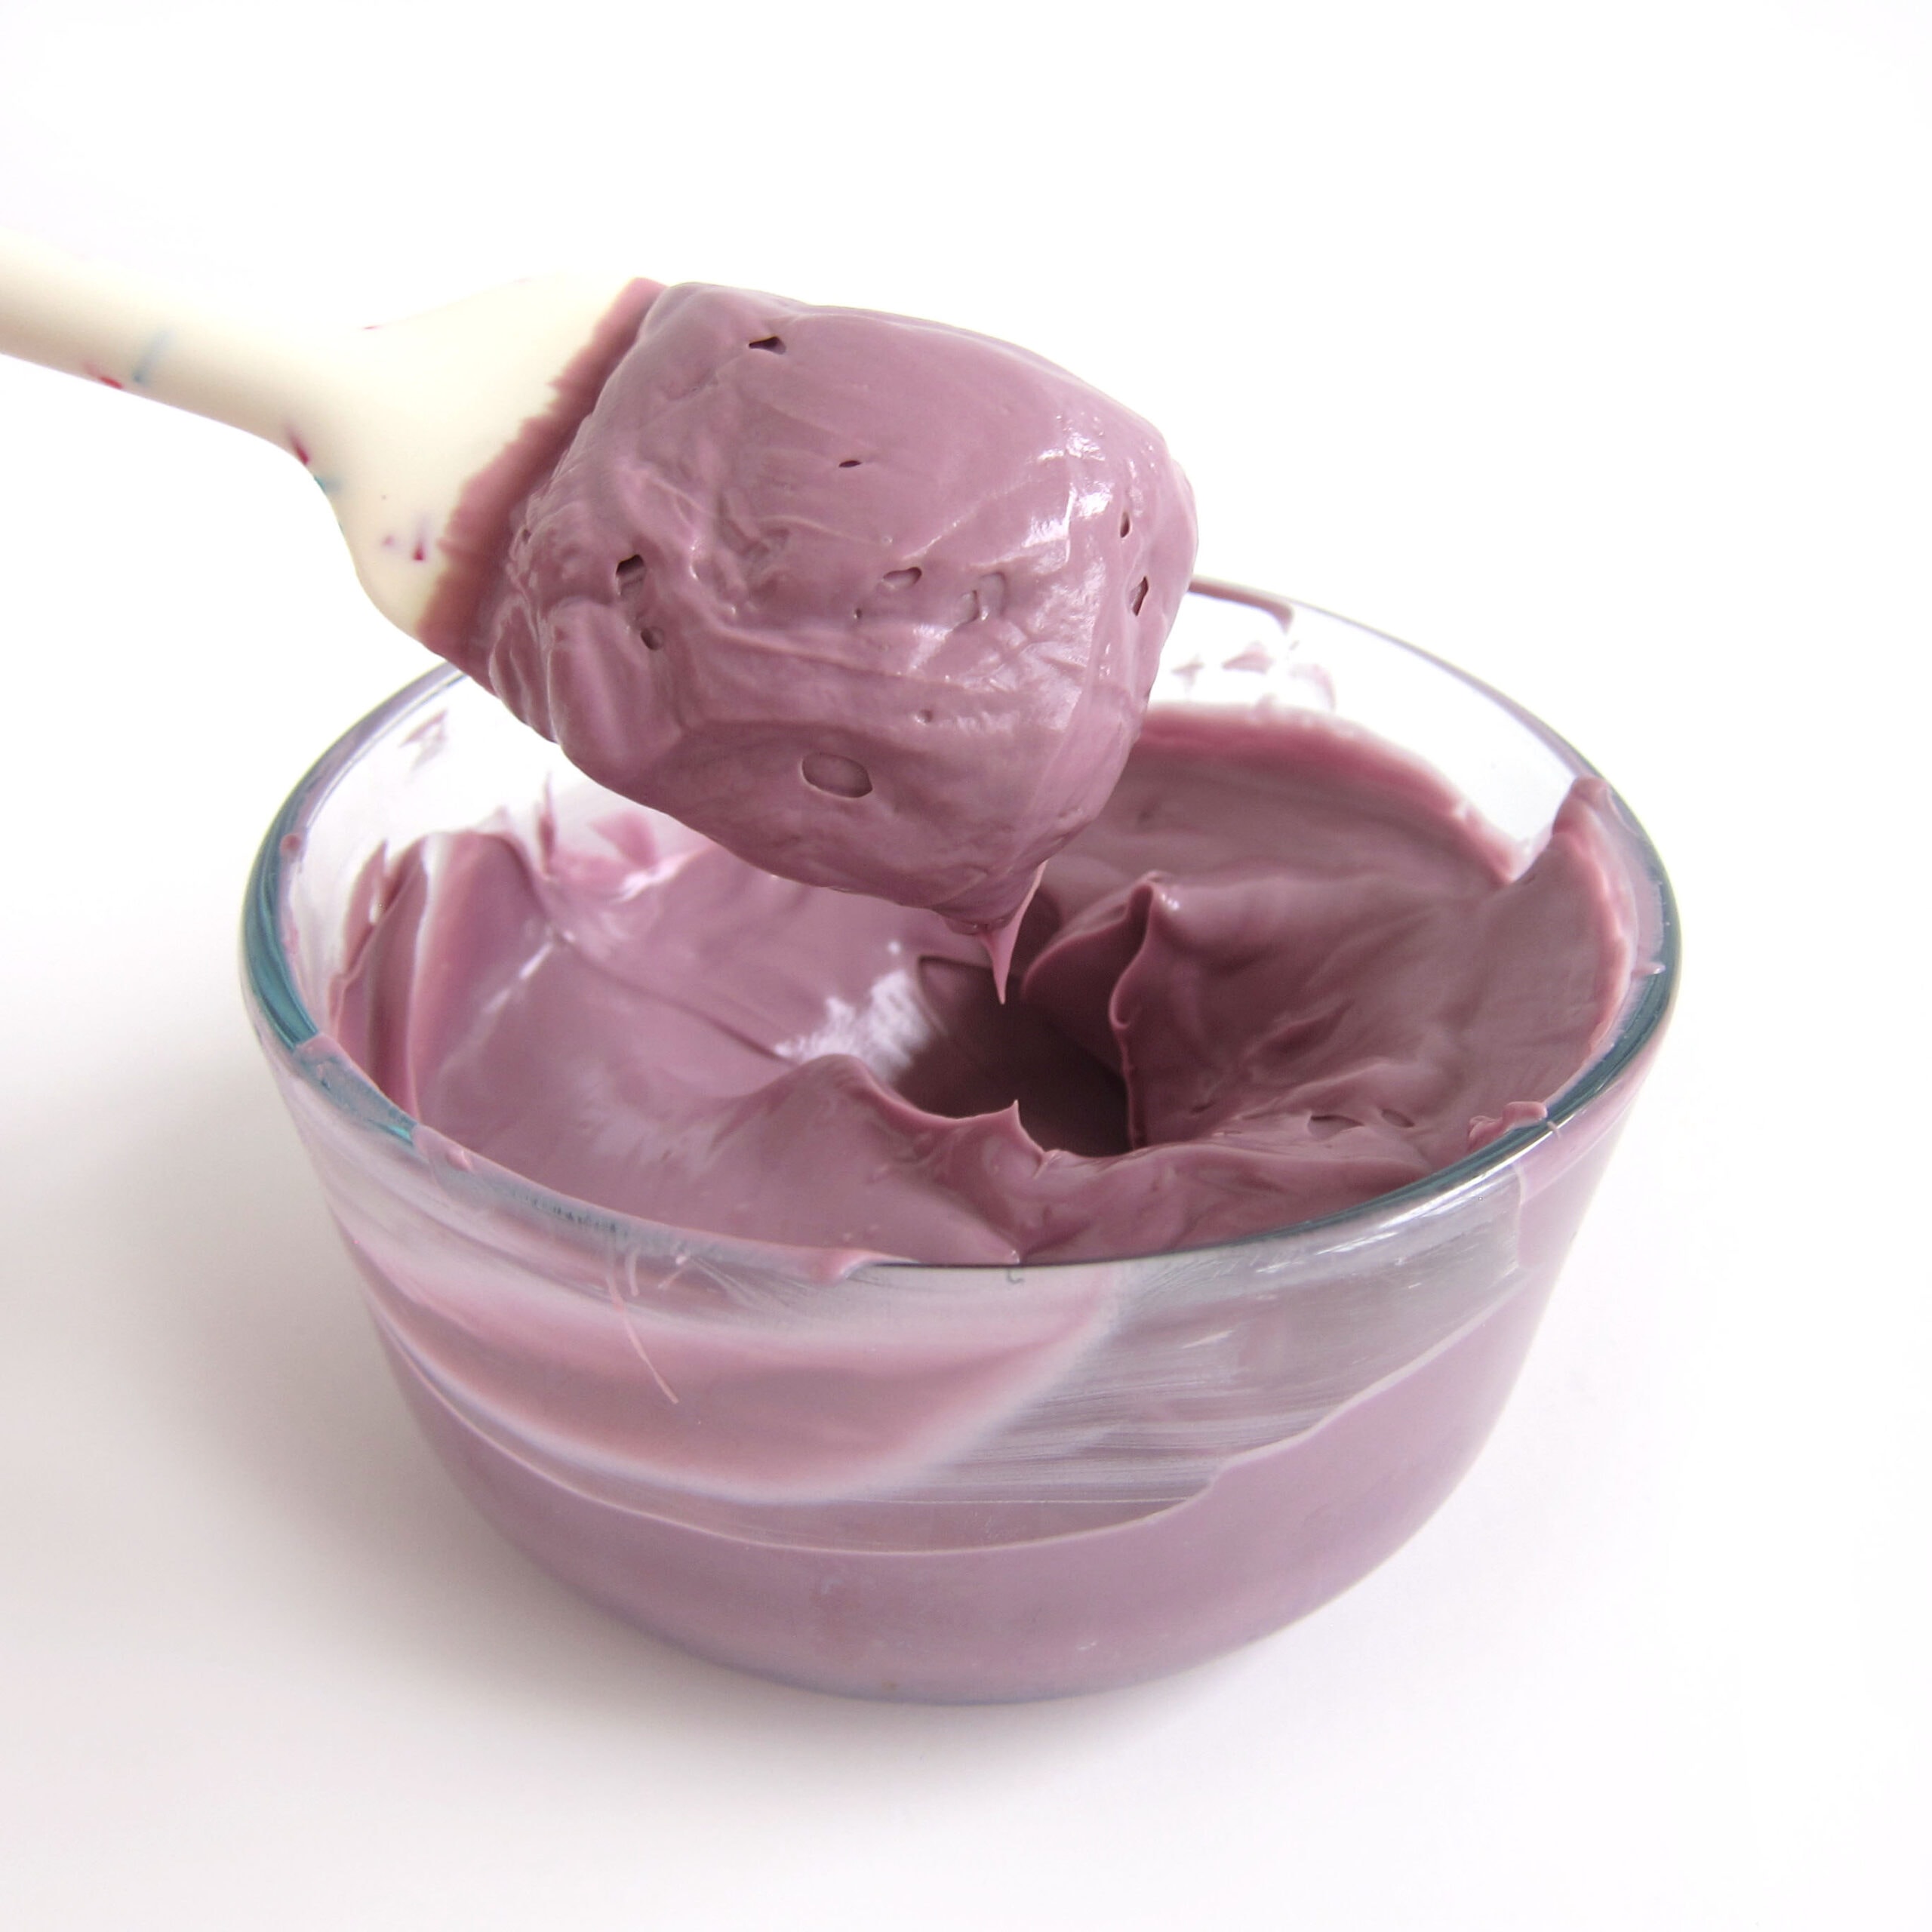
3. How to Color White Chocolate
Add a small amount of oil-based coloring or powdered food coloring to your melted white chocolate, and stir until well blended. Add more coloring until you achieve the desired shade.
Crucial Rule: You must use oil-based candy coloring or powdered coloring. Never use liquid or gel food colors; the water content in these types of colorings will cause your chocolate to "seize" into a clump.
Types of Coloring
- Squeeze Bottles of Oil-Based Chocolate Coloring (e.g., Chefmaster): Start by adding one or two drops of color to your white chocolate. Add more as needed. Some colorings, like pink, are very bright, while others, like yellow, may require more drops.
- Powdered Color: Sprinkle over the top and stir thoroughly.
- Jars: Dip a clean toothpick into the coloring, then stir it into the white chocolate. Never double-dip a used toothpick back into the jar, or you will contaminate your coloring.
Pro Tips
- Off-white candy wafers will add a touch of yellow to your colored candy, so be sure to use bright white candy coating to make cool colors like blue and purple.
- It is very difficult to color white candy melts to get a deep red or dark green, so I suggest buying them instead.
- White chocolate that is colored using bright pink or even lilac coloring will fade over time. Don't ask me why this happens, but it does. I suggest purchasing colored pink candy wafers. They will hold their vibrant color and won't fade nearly as much.
- Black candy melts are not truly black. Sometimes they look gray, other times they look more blue. I suggest adding some black candy coloring to black candy melts to achieve deep, dark black candy.
You can find these brands of chocolate coloring on Amazon.com. (commission earned for sales).
 Wilton Candy Decorating Pri...Shop on Amazon
  AmeriColor 2 oz Navy Blue O...Shop on Amazon
  Chefmaster Pink Candy Color...Shop on Amazon
  Americolor Powder Food Colo...Shop on Amazon
 ") Wilton Garden Candy Color S...Shop on Amazon
Wilton Garden Candy Color S...Shop on Amazon


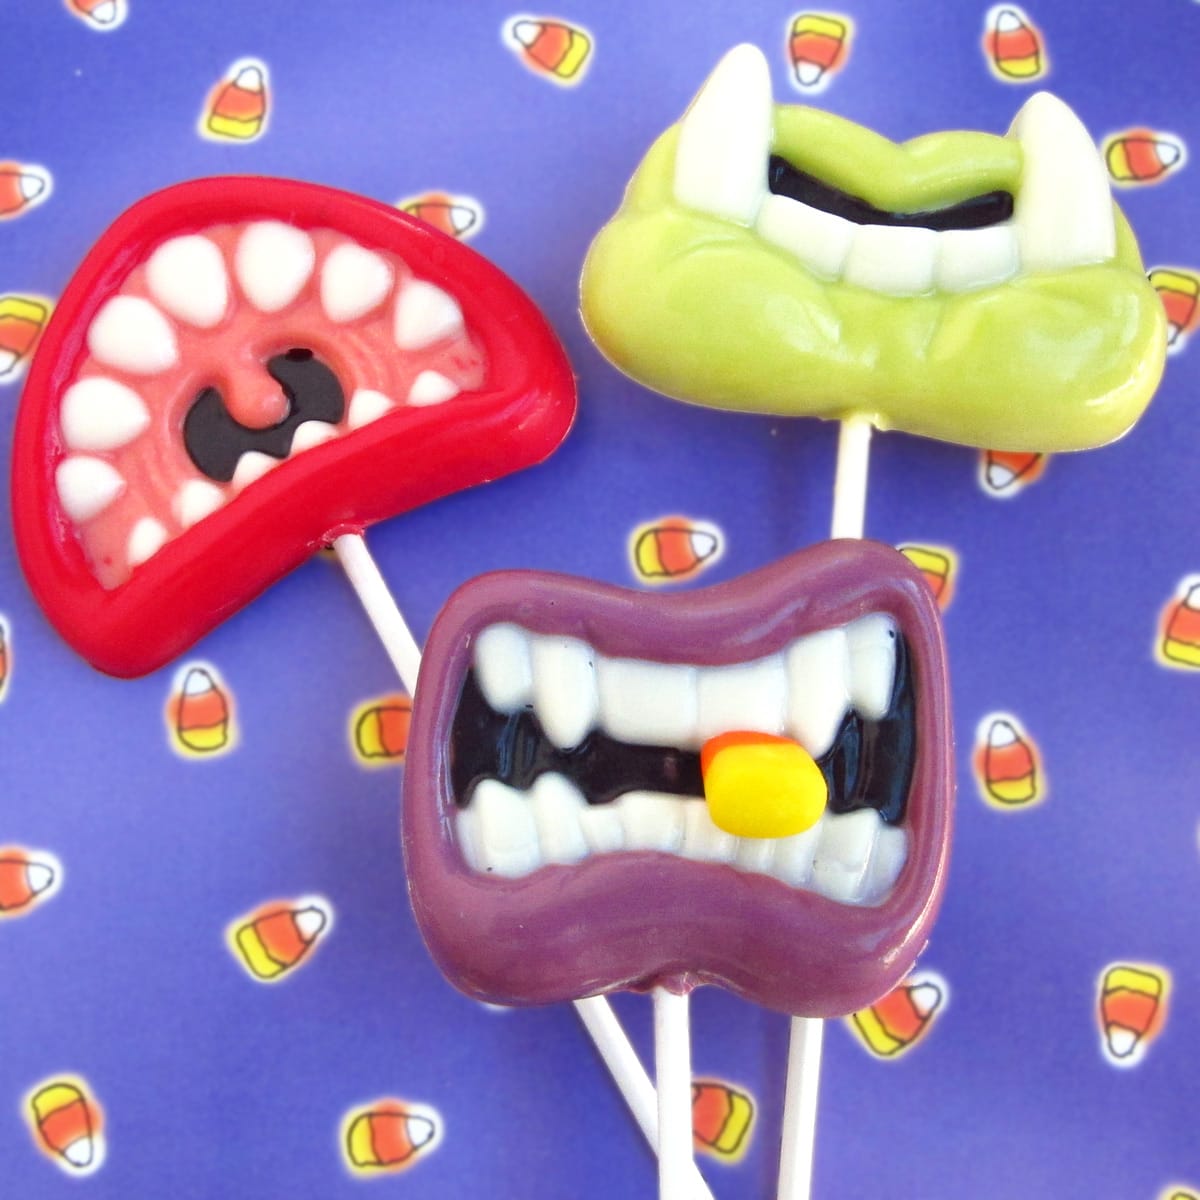
4. Choose Your Candy Molds
Lollipops can be made for any occasion, like Easter, Halloween, Christmas, birthday parties, and more.
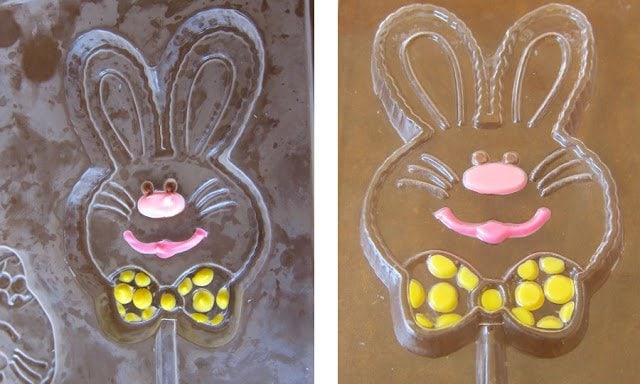
Below, I will show you how to paint an Easter Bunny using a candy mold from a company that has sadly gone out of business.
There are lots of other candy molds to choose from on Amazon and other online retailers like Kerekes, though. Here are just a few Easter designs.
 HATCHING CHICK LOLLYShop on Amazon
  Carrot Chocolate Candy Mold...Shop on Amazon
  Candy Molds N More Easter B...Shop on Amazon
  Easter Egg Face Pop Lollipo...Shop on Amazon
Video
Watch the video to see how to paint your chocolate lollipops. Step-by-step instructions are below.

5. Painting Candy Molds
Before you begin creating your hand-painted lollipops, you need to decide what colors you want to use. You will only paint the features of the lollipops, not the background.
For instance, if I want my chocolate Easter bunny to be white, I won't paint anything using white chocolate. I will only paint the features, including the smile, eyes, nose, ears, and bow tie, on this candy mold. Then, I'd pour white chocolate over the painted features.

- Dip a paintbrush into the melted chocolate and dab it into the indentation on the candy mold.
- Add more chocolate to your brush as needed to fill in the entire indented area.
The "Dab" Technique
Do not use long brushstrokes. Instead, dab the chocolate into the mold's indentations.
- Dabbing creates a thick, opaque layer.
- Brushing creates streaks that look "see-through" once the candy hardens.

- Paint all of the features (indentations) on the candy mold, using a different paintbrush for each color.
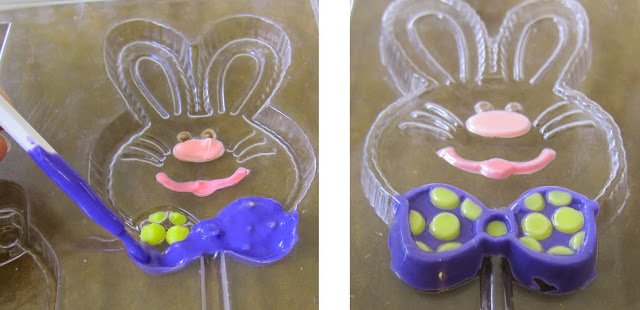
Layering Colors
- Top Layer First: Paint the details that should appear on the very front (like polka dots on a bowtie).
- Flash Freeze: Put the mold in the freezer for 2–3 minutes to set the dots.
- Warm Up: Let the mold return to room temp so the "frost" disappears. If the mold is too cold, the next layer of chocolate won't spread smoothly.
- Background Layer: Paint the next color (the rest of the bowtie) directly over the first layer.
- Chill To Harden: Freeze the mold again for a few minutes until the final layer is hardened.

6. Filling & Finishing
Once your painted details are set and the mold is back at room temperature, it’s time to fill the background.
- The Temperature Check: Ensure your background chocolate isn't too hot, or it will melt your painted details and cause the colors to bleed.
- Fill & Tap: Spoon in the chocolate and tap the mold gently on the table to level it and remove air bubbles.
- Don't overfill: Tapping the mold as you fill it helps to level out the chocolate. If you spoon too much into the mold, you'll want to remove the excess. Use your finger to wipe off any chocolate that spills over the sides.

- The Stick: Lay a lollipop stick in the groove and roll it so it’s fully coated in chocolate.
- The Set: Freeze for 5–15 minutes (or 5–15 minutes in the fridge for pure chocolate).
Tips
- Don't fill in the indentation that is for the lollipop stick.
- Don't chill for too long. Your chocolates can become sticky or crack if frozen for too long.
- If you are opening and closing your freezer a lot during the process, the chocolates may take longer to harden.

7. Unmolding Chocolates
As the chocolate cools and hardens, it will shrink slightly and retract from the mold.
- How to tell it's done: Hold the mold up over your head, keeping it level, and look at the chocolate. If the color is solid and even, it’s set. If you see dark, wet-looking spots, it needs more time.
- Unmolding The Chocolates: Turn the mold upside down, holding your hand over the chocolate, and allow it to fall out into your hand.
Tips
If the chocolate doesn't easily fall out, you can gently twist the candy mold, then gently tug on the lollipop stick. If it still won't release, freeze it for a few more minutes, and then try again.

- Cleaning Up Edges: If there's excess chocolate around the edges of your lollipop, wait until the chocolate warms up to room temperature. Use a small knife to shave off the excess. Brush away crumbs with a pastry brush.
8. Troubleshooting
Help! My Candy Melts are too thick!
Candy melts can become thick if they are:
- exposed to drastic changes in temperature
- stored in direct sunlight
- past their expiration date
- heated at high temperatures
- exposed to water or condensation
- colored using liquid or gel food coloring
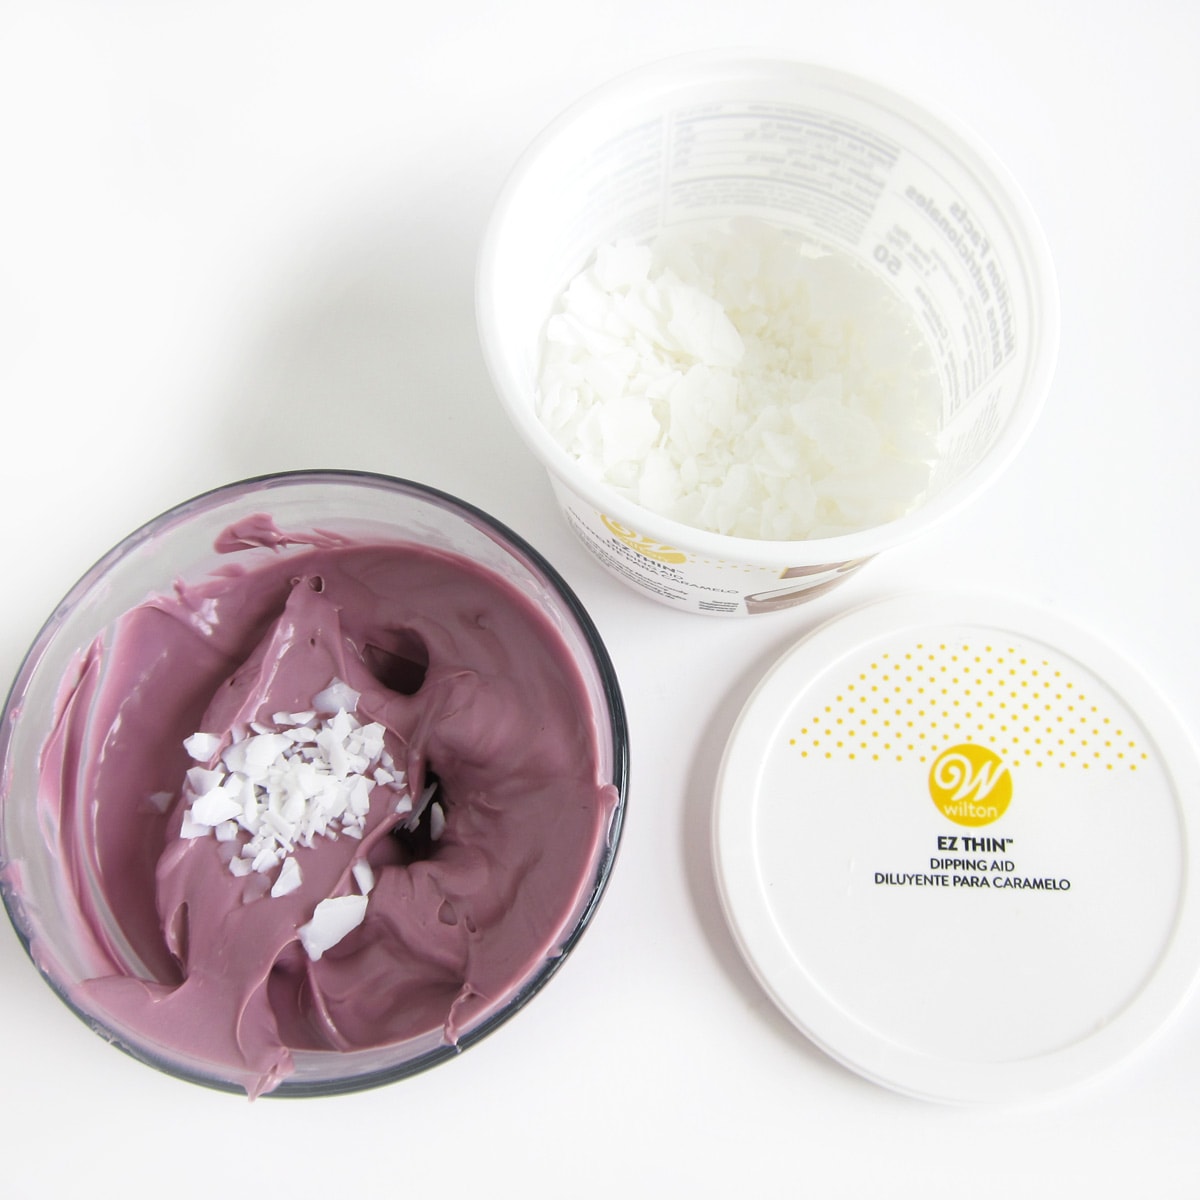
How to Thin Out Thick Candy Melts?
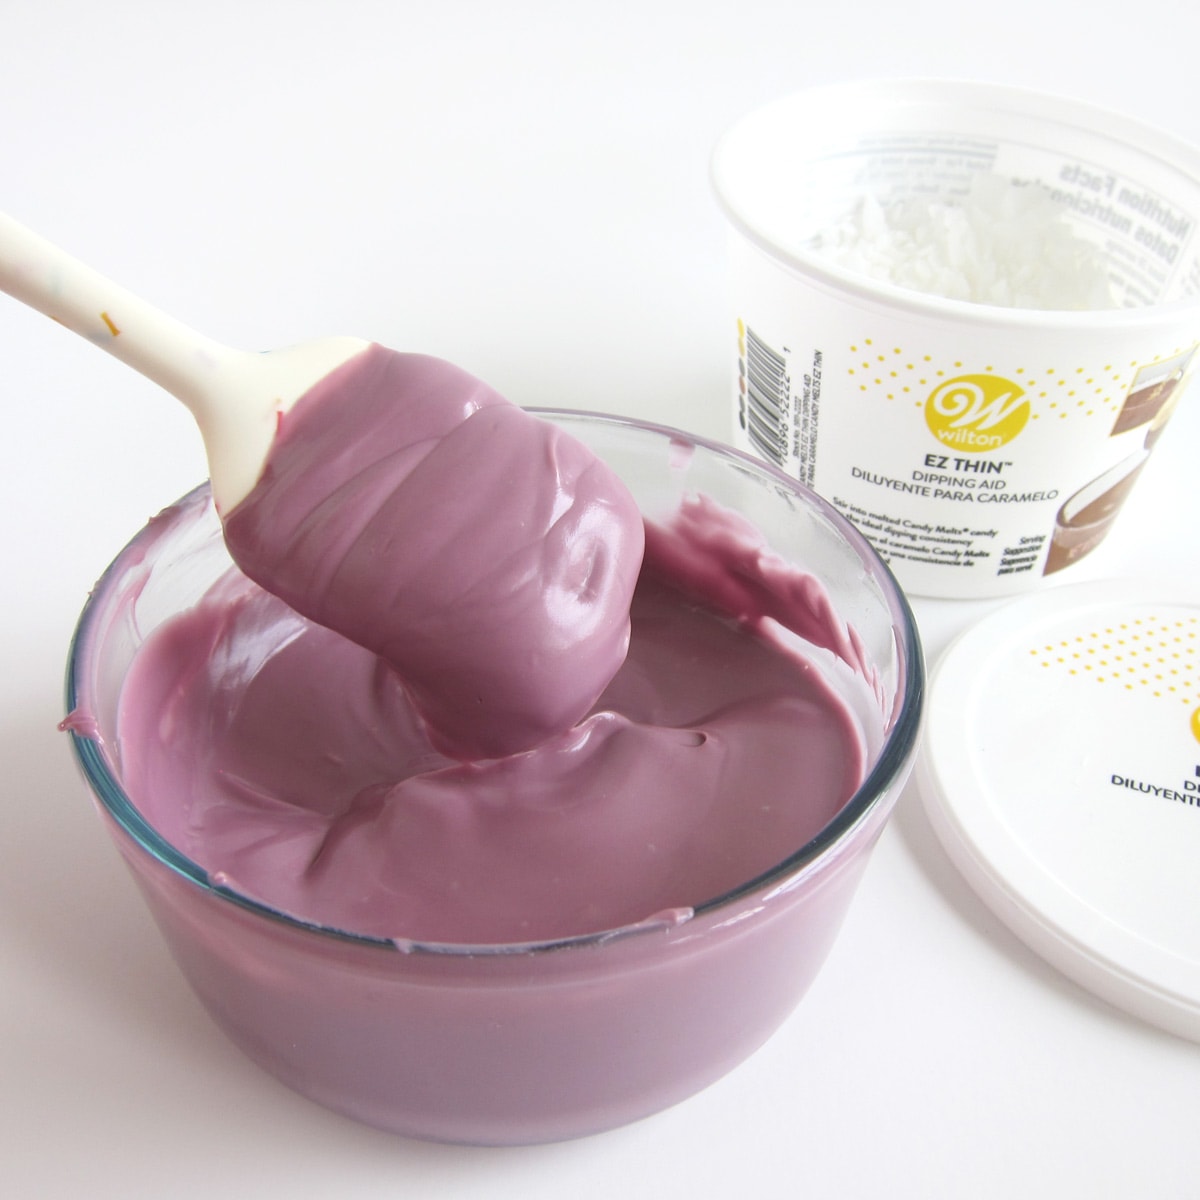
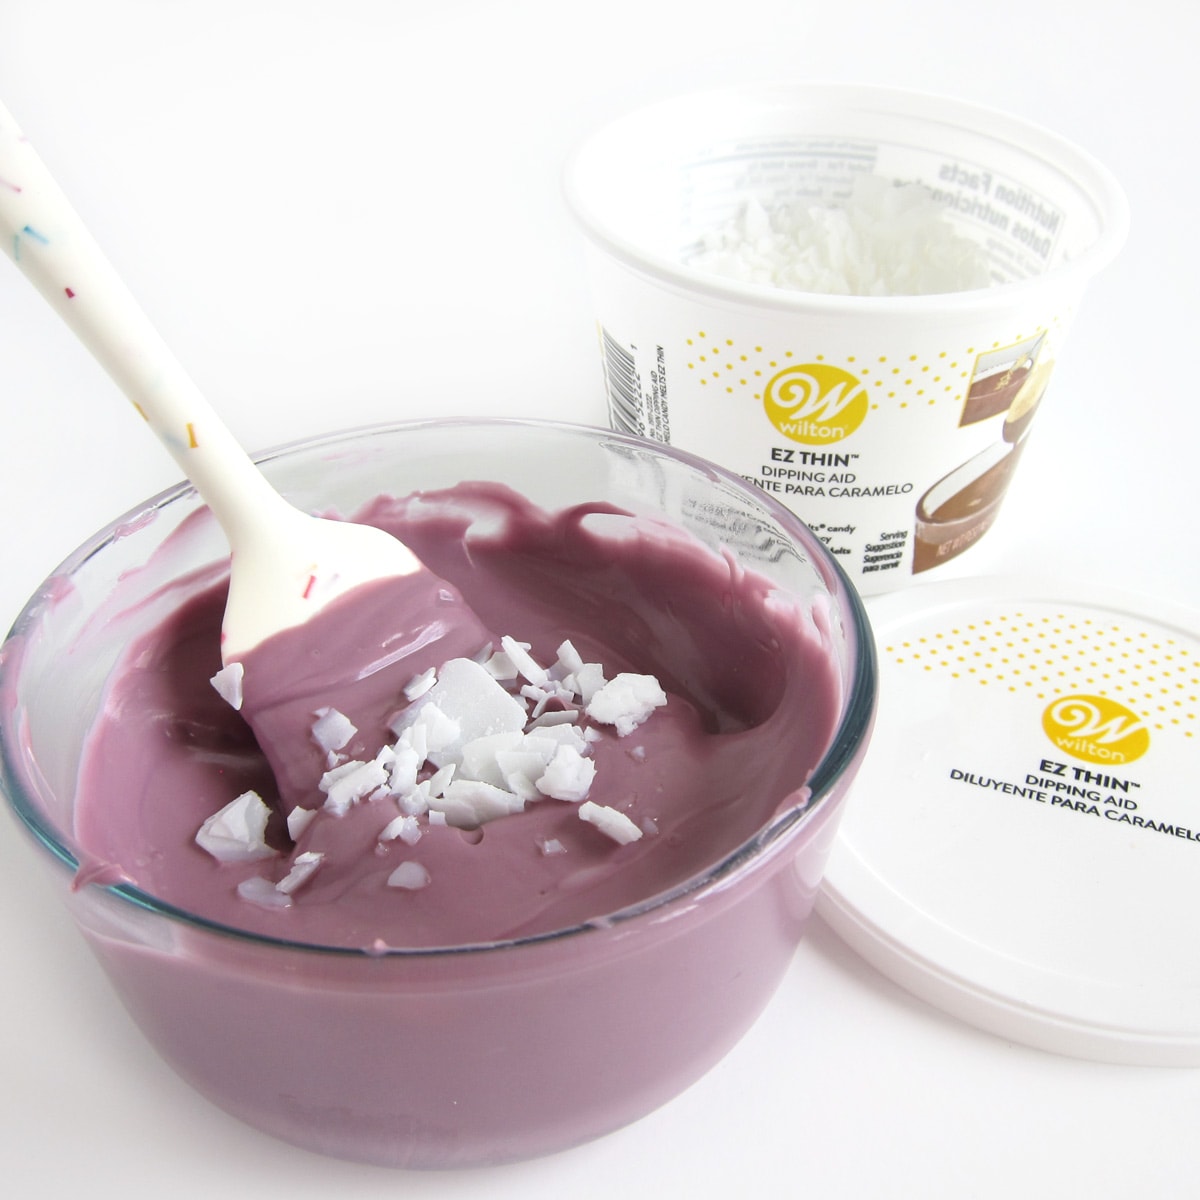
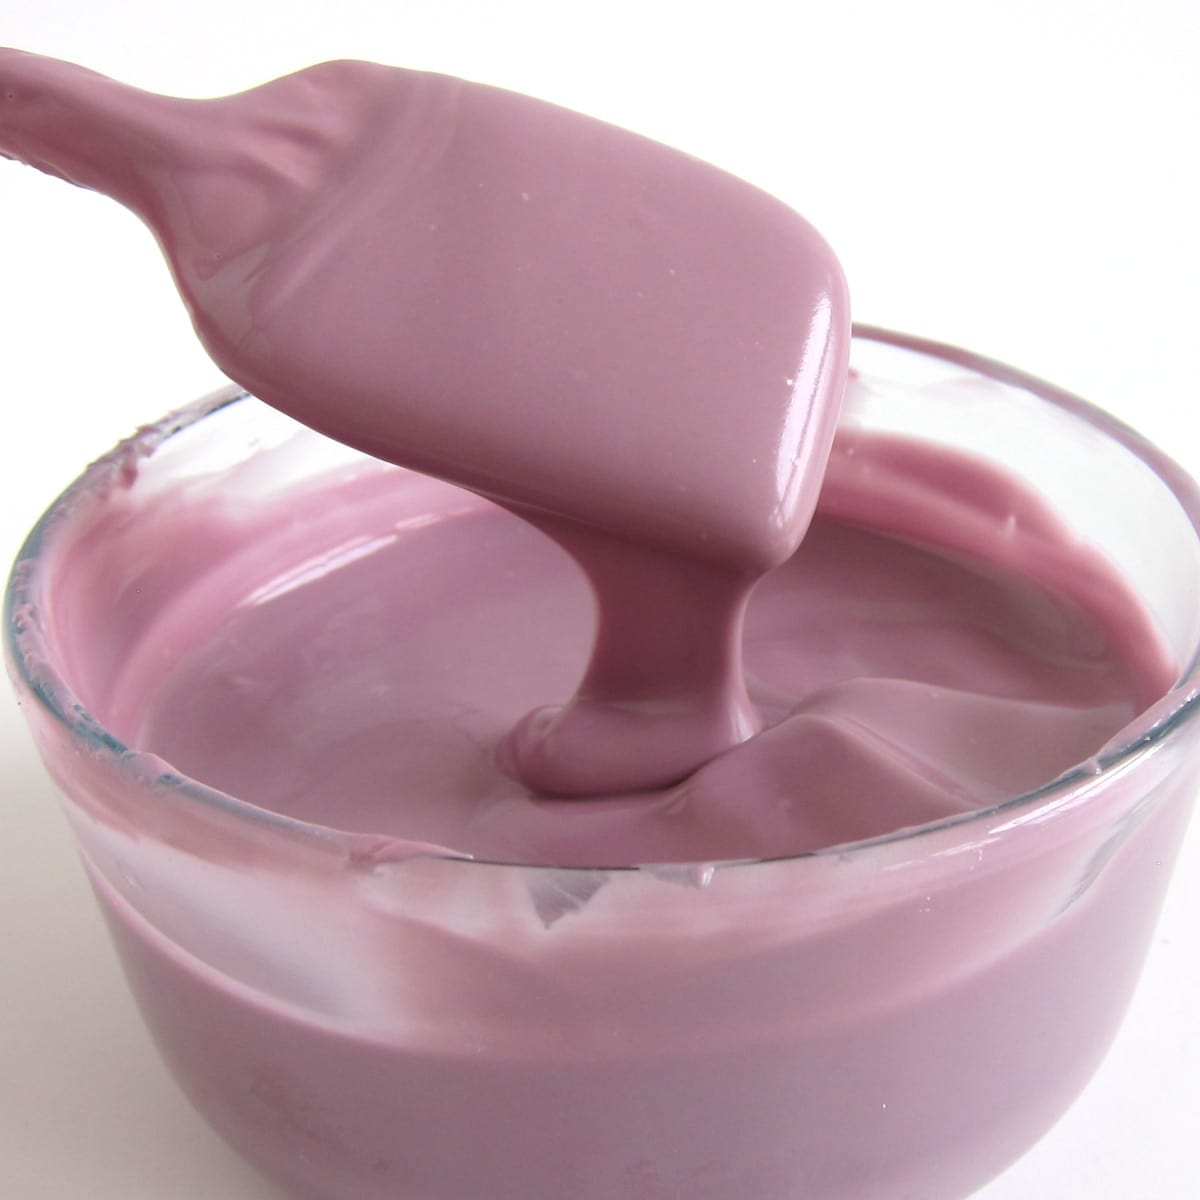
- Add a small amount of Paramount Crystals or Wilton Candy Melts EZ Thin to the thick candy coating, and stir until melted. Continue to add small amounts of the flakes, stirring after each addition, until the candy melts are thin enough to pour.
What are paramount crystals?
Paramount Crystals are flakes of solid palm kernel oil (the fat that is used to make the candy melts). Paramount Crystals will work to thin out thick candy melts, but will also allow your candy to harden properly.
These flakes of fat will melt into warm candy melts. If they won't melt after stirring, you may need to reheat the chocolate to warm it up.
Can I use vegetable oil or shortening to thin out thick Candy Melts?
In a pinch, you can use a small amount of vegetable oil to thin out your candy melts, but if you add too much, your candy will never harden properly. Vegetable oil is liquid at room temperature, so an excess amount mixed into the candy will cause the candy to be soft.
Shortening is a better option to thin out thick candy melts, as it is solid at room temperature. Just note that it can change the flavor of your candy melts if you add too much.

9. Storage
- Room Temp is King: Store your chocolates in an airtight container at room temperature.
- Avoid the Fridge: Cold storage causes condensation, making the chocolate lollipops sticky.
- Shelf Life: Pure chocolate lasts 6 months; Compound Chocolates (Candy Melts) last about 3 months (Although the vanilla flavor may begin to dull after 1 month).
10. Packaging

Package chocolate lollipops in clear cellophane bags and tie with a ribbon.
Related Recipes

You can also use this same chocolate painting technique to make other items like chocolate Easter bunnies and more.
There are so many fun projects here on Hungry Happenings that you can make using colored chocolate.

Check out the step-by-step tutorials to make all of these...
Chocolate Caramel Fudge Chicks • Grinch Candy Cups • Sunshine Cookie Pops
Santa Suit Candy Cups • Mickey Mouse Safari Pops • Inside Out Caramel Apples
Candy Corn Cones • Candy Leprechaun Hats • Hollow White Chocolate Chicks

If you want to learn even more about making homemade chocolate, be sure to check out my Chocolate Making Courses at The Sugar Academy.

- Banana Split Bars – A Fun and Easy Summer Dessert - March 4, 2026
- Pineapple Fudge (No Candy Thermometer Needed!) - March 4, 2026
- No-Bake Peanut Butter Pie Recipe - March 3, 2026