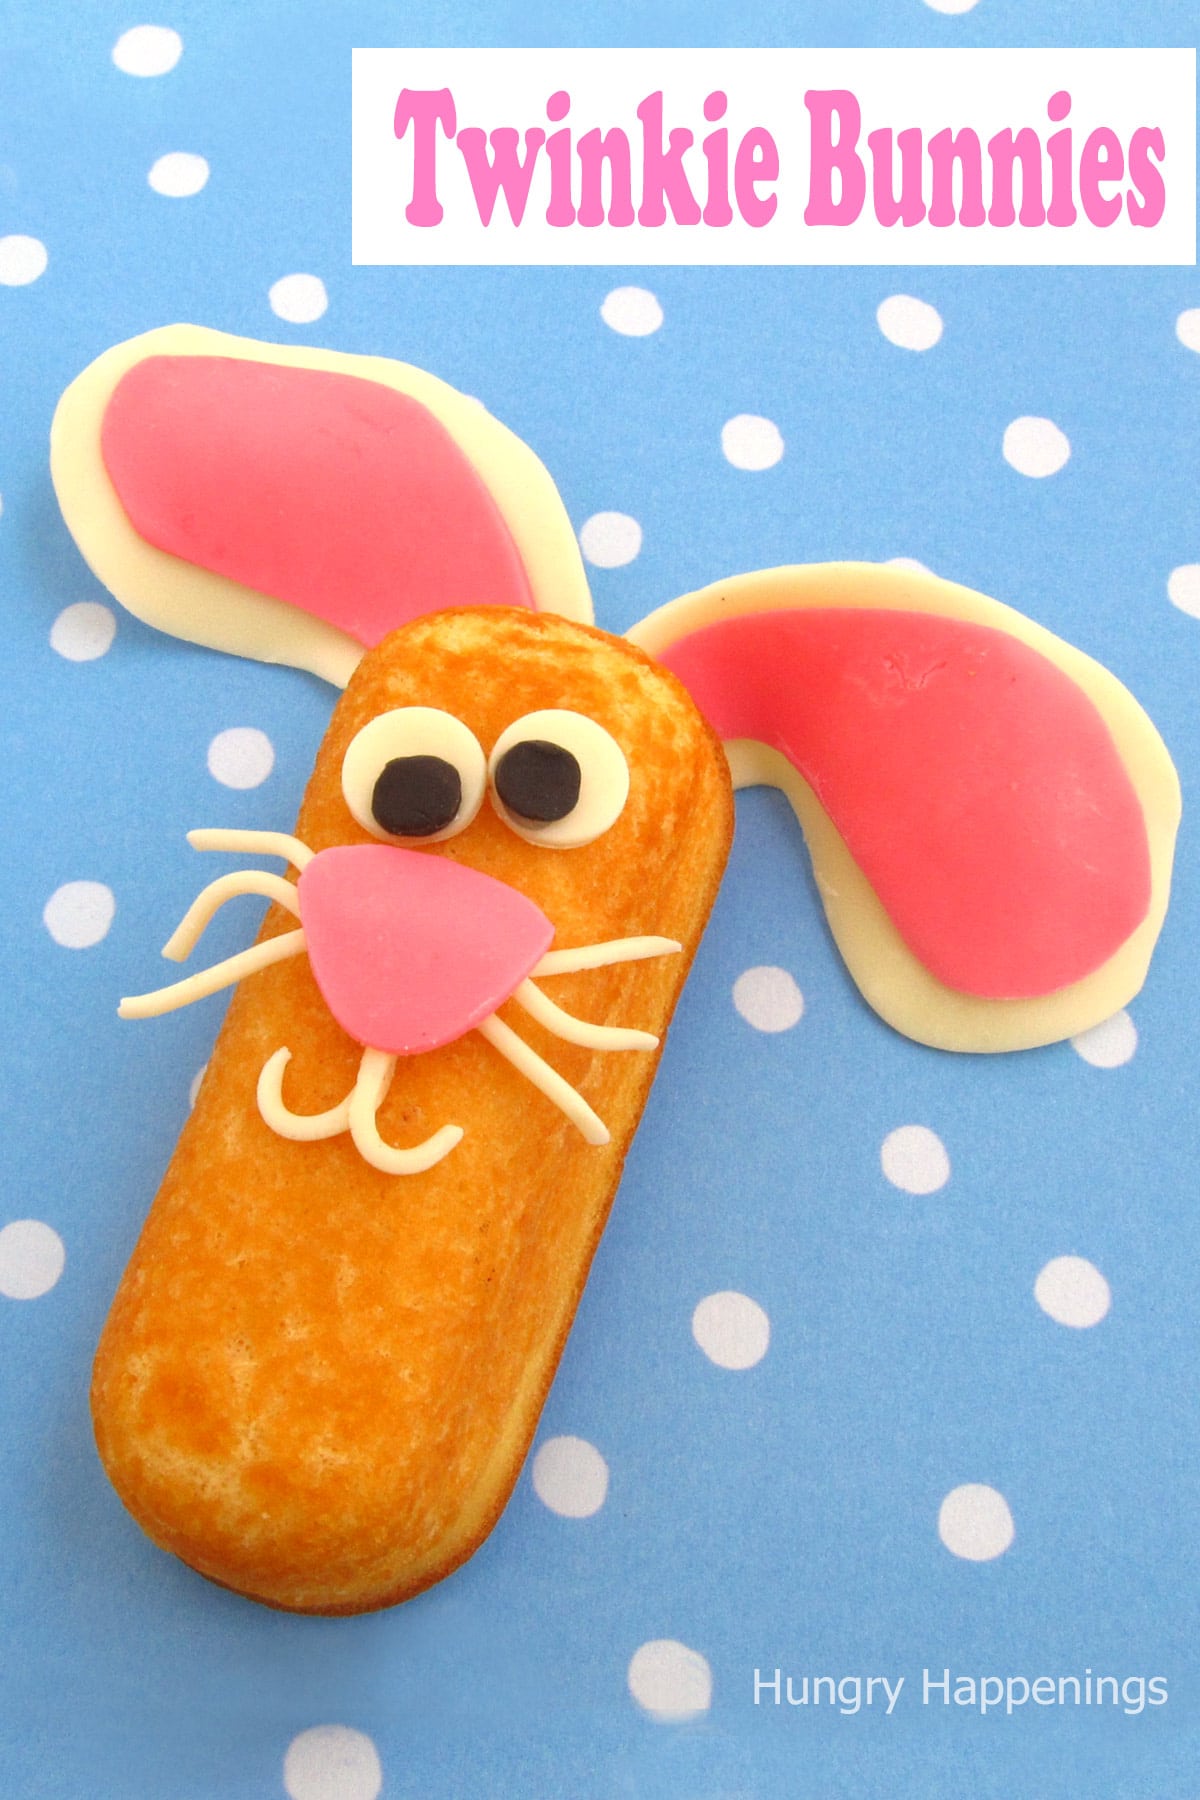
Decorate Twinkies to make these adorable Twinkie Snack Cake Bunnies. Each bunny cake with its big floppy ears would make a perfect dessert for Easter, an animal-themed birthday party, a baby shower, or an Earth Day event.
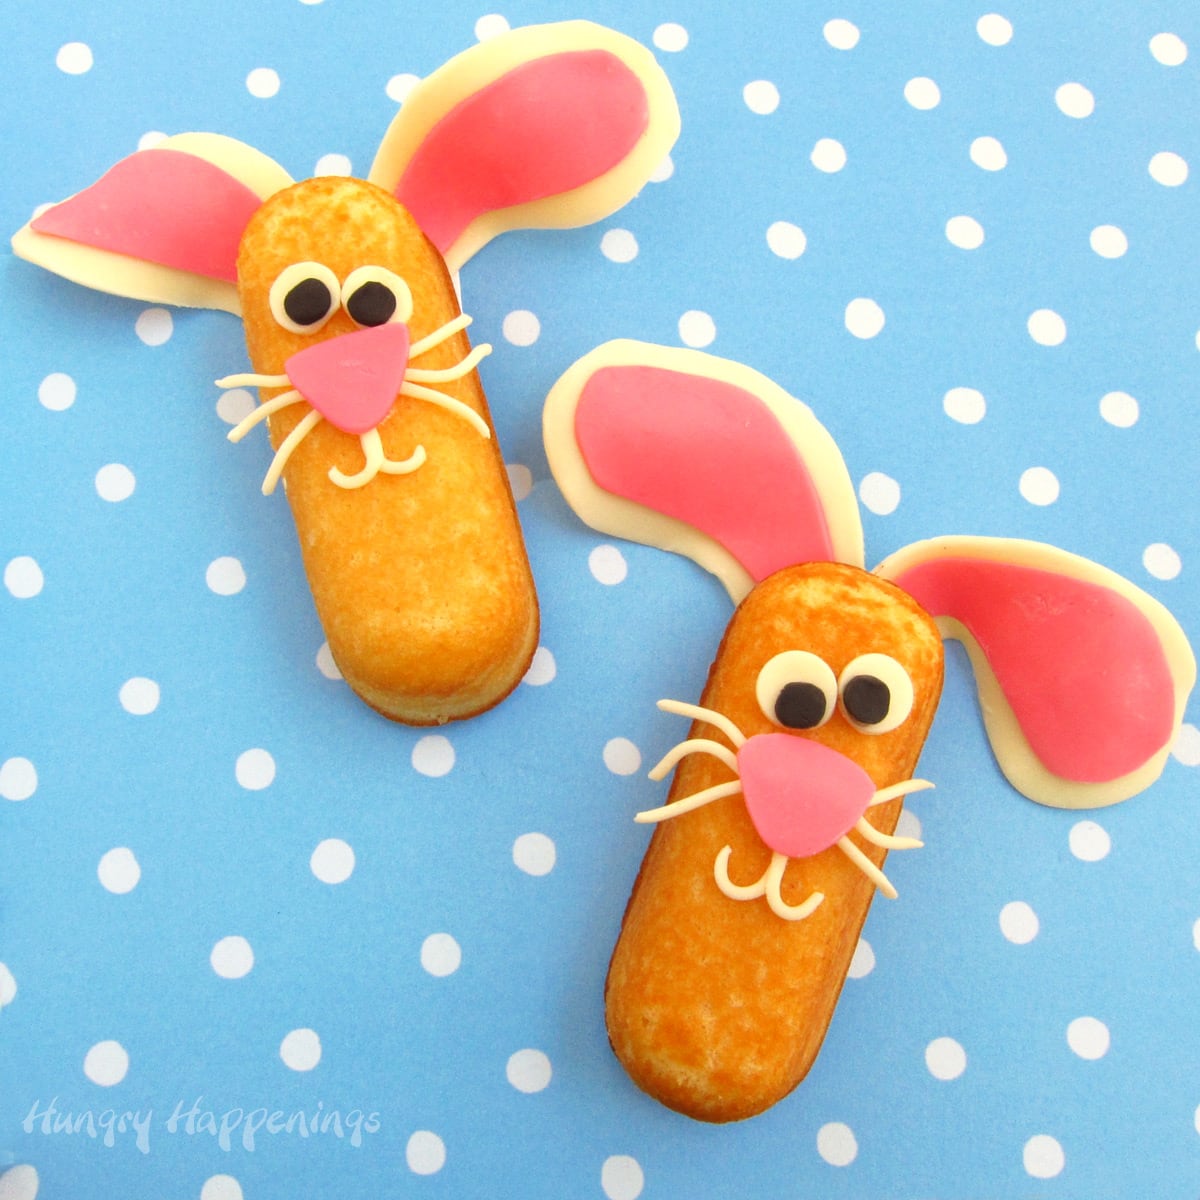
I wouldn't be surprised if you just let out a little squeal. These little bunny cakes are so darn cute. Don't you think?
My job of creating cute food for kids, and adults too, makes me so happy. I am always excited to share a new food craft project with you especially one that just makes my heart melt.
I had so much fun making these sweet Twinkie Bunnies. As usual, I decorated the cakes using modeling chocolate. If you haven't guessed by now, it is my go-to decorating medium. It's easy to make and tastes great on cakes, cupcakes, cookies, Rice Krispie Treats, and more.
You could use fondant if you prefer or other candy like taffy. No matter how you decorate them, I hope you have fun!
Bunny Twinkies
Ingredients
Hostess Twinkies
white modeling chocolate
pink and black food coloring
powdered sugar
white frosting
Supplies
rolling pin
knife
small round fondant cutter
#12 round pastry tip
optional: a clay extruder or a very clean stainless steel garlic press
Instructions
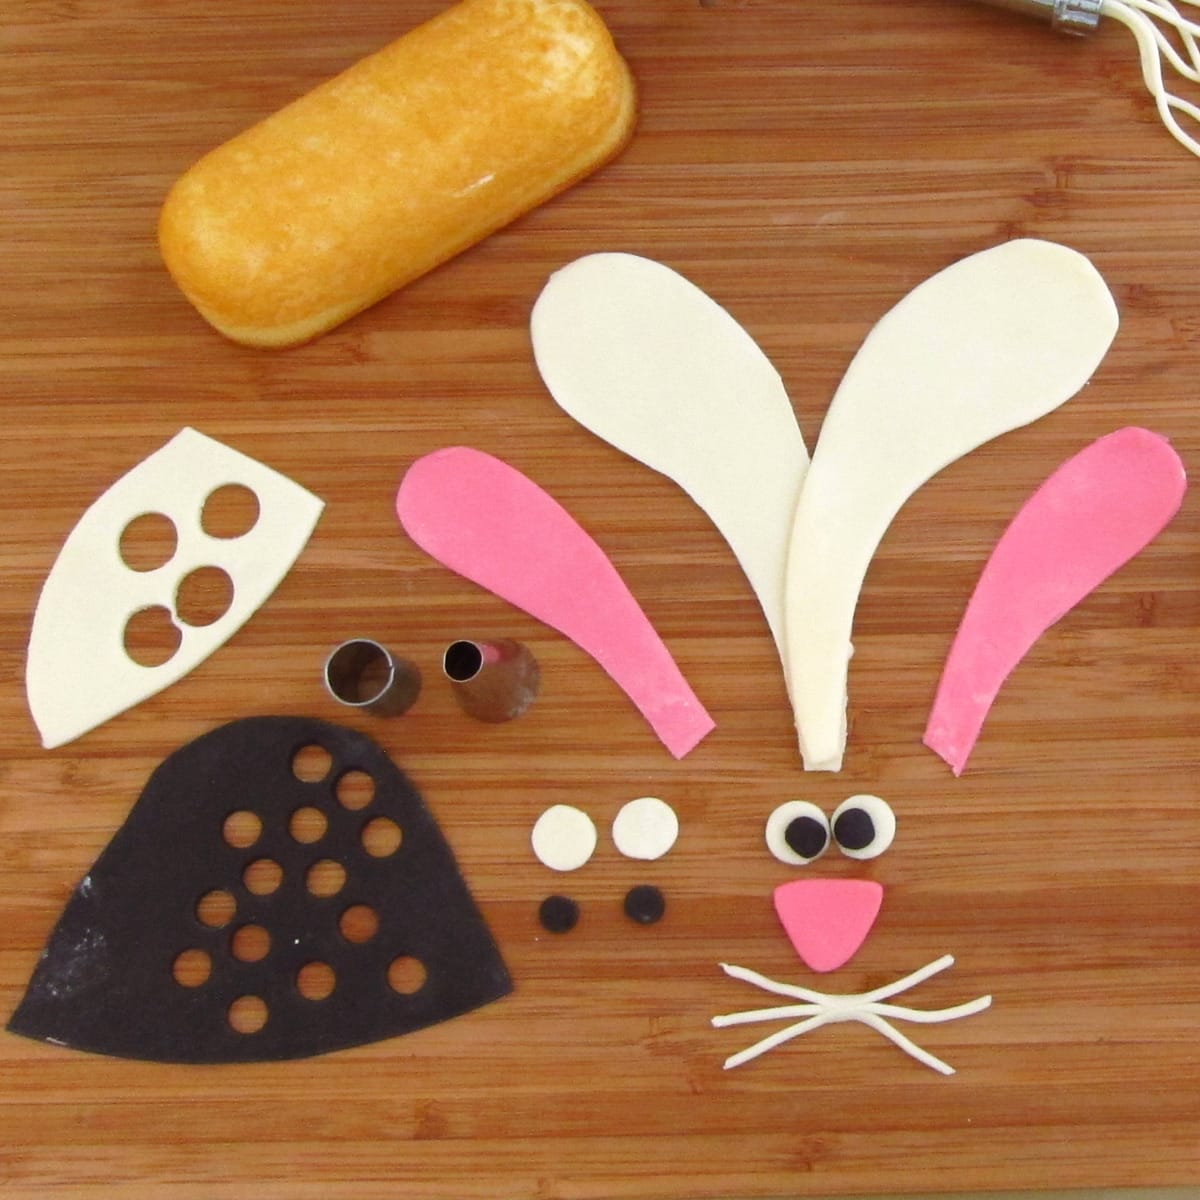
Make the modeling chocolate decorations.
Color some of your white modeling chocolate using pink coloring and some using black. Check out my How To Color Modeling Chocolate Tutorial for detailed instructions.
Dust a cutting board lightly with powdered sugar or use a silicone mat (no powdered sugar is needed).
Roll out some white, pink, and black modeling chocolate to about 1/16" thickness.
Cut two white eyes, one pink nose, two large white ears, and two pink parts of the ear for each bunny. The ears need to be long enough so you can attach them with frosting to the back of the Twinkies.
For the black pupils, press the small end of the pastry tip into the black modeling chocolate. Turn the tip over and tap it on the table. The small black modeling chocolate circle will fall out of the larger end of the pastry tip.
Use frosting or just a dab of water to attach the pupils to the white eyes.
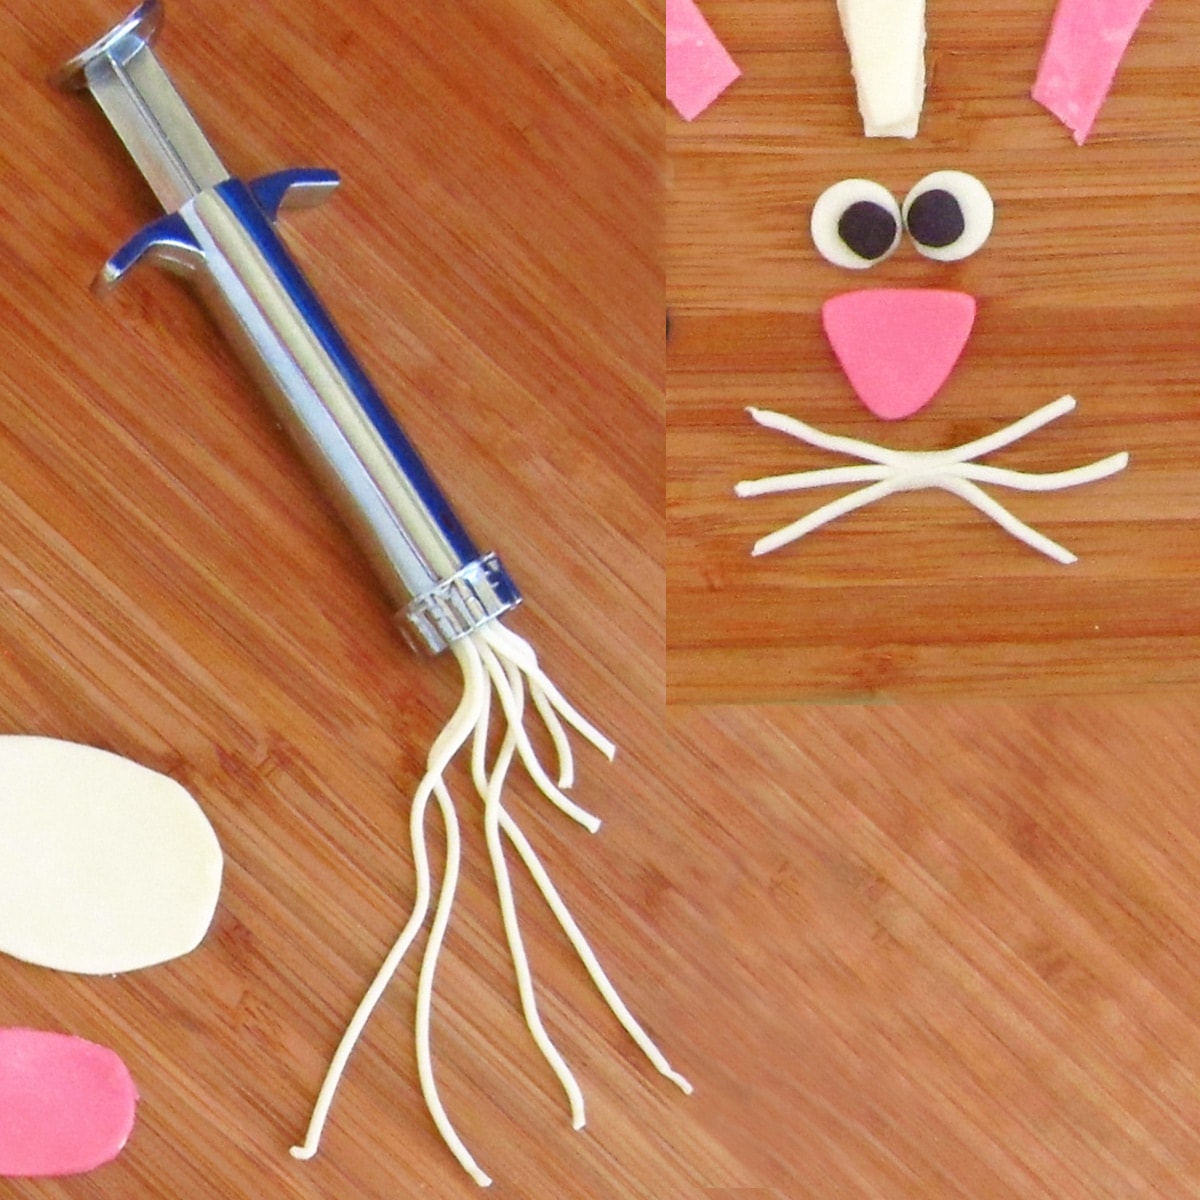
To create the whiskers and mouth you can place a multi-hole insert into the clay extruder, fill it (or a garlic press) with some white modeling chocolate, insert the plunger, and press until thin tubes are extruded.
Cut three 1" long tubes and pinch them together in the middle to make the whiskers.
Cut two ½" pieces to use for the mouth. If you don't have a clay extruder or garlic press, you can just roll white modeling chocolate into thin logs.
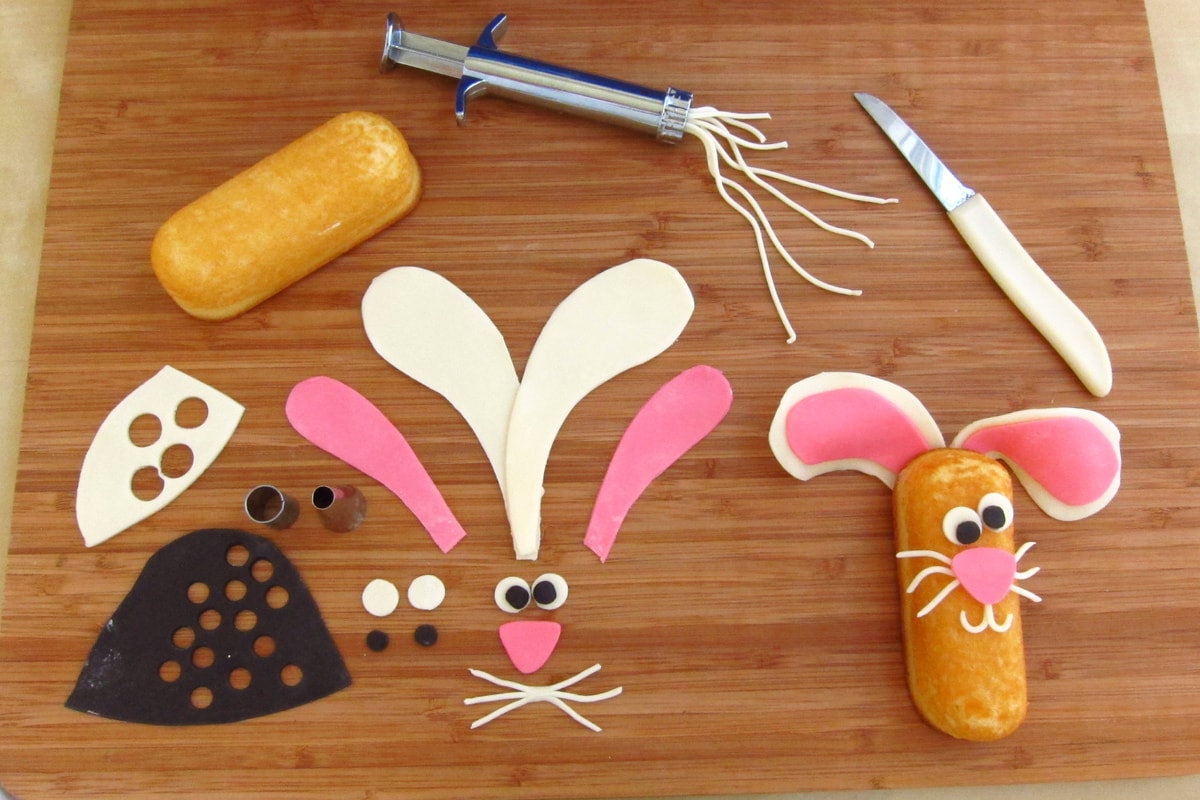
Decorate the snack cake bunnies.
Spread a small amount of water on the back of each pink ear and press them onto the white ear pieces.
Spread frosting on the bottom inch or so of the front side of each ear. Attach them to the back of the Twinkies. To hold them more securely, you use melted white candy melts.
Put a dab of frosting on the front of the Twinkie about ⅓rd of the way down from the top. Press the whiskers onto that frosting then attach the mouth just below the whiskers.
Add a bit more frosting and attach the nose.
Add two dabs of frosting above the nose and press on the eyes.
These snack cakes are best served the day they are decorated.
You can place them in an airtight container on top of a few paper towels for up to a few days. The modeling chocolate can become sticky as it wicks up the moisture from the cake. The paper towels will help to wick up some of that moisture.
Related Recipes
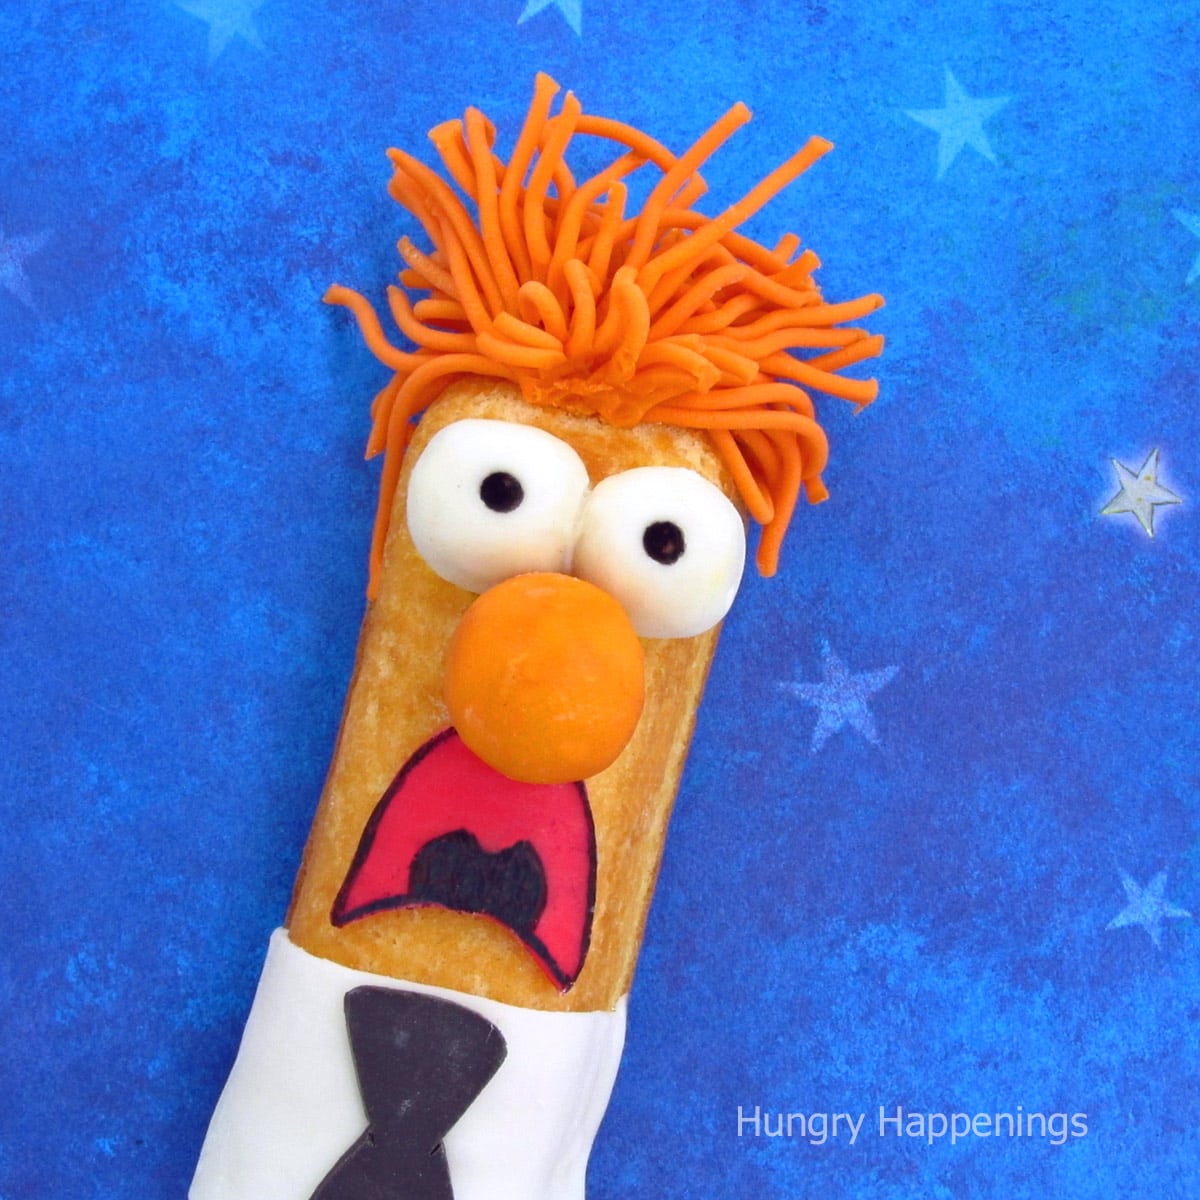
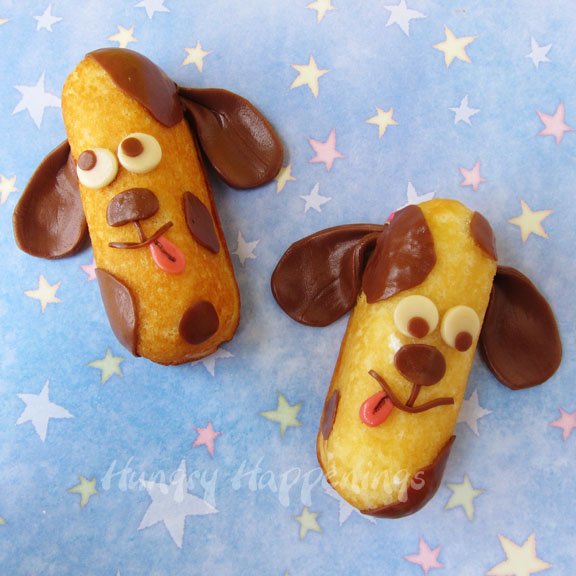
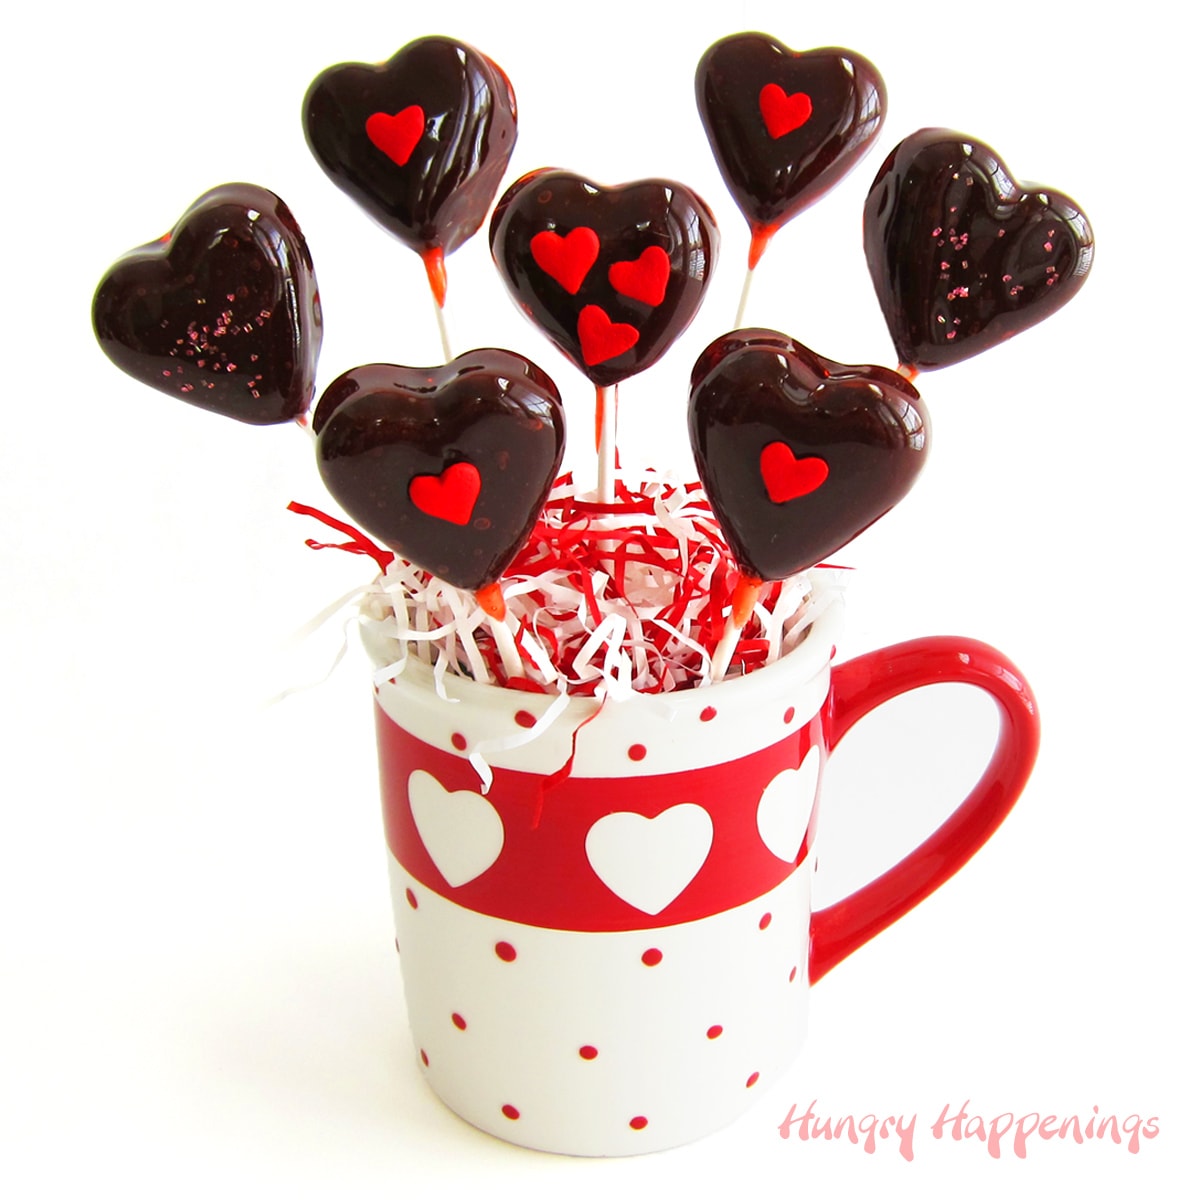
If you have fun making these cute bunnies, you might also enjoy decorating Twinkies for other special occasions or parties.


- Banana Split Bars – A Fun and Easy Summer Dessert - March 4, 2026
- Pineapple Fudge (No Candy Thermometer Needed!) - March 4, 2026
- No-Bake Peanut Butter Pie Recipe - March 3, 2026
CuteEverything.com says
These are so cute, I've sure been enjoying your snack cake series!
BKWilliams says
Love these! You have the neatest ideas.
Mal says
hehehe, these are so adorable!Mal @ The Chic Geek
Jess from Coxs Corner says
Oh my goodness! I absolutely ADORE these! SOOOO cute!
Maria Matter says
oh I SO have to pin these!
too perfect!!