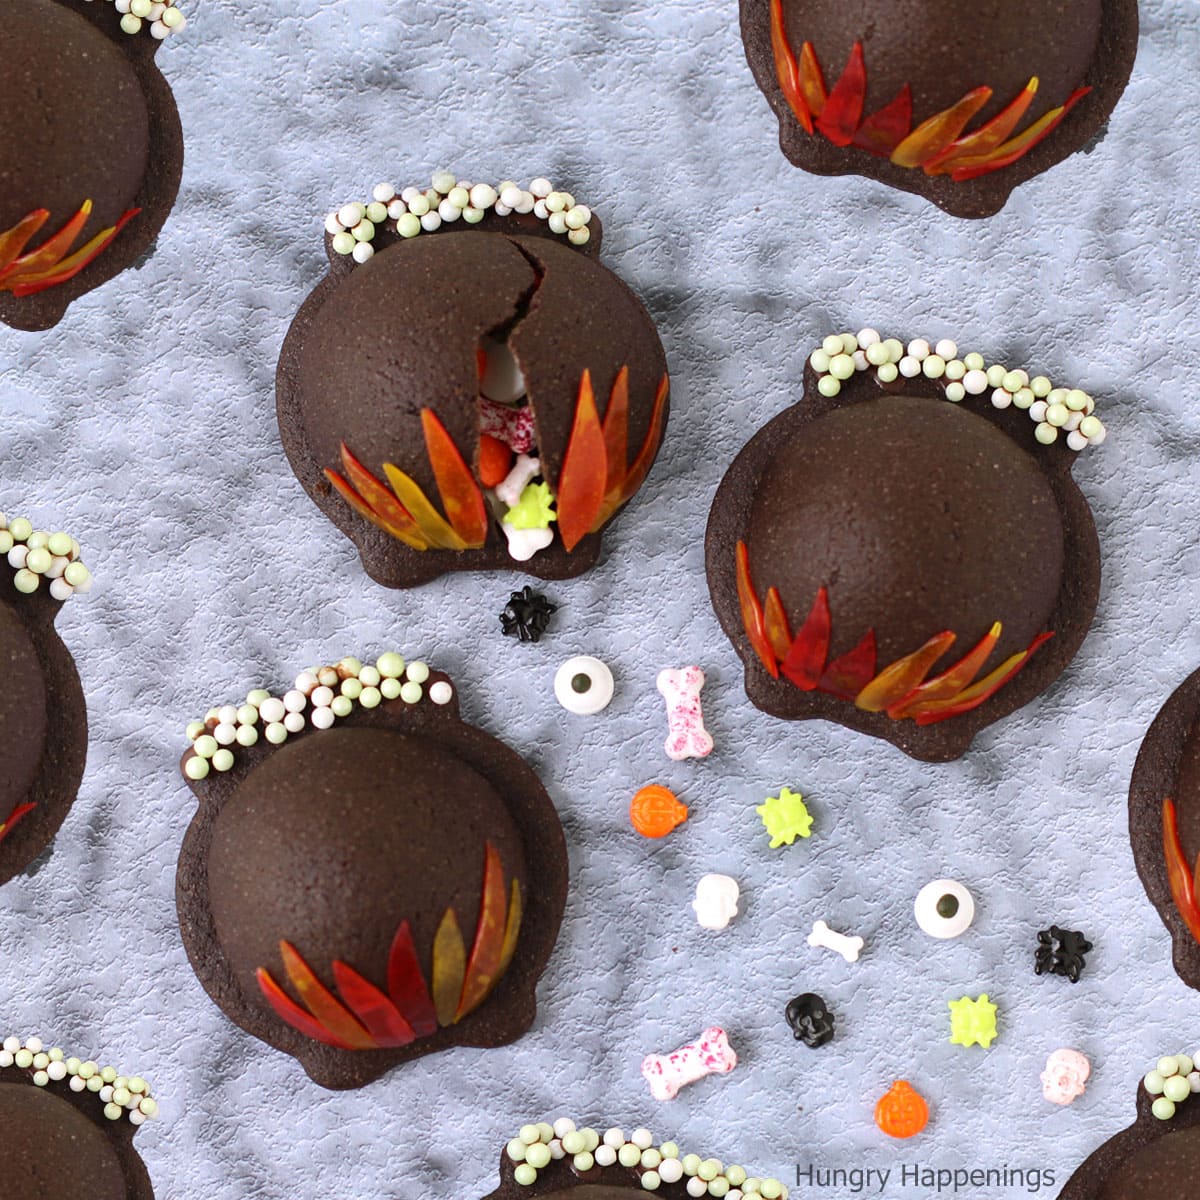
Conjure up some magical Halloween treats this year by filling chocolate cauldron cookies with a bewitching potion of candy bones, eyeballs, skulls, and more.
Our Halloween party is in just over 2 weeks and I sure could use a little magic to get all the desserts made for the 150-175 guests who will be attending this year.
Eek! Yes, I said, 150-175 guests.
For our 10th annual Halloween party, we have decided to join forces with some friends who throw amazing parties too. Our guest list is huge this year, but thankfully I have lots of help with the decorating and, for the first time ever, the party is not being held at our house.
So, you'd think I would not feel overwhelmed right now, but I am in charge of making all the desserts, including a wedding cake, for the big bash. Eek!

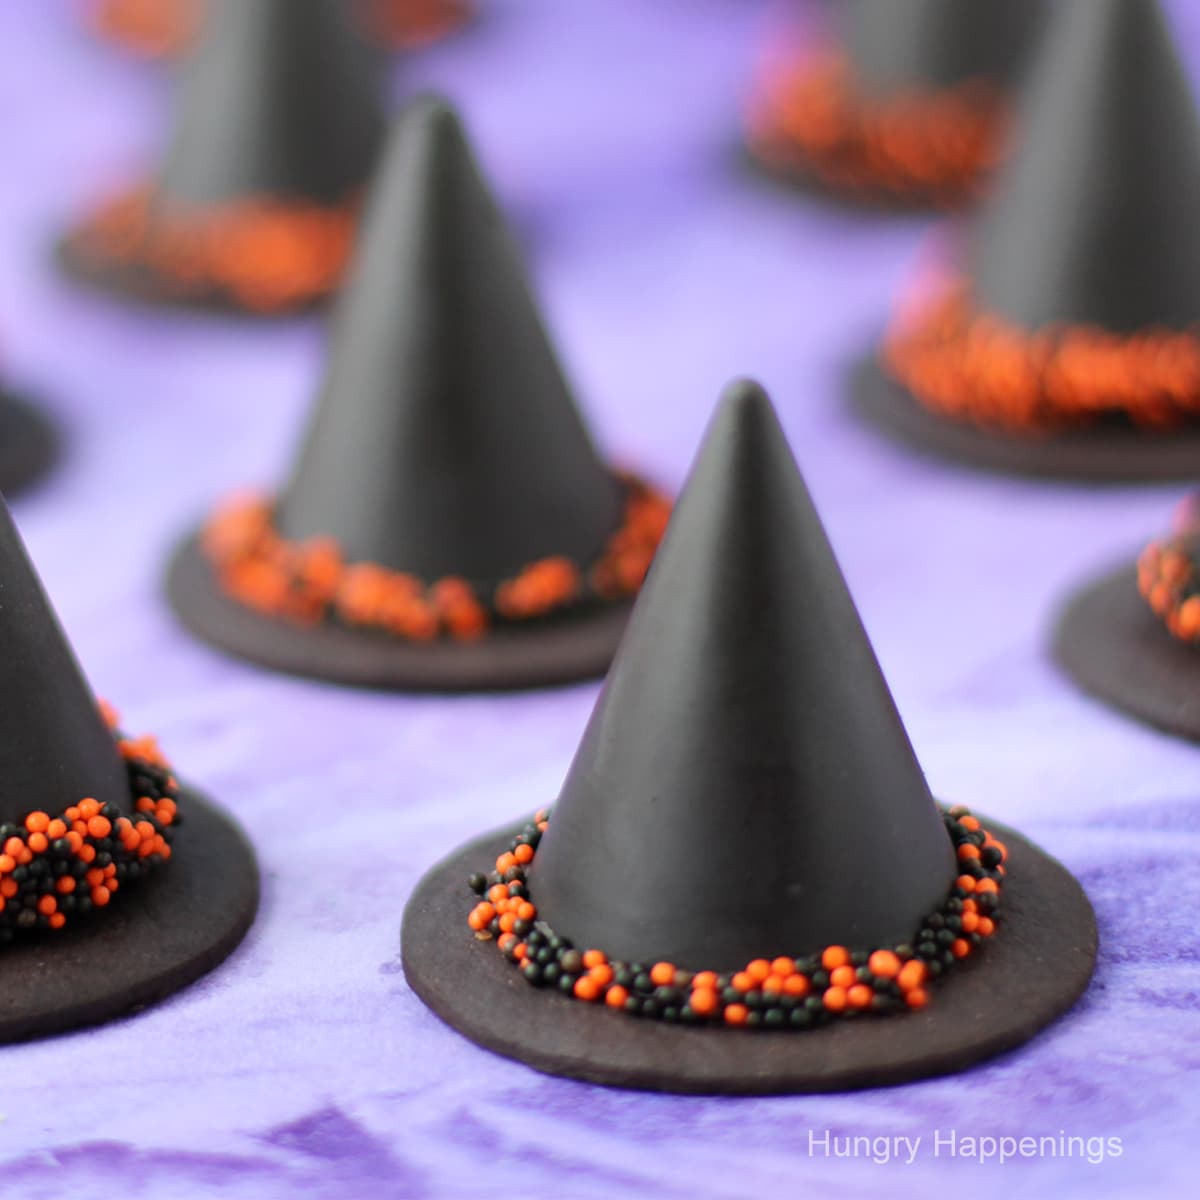
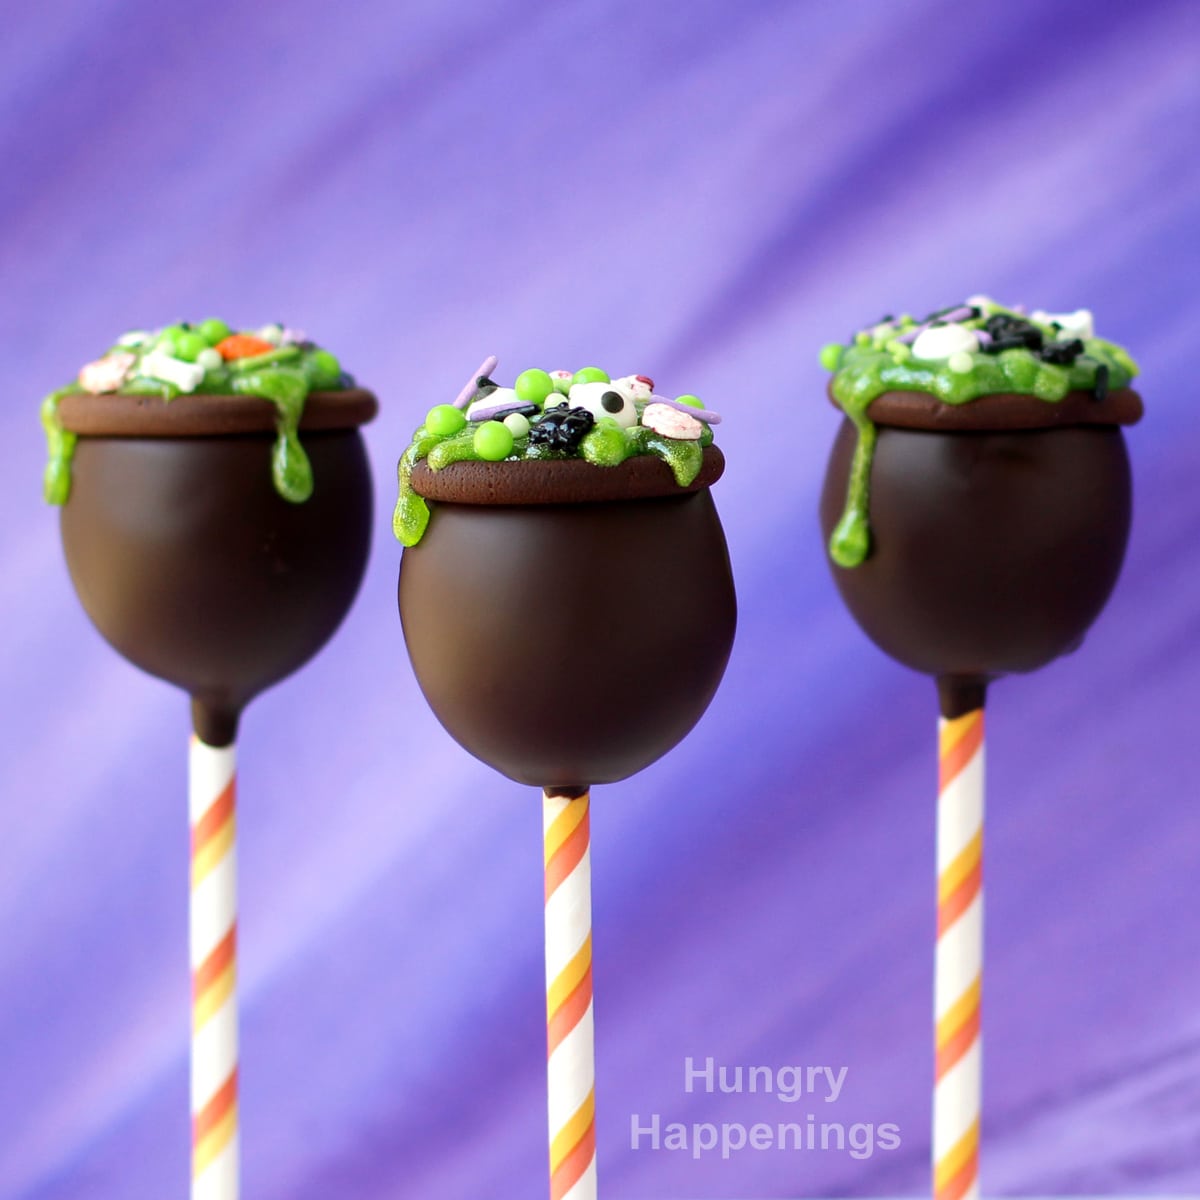
We hosted a witch-themed party a few years ago, so I've already created several bewitching desserts, including Backside Black Cookies, Chocolate Cauldrons filled with Pudding Potion, Cauldron Caramel Apples, and even Black Cat Caramel Apples, but my guests always look forward to seeing new and exciting treats on the dessert table. It's the highlight of the party for many of my friends.
Candy-filled pinata cookies always get rave reviews, so I decided to create a few different styles this year, starting with these bubbling cauldrons.
I couldn't resist filling them with things a witch might throw into her potion. Wilton has some really fun Halloween candy sprinkles in the shapes of bones, spiders, skulls, and eyeballs and they were the perfect size for inside my cookies.

Ingredients
chocolate cookie dough - See the recipe below for chocolate cut-out cookies that do not spread and taste great.
Halloween candy sprinkles (bones, spiders, eyeballs, etc.) - you can use any candy you like to fill your cauldron cookies, but it is really fun to have Halloween candy sprinkles fall out when the cookies are cracked open.
light green and white sugar pearls - These are large nonpareil sprinkles that will look like bubbles around the top edge of the cauldron cookies.
melted and tempered chocolate or melted candy melts - Either will work to "glue" the cookies together and attach the decorations. Learn more about the two types of chocolate and how to melt/temper them on my Chocolate Making Tips page.
red/yellow/orange fruit rolls or red/yellow/orange modeling chocolate - I used fruit rolls that have red, yellow, and orange blended together on one roll. If you can't find them, just use a combination of the three colors. Or, you can make white modeling chocolate (candy clay) and color it to make your flames.
Supplies
small cauldron cookie cutter (between 2 ¼-inches to 2 ½-inches wide)
2 ½ inch round cookie cutter
silicone mat
rolling pin (nonstick fondant rolling pin works best)
cake ball pan
food use only paintbrush
scissors
You can find the items needed to make these Candy-Filled Cauldron Cookies at Amazon.com. I earn a small commission when you use the affiliate links to make a purchase at no extra cost to you.
I found the small cauldron cutter at Walmart.
 Telebrands Bake PopShop on Amazon
  Ateco Plain Edge Round Cutt...Shop on Amazon
  Wilton Easy Flex Silicone 1...Shop on Amazon
  Wilton Edible Candy Eyeball...Shop on Amazon
  Wilton 710-2055 Halloween T...Shop on Amazon
 Wilton Skull SprinklesShop on Amazon
  Wilton 710-2053 Bloody Bone...Shop on Amazon
  Wilton Bug Sprinkles Net Wt...Shop on Amazon
  Wilton White Sugar Pearl Sp...Shop on Amazon
  Wilton Pink Green PearlsShop on Amazon
Instructions:

Cut and bake cauldron cookies.
- Make the cookie dough, refrigerate it for an hour, then roll it out on a silicone mat. For the cauldrons, you want the dough to be about ⅛th inch thick. Use a small cauldron cutter to cut out 22 cookies. I find it easiest to peel away the excess dough and then pop the cut-out cookies in the freezer for about 5 minutes. Then they are easy to peel off the silicone mat.
- Set the cauldrons on a parchment paper-lined baking sheet.
- Bake for 10-12 minutes. The cookies will lose their sheen when they are ready. If you like really crispy cookies, bake them for 14 minutes.
- Then roll out the remaining dough thinner, about 1/16th inch thick.
- Cut out 22 circles using a 2 ½-inch round cutter.
- Remove the excess dough, and pop the mat in the freezer for about 5 minutes.
- Peel the dough round off the mat and set each round over the tops of the cake ball pan.
- Smooth out the dough curving it over the domed pan.
- Pop the dough-covered pan back in the freezer for 15 minutes, then bake for 7-9 minutes until the edges look set.
- Allow all the cookies to cool completely before decorating.

Fill and decorate the cauldron cookies.
- To assemble the cookies, you'll need some melted and tempered chocolate or candy melts. Fill the domed cookies with candy.
- I used bone, skull, spiders, eyeballs, and pumpkin-shaped candies. Any small candy will work well, but I thought it was fun to have potion ingredients in my cookies.
- Paint a thin layer of chocolate around the top edge of the domed cookie, then turn a cauldron cookie upside down and set it on top of the domed cookie. Hold it for a minute until the chocolate sets.
- Brush some chocolate along the top edge of the cauldrons and sprinkle on some green and white candy pearls.
- Cut flames out of the fruit roll-up and press onto the base of the cauldron. They should stick without needing to add any chocolate.

When you serve these cookies for Halloween, your friends and family can crack them open to reveal the candy hiding inside.
The fun Halloween sprinkles that I used taste like candy. They have a nice sweet flavor. You can fill your cauldron cookies with any small candies if you don't care that they look creepy inside!
Related Recipes
If you are hosting a witch-themed Halloween party, you might also like to make these other recipes.
To see more fun Halloween Treats, check out my Halloween recipes, here.
Printable Recipe
This recipe was originally published on October 7, 2015.
These candy filled 3-D Chocolate Cauldron Cookies will be the hit at your next Halloween party!
- 10 tablespoons butter softened slightly
- ¾ cups granulated sugar
- 1 egg
- ½ teaspoon vanilla
- ⅓ cup cocoa powder
- ¼ teaspoon baking powder
- ½ teaspoon salt
- 1 ¾ cup flour
- 4 ounces melted and tempered chocolate or melted light cocoa candy melts
- ½ cup light green and white sugar pearls (large non-pareils)
- 4 colored (red/yellow/orange) fruit rolls (thin fruit leather rolls), or colored modeling chocolate
-
In a large mixing bowl, combine butter and sugar.
-
Cream until light and fluffy.
-
Mix in eggs and vanilla.
-
Combine cocoa powder, baking powder, salt, and flour in a small bowl.
-
Stir into the wet ingredients and mix just until incorporated.
-
Flatten dough into a disc and wrap in plastic wrap or place in a zip-top bag. Refrigerate for 1 hour.
-
Remove dough from the refrigerator.
-
Preheat oven to 350 degrees Fahrenheit.
-
Roll dough out to 1/16 - ⅛ inch thickness.
-
Cut out 22 cauldrons using a 2 ¼-inch cauldron cookie cutter.
-
Set on parchment paper-lined baking sheets.
-
Bake cauldron cookies for 10-12 minutes until the edges are set.
-
Roll out the remaining dough to 1/16th of an inch.
-
Cut out 22 circles using 2 ½ inch round cookie cutters.
-
Set rounds of dough over the tops of a cake ball pan.
-
Pop pan in the freezer for 15 minutes.
-
Bake the domed circle cookies for 7-9 minutes until the edges are set.
-
Allow cookies to cool completely before decorating.
-
Fill domed cookies with Halloween candy sprinkles and candy eyes then brush melted candy melts around the rim and press a cauldron cookie over top.
-
Brush melted candy melts over the top rim of the cauldron then, sprinkle green sugar pearls over top.
-
Cut orange, red, and yellow fruit rolls (or modeling chocolate) into flames and attach them to the bottom.

- Banana Split Bars – A Fun and Easy Summer Dessert - March 4, 2026
- Pineapple Fudge (No Candy Thermometer Needed!) - March 4, 2026
- No-Bake Peanut Butter Pie Recipe - March 3, 2026


Brenda says
Love these! You are so talented! Have a great week 🙂
Beth says
Thanks so much:) I hope you have a wonderful week too.
lisa@hooplapalooza says
alright alright! could you stop being so amazing already!?!? sheesh! :>O
LOL-i LIVE for your posts! :>D
Beth says
You are too sweet! I'm happy to know someone lives for my posts. I am always so excited to create projects for my blog:)
krystal says
Incredible (as usual) thanks for sharing!
Beth says
I'm happy to share and even happier you've stopped by to check out my cookies.
The Partiologist says
What a hit these will be at your party - I love how the ingredients spill out of the cauldron when cracked open!!!
Beth says
I do hope my party guests like them! Thanks, Kim:)