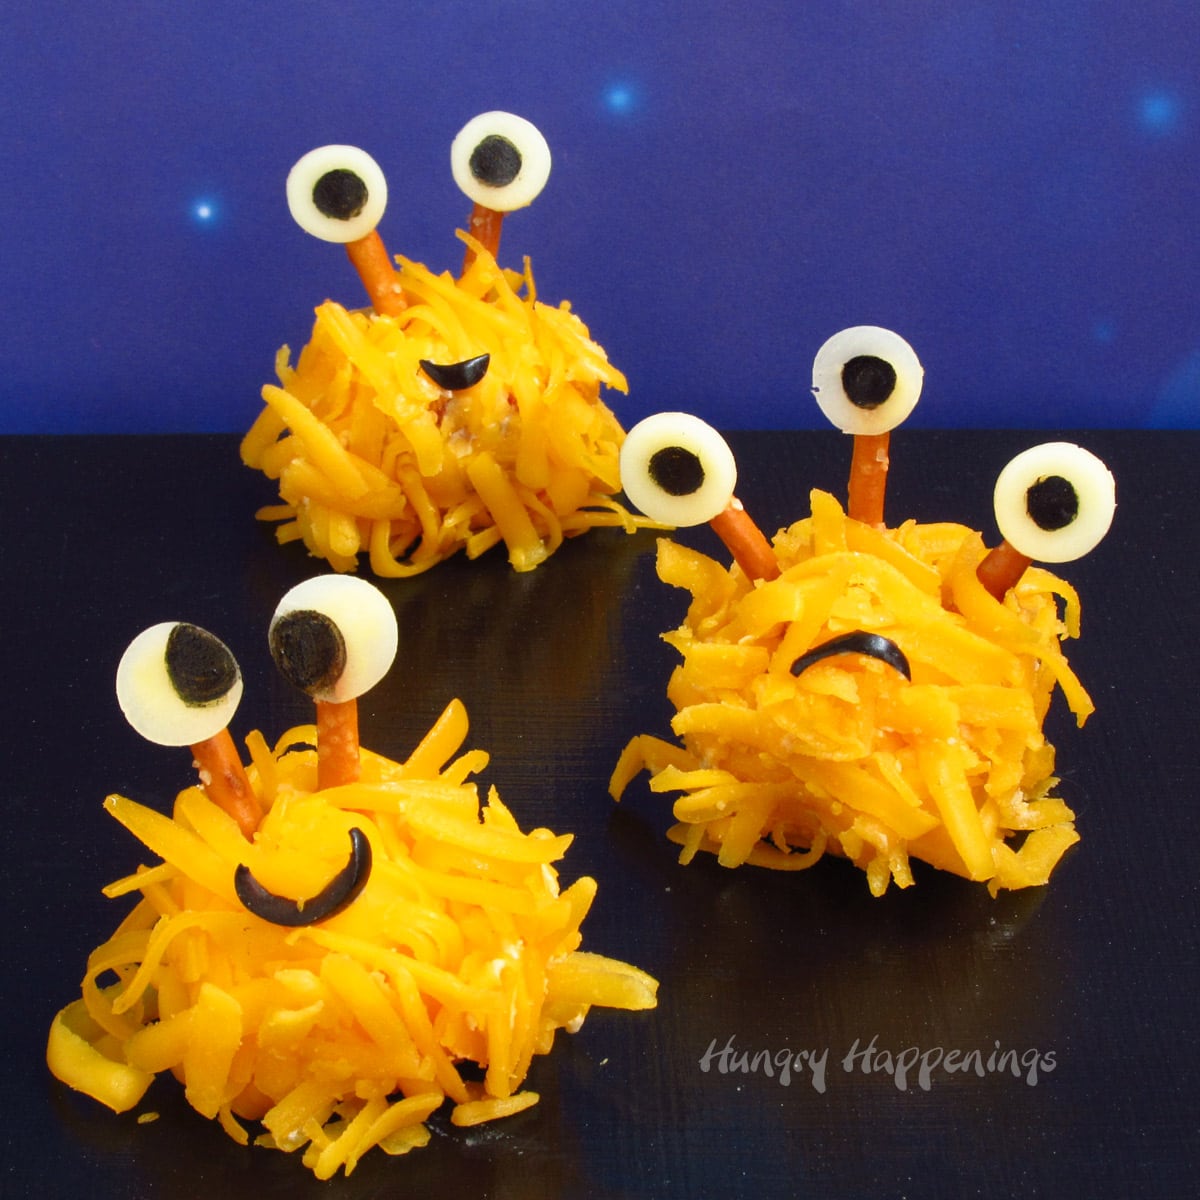
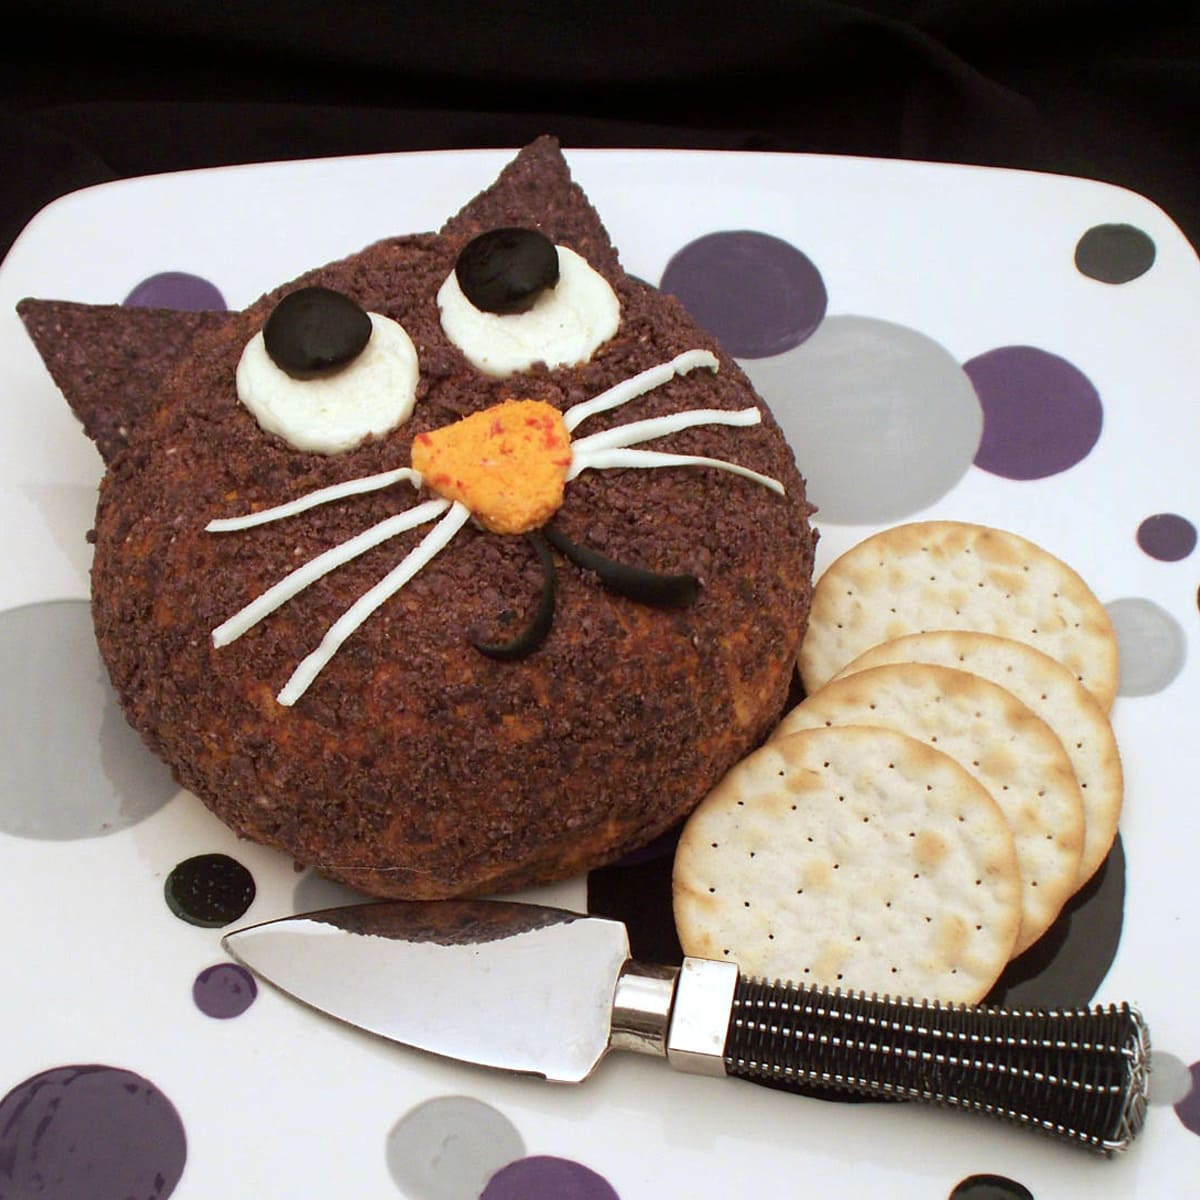
Make cute and delicious appetizers for Halloween. These furry-looking mini monster cheese balls have pretzel and cheese googly eyes and olive smiles. They are easy and fun to make for a party or snack.
After every one of my parties, as I clean up all the leftover food, I always notice that the cheese plate is completely empty. Now my husband may have something to do with that, but I do believe that no matter what occasion you are celebrating, cheese is always popular.
For our Halloween parties, I don't want to just serve slices or cubes of cheese; I like to dress my cheese up. Often I will simply cut shapes out of cheese slices using a cookie cutter, but more recently I've been turning cheese balls into festive shapes and my guests love it.
My inspiration for these Mini Monster Cheese Balls actually came to me on Valentine's Day, in a roundabout way. Last February I created Warm Fuzzy Cake Balls and while I was decorating them in red and pink colored coconut, I decided to see what they'd look like in orange and black for Halloween.
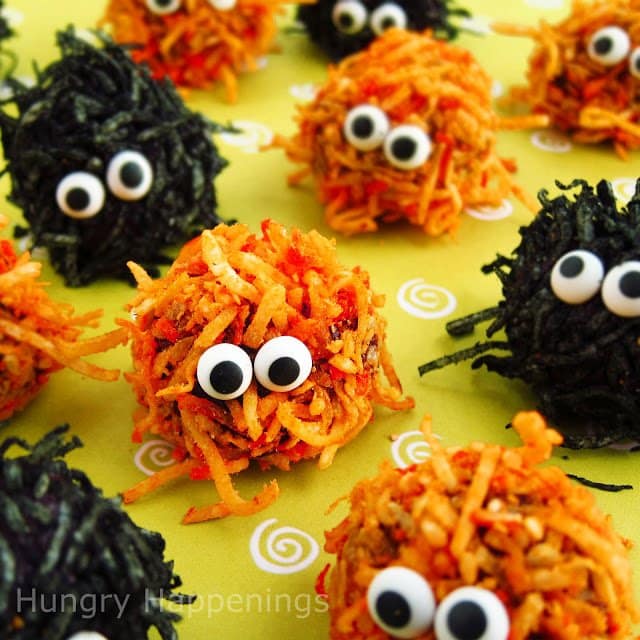
Cute, huh?
I was planning to post them as a project here, but as I looked at the monster in the center of this picture, I couldn't help but think that the orange coconut looked like shredded cheese. So, instead of posting a tutorial for another coconut-covered cake ball in the form of little monsters, I decided to share a similar yet different technique to create Mini Monster Cheese Balls.
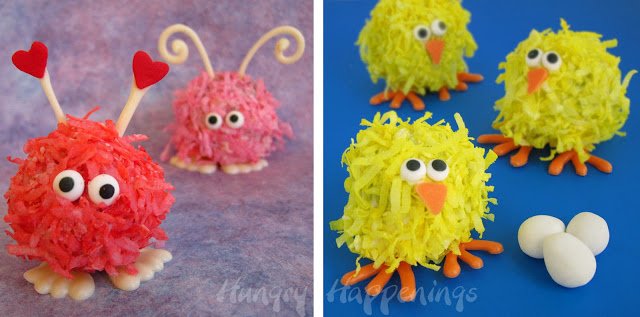
If you'd like to make the sweet cake ball monsters, just follow the instructions for the Warm Fuzzy Cake Balls or the Coconut Cake Ball Chicks, and use orange and black food coloring to color your coconut. Add candy eyes and create other decorations like feet and antennae out of colored candy melts or white chocolate.
Mini Monster Cheese Balls
(makes approximately 18 monsters)
Ingredients
8 ounces cream cheese, softened
8 ounces shredded sharp cheddar cheese
½ cup finely chopped cooked bacon (or use real bacon bits)
Decorations
8 ounces shredded cheddar cheese
black olive slices
pretzel sticks
white cheese slices
black food coloring marker
NOTE:
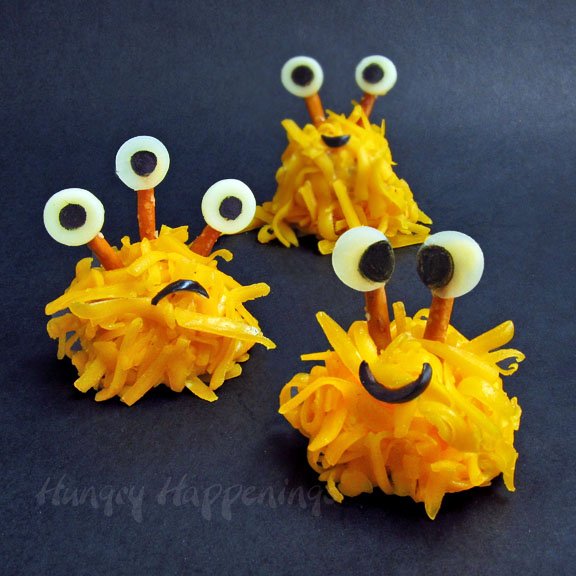
I grated my own cheese to make the original version of these Mini Monster Cheese Balls. When I picked up my monsters, I smashed the cheesy fur down a bit, so when I made the video I used packaged shredded cheese. The monsters definitely look different. So you can decide which you like better.
Supplies
- 1 tablespoon size ice cream scoop, optional
- small round metal cutter or a round plunger cutter
You can find supplies to make these cute monster cheese balls on Amazon. I earn a small commission when you make a purchase using the links below at no extra cost to you.
 Norpro Stainless Steel Meat...Shop on Amazon
  Americolor 2-Count Gourmet ...Shop on Amazon
Instructions
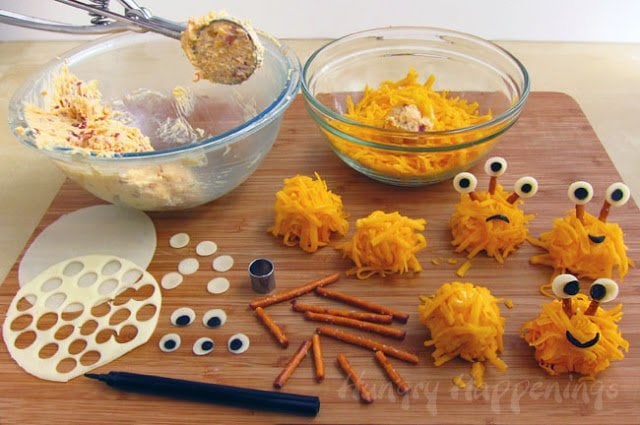
Let's make some monsters!
Instructions
- Stir all of the cheese ball ingredients together.
- Place 8 ounces of shredded cheddar cheese in a bowl.
- Scoop out a tablespoonful of the cheese ball mixture and drop it into the bowl of cheese.
- Toss it around in the cheese, pressing the cheese onto it until the entire cheese ball is coated in shreds.
- Repeat until you just have a tablespoon of filling remaining. You will need this to be the glue to hold the eyes and mouths onto your monsters.
- Use a small round fondant cutter to cut eyes out of white cheese slices. Draw pupils onto the eyes using a black food coloring marker. For tips on using your markers go here.
- Break pretzel sticks in half. Stick one, two, or three sticks coming out of the top of each mini cheese ball.
- Use some of the remaining cheese ball filling to attach the cheese slice eyes to the pretzel sticks.
- Use the round fondant cutter to cut small little mouths out of the black olive slices.
- Use some of the cheese ball filling to attach them to each monster.
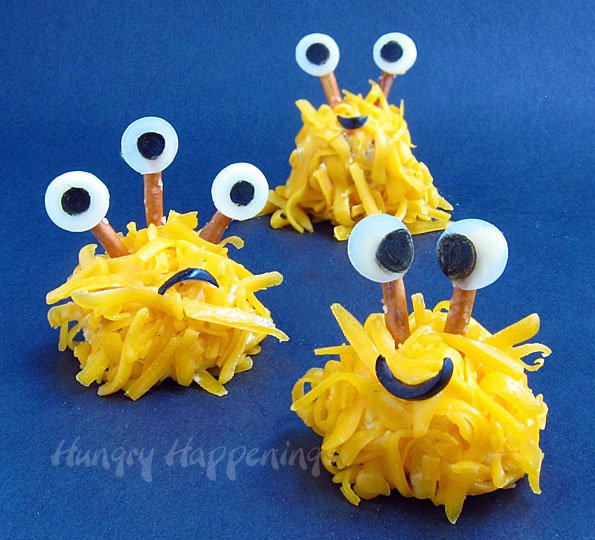
Arrange the cheese ball monsters on a serving platter and share them with your guests.
Storage
- You can make the cheese balls for your monsters several days before your party but don't decorate them until a few hours ahead of your party or the pretzels may get soggy.
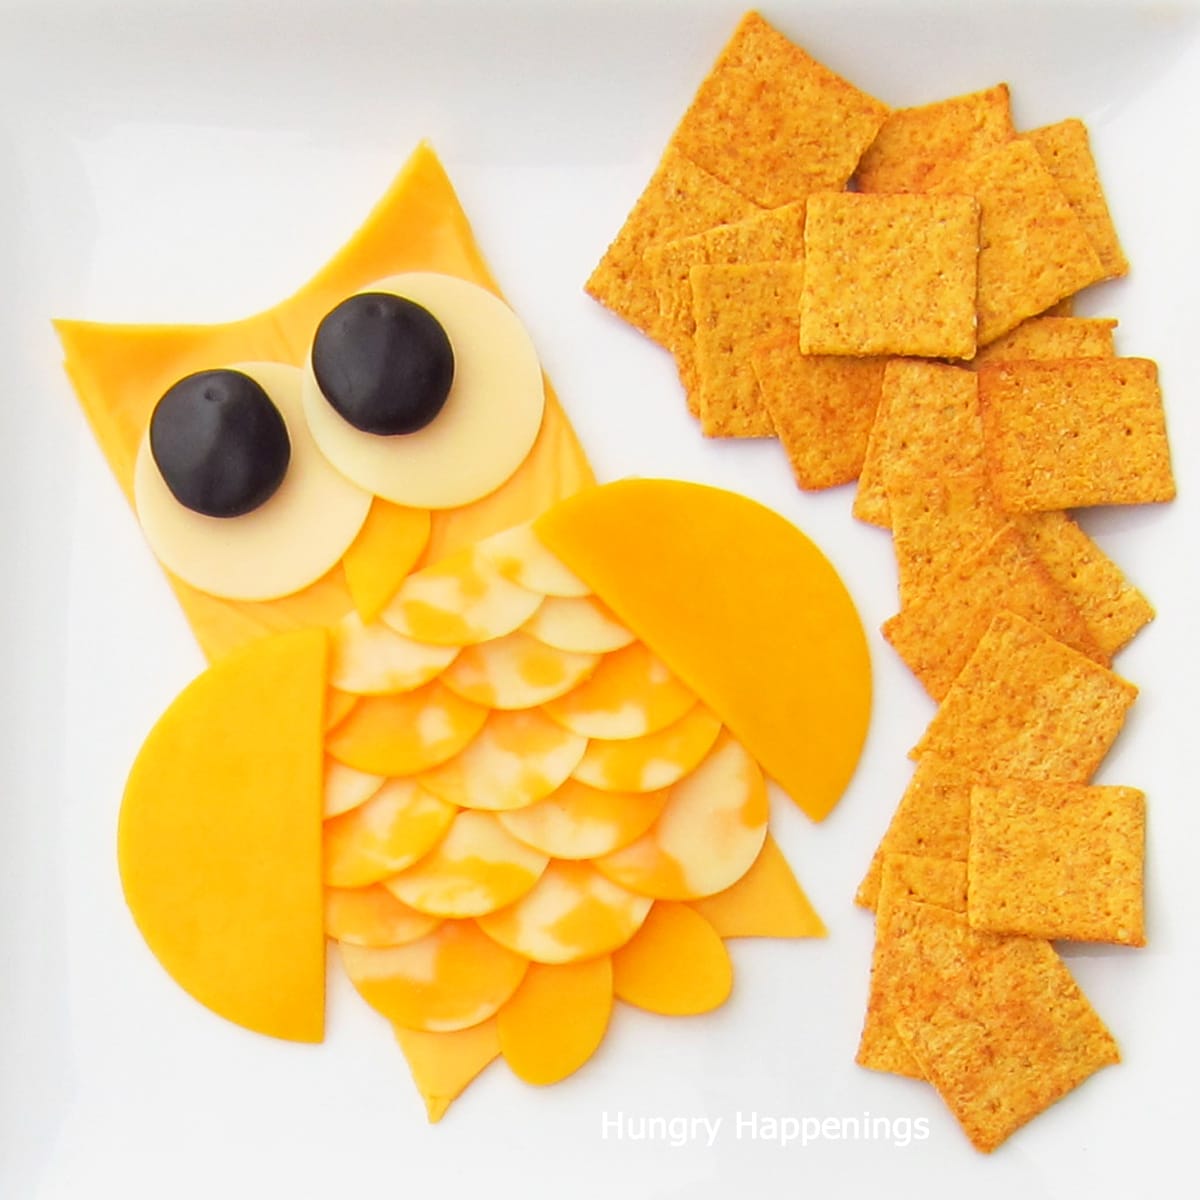
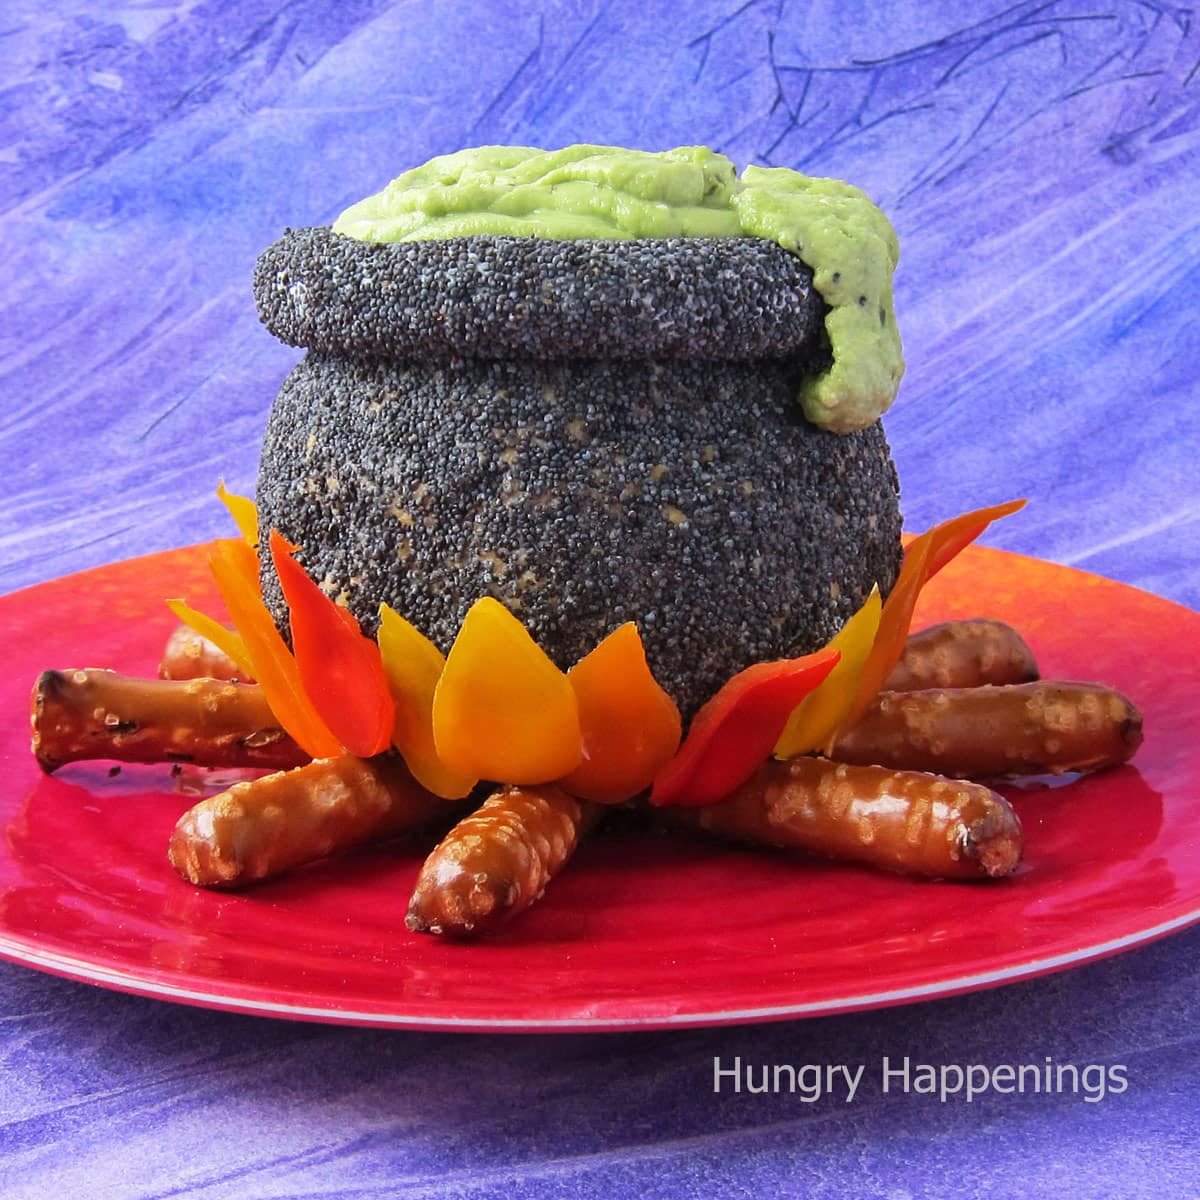
Related Recipes
If you have fun making these cute mini monster cheese balls, you might also enjoy making these other Halloween recipes.
VIDEO
Enjoy the new video tutorial.
Recipe
(Originally published on September 3, 2012)

Create mini cheese balls then decorate then to look like cute little monsters.
- 8 ounces cream cheese, softened
- 8 ounces shredded sharp cheddar cheese
- ½ cup finely chopped cooked bacon (or use real bacon bits)
- 8 ounces shredded cheddar cheese
- black olive slices
- pretzel sticks
- white cheese slices
- black food coloring marker
-
Stir all of the cheese ball ingredients together.
-
Place 8 ounces of shredded cheddar cheese in a bowl.
-
Scoop out a tablespoonful of the cheese ball mixture and drop it into the bowl of cheese.
-
Toss it around in the cheese, pressing the cheese onto it until the entire cheese ball is coated in shreds.
-
Repeat until you just have a tablespoon of filling remaining. You will need this to be the glue to hold the eyes and mouths onto your monsters.
-
Use a small round fondant cutter to cut eyes out of white cheese slices. Draw pupils onto the eyes using a black food coloring marker. For tips on using your markers go here.
-
Break pretzel sticks in half. Stick one, two or three sticks coming out of the top of each mini cheese ball.
-
Use some of the remaining cheese ball filling to attach the cheese slice eyes to the pretzel sticks.
-
Use the round fondant cutter to cut small little mouths out of the black olive slices.
-
Use some of the cheese ball filling to attach them to each monster.
-
Arrange on a serving platter and share with your guests.
You can make the cheese balls for your monsters several days before your party, but don't decorate them until a few hours ahead of your party or the pretzels may get soggy.

- Banana Split Bars – A Fun and Easy Summer Dessert - March 4, 2026
- Pineapple Fudge (No Candy Thermometer Needed!) - March 4, 2026
- No-Bake Peanut Butter Pie Recipe - March 3, 2026
Peggy Jo Miskimen says
Thanks for creating and sharing easy, delicious fun to eat treats!
Beth says
You are so welcome!
starcraft says
Aww~~ Look at these cute monster~~~ How cute they are~~ and eat them in one bite *yummy*
Anonymous says
I am only at step 1. The Bacon Cheese Ball alone is delicious! Now onto step 2!
beth says
I'm glad you like the recipe and hope you have fun decorating your monsters!
marissa | Rae Gun Ramblings says
oh my goodness these are so cute!
Anonymous says
you could also make the black ones look like spiders by using black olives slices to make legs. and the orange one could also be little pumkins make a face using triangles cut fronm black olives or slices of cheese colored and use pretzel stick as stem.
Anonymous says
Also what kind of cheese do you use on the eyes? Your slice in the picture looks like a really big piece.
Beth Jackson Klosterboer says
I just used slices of provolone cheese, but any white cheese will work fine. The piece of cheese was probably 3 or 4 inches in diameter.
Anonymous says
Is there something else that I can use instead of the black marker on the cheese eye? I don't want to spend $7 just use that one time hahaha.
Beth Jackson Klosterboer says
You can use black food coloring, or if you don't have any of that, mix together red and green food coloring and maybe some blue until you get a nice dark color, then paint it onto the cheese using a food use only paint brush.
Anonymous says
Hi I am wanting to make these for my sons monster party but I am wondering how much in advance can I make them without the white cheese eyes drying out or curling on the edges? I have lots to make so anything that I can make ahead of time would be better for me. Also do you think that the thin shred or the thicker shred packaged cheese would work best? And one last question. We have some vegetarian people in the family what could I sub the bacon for in these so that everyone can have a adorable little monster.
You can email me at ashleyehlert@hotmail.com
Thanks so much.
Beth Jackson Klosterboer says
Hi Ashley,
You can cut the small cheese pieces several days ahead, just store them in an airtight container in the refrigerator. You might want to lay a piece of plastic wrap or tin foil directly on top of them to really seal them well. I've use thin and thick shred and think I prefer the thick. If the shreds are too long, just cut them up a bit. I have made this cheese ball without the bacon and they are still great. You can really use any cheese ball recipe you like or even use store bought flavored cream cheese instead. Good luck and have fun.
Anonymous says
Great thanks so much for your help. I didnt even think to just use cream cheese already flavored thats a great idea. I thought of one last thing. I have never used the black marker food pens before. How in advance can you add that to the cheese slices? And do you think that there is anything else that you can use for a mouth? If not I can get the olives.
Ashley
Beth Jackson Klosterboer says
I think you can add the food coloring to the cheese and then store it in the refrigerator. I'm pretty sure my eyes still looked good a day or two later. If you can't get black olives, just color more slivers of cheese with the black food coloring marker.
Alison Lippert says
I am so making these for my work Halloween party. Question- do you just eat them by popping them in your mouth? Or serve with chips/crackers?
Beth Jackson Klosterboer says
I served them with crackers, but most people just popped them in their mouth. They are great just on their own.