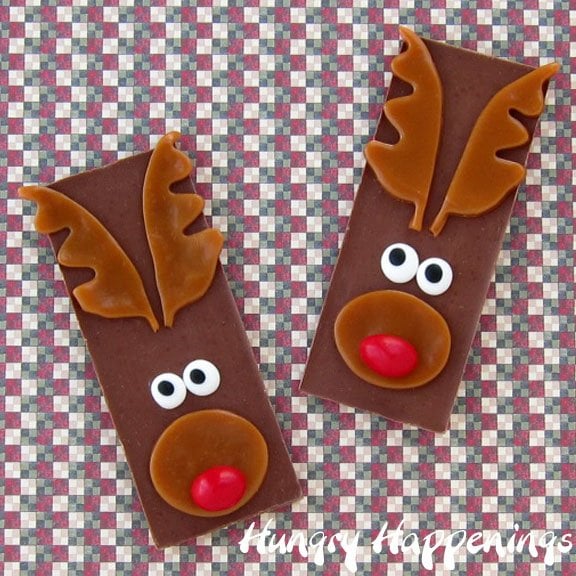
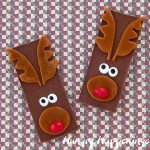
This Christmas, get everyone into a festive mood by transforming ordinary chocolate bars into these Rudolph the Red Nose Reindeer Candy Bars. I guarantee this super easy treat will bring lots of smiles to kids of all ages.
Rudolph the Red Nose Reindeer, the T.V. special, was shown every year when I was young and I couldn't wait to see all my favorite characters come to life on our television. The show featured cute animals, silly elves, and even a big monster, but ultimately the story was about human nature.
Hermey wanted to follow his dream of becoming a dentist, Charlie in the Box and Dollie longed to be loved, and Rudolph desired acceptance from others.
Although I could never relate to Hermey's goal of becoming a dentist, I definitely empathize with his drive to do the one thing that made him happy and I'm fortunate enough to have succeeded in following my dream of creating sweet treats.
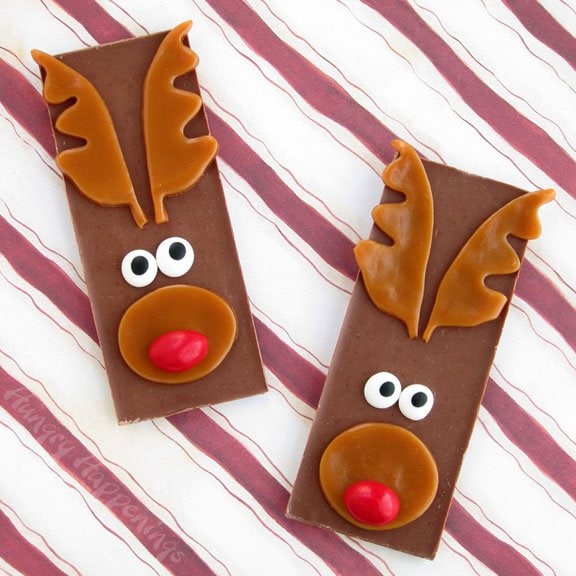
Over the years, I've seen lots of Christmas crafts where people wrap candy bars to look like Rudolph the Red Nose Reindeer and I think they are adorable, so I decided to create a candy bar reindeer with all edible decorations.
I kept this project really simple, using all store-bought candies.
Kids will have a great time making these, and eating them too!
Rudolph the Red Nose Reindeer Candy Bars
Ingredients
chocolate bars
caramel
red peanut M&M's
½-inch candy eyes
Supplies
kitchen shears (scissors)
Items used to create this project are available on Amazon.com (commission earned for sales)
 White And Black ½-Inch Ca...Shop on Amazon
 Wilton Leaves and Acorns 9-...Shop on Amazon
 Kraft Traditional Caramels ...Shop on Amazon
 Peanut M&M's Happy Holidays...Shop on Amazon
Instructions
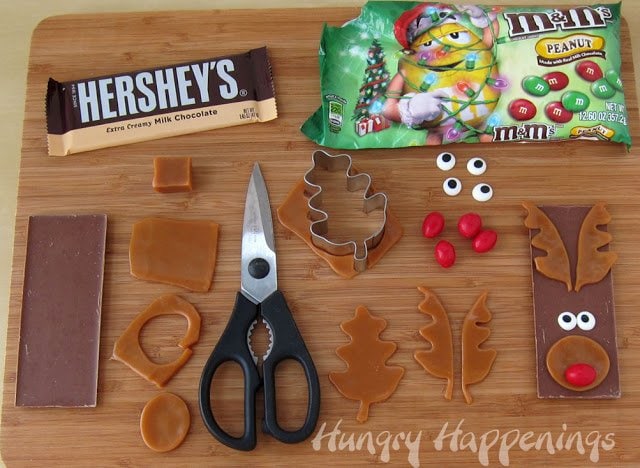
- Unwrap your candy bars and caramels.
- Flatten the caramels, by pressing on them with your fingers. If necessary, heat them in the microwave for a few seconds to soften them.
- Use kitchen shears to cut an oval that is about ⅔rds of the width of your candy bars.
- Press the oval near the bottom edge of your candy bar.
- Press one red Peanut M&M into the caramel oval.
- Press one tiny piece of caramel onto the back of each candy eye then press the eyes onto the candy bars just above the caramel oval.
- Use a leaf cookie cutter or kitchen shears to cut antlers. I cut out a leaf shape and then cut it in half. It worked perfectly.
- Press the caramel antlers onto the top half of the candy bar.
Storage
Serve them on a platter at your party, or wrap them in clear cellophane bags to give as Christmas treats. They will keep at room temperature for up to a month.
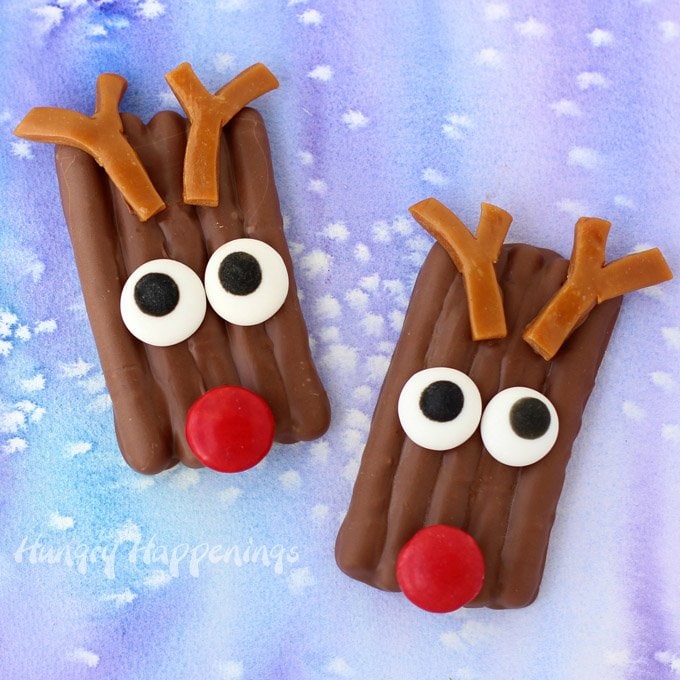
Related Recipes
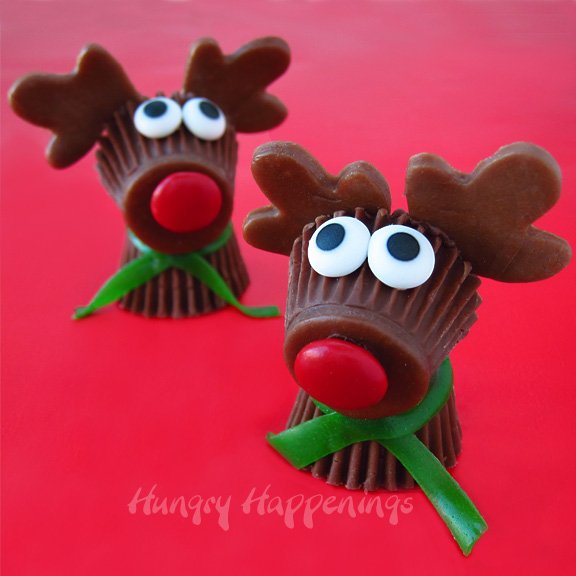
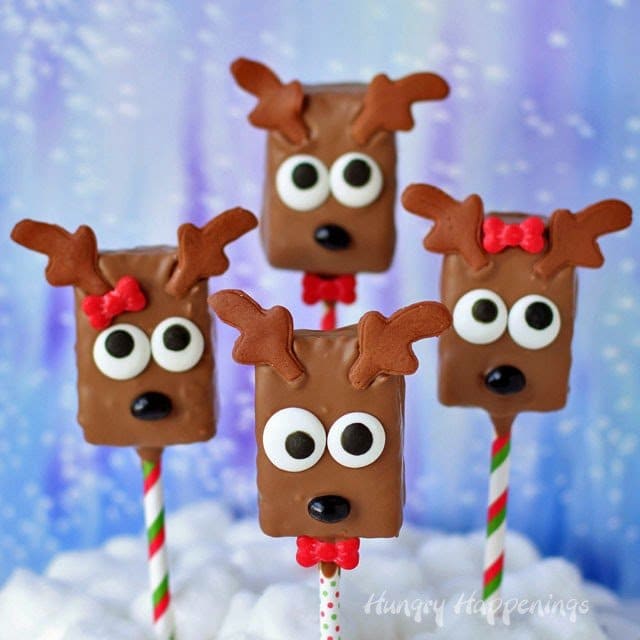
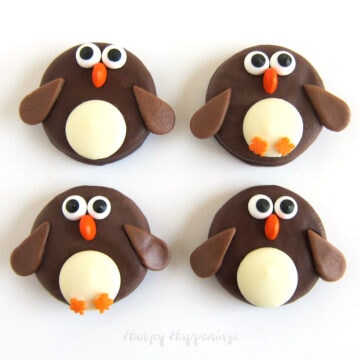
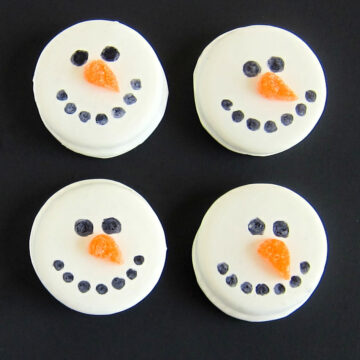
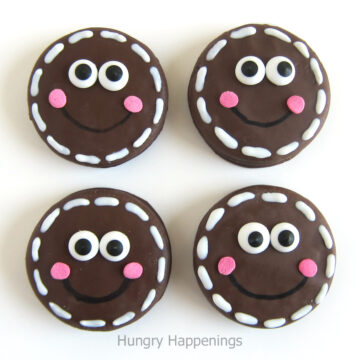
If you have fun making these reindeer chocolate bars, you might also like these other reindeer-themed treats.
Be sure to check out all my fun Christmas Recipes!
Recipe
- 1 Hershey's Milk Chocolate Candy Bar per reindeer
- 2 squares of caramel per reindeer
- 2 candy eyes per reindeer*
- 1 red Peanut M&M per reindeer
- kitchen shears scissors
- optional a leaf shaped cookie cutter (or use a large reindeer cookie cutter)
- *I used ½ inch royal icing eyes that I purchased from a cake/candy supply store on-line, but you can also draw a black pupil using a food coloring marker on any small white candies like M&M's, Smarties, or white chocolate chips.
-
Unwrap your candy bars and caramels.
-
Flatten the caramels, by pressing on them with your fingers. If necessary, heat them in the microwave for a few seconds to soften them.
-
Use kitchen shears to cut an oval that is about ⅔rds of the width of your candy bars.
-
Press the oval near the bottom edge of your candy bar.
-
Press one red Peanut M&M into the caramel oval.
-
Press one tiny piece of caramel onto the back of each candy eye then press the eyes onto the candy bars just above the caramel oval.
-
Use a leave cookie cutter or kitchen shears to cut antlers. I cut out a leaf then cut it in half and it worked perfectly.
-
Press the caramel antlers onto the top half of the candy bar.
-
Serve them on a platter at your party, or wrap them in clear cellophane bags to give as Christmas treats.

- Banana Split Bars – A Fun and Easy Summer Dessert - March 4, 2026
- Pineapple Fudge (No Candy Thermometer Needed!) - March 4, 2026
- No-Bake Peanut Butter Pie Recipe - March 3, 2026

Jamie says
I am so excited to make this for my preschoolers for a Christmas present! Also, I love your hair! It's so perfect!
Linda Gangi says
Love it! This caught my eye from a blog hop and I would love to feature you on Home Cooking this Wednesday. Hope you stop by and maybe grab my button. Thanks for sharing this awesome idea. Happy Holidays!
http://gangi-homecooking.blogspot.com/
HungryLittleGirl says
Love how simple this one is - means, I can do them too!
Erin says
Oh my gosh! These are so cute!
CuteEverything.com says
What a creative and fun idea, it's pretty simple, too, love it!
Randi~Dukes and Duchesses says
Absolutely adorable! My kids would love it!
Brenda says
So stinkin' cute and simple! I am a new pinner ... I pinned it 🙂
Trish - Sweetology101 says
YES~! I could just HUG YOU!!! I needed a fun treat for Sophia's class and THIS IS IT!!!!!!!
Beth Jackson Klosterboer says
Hug accepted 🙂 Hope you have fun making your candy bars.
Karen @ Sugartown Sweets says
I love these so much! Such perfect clean lines! I know my granbabies will love them too. 🙂
Sweet and That's it says
Great tutorial, they are wonderfully cute!
Thanks for sharing...
I've shared on my FB page.
Beth Jackson Klosterboer says
Thanks for sharing 🙂
The Partiologist says
I love everything you used to make these, I would so eat the whole thing even though they are so cute!
Lisa says
so dang CUTE! 🙂
Jo and Sue says
Love the whole cutting the leaf in 2 for the antlers! Great idea 🙂
Michelle | Creative Food says
These are so cute!! Such a simple idea to decorate a candy bar 🙂
Alexandra says
So simple and so cute. Great idea.
Roula says
Awesome! Thanks for sharing!
Tiffany Yang says
Too too too cute! So simple too! Love it!
sugarswings says
love these! and that you used caramels for the details 🙂