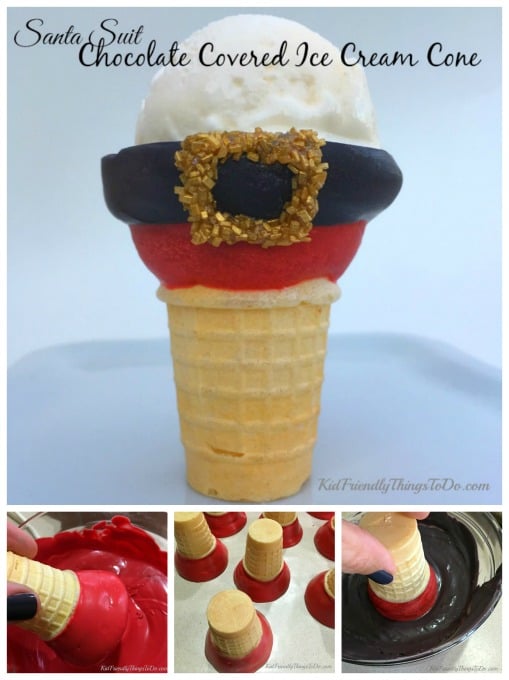
This Christmas have some fun with dessert by making some chocolate-covered Ice Cream Cone Santa Suits. They are quick and easy to make and look so festive.
Hi everyone. I'm Melissa from Kid Friendly Things To Do. I'm so happy to be back for a second visit to Beth's wonderfully creative blog! Thanks for having me again, Beth.
If we are just meeting for the first time...I am a stay at home mom of four cute little rug rats, a Field Editor for Taste of Home, where I create and review recipes, and a former elementary school teacher. My blog, Kid Friendly Things To Do, is my platform for sharing my family-friendly recipes, crafts, and fun foods (or food crafts) for holidays and special occasions.
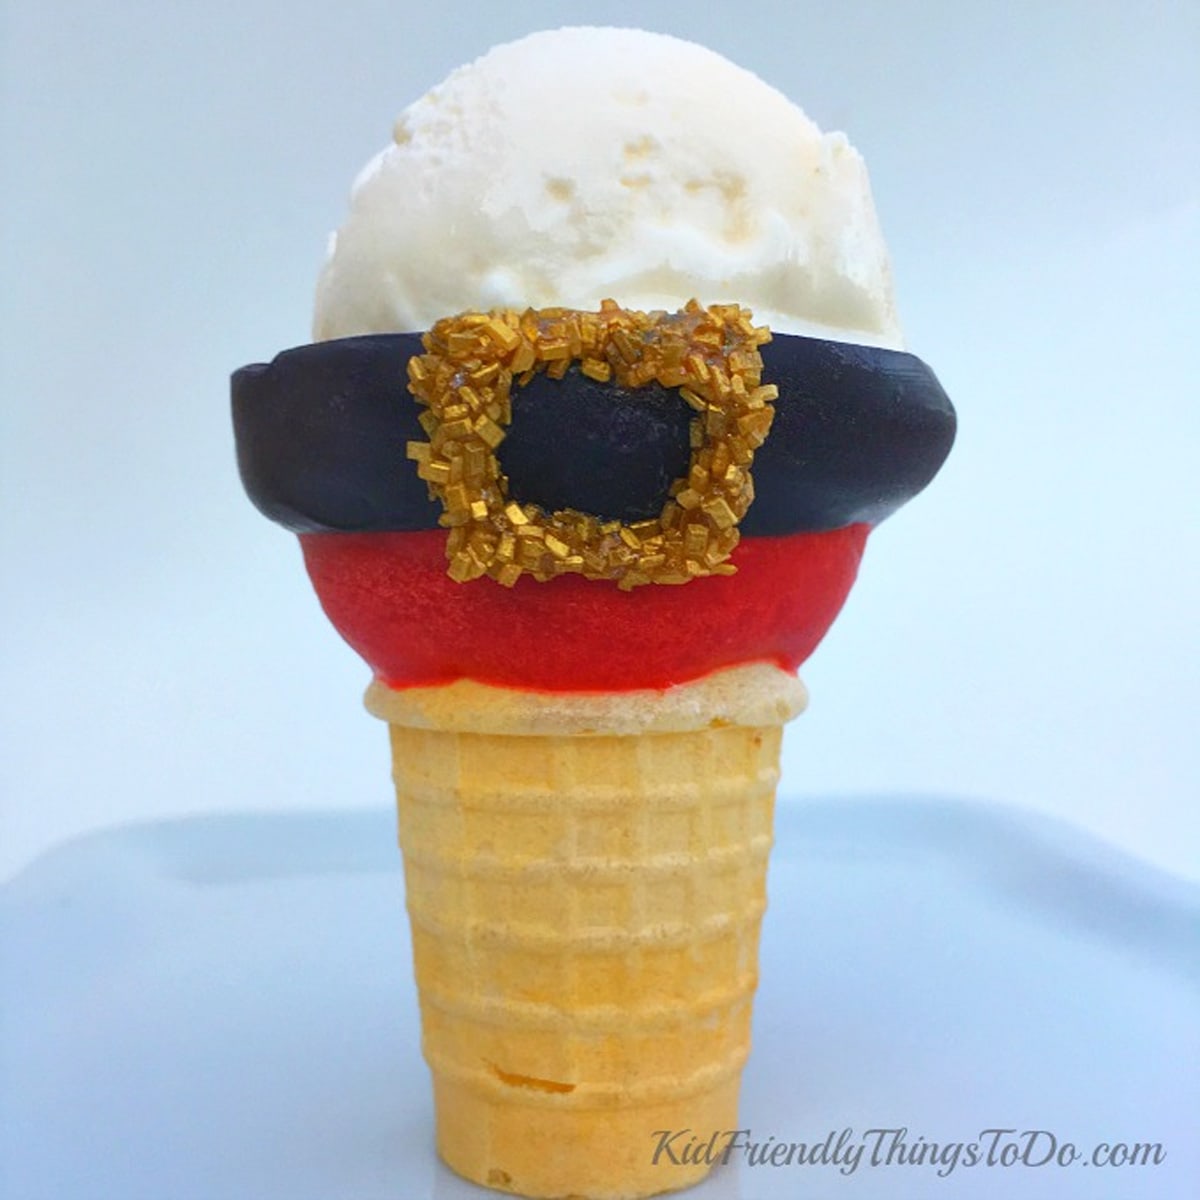
Today, I am excited to share a holiday fun food creation with you all. This is an easy-to-make Santa Suit Ice Cream cone. The cones can be made in advance of your party, so all you have to do is scoop some vanilla ice cream out for your anxiously awaiting guests! Here's my simple how to for these chocolate Santa suits.
Ingredients
Ice Cream Cones - try to find ones with a rounded brim for Santa's big belly
Red Chocolate Melts
Black Chocolate Melts
Gold Decorating Gel
Gold Sprinkles
Supplies
Wax Paper lined baking pans
Glass Bowls - I used a 1-quart size bowl for the red chocolate
2-cup size bowl for the black
Something to stir the melts, such as silicone spoons.
Instructions
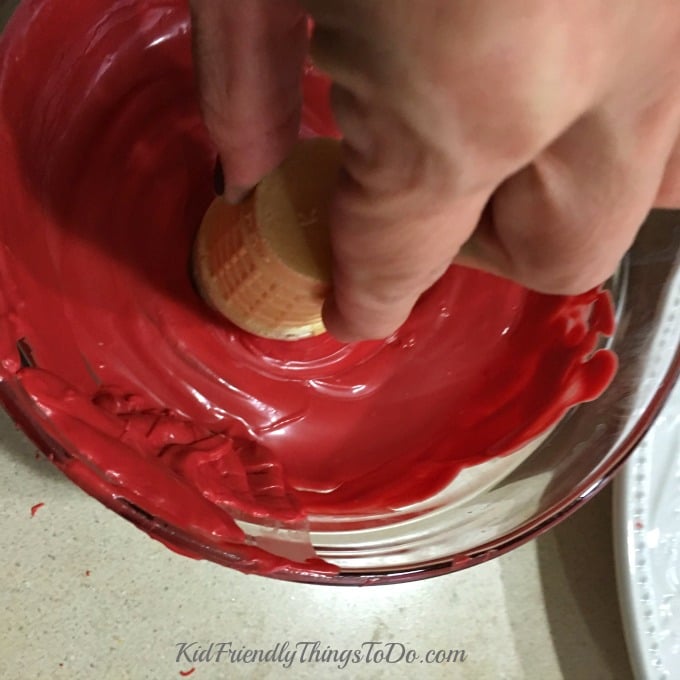
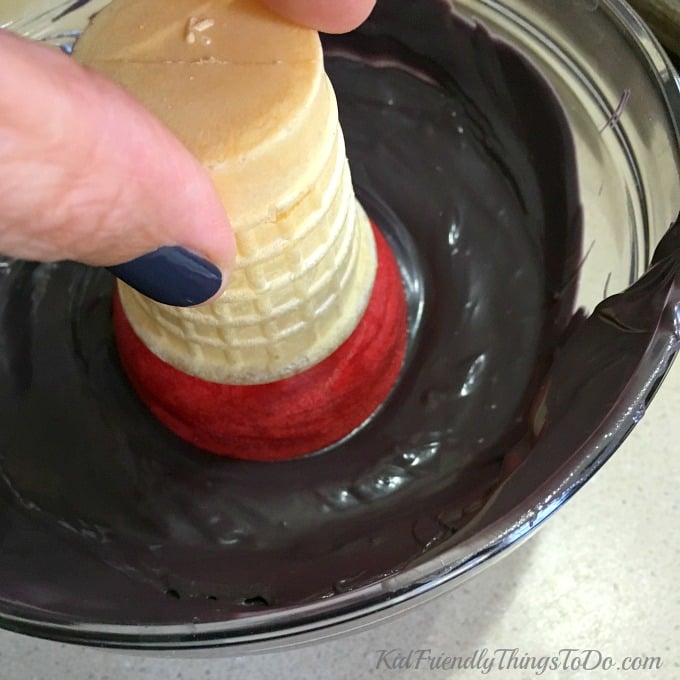
- Melt your red chocolate melts according to the package directions - I like to pour mine into a glass bowl, pop it into the microwave for about 1 minute, stir, put it back in for 30 seconds, and stir until melted and smooth
- Hold the ice cream cone upside down and push it into the center of the melted chocolate, going down until the brim of the cone is covered
- Spin the cone to distribute the melted chocolate evenly
- Pull the cone up and transfer the cone to your wax paper to dry
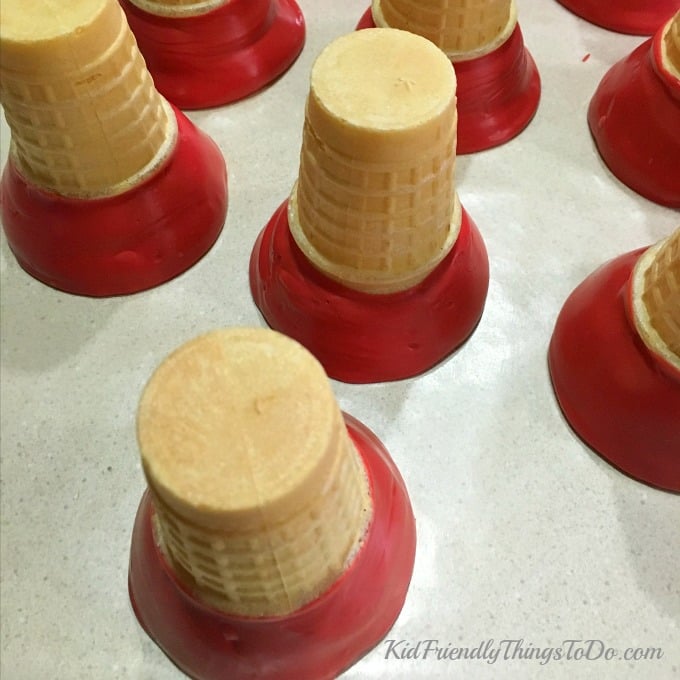
- Place the cones upside down on wax paper to allow the chocolate to dry
- If it is not drying as fast as you'd like, place it in a cool area to set up quickly, like the freezer, or the refrigerator
- While the red chocolate is drying, melt the black chocolate melts
- When you're ready, push the cone down into the black chocolate, only covering about ⅓ of the red chocolate
- Spin the cone to cover the entire top surface
- Place upside down on the wax paper to dry
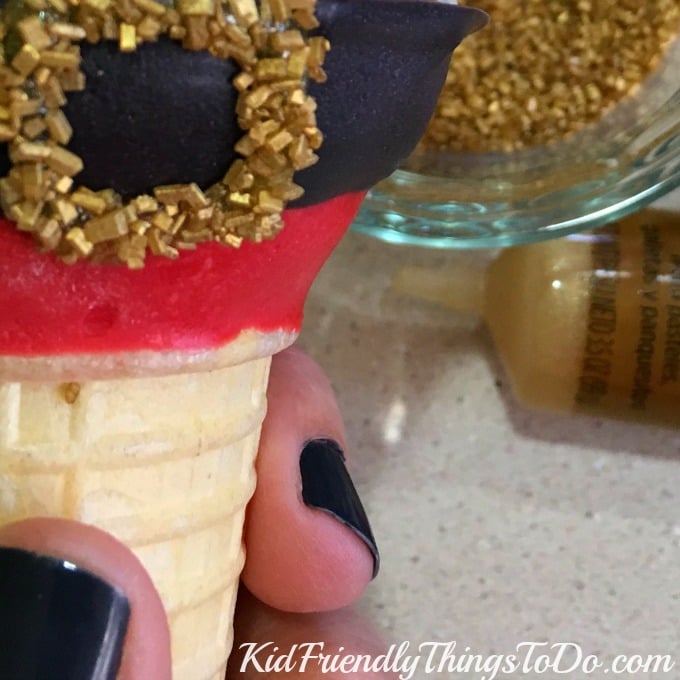
- Once the black chocolate is dry, you're ready for the gold belt
- Use the gold gel to make a square on the black portion of the suit
- Add gold sprinkles to the gel
- Set your cones back down one more time so the gel can firm up, a bit
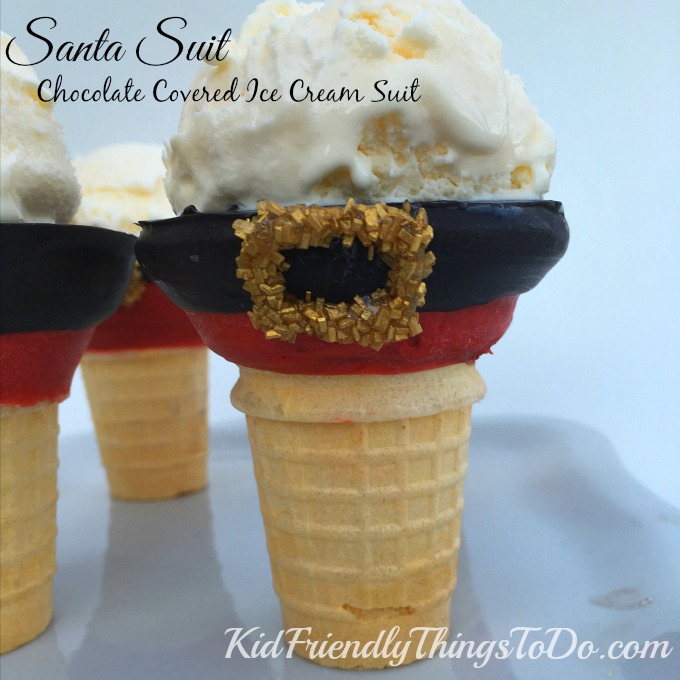
- You're done! They are ready for some ice-cream!
- *You can make these ahead of time, and store them in an air tight container in a cool dry place until your big event. I plan on doing, just that!
Thank you for allowing me to visit again, Beth. I'm truly honored. And, thanks to everyone else, for allowing me to introduce myself. If you enjoyed this fun food craft, then you might enjoy some of my other creations, as well...such as:
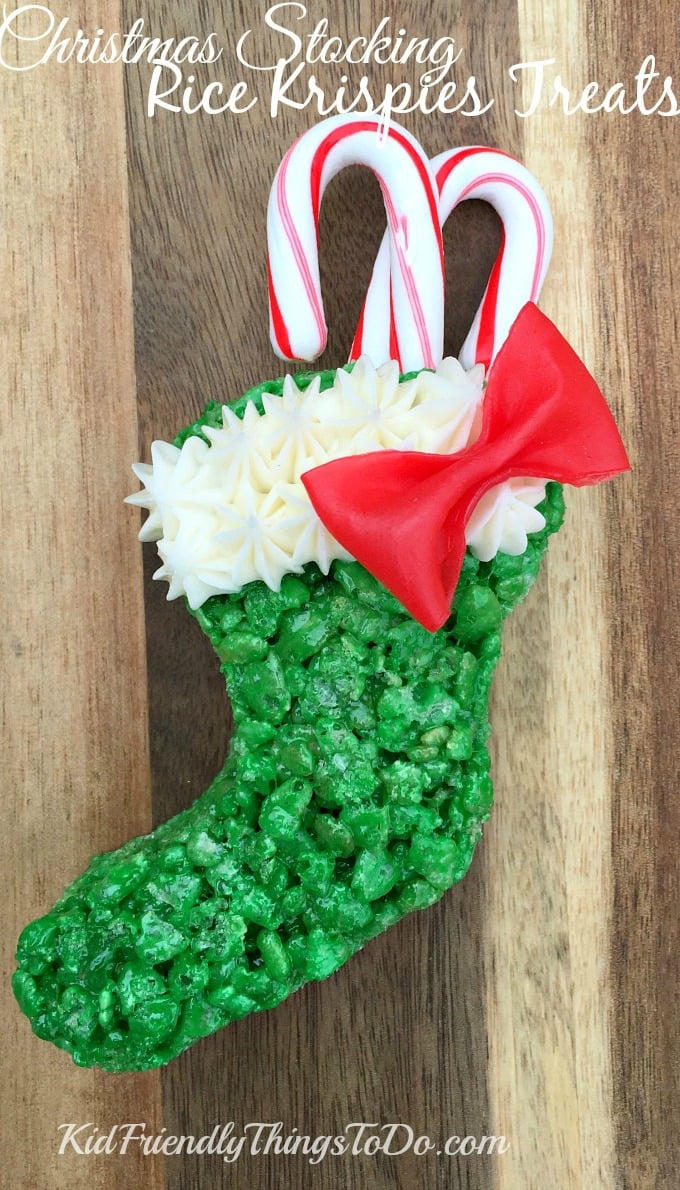
This Rice Krispies Christmas Stocking stuffed with candy canes
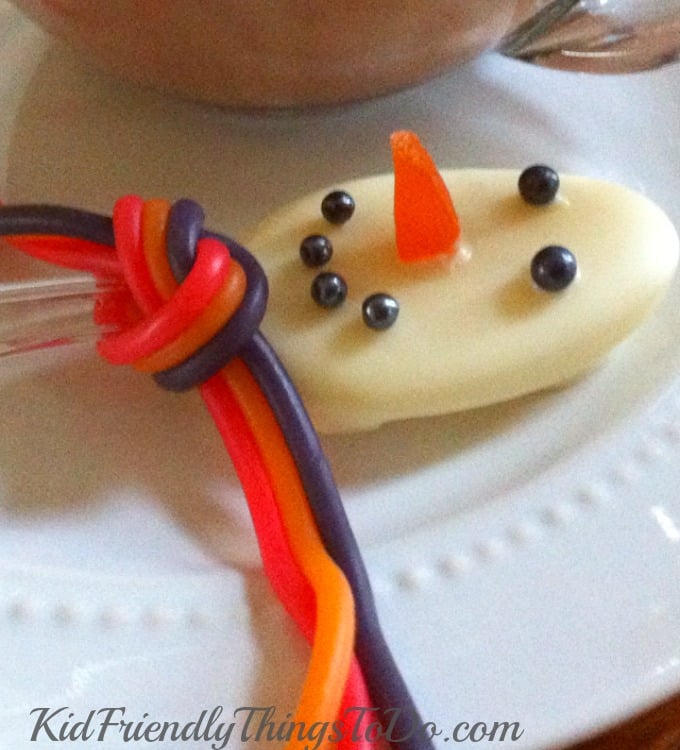
or this Chocolate Covered Snowman Spoon with a licorice scarf
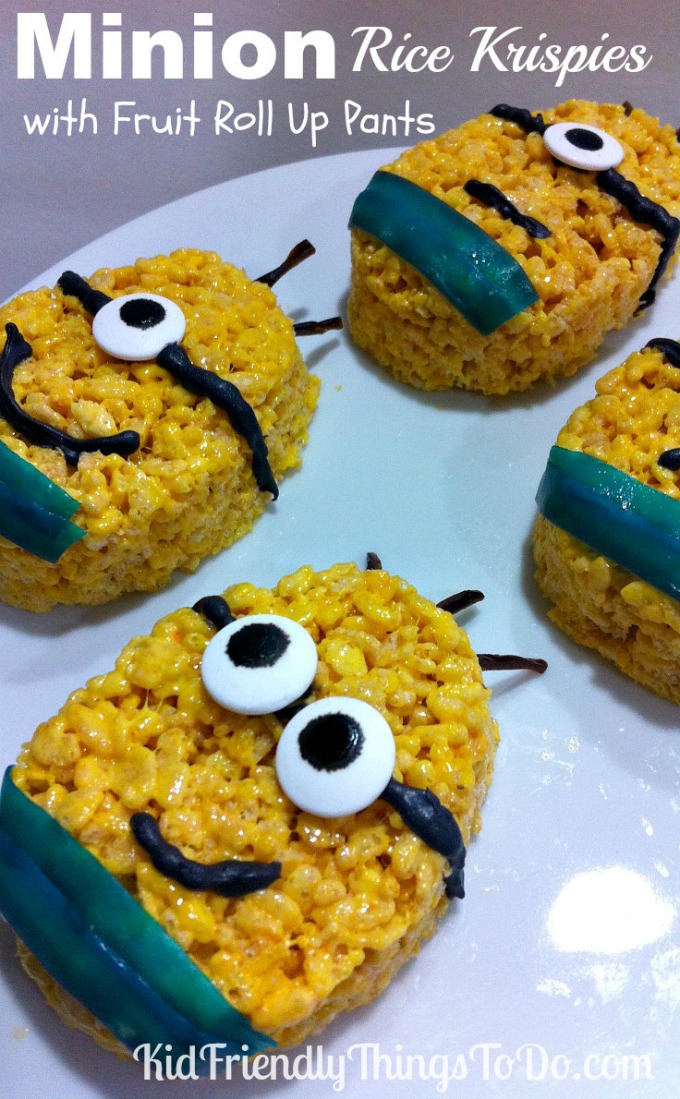
or these Minion Rice Krispie Treats
I hope you'll drop in, sometime.
Happy Holidays
Melissa,
Be sure to check out all my fun Christmas Recipes!

- How to make peanut butter? - February 15, 2024
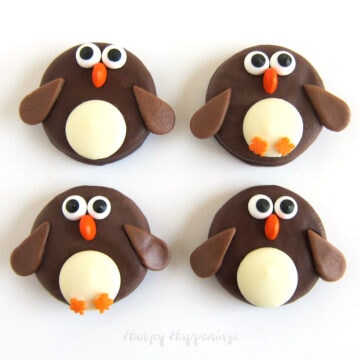
- OREO Penguins - December 20, 2023
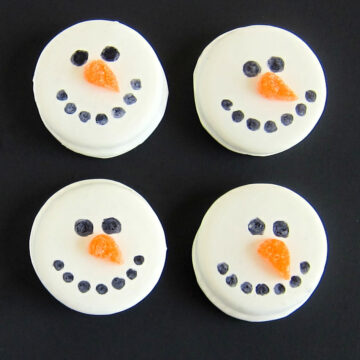
- OREO Snowmen - December 20, 2023

Karen @ Sugartown Sweets
Hi Melissa! I love your ice cream cone! With the texture of the cone, it looks as though Santa is upside down in the chimney..I LOVE it! Your other crafts are so cute too!