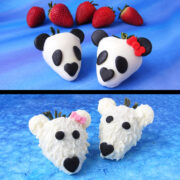
What could be sweeter than a tray filled with White Chocolate Dipped Strawberry Pandas and Polar Bears for Valentine's Day? Let me show you how to make perfectly dipped chocolate strawberries, then decorate them using modeling chocolate to look like adorable bears.

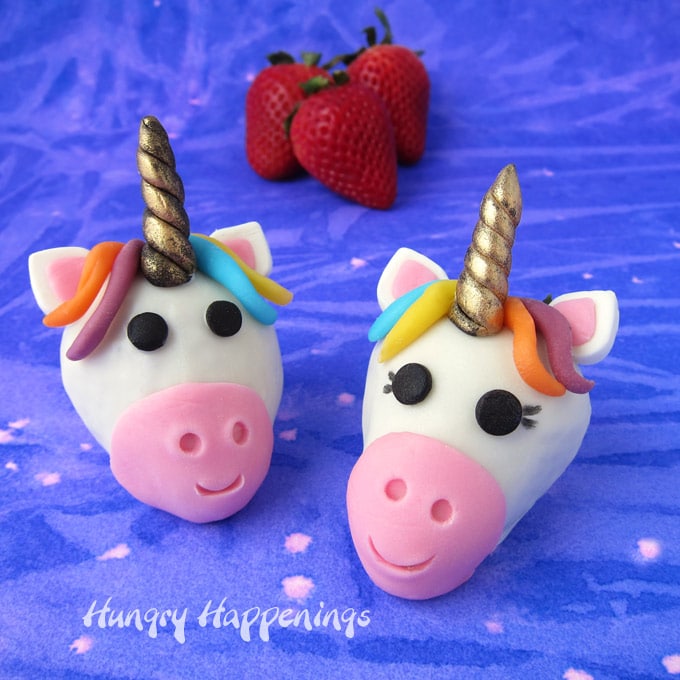
Did you see the White Chocolate Dipped Strawberry Unicorns that I posted recently? They were so much fun to make that I just had to design more decorated strawberries.
I'm excited to share this step-by-step tutorial and video so you can make these cute panda and polar bear strawberries for Valentine's Day, a baby shower, a birthday party, or any day.
Each fresh strawberry is dipped in white chocolate and decorated with delicious modeling chocolate. These treats are as delicious as they are cute.
Ingredients
white chocolate - You can use melted and tempered (heated and cooled to specific temperatures) pure white chocolate or melted white compound chocolate (candy melts, almond bark, melting wafers). See my Chocolate Making Tips page for more information.
strawberries - Use large strawberries. Do not wash them off; just wipe them clean using damp paper towels.
modeling chocolate - You can find my 2-ingredient modeling chocolate recipe here.
Supplies
parchment paper-lined baking sheets
small round and heart-shaped cutters (I used fondant plunger cutters)
Instructions
Clean your strawberries.
- I find it best to wet some paper towels with water and then use that damp paper towel to wipe off the strawberries.
- If you wash the berries in running water, you must thoroughly dry them before dipping them.
- Your strawberries must also be at room temperature before dipping. If you dip cold strawberries in the chocolate shell, it will most likely crack.
- Once the chocolate hardens, you can brush some chocolate on the underside of the berry. This will keep the strawberries from seeping juice.
Then, make your modeling chocolate decorations.
Let's start with the panda.

You'll need two black ovals for the fur around the eyes, one heart-shaped nose, and two round ears.
If you want, you can even make a pretty red or pink bow to attach to your strawberry pandas.

Cut out modeling chocolate nose, fur patches (around the eyes), ears, and bows.
- NOSE and FUR PATCHES: Roll out some black modeling chocolate to about ⅛th inch thickness and cut out two ovals using a plunger cutter, and cut out a small ½ inch heart using a heart plunger cutter.
- EARS: You can cut a small sliver off two dark chocolate or black candy melts wafers to create the ears, as I did for the polar bears, or you can cut out black modeling chocolate circles to create the ears, as I did in the video.
- If using modeling chocolate, make the ears at least ¼ inch thick so they are sturdy enough to hold their shape.
- BOW: Roll out red modeling chocolate to about ⅛th inch thickness and cut out two small hearts and one small circle. Set the points of the hearts together, then use either water or clear piping gel to attach the circle over the intersection of the points, creating a bow.
Melt the white chocolate.
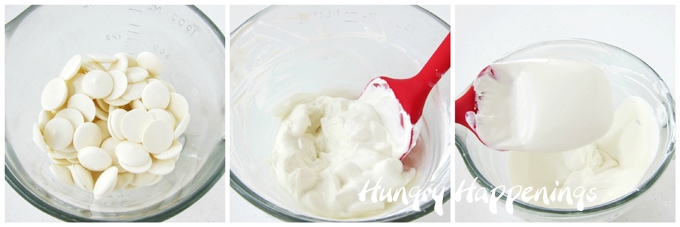
- Pour 16 ounces of white compound chocolate (candy melts wafers) into a microwave-safe bowl.
- Heat on high power for 30-second increments, stirring after each, until about 75% melted.
- Then let the candy rest for 3 minutes before stirring until melted.
- It's best to allow the residual heat of the melted candy to melt the remaining wafers so that the candy does not get too hot.
- Do not dip your strawberries in a really hot confectionery coating, or you will essentially cook the outer edge of the berry. Allow the coating to cool so that it no longer feels hot to the touch.
Tip
If you use pure white chocolate (made with cocoa butter), you must temper it (heat it and cool it to specific temperatures. If you simply melt pure white chocolate and use it to coat your strawberries, the white chocolate will not harden properly. Be sure to read my Chocolate Tempering Instructions if you choose to use pure chocolate.

Dip strawberries in white chocolate.
- Dip a clean, dry, room-temperature strawberry into melted white chocolate.
- Allow the excess to drip off, then set it on a parchment paper-lined baking sheet.
- Allow the chocolate to puddle around the bottom of the strawberry, then lift up the strawberry and move it to another spot on the paper if you don't want the foot (the dried puddle) on the dipped strawberry.
- If using pure white chocolate, allow the white chocolate to harden at room temperature. If using confectionery coating, pop the strawberries into the refrigerator to chill for 3-5 minutes, just until the candy hardens. (see below for details)
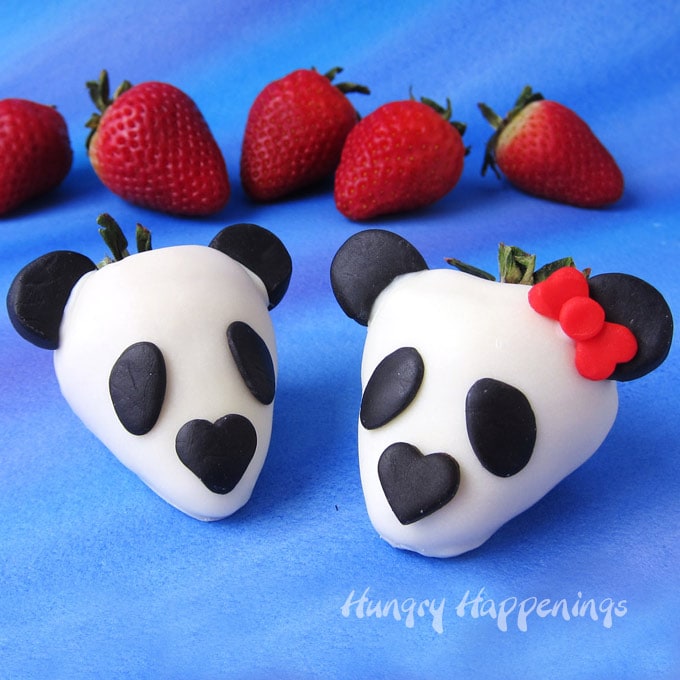
Assemble the Strawberry Panda Bears
- Use melted white chocolate or confectionery coating to attach the chocolate ears to the top of the strawberry on the opposite sides of the stem.
- Attach a heart-shaped nose to the tip of the strawberry and two fur patches to the sides above the nose.
- Flatten the oval fur patches to give them a more realistic-looking shape.
- If you want your panda bear strawberry to be a girl, add a bow just below one of the ears.

To make the furry-looking polar bears, you'll need a heart-shaped nose and two eyes.
You can add bows, too, if you like.

Cut out modeling chocolate eyes, nose, ears, and bows.
- EYES and NOSE: Roll out some black modeling chocolate to about ⅛th inch thickness and cut out two small circles using a small round plunger cutter. Cut out a small ½-inch heart using a heart plunger cutter.
- EARS: You can cut a small sliver off two white chocolate or white candy melt wafers to create the ears, or you can cut out white modeling chocolate circles to create the ears.
- You want to cut a sliver off the circle using a round cookie cutter so that you create a curved edge that you can set up against the strawberry.
- BOW: Roll out pink modeling chocolate to about ⅛th inch thickness and cut out two small hearts and one small circle. Set the points of the hearts together, then use either water or clear piping gel to attach the circle over the intersection of the points, creating a bow.
I used very large strawberries, so these sizes may need to be adjusted if you use smaller berries.

How to make strawberry bears look furry?
- Dip a strawberry in white chocolate, then allow that thin layer of chocolate to dry.
- Dunk the berry into the white chocolate a second time, then press a fork up against the wet chocolate and quickly pull away, allowing the chocolate to form spikes.
- Keep going around the strawberry pressing and pulling the fork.
- As the white chocolate dries, the spikes of fur will hold.
Watch the video to see this in action!
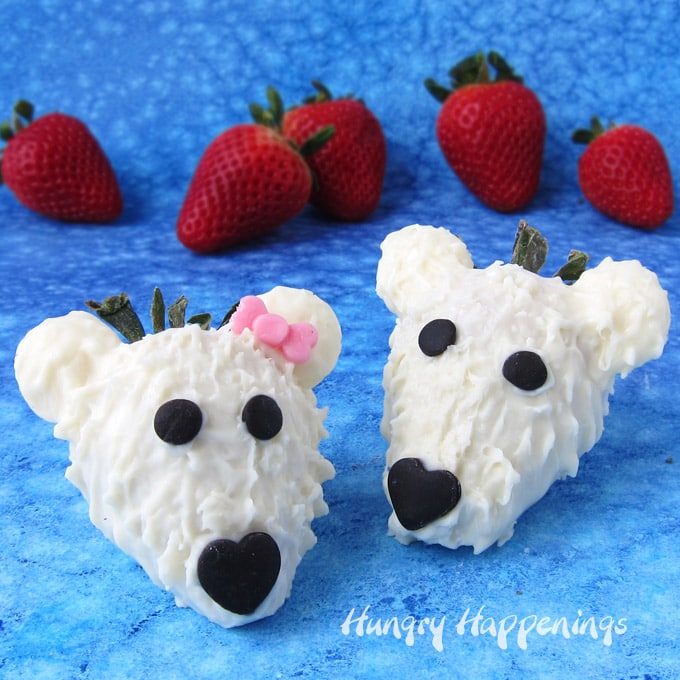
Decorate the Strawberry Polar Bears
- Use melted white chocolate or confectionery coating to attach the white chocolate wafer ears to the top of the strawberry on the opposite sides of the stem.
- Paint more melted chocolate over each ear to make it look furry.
- Attach a heart-shaped nose to the tip of the strawberry and two eyes above the nose.
- If you want your polar bear strawberry to be a girl, add a bow just below one of the ears.
Watch the video above to see this process in action!
Eat the chocolate strawberries today!
- Chocolate-covered strawberries are best eaten the day they are made.
- You can leave your berries at room temperature after dipping for up to 24 hours, but they will be best if eaten within 12 hours of being coated in white chocolate.
DO NOT refrigerate these strawberry bears!
- Once you've added the modeling chocolate decorations, you do not want to put them in the refrigerator.
- Modeling chocolate will wick up the moisture from the refrigerator, and beads of condensation will form on the surface, making the modeling chocolate sticky.
Time-Saving Tips:
- Make all of your modeling chocolate decorations in advance. They will keep if stored in a zip-top bag for up to a month.
- Then, on the day you want to serve these White Chocolate Strawberry Bears, you can just dip and decorate.
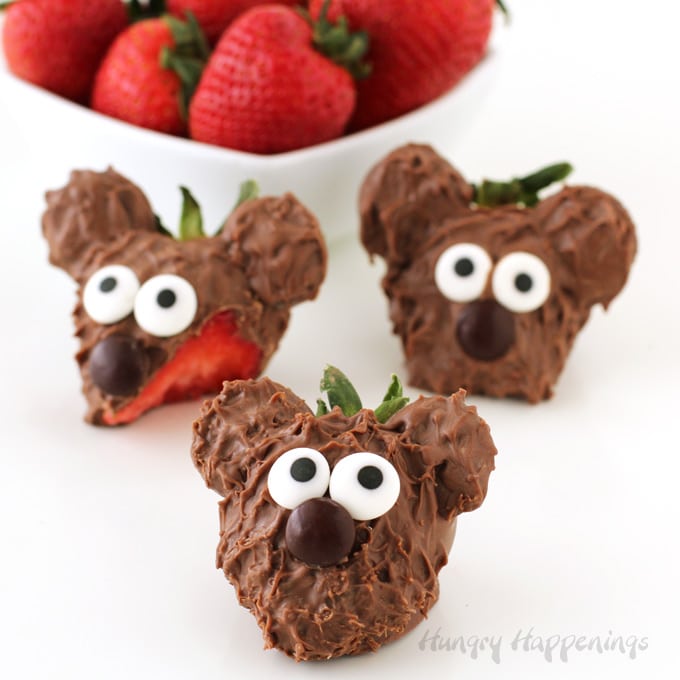
Variations
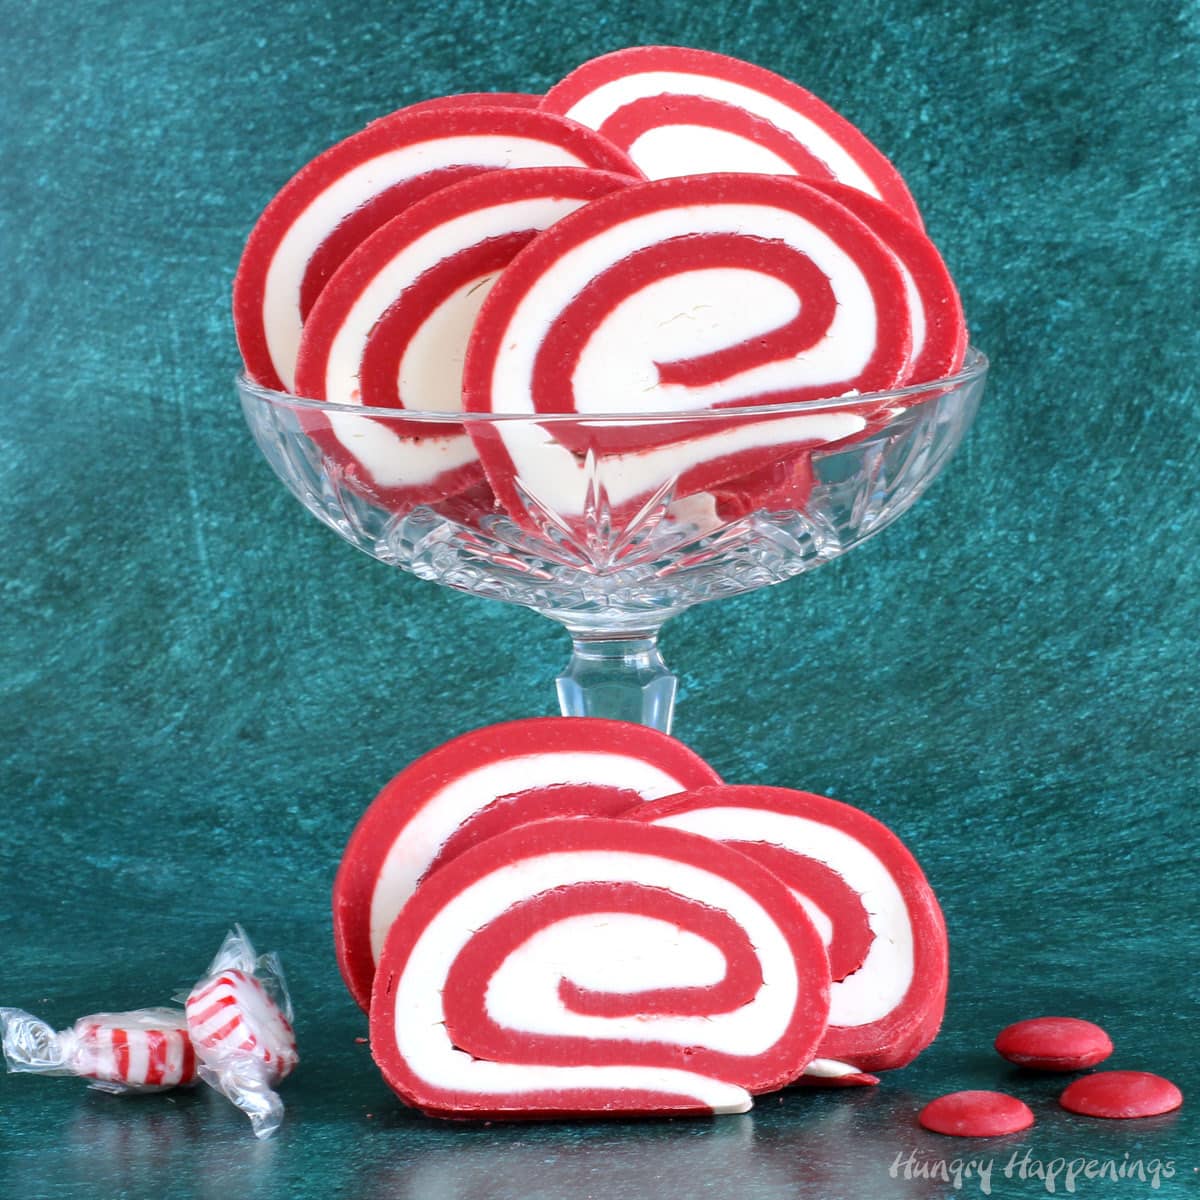
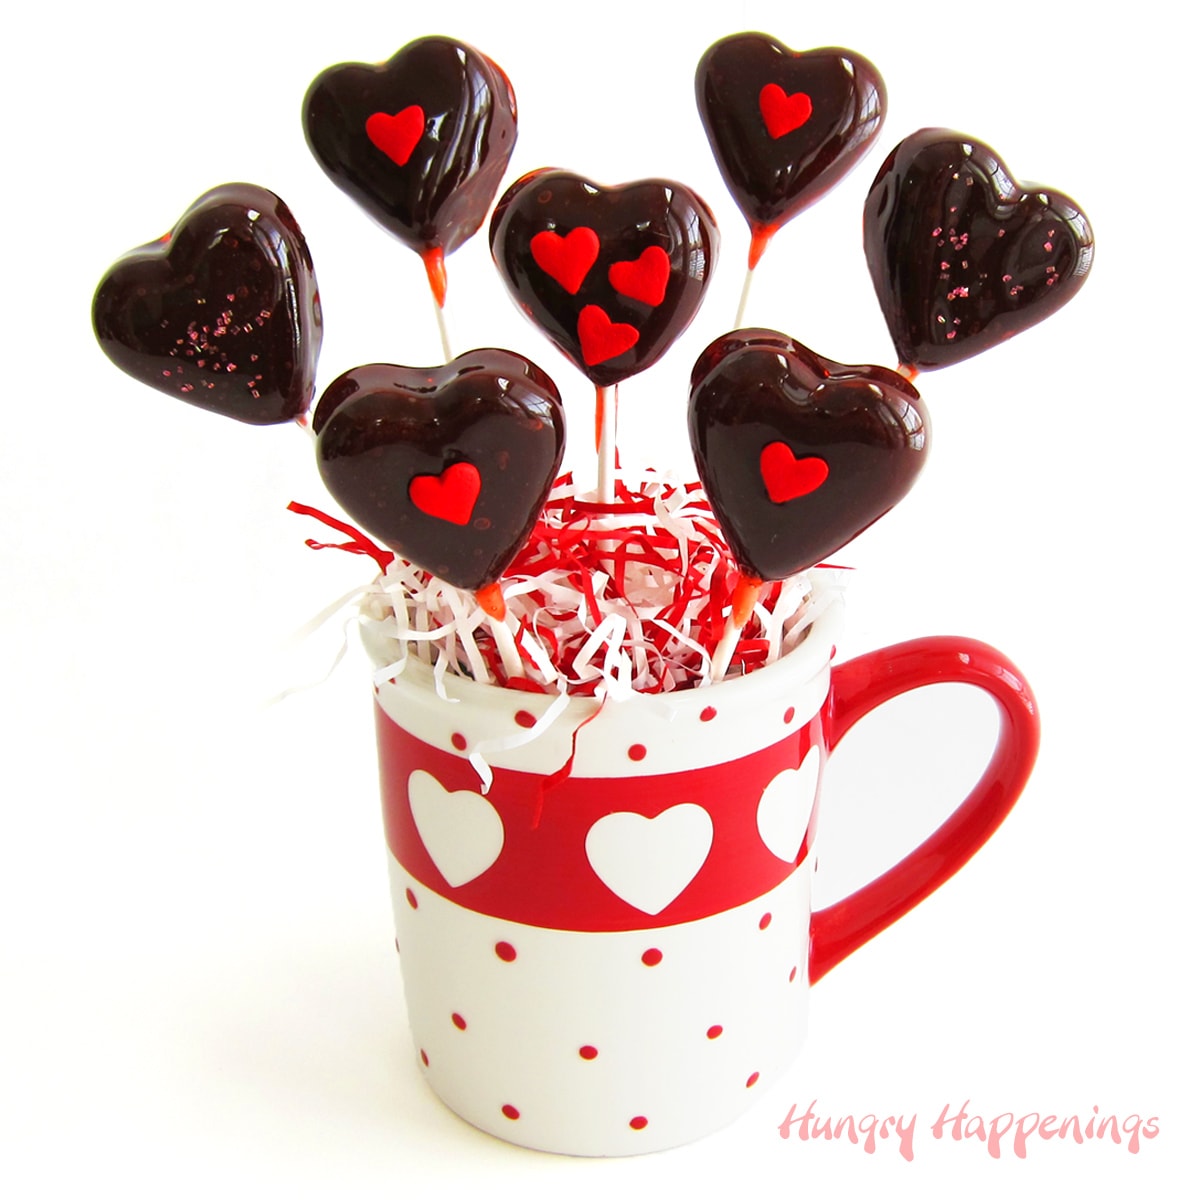
If you like these panda and polar bear strawberries, you might also like these other decorated chocolate strawberries.
See all my Valentine’s Day Recipe Ideas, here!
Recipe
White chocolate dipped strawberries decorated using modeling chocolate to look like panda and polar bears make sweet treats for Valentine's Day, a baby shower, or a birthday party.
- 16 ounces white chocolate or white confectionery coating melted and/or tempered
- 8 large strawberries cleaned, dried, and room temperature
- 2 ounces modeling chocolate (black, pink, red)
- 2 white chocolate wafers, PER POLAR BEAR
-
Dip strawberries in melted and tempered pure white chocolate or in melted white confectionery coating (candy melts).
-
Allow the excess chocolate to drip off.
-
Set on a parchment paper lined baking sheet.
-
If desired, allow the white chocolate to puddle at the bottom of the strawberry for a few seconds, then lift up the berry and place it on a clean spot on the parchment paper.
-
Chill in the fridge (for 3-5 minutes) if using candy melts or let air dry (for about 10 minutes) if using pure white chocolate just until firm.
-
EYES and NOSE: Roll out some black modeling chocolate to about ⅛th inch thickness and cut out two small circles and one ½ inch heart for each polar bear using a small plunger cutter.
-
EARS: Cut a curved sliver off of two white chocolate wafers for each polar bear or create ears using ¼ inch thick white modeling chocolate.
-
BOW: Cut two small hearts and one small circle out of pink or red modeling chocolate. Set the hearts together with the points touching then attach the circle over top using water or clear piping gel to "glue" the bow together.
-
Dip the white chocolate coated strawberries into white chocolate again and press a fork up against the chocolate then pull away quickly. Do this all over the berry, over and over again, until spikes of fur start to form.
-
Attach two candy ears on the top edge of the strawberry on opposite sides of the green stem using melted white chocolate. Then add more white chocolate over the ears and create spikes of fur on them too.
-
Attach the modeling chocolate decorations to the strawberry using the remaining, melted, white chocolate. Add a nose to the tip of the strawberry and two eyes above it. Add a bow if making female polar bears.
-
NOSE and FUR PATCHES: Roll out some black modeling chocolate to about ⅛th inch thickness and cut out two ovals using a plunger cutter and cut out a small ½ inch heart using a heart plunger cutter.
-
EARS: You can cut a small sliver off two dark chocolate wafers to create the ears or you can cut out black modeling chocolate circles (with a curved notch removed) to create the ears.
-
BOW: Roll out red modeling chocolate to about ⅛th inch thickness and cut out two small hearts and one small circle. Set the points of the hearts together then use either water or clear piping gel to attach the circle over the intersection of the points creating a bow.
-
Attach the modeling chocolate decorations to the strawberry using the remaining, melted, white chocolate. Add two ears on the top edge of the strawberry, a nose to the tip of the strawberry and two fur patches above it off to the side. Add a bow in front of an ear to make panda bear girls.
Recipe Video

- Banana Split Bars – A Fun and Easy Summer Dessert - March 4, 2026
- Pineapple Fudge (No Candy Thermometer Needed!) - March 4, 2026
- No-Bake Peanut Butter Pie Recipe - March 3, 2026

Ashley Cares says
Cute!
The Partiologist says
There is three things I can say about these little bears...Cute...Cute...Cute!