Chocolate peanut butter fudge-filled lollipops topped with Toy Soldier modeling chocolate design. These cute Toy Soldier Lollipops make great stocking stuffers.
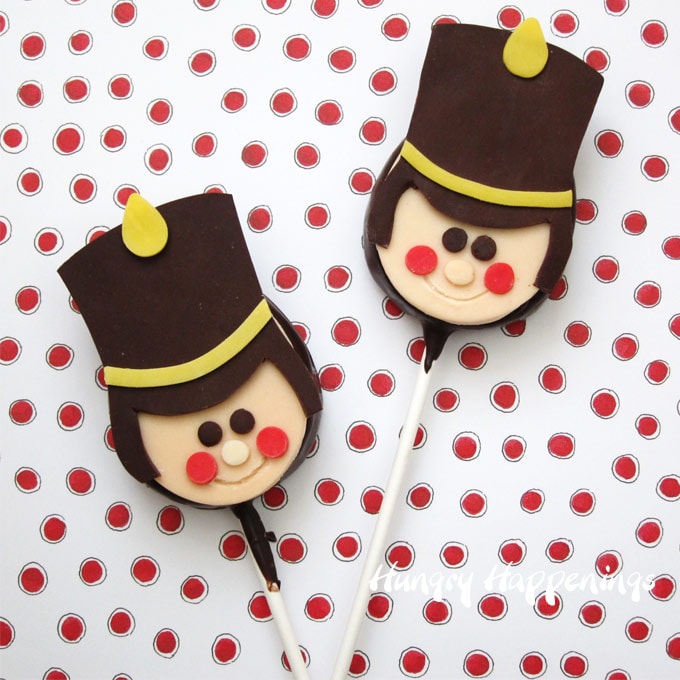
Crafting all 12 sweet designs for Christmas using egg-shaped treats has been fun and challenging.
My toy soldier design was actually one of my first ideas. As I perused Christmas clip art for inspiration, I found lots of images of these cute wooden toys and knew they would be a perfect fit for my modeling chocolate series.
This time, I chose to set the modeling chocolate design on top of a chocolate-dipped peanut butter fudge egg.
I used the same simple no-cook peanut butter fudge recipe that I used to create my pink fuzzy slipper cookies. It made enough for ten eggs.
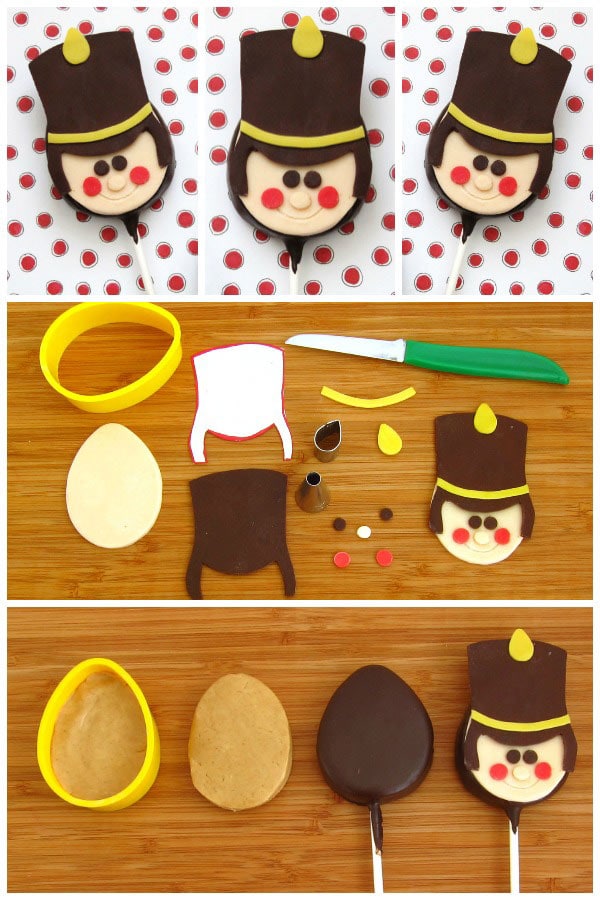
I began, yet again, by making flesh-tone eggs for the soldier's heads. Their tall hat covers a good portion of the egg, so in the end, the soldiers look like they have little round faces with big beaming smiles and rosy red cheeks.
Then I inserted a lollipop stick and dipped them in chocolate (You'll need about 14 ounces of chocolate to dip ten eggs.)
For those of you visiting for the first time and for those that haven't read my first post in this series featuring Christmas Mouse Cookies and the post that inspired this entire series featuring Chocolate Penguin Rice Krispie Treat Pops you might want to check them out so you know all of the basics about decorating with modeling chocolate/chocolate clay.
Ingredients
peanut butter fudge (recipe here)
peach (or orange) black, red, yellow candy/food coloring*
melted and tempered pure milk or dark chocolate*
OR melted light or dark confectionery coating/candy melts*
Supplies
food handling gloves (highly recommended to use when adding color)
powdered sugar, to dust work surface
cutting board
rolling pin
egg cookie cutter - 2" wide by 2 ½" tall
#10 round pastry tip
teardrop shaped mini cutter, optional
food only paintbrush
knife
* If you aren't experienced with making chocolate, read my chocolate-making tips tutorial.
Instructions
- Color some white modeling chocolate red for the cheeks, black for the eyes and hat, and yellow for the hat accessories.
- Color the rest peach (skin toned) for the soldier's faces.
- If using orange coloring, just add a very small amount to achieve a light peach color.
- For detailed coloring instructions, go here. This is where I wear those food-handling gloves, otherwise, my hands turn a rainbow of colors.
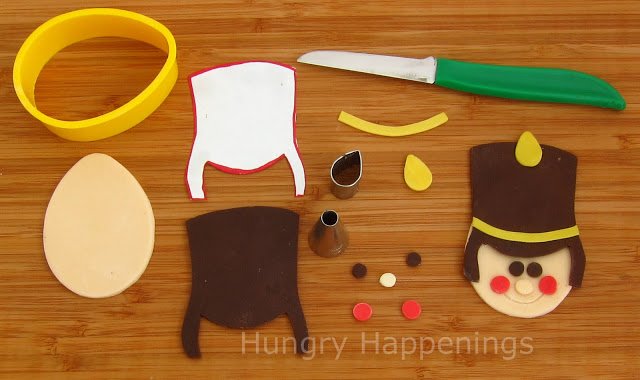
Cut out pieces for toy soldiers.
- Dust a cutting board lightly with powdered sugar.
- Roll out the peach, yellow, red, and black (or dark) modeling chocolate to 1/16" of an inch.
- Use the egg cookie cutter to cut the heads out of the peach.
- Use the small end of the #10 round pastry tip to cut two small circles for each of the eyes out of black or dark.
- To do this you'll want to press the pastry tip, tip side down, into the modeling chocolate cutting a small circle, then turn it upside down and tap on the counter and the circles will drop out the larger end of the tip.
- I usually cut a bunch of circles, before turning the tip upside down.
- Do the same to make peach noses.
- Use the #12 round pastry tip to cut the rosy cheeks.
- Print and size or hand-cut a template for the hat and cut it out of black or dark modeling chocolate.
- Cut the hatband out of yellow, and use a teardrop-shaped cutter or knife to cut out the decoration for the hat.
- You can embellish the hat with more if you like. I kept mine simple.
- Attach the modeling chocolate pieces together with water.
- Example: lightly brush water on the top half of the peach egg. Press the hat on top.
- Use a knife to gently cut a smile in between the rosy cheeks being careful to not cut all the way through.
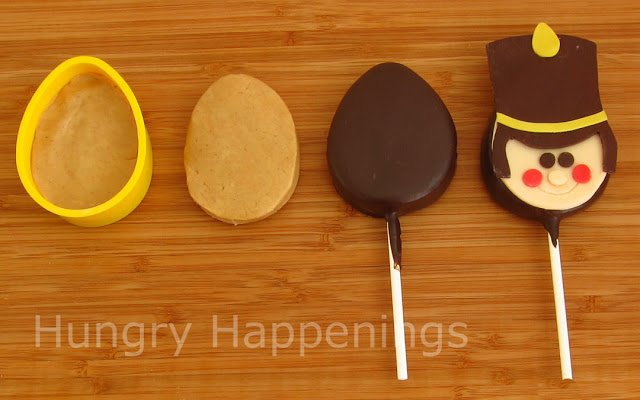
- Scoop out some peanut butter fudge and press it into the egg-shaped cookie cutter.
- Keep your eggs at least ¾" thick.
- Press down on the peanut butter fudge and gently pull up the egg cutter to remove it.
- Use your hands to re-shape the egg and flatten the top.
- Insert a lollipop stick into each peanut butter fudge egg. Allow them to sit at room temperature until they stiffen up. I let mine sit overnight, but an hour or so should be fine.
- Dip in melted and tempered pure chocolate or melted confectionery coating/candy melts.
- Immediately press one of the modeling chocolate toy soldiers onto the wet chocolate.
- Chill in the refrigerator if using pure chocolate and in the freezer, if using candy melts just until set.
- Store in an airtight container or package in clear cellophane bags to give as gifts.
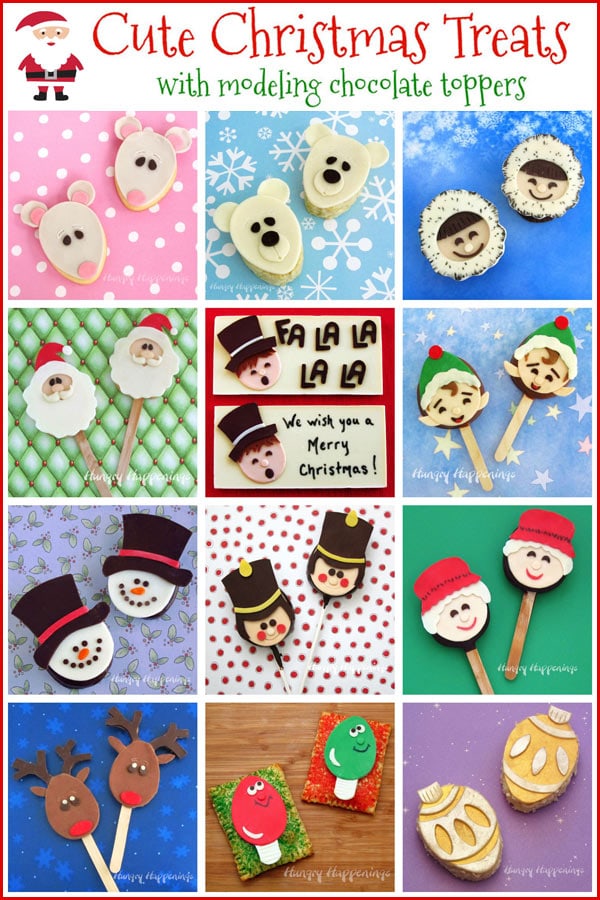
See all of my 12 Modeling Chocolate Christmas Treats.
- How to make peanut butter? - February 15, 2024
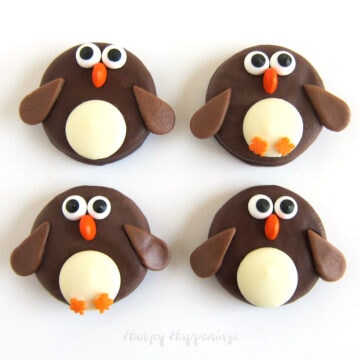
- OREO Penguins - December 20, 2023
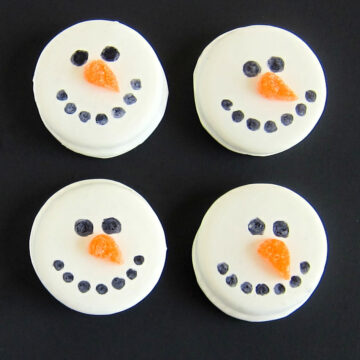
- OREO Snowmen - December 20, 2023

Trish - Sweetology101
this is really great!