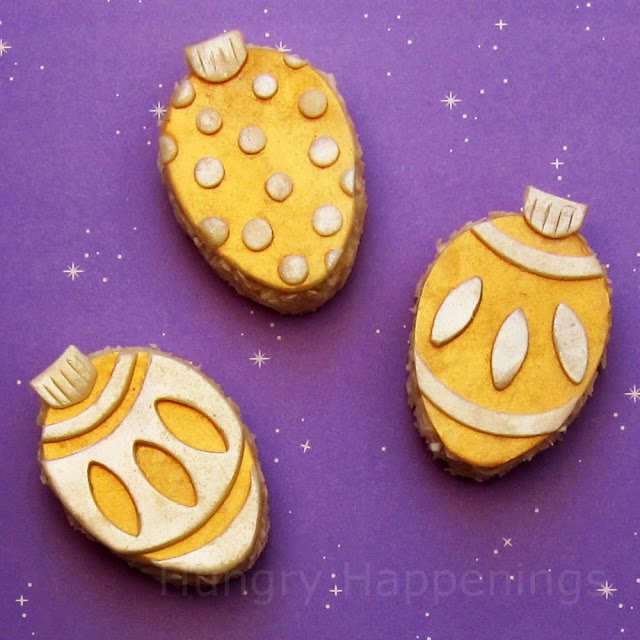
Top coconut cream candies with ornament-shaped modeling chocolate decorations. Add these festive Coconut Creme Christmas Ornaments to your holiday dessert platters. They'd be great to serve at your Christmas tree decorating party.
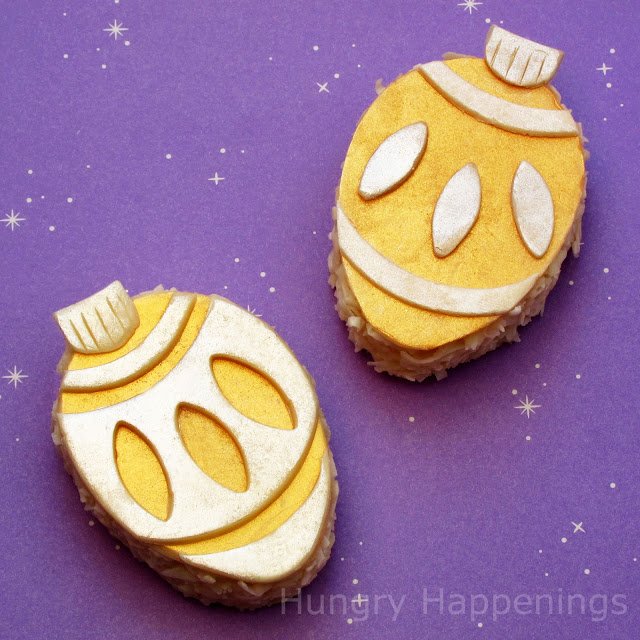
My series of modeling chocolate Christmas treats just had to have an ornament design, so I created a beautiful silver and gold egg that I placed on top of a creamy coconut candy.
To make these ornaments sparkle, I brushed gold and silver luster dust over the modeling chocolate. If you don't have luster dust, just cut the pieces out of various colors of the modeling chocolate to create vibrant ornaments instead.
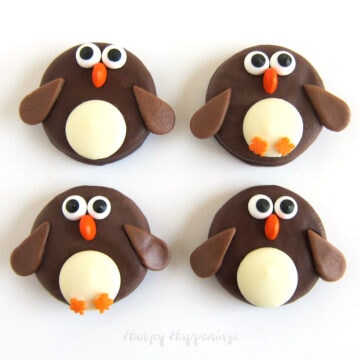
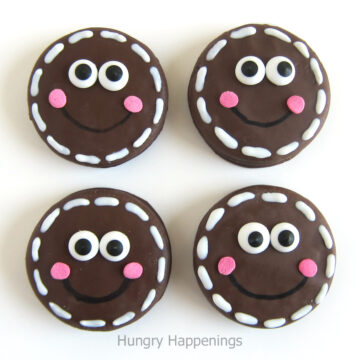
For those of you visiting for the first time and for those that haven't read my first post in this series featuring Christmas Mouse Cookies and the post which inspired this entire series featuring Chocolate Penguin Rice Krispies Treat Pops, you might want to check them out so you know all of the basics about decorating with modeling chocolate/chocolate clay.
The recipe for the creamy coconut candy is here.
Originally I used this recipe to make red, white, and blue striped stars for 4th of July. For this project, you just want to keep the coconut candy white. In the directions below, you'll see how to create egg-shaped candies using your cookie cutter. You can, of course, dip the candy in chocolate before attaching the ornament, but they are delicious all on their own.
Christmas Ornament Creamy Coconut Candies
Before you begin, if you aren't experienced with making chocolate, read my chocolate making tutorial which includes information on types of chocolate to use, melting instructions and the recipe for modeling chocolate.
You'll need:
white modeling chocolate (click to see the recipe)
gold and silver luster dust
cotton balls
food handling gloves (highly recommended to use when adding color)
powdered sugar, to dust work surface
cutting board
rolling pin
2" wide by 2 ½" tall egg cookie cutter
small pointed oval cutters from a Makin's Cutter Set, optional
round cookie cutter, optional
food only paintbrush
knife
creamy coconut candy recipe (here)*
baking sheet or cutting board lined with parchment or wax paper
*Follow the recipe to make the Creamy Coconut Candy leaving all of it white. Refrigerate it for just 10 minutes before proceeding with the directions below to make your eggs. Each recipe will make a dozen eggs.
Instructions
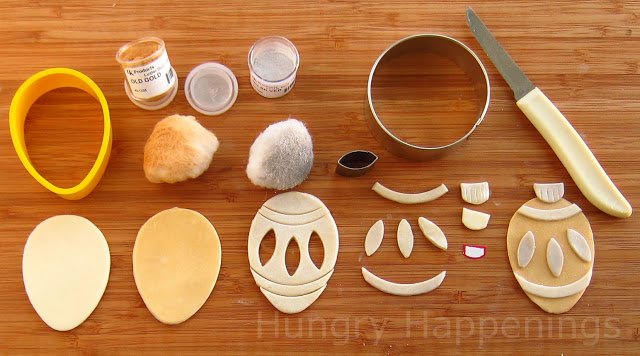
Make modeling chocolate Christmas ornaments.
- Dust a cutting board lightly with powdered sugar.
- Roll out the white modeling chocolate to 1/16" of an inch.
- Use the egg cookie cutter to cut out the ornaments.
- Use a pointed oval cutter to cut out decorations for the ornament (or any shape you desire.)
- I used a 2 ½" round cutter to cut out the strips to go across each ornament.
- Use a knife to cut out the ornament hanger (that top piece of the ornament - I don't really know what it is called, do you?)
- Use your knife to gently make some lines on the hangers being careful to not cut all the way through.
- Pick up some luster dust with a cotton ball and brush it over the modeling chocolate pieces.
- I brushed the eggs with gold and the decorations with silver.
- Attach the pieces together using water. Example, brush the backside of one of the decoration pieces lightly with water and press it onto the gold egg.
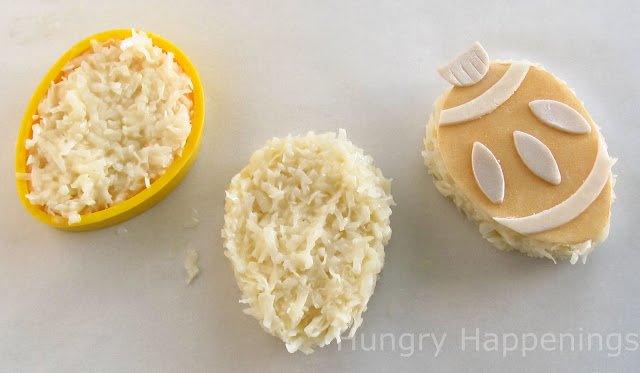
Shape and decorate the coconut cream candy ornaments.
- Line a baking sheet or cutting board with parchment or wax paper.
- Set your egg-shaped cutter on the paper.
- Spoon some coconut candy into your egg-shaped cookie cutter, completely filling the egg (you will end up with about twelve ¾" thick eggs. Make them thinner, if you desire.)
- Press down to compact the candy so that you end up with a nice firm egg.
- Press down on the candy while lifting up and removing the egg-shaped cutter.
- Immediately, while the candy is still sticky, press the modeling chocolate ornament on top.
- Refrigerate for 30 minutes.
- Remove from the refrigerator and set on a serving platter.
- If packaging these in clear cellophane bags to give as gifts, you may want to allow the bottom of the candy to harden a bit (it will be a bit sticky, yet.)
- Turn the ornaments upside down on a clean baking sheet and refrigerate for 10 minutes before packaging.
- Store in an airtight container.
- These are delicious dipped in chocolate and would even make nice lollipops.

See all of my 12 Modeling Chocolate Christmas Treats.

- Banana Split Bars – A Fun and Easy Summer Dessert - March 4, 2026
- Pineapple Fudge (No Candy Thermometer Needed!) - March 4, 2026
- No-Bake Peanut Butter Pie Recipe - March 3, 2026

Christina Williams says
That gold and silver dust makes them look so pretty!
Beth Jackson Klosterboer says
Hi Chris,
I absolutely love the ornament tradition my Godmother started when I was born. My parents also got us lots of ornaments too, so I had a huge box when I moved out. I remember decorating my own tree for the first time and was so happy to have so many wonderful ornaments and memories. My ornament from my Godmother came in the mail today. It is a beautiful shimmering snowflake. I hung it front and center on my tree. Maybe I'll find time tonight to hang a few more.
I am sure your nephew will enjoy decorating his own tree this year and will think of you with every ornament he hangs. What a wonderful aunt you are!
~Chris says
Very pretty! That's cool about the real ornaments. My Mom did that for us - every year, we would get one special ornament so by the time we were grown and out on our own, we would have a set. I carried on the tradition by giving a new ornament to each of my nephews every Christmas. This is the first year one of them will have his own tree in his own apartment to hang them on. 🙂