Celebrate Christmas by serving a festively decorated Peppermint Mousse Cake. Your holiday dinner guests will enjoy layers of fudgy chocolate brownie and white chocolate peppermint mousse topped with crushed candy canes in a starlight mint pattern.
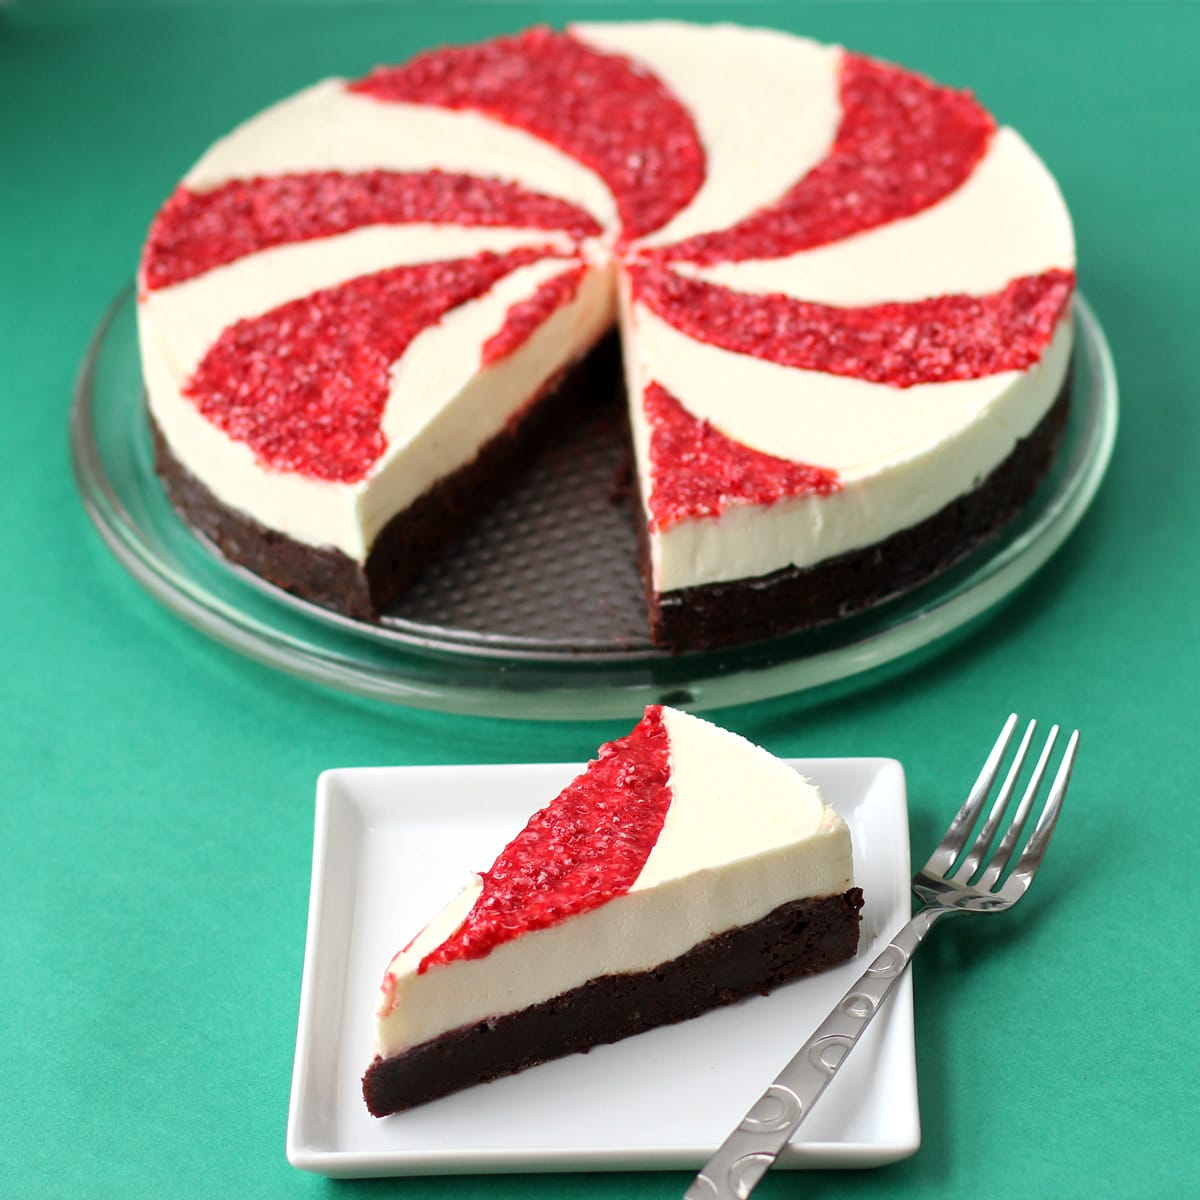
I hosted a Christmas party this weekend and served this delicious Peppermint Swirl Mousse Cake for dessert.
My family loved it! It's not easy to please my entire family when it comes to holiday desserts. But everyone raved about this starlight mint cake. It was the perfect ending to our holiday meal.
The cake has the most incredible fudgy brownie layer topped with a lusciously creamy white chocolate peppermint mousse. I decorated it with crushed candy canes to look like a starlight mint. It looked so pretty sitting on my table.

Here's my family enjoying their sweet holiday dessert.
I hope you enjoy this recipe as much as my family did.
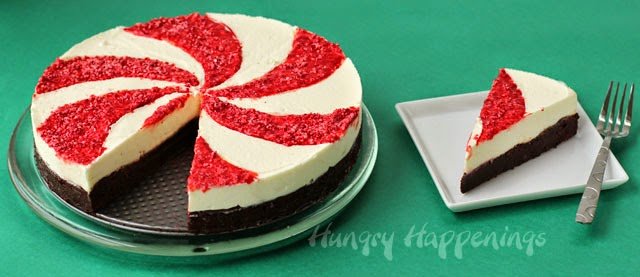
Peppermint Swirl Mousse Cake (serves 12)
Ingredients
Brownie layer -
semi-sweet chocolate - Use your favorite chocolate bars or chocolate chips.
butter - You can use salted or unsalted butter. Each works fine.
sugar - Use granulated sugar to add sweetness to the recipe.
eggs - It is best to use room-temperature eggs. I set the eggs in their shell in a bowl of hot tap water for five minutes to warm them.
flour - Use all-purpose flour.
White Chocolate Peppermint Mousse layer -
powdered gelatin
cold water
heavy whipping cream, divided
Nestle's Premier White Morsels
confectioners (powdered) sugar
peppermint extract
Decoration -
candy canes
optional, red gel or paste food coloring
Supplies
10 inch springform pan
optional, clear acetate cake strip
Instructions

Bake the brownie layer.
Preheat oven to 325 degrees.
Spray the springform pan with non-stick baking spray.
Place the semi-sweet chocolate morsels and butter into a microwave-safe bowl. Heat on high power for 20-30 second increments, stirring after each, until melted.
Stir in sugar, eggs, and flour. Pour into the springform pan. Bake for 26-30 minutes.
Cool completely.

Make peppermint mousse.
White Chocolate Peppermint Mousse Layer -Sprinkle powdered gelatin over water and set aside to bloom for five minutes. Heat ⅔ cup of the heavy whipping cream just until it boils and stir in the gelatin until melted. Pour over white morsels. Let sit a minute, then stir until melted. If by chance all of the white chocolate does not melt, you can heat it for 10 seconds in the microwave.
Combine the remaining 1 ⅓ cups heavy whipping cream, confectioners sugar, and peppermint extract. Whisk to stiff peaks. Stir ⅓ of the whipped cream into the white chocolate then fold in the rest. The mousse will be light and fluffy.
Crush candy canes into crumbs.
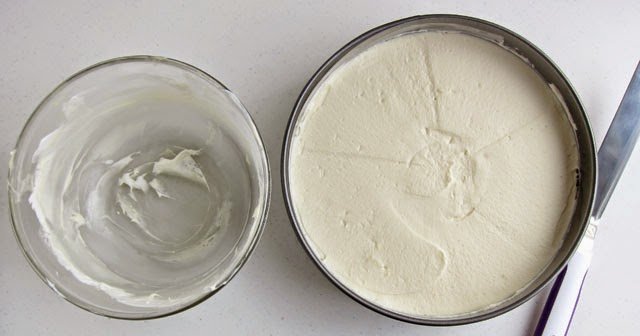
Pour the mousse over the brownie layer and spread it in an even layer then refrigerate it for at least 4 hours.
Note: I lined the pan with a clear acetate cake strip just to be sure that when I un-molded the cake it came out nice and clean. If you don't use one, you might want to freeze the cake for about 30 minutes, just to ensure your mousse easily pulls away from the side of the pan.
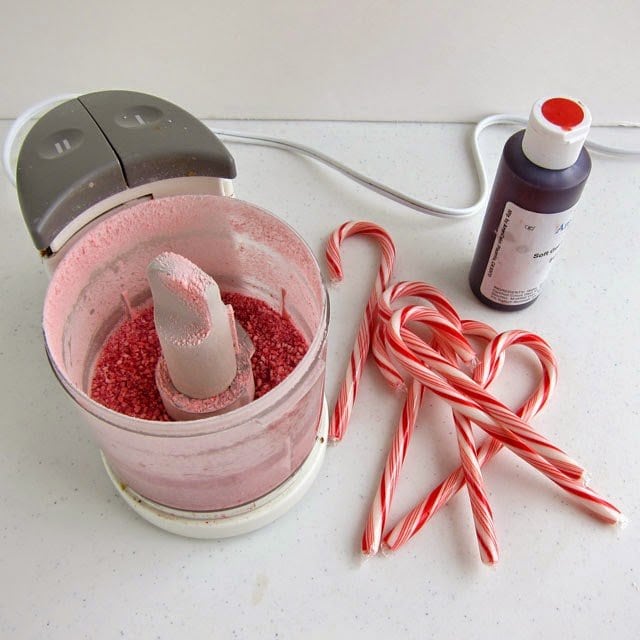
Crush the candy canes.
Meanwhile, crush your candy canes into a fine powder. If you want, you can add some red food coloring to make the candy more vibrantly red.

Sprinkle crushed candy canes over the cheesecakes.
Use a toothpick to draw out the starlight mint pattern on top of the peppermint mousse cake then sprinkle the crushed candy cane over top to create a red and white swirl pattern. I even marked which swirls would be filled with red candy.
I found it easiest to create a guide out of non-stick tin foil. I folded it over into a 3-inch wide strip then shaped it like one individual swirl shape, set it on top of the mousse, and sprinkled on the crushed peppermint candy. It worked great.
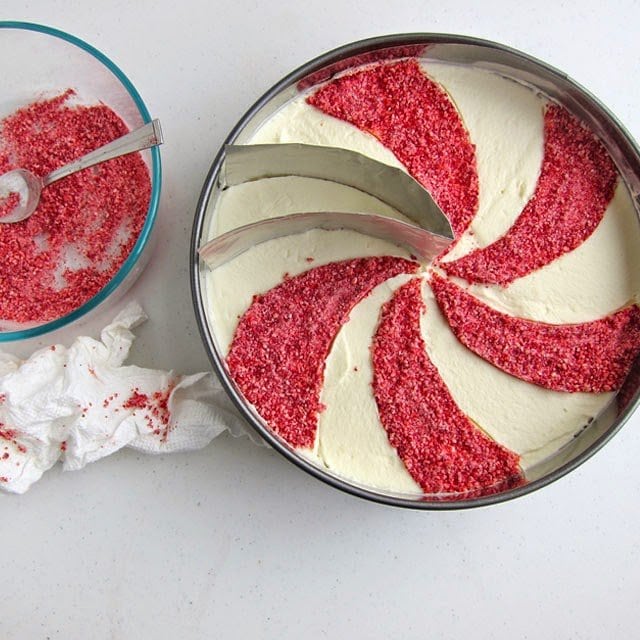
If you use the template, clean it off every time you pick it up and move it.
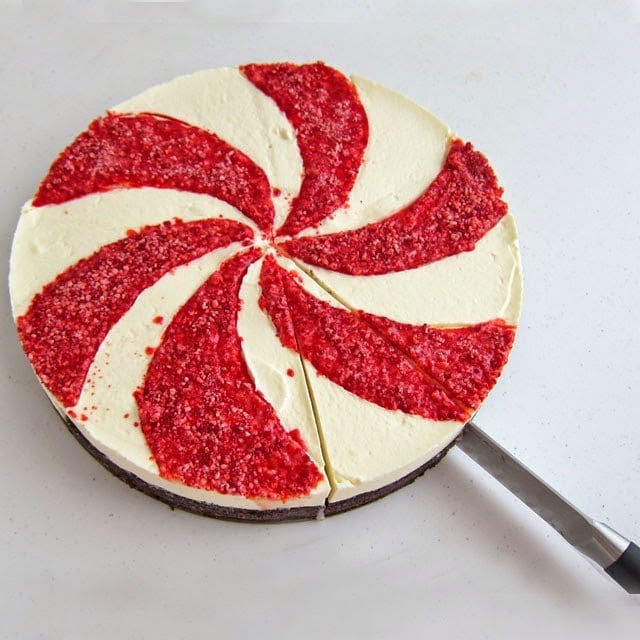
Make ahead.
I refrigerated my cake overnight before taking the final pictures and as you can see the peppermint candy started to melt a bit. It was actually a very cool-looking effect and when we ate the cake the mints were only slightly crunchy which was nice.
If you want a more crisp-looking starlight mint on top, add your candies no more than an hour before serving. If you like the brighter red melting candy look, then decorate the cake earlier.
Related Recipes
Be sure to check out all my fun Christmas Recipes.
Recipe
Delicious chocolate fudge brownie topped with white chocolate peppermint mousse and decorated with crushed candy canes to look like a starlight mint.
- 12 ounces semi-sweet chocolate
- ½ cup (1 stick) butter, cut into ½ inch slices
- 1 cup sugar
- 3 large eggs
- ¾ cup flour
- 1 teaspoon powdered gelatin
- 1 tablespoon cold water
- 2 cups heavy whipping cream, divided
- 10 ounces Nestle's Premier White Morsels
- ¼ cup sifted confectioners powdered sugar
- 1 ¼ teaspoons peppermint extract
- 6 candy canes
- optional: red gel or paste food coloring
-
Preheat your oven to 325 degrees.
-
Spray a 10-inch springform pan with non-stick baking spray.
-
Place the semi-sweet chocolate and butter into a microwave safe bowl.
-
Heat on high power for 20-30 second increments, stirring after each, until melted.
-
Stir in the sugar, eggs, and flour.
-
Pour into the springform pan and spread it into an even layer.
-
Bake the brownie for 26-30 minutes.
-
Cool completely.
-
Sprinkle powdered gelatin over water and set aside to bloom for five minutes.
-
Heat ⅔ cup of the heavy whipping cream just until it boils and stir in the gelatin until melted.
-
Pour over the white chocolate chips.
-
Let sit a minute, then stir until melted.
-
If by chance all of the white chocolate does not melt, you can heat it for 10 seconds in the microwave.
-
Combine the remaining 1 ⅓ cups heavy whipping cream, confectioners sugar and peppermint extract. Whisk to stiff peaks.
-
Stir ⅓ of the whipped cream into the white chocolate then fold in the rest. The mousse will be light and fluffy.
-
Pour the mousse over the brownie layer and spread it in an even layer then refrigerate it for at least 4 hours.
-
Meanwhile, crush your candy canes into a fine powder. If you want, you can add some red food coloring to make the candy more vibrantly red.
-
Sprinkle the candy cane crumbs onto the top of the cake in a starlight mint pattern or just sprinkle them on top.
Store your peppermint mousse cake in the refrigerator.
Decorate it with the crushed candy canes the day you plan to serve it. If you add the candy canes in advance they will melt slightly like mine did. I thought it looked cool but you may prefer to wait.
- How to make peanut butter? - February 15, 2024
- OREO Penguins - December 20, 2023
- OREO Snowmen - December 20, 2023


Bianca
obsessed with this recipe!!! love the swirl. #HolidayMadeSimple and #entry
Karen@ onthebanksofsaltcreek.com
Wow! That is gorgeous!
FoodtasticMom
This is a stunning presentation... and I'm sure it tastes great too! Pinned
Theresa
That looks so amazingly good! Pinned for later. Hope we get to try making it! Theresa @DearCreatives
Jo-Lynne Shane
Oh my goodness, these are so gorgeous!
Danielle Simmons
Gorgeous cake! And the brookie sounds so tasty. #client
beth
Thanks, Danielle.
Amiejo
I want to try this. I made some peppermint mocha sugar cookies that were really good and now I an hooked on peppermint. Thanks.
beth
I love peppermint too and this is definitely my favorite peppermint dessert.
Kat Jeter
Stopping by from Best of the Weekend link party. You had me at brownie layer! The top came out so good. Pinning!
beth
Thanks for stopping by Kat. I love the brownie in this dessert. It is so fudgy. I appreciate the pin:)
The Partiologist
You know how perfect this would be for my party, I LOVE it!
beth
I wish I could mail one to you!
beth
Thanks, Joseph. It really is delicious!
Heather Mason
That cake is really beautiful! I want to make it for my holiday party!
beth
Oh, I hope you do make one, you'll love it! Have a wonderful holiday season.
Lisa@hooplapalooza
oh my goodness-perfect timing Beth! i'm having a peppermint party this weekend and am sooo making this! holy heck i hope it turns out as pretty as yours! :>O
beth
Oh, that sounds like fun. I'm sure this dessert will be perfect for your party. Enjoy! It really is amazing.
Jill @ KitchenFunWithMy3Sons.com
This is awesome & so pretty!
beth
Thanks, Jill.