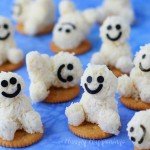
Turn mini cheese balls into adorable Cheesy Snowgie Snacks for your Frozen party or afternoon treat. These cute snacks are nothing to sneeze at, unless you're Elsa, of course!

If you have not yet been introduced to a Snowgie, you need to check out Frozen Fever. It's an adorable video short about how Elsa plans the perfect birthday party for her sister, Anna, but catches a cold in the process.
Elsa tries to ignore her symptoms and refuses to believe she is getting sick. She isn't even aware that tiny Snow-Babies, better known as Snowgies, pop out of her every time she sneezes.
The Snowgies are a mischievous bunch who add a bit of chaos to the party scene, but are so darn cute that the audience, including myself, falls in love with them.
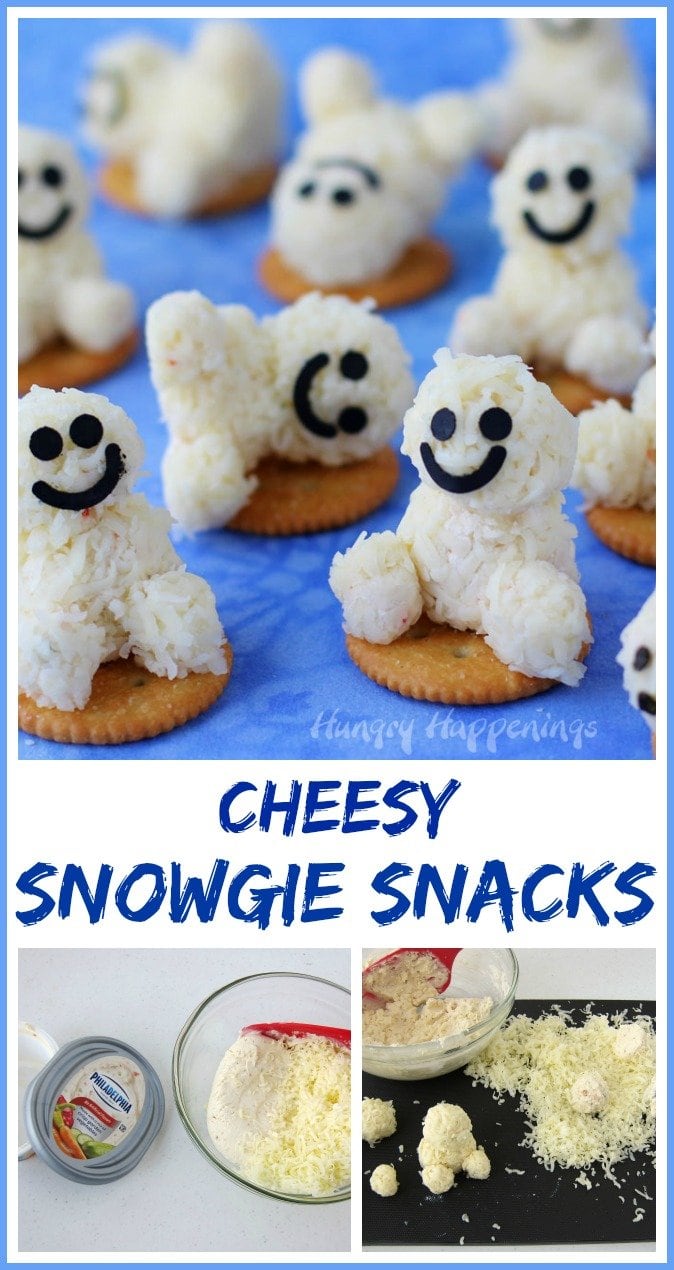
Snowgies have super simple shapes, much like traditional snowmen.
However, instead of three balls stacked on top of each other, these little guys are just two snowballs high and have two small feet attached.
When I saw them for the first time, I imagined them as cake pops, cookies, or marshmallow treats, but when I finally found time to make them, those sweet treats had already been made, so I chose to create mine out of mini cheese balls.
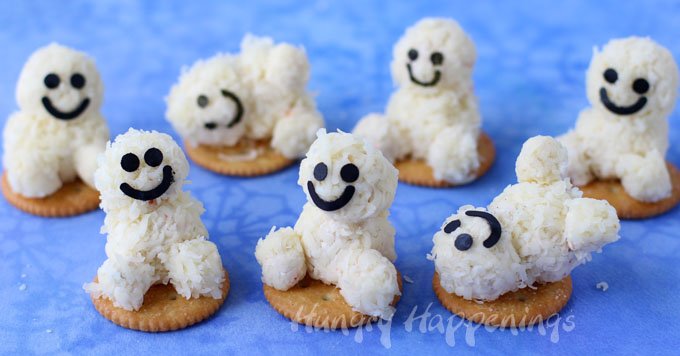
These savory treats would be perfect to make if you are hosting a Frozen party or are just looking for an after school snack.
They are so easy to make and are so super kid friendly that you can even have the kids help.
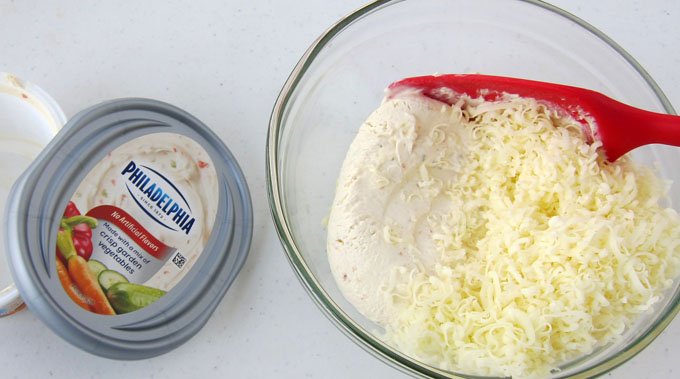
The cheese balls are simply made by blending a tub of Philadelphia Veggie Cream Cheese and some shredded white cheddar cheese. If your kids prefer another flavor of cream cheese, use that instead. The veggie is my favorite.
If you prefer, you could use any one of the other cheese ball recipes I've shared here on Hungry Happenings like my Roasted Garlic Parmesan Cheese Ball Recipe, Taco Cheese Ball Recipe, Bacon Cheddar Cheese Ball Recipe, or Italian Cheese Ball Recipe. Any of these recipes would work as long as your roll the cheese balls in a white cheese.
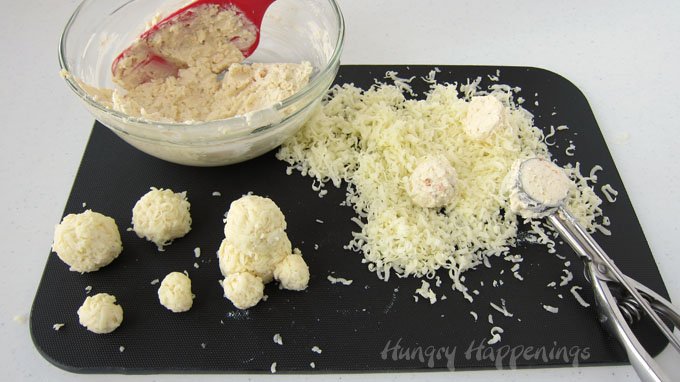
To make the Cheesy Snowgie Snacks, you'll scoop and roll balls of the cheese ball mixture in shredded white cheese.
For each Snowgie, you'll need two "large" cheese balls (not large, actually, but large in comparison) and two tiny cheese balls which will be attached together using some reserved flavored cream cheese.
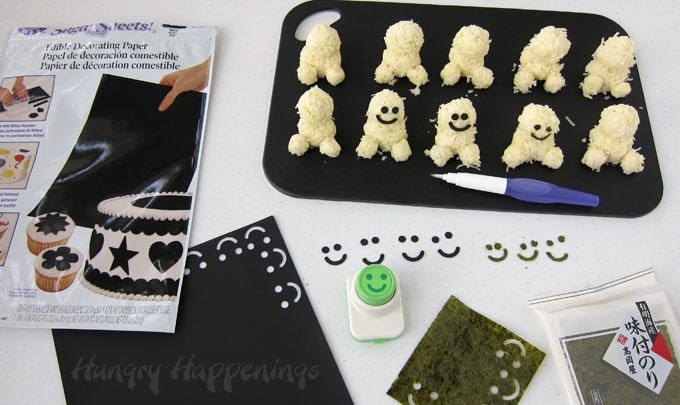
To add smiles, you have a few options.
First, you could use a Nori smiley face punch to cut sheets of Nori or black sugar sheets then attach the eyes and smiles by brushing a light coating of water on one side of the cut pieces and pressing them onto the cheese balls. (See the product links below.)
I cut both Nori and sugar sheets, to see which I liked better.
The sugar sheets cut cleaner and are black. Eaten alone, they taste sweet, but when attached to the cheese ball the flavor is not really noticeable.
The Nori sheets I used were very brittle, so, when cut, had jagged edges, but looked pretty good once attached to the Snowgies' heads.
So, either of these will work.
You can find the Nori Punches and the edible sheets on amazon.com (commission earned for sales.)
 CuteZCute Seaweed Nori Punc...Shop on Amazon
  ONE ORGANIC Sushi Nori Prem...Shop on Amazon
  Wilton Sugar Sheet, BlackShop on Amazon
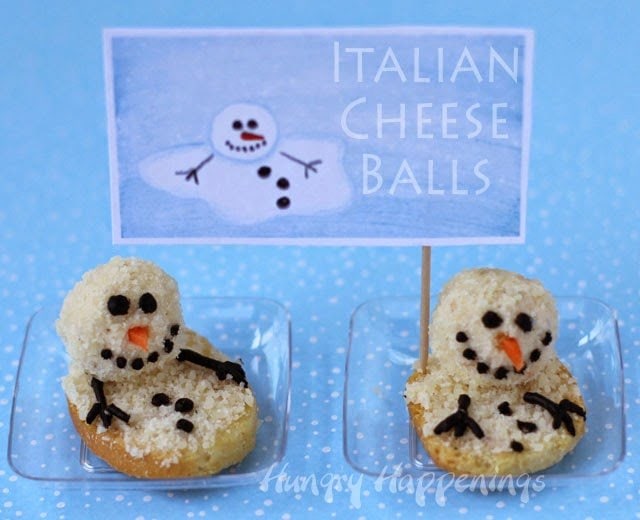
If you don't have a smiley face punch or the needed sheets, you can color some plain cream cheese using black food coloring and pipe eyes and mouths onto each Snowgie cheese ball instead.
You can see how I used that technique to make Mini Melting Snowman Cheese Balls.
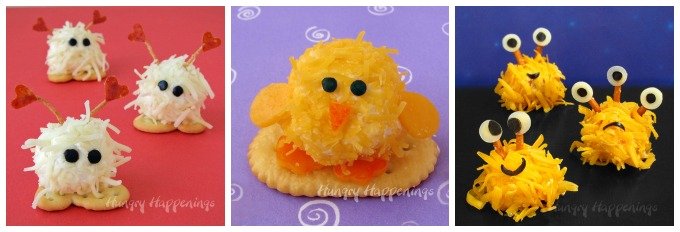
A third method, would be to use black olives.
See my Mini Cheese Ball Chicks, Mini Cheese Ball Warm Fuzzies, or Cheese Ball Monsters tutorials to see how I added tiny olive eyes and smiles to these snacks.
Both can be attached using cream cheese.
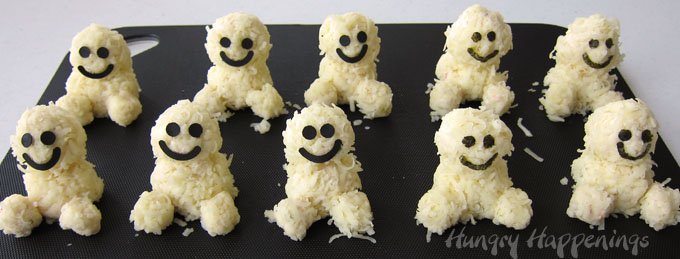
Any way you make their faces, be sure they have big cheery smiles.
- 8 ounce block white cheddar cheese
- 1 8 ounce tub flavored cream cheese
- Nori sheets or black sugar sheets
-
Shred white cheddar cheese using the small holes on a box grater.
-
Reserve 1 ½ tablespoons of the flavored cream cheese to assemble your cheese ball Snowgies.
-
Combine 3 ounces (about ½ cup) of the shredded white cheese with the remaining cream cheese.
-
Scoop 20 balls of cream cheese mixture, about 2 teaspoons in each scoop, and roll in cheese.
-
Scoop out 20 tiny balls of cream cheese and roll in shredded cheese.
-
Set one of the larger balls on your work surface.
-
Use some of the reserved cream cheese to attach another larger ball on top of that ball.
-
Then attach two of the tiny cheese balls creating the Snowgie's feet.
-
Use a Nori smiley face punch to punch out smiley faces out of Nori sheets or black sugar sheets.
-
Brush the smiley face pieces lightly with water and press onto the Snowgie cheese balls.
Have fun making your Cheesy Snowgie Snacks.
If you liked this Kid's Recipe, then you need to check out these other fascinating recipes that your little ones will love!
- How to make peanut butter? - February 15, 2024
- OREO Penguins - December 20, 2023
- OREO Snowmen - December 20, 2023

Ruby
These little fellas are so cute 🙂 At first I thought they are made of coconut, but I would eat them cheesy too 🙂
Beth
Thanks, Ruby. I had thought about making them out of my favorite coconut candy, but felt more kids would like the cheese. The coconut candy would work great though. You can find that recipe here - https://hungryhappenings.com/2015/12/triple-coconut-candy-christmas-trees.html/
The Patiologist
Super cute, Beth, I love how they have snowy cheese fur!
Beth
Thanks, Kim.
Heidi
These are absolutely adorable. We're huge fans of Olaf and Snowgies at our house. My girls would love these.
Beth
I hope you get a chance to make some of these with your girls.
Teresa R.
You did again. I love seeing what you will come with next. looking forward to seeing what's for Valentine's Day.
Beth
Thanks, Teresa. I'm so glad you follow along and look forward to my new creations.
Theresa
So cute!! But my computer says that the page for the cheese monsters is not available.
Beth
Hmm, when I click on the link, it's working. Try copying and pasting this url - https://hungryhappenings.com/2012/09/halloween-food-mini-monster-cheese.html/
Michelle
So adorable! I love how they are just sitting there on the cracker waiting to be eaten!
Beth
Thanks, Michelle. When I went to take pictures of them, I didn't want to just set them on my watercolor background, so I grabbed some crackers. It's one of those moments where I thought, "now why didn't I think of that sooner." I thought they looked pretty cute too.