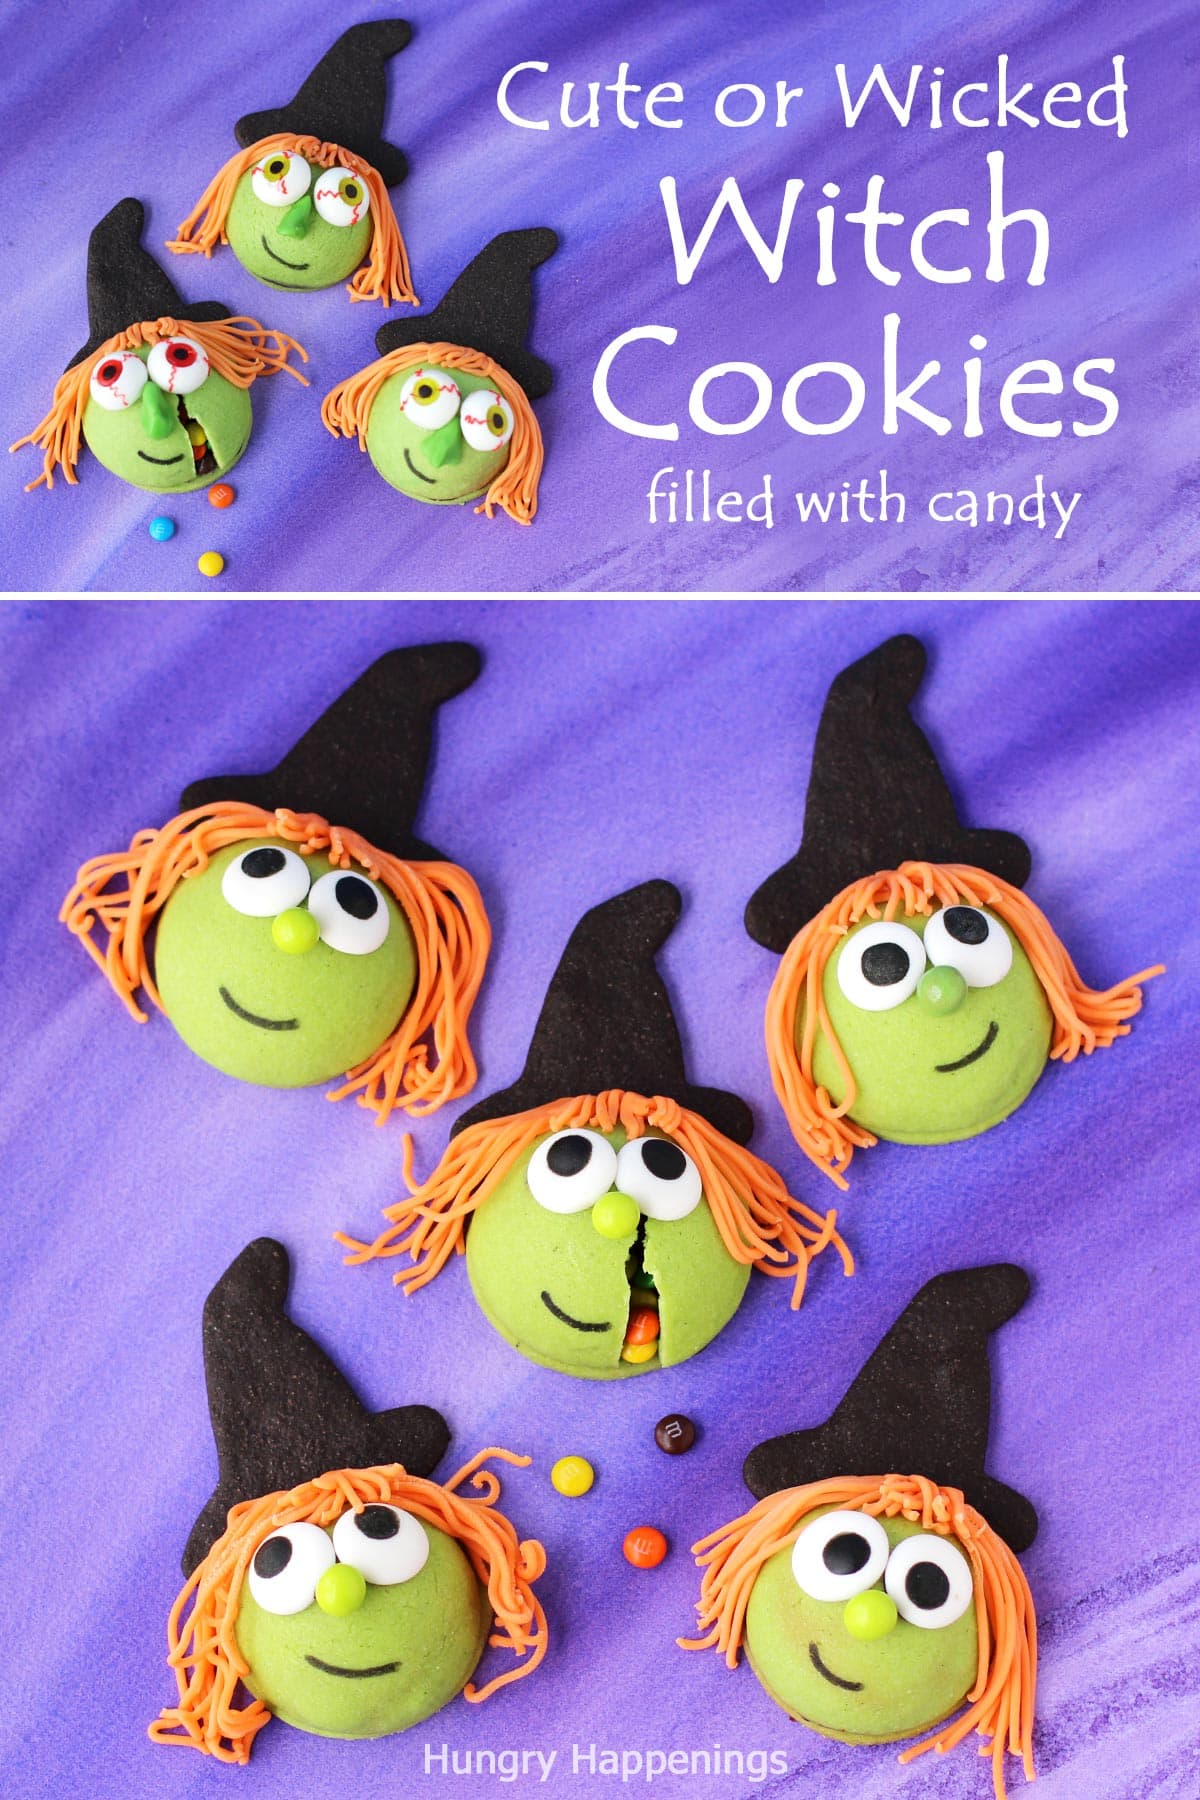
Crack open one of these bewitchingly cute Halloween treats to find candy hiding inside. You can make these cute or kooky candy-filled Witch Cookies for your Halloween party or bake sale.
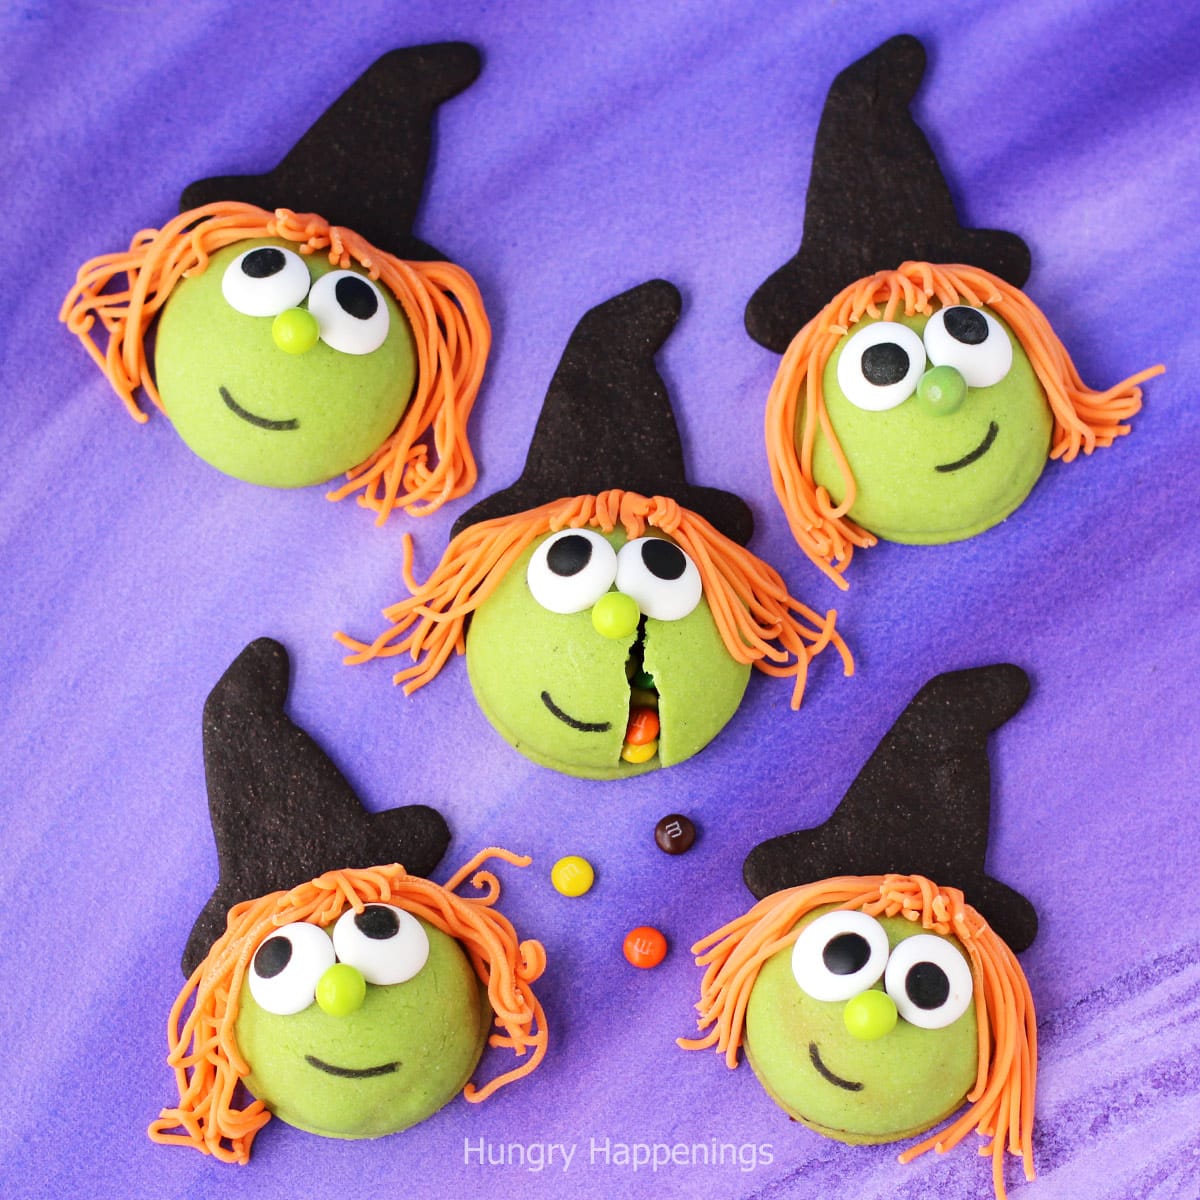
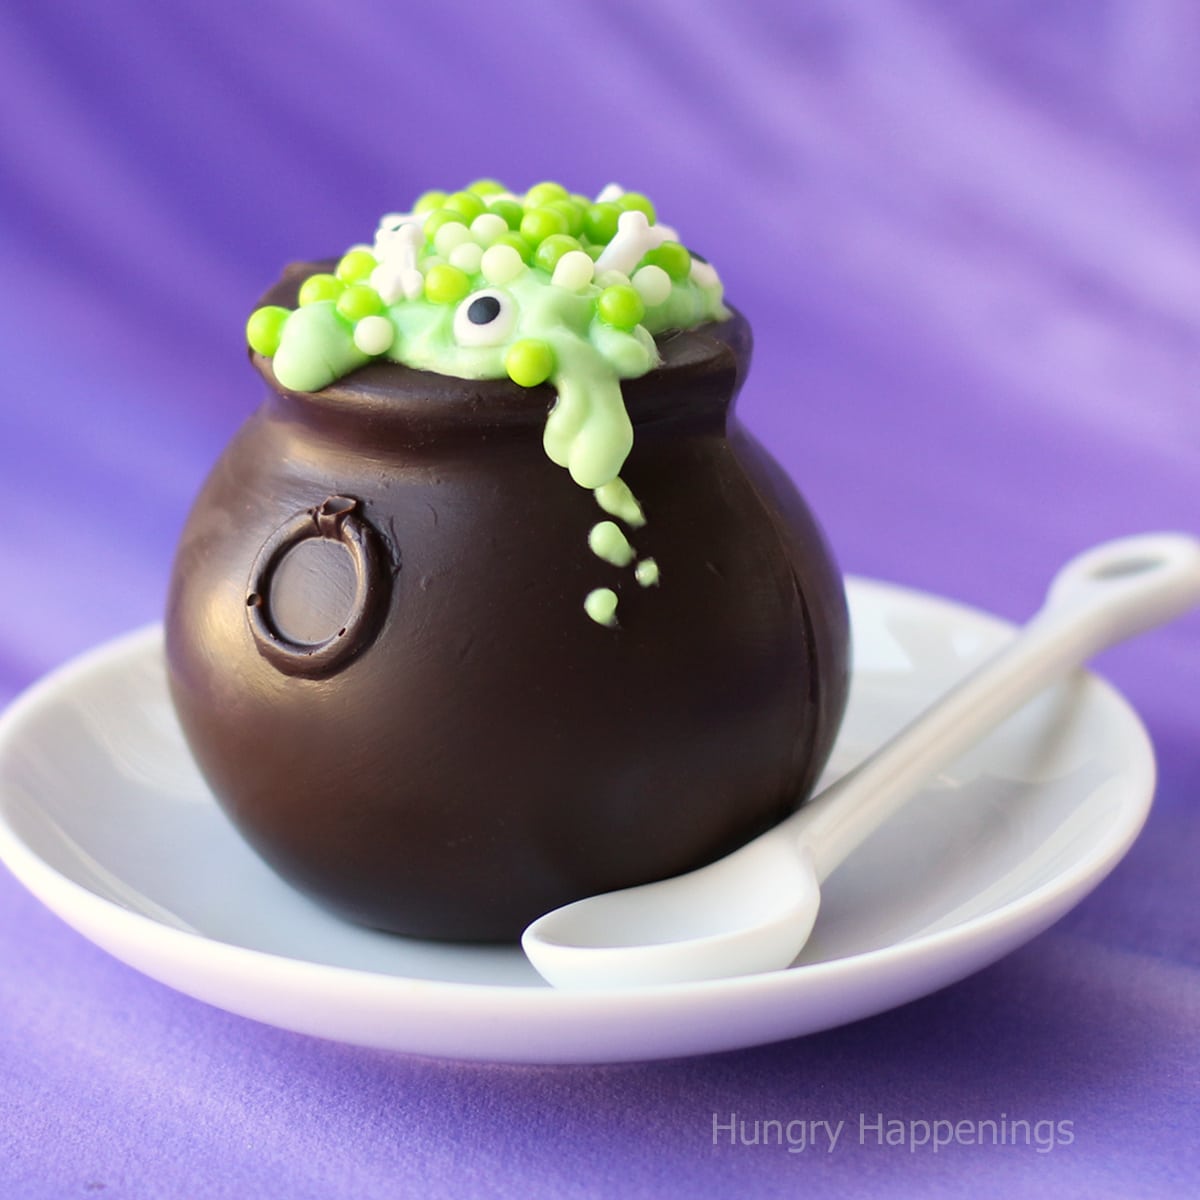
Last year, I created Candy Filled Cauldron and Black Cat Cookies for our witch-themed Halloween party. I also made these fun witch cookies but didn't have time to share the recipe with you.
My party guests loved all of the candy-filled Halloween cookies. I got so many compliments about these fun witch cookies.
I made some that looked cute with big expressive candy eyes, cute green Sixlet noses, and orange candy clay hair.
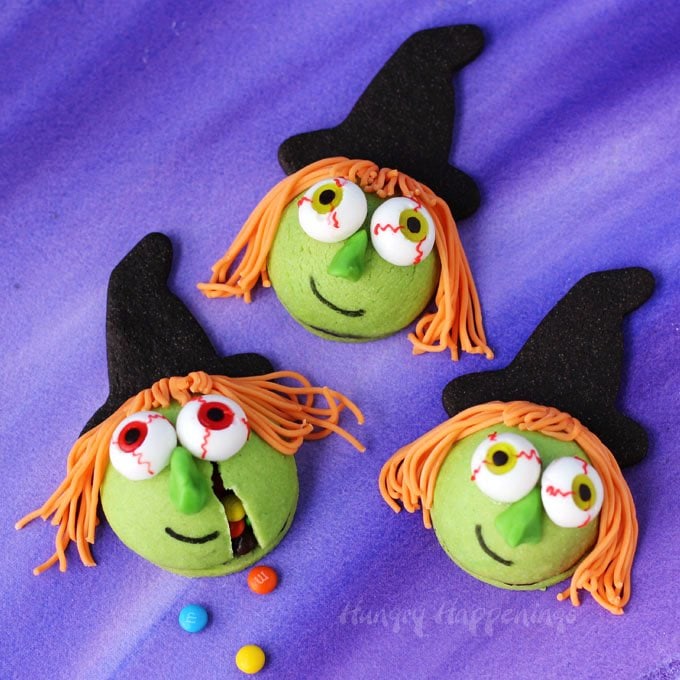
I also made some wicked witch cookies with big bulging bloodshot eyes (gummy eyes), pointed green noses (green candy clay), and orange hair.
Which do you like better? If you can't decide, just make some of each like I did.
Let's make some witch cookies.
You can find items needed to make these cookies on Amazon. I earn a small commission when you make a purchase using any of the Amazon affiliate links at no extra cost to you.
 Telebrands Bake PopShop on Amazon
  Wilton Color Right Performa...Shop on Amazon
  Ateco Plain Edge Round Cutt...Shop on Amazon
  Ann Clark Cookie Cutters Wi...Shop on Amazon
  Wilton 710-0167 Red Vein Ca...Shop on Amazon
  Fruidles Gummy Eyeballs Hal...Shop on Amazon
  Dealglad® 20 in 1 Stainles...Shop on Amazon
  Americolor Black Food Write...Shop on Amazon
Ingredients
Cookies:
- all-purpose flour
- salt
- baking powder
- butter
- sugar
- egg
- vanilla extract
- almond extract
- cocoa powder - Use dark cocoa powder if you want your witch hats to look black. I used Hershey's Special Dark Cocoa Powder.
Decorations and Candy:
- jumbo candy eyes - For the cute witches, I used candy eyes from a Wilton Reindeer Cupcake decorating kit. For the wicked witches, I used gummy eyeballs.
- orange candy clay (modeling chocolate) - Click the link to see the easy 2-ingredient recipe.
- green candy clay or green candy-coated chocolates like Green Sixlets
- black food coloring marker
- Candy to fill your cookies like mini M&M's, mini Reese's Pieces, or Jelly Bellies
Supplies
- mixer - A stand mixer works best to make cookie dough but you can use a hand-held mixer or just mix the dough by hand.
- silicone mat, optional - I love rolling my cookie dough out on silicone mats because I don't need to use much flour to roll out the dough.
- rolling pin
- 2 ¼-inch and 2 ½-inch round cookie cutters
- cake pop pan - I used a Telebrands Bake Pop Pan which is a bit larger than some other cake pop pans I have seen. If you use a different pan, you'll need to adjust the size of the round cookies to match the size of the domed cookies. Nordicware makes a nice cake pop pan that would work great too.
- bakings sheets lined with parchment paper
- clay extruder with multi-hole disc - You'll use this to make the witch's hair. You can find clay extruders in the clay aisle at your craft store. Just be sure to keep this one just for working with candy clay/modeling chocolate and fondant.
Instructions
I've made several versions of the candy-filled cookies using the same pan. This tutorial is not as detailed as others I've done. If you want complete step-by-step details you can check out my Baseball Cap Piñata Cookies recipe.
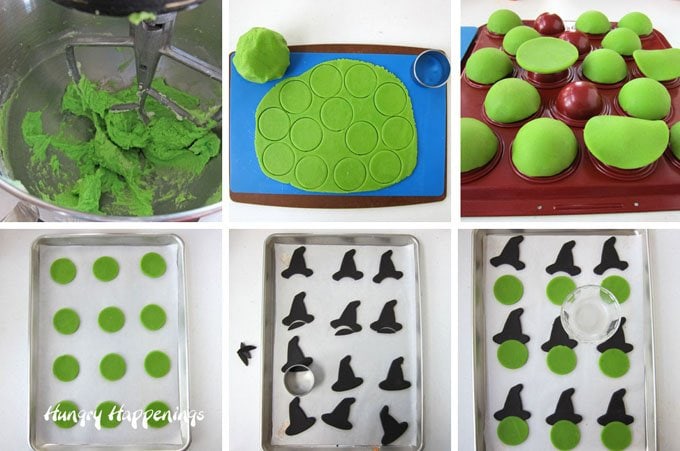
Make green and chocolate cut-out cookies.
You'll start by making a batch of green-colored cookie dough and a batch of chocolate cookie dough.
Roll out the green dough to about ⅛th inch thickness and cut out twenty-two 2 ¼ inch rounds. Set those rounds on a baking sheet and refrigerate for 15 minutes. Roll the remaining dough out to about 1/16th inch thickness and cut out twenty-two 2 ½ inch rounds. Drape them over a cake pops pan then smooth them out into a half sphere.
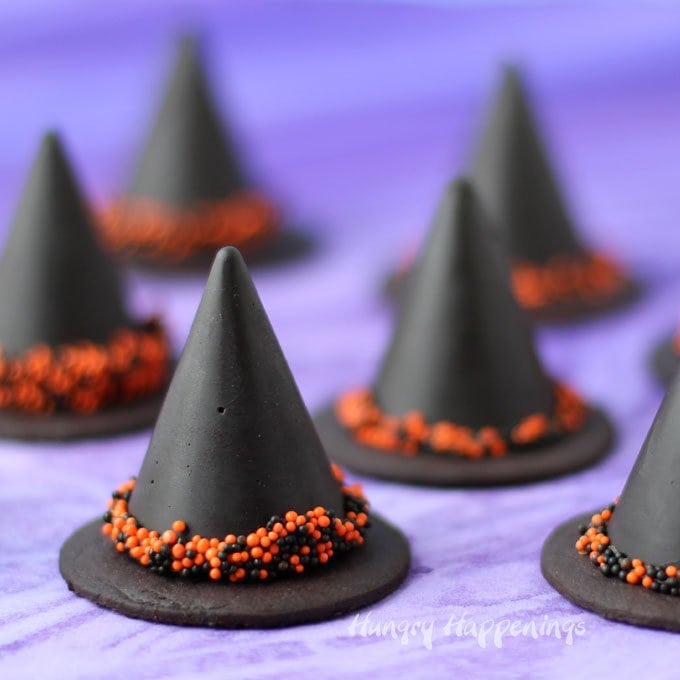
Make the chocolate cookie dough then roll it out to ⅛th inch thickness and cut out twenty-two witch hats. Use the same round cutter you used to make the flat green cookies, and cut a curved section out of the bottom of each witch hat. Brush the edge of that cut with a bit of water and set it up against a green round cookie.
Refrigerate all the cut-out cookies for at least 15 minutes, then bake the witch cookies at 350 degrees Fahrenheit for 10-12 minutes and bake the half-sphere cookies for about 8 minutes until the edges look set.

Decorate the witch cookies.
When the cookies cool, fill the half spheres with candy, attach them to the flat cookies using melted Candy Melts or royal icing then add the decorations.
Use a clay extruder fit with a multi-hole disc to make the hair. Press orange candy clay (modeling chocolate) or fondant through the clay extruder, cutting it into pieces to make the long part of the hair and the bangs. Press the candy hair right onto the cookie. It doesn't really need anything to make it stick if you do this as you get the candy clay out of the extruder.
If you want, make some green noses out of candy clay or you can just use candy-coated chocolate balls (green Sixlets) for the noses.
Use melted Candy Melts or royal icing to attach two candy eyes and a nose to each cookie. Use a food coloring marker to draw on a smile.
Tips
If you've never made candy clay, it's super easy to make and work with. I recently published a 118-page Candy Clay Creations e-book that is loaded with tips and tricks for working with it and will give detailed information about using the clay extruder.
Storage
Store your cookies in an airtight container, preferably a metal cookie tin, for up to a week.
Variations

If you love making these cute or kooky witch cookies, you might also like to make Candy Filled Cauldron Cookies and Black Cat Cookies to go along with them.
Related Recipes
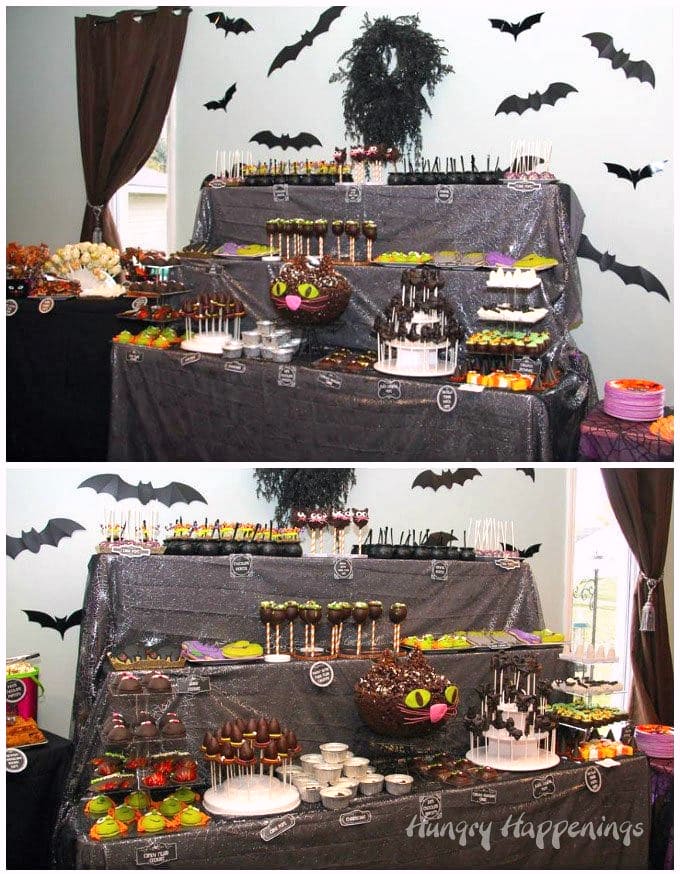
I know it's hard to see but this display is filled with all of my witch-themed desserts including the candy-filled cookies and these other desserts.
Along with all these sweets, we also served a Witch Taco Dip, a Spinach Artichoke Witch Dip, a Cheese Ball Cauldron, Crescent Roll Witch Hats filled with Pesto Chicken Salad, and Cheese Ball Witch Hat.
Recipe
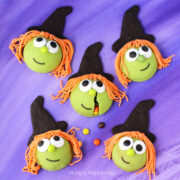
Have a spooky dessert like these Candy Filled Witch Cookies at your next Halloween party! They are so much fun to make with your kids and your guests will love them.
- 2 cups all purpose flour plus more if needed
- ¼ teaspoon salt
- ¼ teaspoon baking powder
- ½ cup butter softened slightly
- ¾ cups sugar
- 1 large egg
- ¾ teaspoons pure vanilla extract
- ½ teaspoon almond extract
- 10 tablespoons butter softened slightly
- ¾ cups granulated sugar
- 1 egg
- ½ teaspoon vanilla
- ⅓ cup cocoa powder
- ¼ teaspoon baking powder
- ½ teaspoon salt
- 1 ¾ cup flour
- 1 ¾ cup tiny candies
- 44 large candy eyes
- 8 ounces orange candy clay modeling chocolate
- 2 ounces green candy clay or 22 round candy coated chocolates Sixlets
- black food coloring marker
-
Mix the flour, salt, and baking powder together in a bowl. Set aside.
-
Cream butter and sugar until light and fluffy.
-
Stir in egg, vanilla, almond extract, and some green food coloring.
-
Add more coloring until you get a really bright shade of green and mix until well combined. The color will get lighter when you add the dry ingredients.
-
Add dry ingredients and stir just until combined. If the dough is sticky, add a small amount of flour.
-
Flatten into a disc and refrigerate for 30 minutes.
-
In a large mixing bowl, combine butter and sugar.
-
Cream until light and fluffy.
-
Mix in eggs and vanilla.
-
Combine cocoa powder, baking powder, salt, and flour in a small mixing bowl.
-
Stir in to wet ingredients and mix just until incorporated.
-
Flatten dough into a disc and place in a zip top bag.
-
Refrigerate for 30 minutes.
-
Preheat oven to 350 degrees F.
-
Roll out green dough to about ⅛th inch thickness and cut out twenty two 2 ¼ inch rounds.
-
Set those rounds on a baking sheet and refrigerate for 15 minutes.
-
Roll the remaining dough out to about 1/16th inch thickness and cut out twenty two 2 ½ inch rounds.
-
Drape them over a cake pops pan then smooth them out into a half sphere.
-
Roll out chocolate cookie dough to ⅛th inch thickness.
-
Cut out twenty two witch hats.
-
Cut a curved section out of the bottom of each witch hat.
-
Brush the edge of that cut with a bit of water and set it up against a green round cookie.
-
Refrigerate the cut out cookies for at least 15 minutes.
-
Bake the witch cookies for 10-12 minutes.
-
Bake the half sphere cookies for about 8 minutes until the edges look set.
-
Allow cookies to cool completely.
-
Fill half sphere cookies with candy.
-
Pipe melted candy melts or royal icing on edge of candy filled cookies.
-
Press a witch cookie on top, lining up the circle with the half sphere.
-
Decorate using candy clay, candy eyes, candies, and food coloring marker according to step-by-step tutorial instructions.
Store your cookies in an airtight container for up to 1 week.
The calories listed are for the cookies only and are approximate being you can decorate them in a variety of ways.
- Irresistible Sweets with Dixie Crystals® - July 13, 2024
- How to make peanut butter? - February 15, 2024
- OREO Penguins - December 20, 2023




The Partiologist says
Wow! I can't tell you how much I love the witch cookies, the expressions, the hair, the hat, the candy inside, the...EVERYTHING!
Beth says
Thanks! My party guests loved them too! 🙂
Christine says
Completely adorable idea!
Beth says
Thank you! I'm so glad you like them.
Karen @ Sugartown Sweets says
I like the ones with the cute and sweet faces! And how much will the kids love breaking into these sweet treats?! Craving M&Ms now. :o)
Beth says
Thanks, Karen, I do too. I love their cute little green noses and big expressive eyes. 🙂