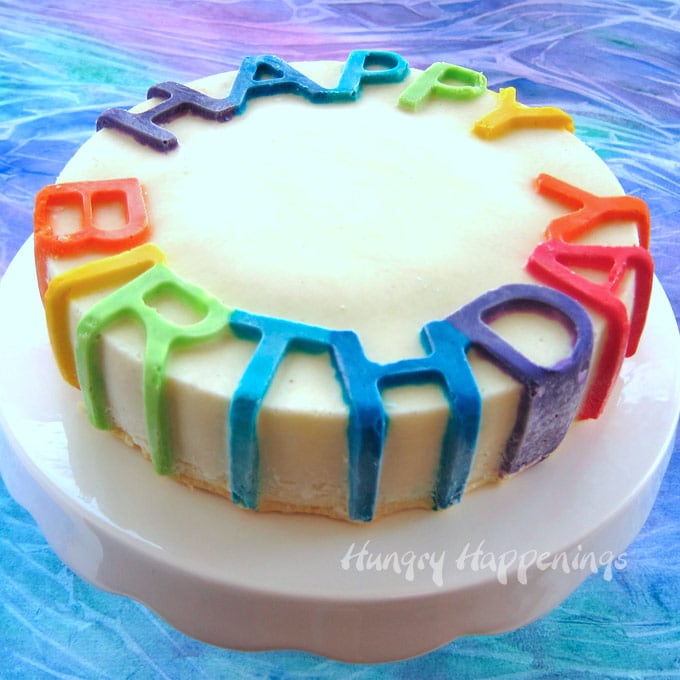
Celebrate another wonderful year of life with a colorful rainbow Birthday Cheesecake. This naturally gluten-free dessert tastes so amazing that everyone at your party will be happy to indulge in a slice.

Do you have a month during the year when you celebrate several birthdays? That month is December for our family. My sister, brother-in-law, and niece celebrate their birthdays within a few days of each other right before Christmas.
My sister and her husband celebrated milestone birthdays this year with a big party, and I had the pleasure of making the desserts for the event. I created cookies, mousse cups, fudge, and chocolates for the birthday party and wanted the cake to be really special.
My sister is gluten-free, so traditional cake was out, but they both love cheesecake.

When I found this Happy Birthday Cake silicone mold on Amazon, I knew it would help me make the perfect dessert for this big birthday celebration.
I wanted the cake to really look festive, so I chose to create brightly colored rainbow letters on the cheesecake. I simply colored spoonfuls of cheesecake batter using food coloring, then painted the colored cheesecake filling into the letters in the mold.
Once I had all the letters painted, I popped the mold in the freezer for 10 minutes to make sure the colors wouldn't bleed, then I poured in the remaining cheesecake filling and baked my cake in a water bath, so I'd have a smooth and creamy cheesecake without any cracks.
If you make one of these cheesecakes for a special birthday, you could make the letters any one color you like if you don't want a rainbow. I think chocolate letters would look really elegant and add a nice flavor to the cheesecake.
Supplies
You can find the mold on Amazon. I earn a small commission at no extra cost to you if you use the link below.
 X-Haibei 7-Inch Round Happy...Shop on Amazon
Recipe and Video
- 24 ounces 3 blocks cream cheese, softened
- 1 cup sugar
- 3 large eggs
- 1 cup sour cream
- 1 teaspoon vanilla extract or vanilla paste
- food coloring
-
Preheat oven to 350 Fahrenheit
-
Beat cream cheese on medium speed until smooth.
-
Add sugar and beat until light and fluffy.
-
Add eggs one at a time and beat until creamy.
-
Add sour cream and vanilla and beat until combined.
-
Spoon 2 teaspoons of filling into 6 small bowls and 1 teaspoon of filling into 1 small bowl.
-
Color one bowl of filling purple, one blue, one indigo, one green, one yellow, one orange, and one red.
-
Paint two letters using 6 of the colors and one letter using one of the colors (the bowl with just 1 teaspoon of filling).
-
Use food use only paint brushes to paint the color into the letter cavities in the silicone mold. Fill the cavity completely so you get nice brightly colored letters.
-
Freeze the painted mold for 10 minutes.
-
Remove and pour the remaining cheesecake filling in the mold.
-
Bake your cheesecake in a water bath for 42-48 minutes.
-
The top will still jiggle, but look shiny and set.
-
Remove from oven and set on a cooling rack for 1 hour.
-
Wrap in plastic wrap and freeze for at least 6 hours.
-
Remove and peel the mold off the cheesecake.
-
Set on a serving platter or cake stand.
-
The cheesecake will take 2-3 hours to thaw at room temperature or it can be refrigerated overnight.
Recipe Video
- Scrape down your mixing bowl often and make sure you mix the cream cheese and sugar until smooth. You don't want lumps.
- You will need a water bath to bake your cheesecake. You can either bring a large pot of water to a boil and pour it into the pan after you add the cheesecake, or you can fill your pan with enough hot water so that it will come ½ way up the sides of your silicone mold. Place that in the hot oven until ready to bake the cheesecake. I like using a roasting pan with a flat rack inside. When the cheesecake has been baked, I can lift the entire rack out of the pan.
- Each letter takes about 1 teaspoon of cheesecake filling, so color enough filling using the colors of your choice.
- Be sure to freeze the mold for 10 minutes so your colorful letters don't bleed into the plain cheesecake filling.
- Also, be sure to freeze the cheesecake for at least 6 hours so that it firms up enough that you can unmold it easily.
- I unmolded my cheesecake onto my cake stand and brought it to the party frozen. When we cut into the cake 2 ½ hours later, it was still cold but had thawed.
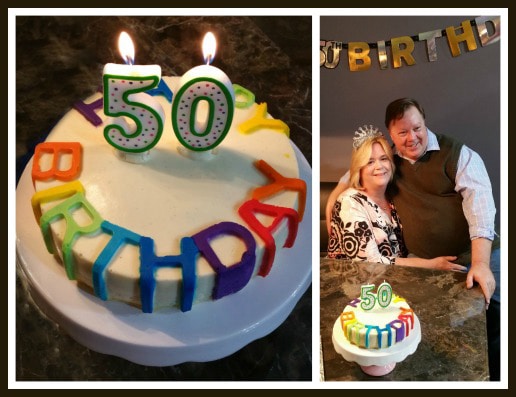
My sister and her husband enjoyed their special birthday cheesecake at their party. It was a fun night, and I was happy to be there to celebrate with them.
If you make one of these cheesecakes and share pictures online, be sure to link back to this recipe post and use the hashtag #hungryhappenings.
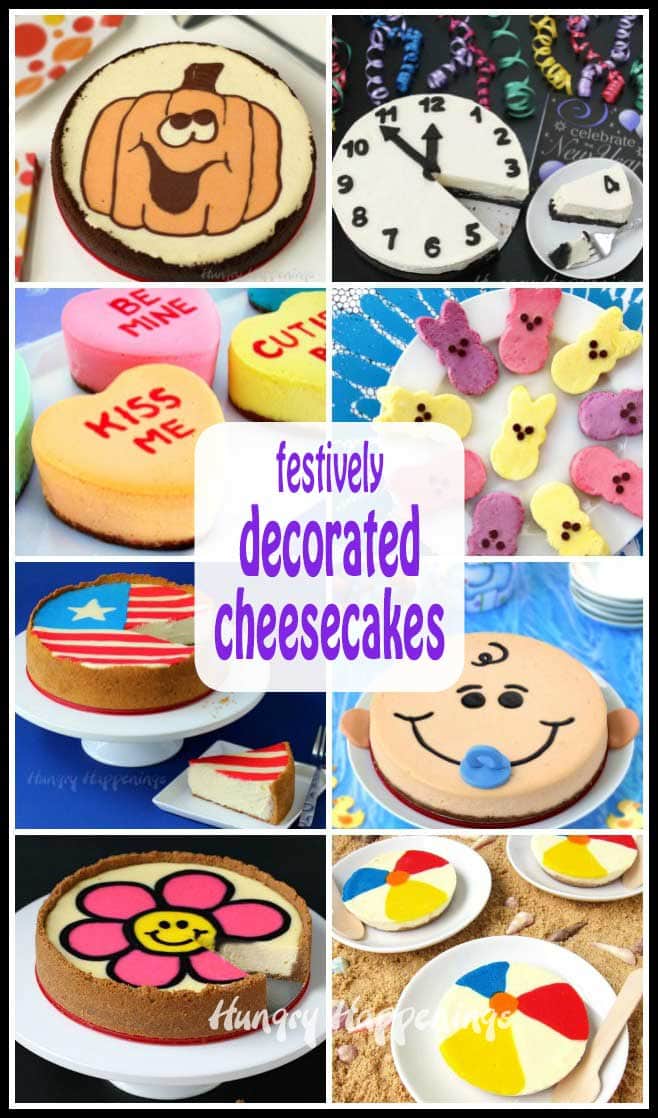
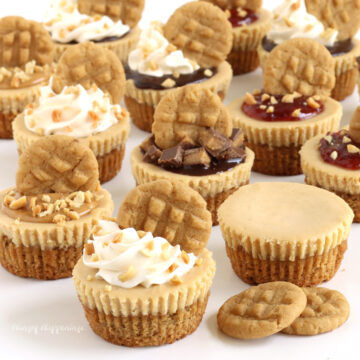
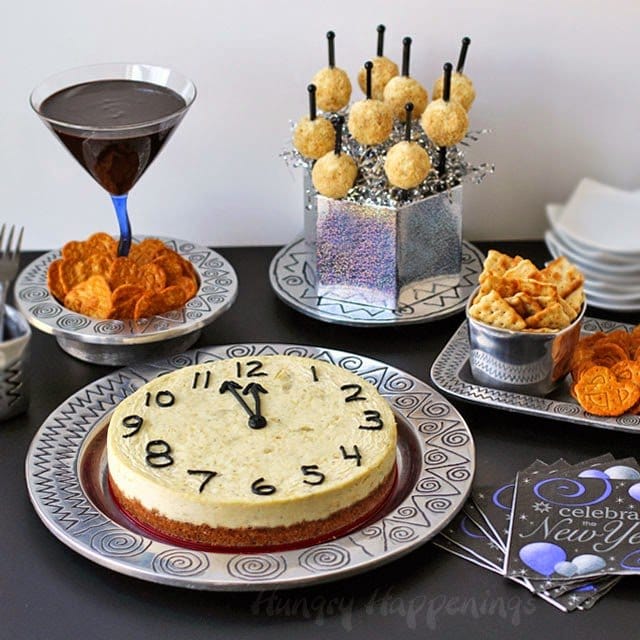
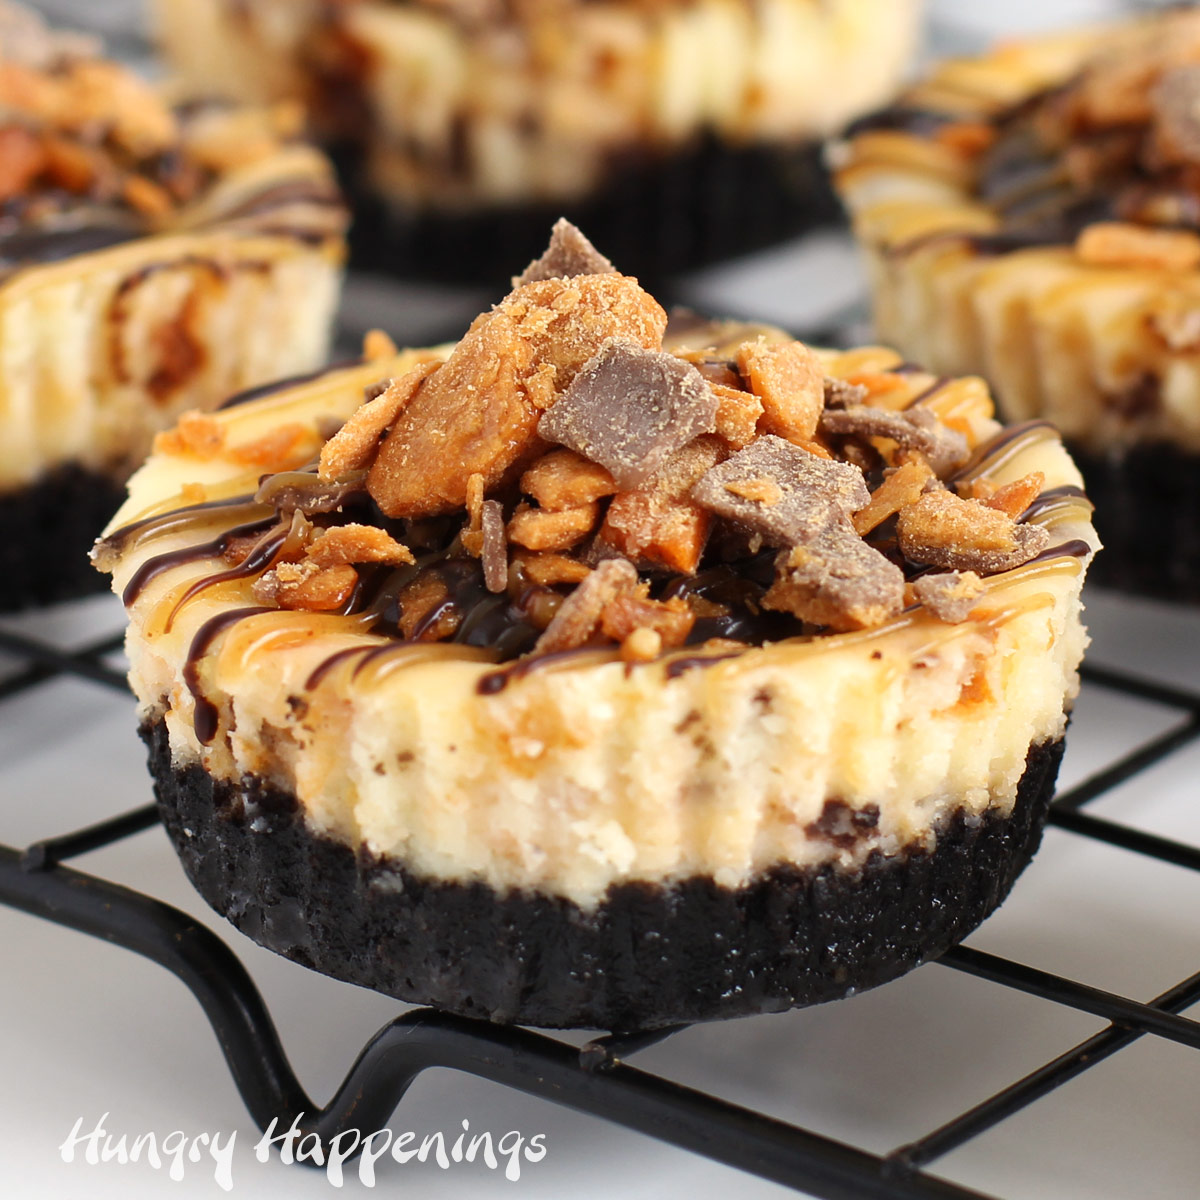
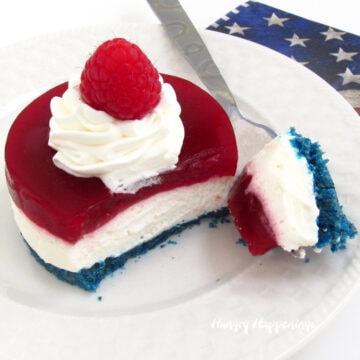
Check out all my other festively decorated cheesecakes.

- Banana Split Bars – A Fun and Easy Summer Dessert - March 4, 2026
- Pineapple Fudge (No Candy Thermometer Needed!) - March 4, 2026
- No-Bake Peanut Butter Pie Recipe - March 3, 2026
Caren says
To add a crust to this recipe would you be able to just follow your instructions of filling the mold with cheesecake batter then add the crust on top (the bottom of the cake when it's right side up) then bake?
Beth says
I have not figured out exactly how to do this effectively. You would need to bake the cheesecake first. If you put a crust over the liquid cheesecake batter it will sink into the batter. If you bake it first and then freeze it until it's firm, you could "glue" a crust onto the cheesecake by spreading something (like a blend of cream cheese and sugar or frosting or Nutella) over the cheesecake, then sprinkle a crust (made of graham cracker crumbs and butter) over the top. Pat it down and chill it until the crust is firm. I've not tried this. If you do, and it works I'd love to hear from you about it.
Amy says
How would you prepare this if you wanted to have a traditional bottom crust?
Beth says
Unfortunately, I have not figured that out. You can't put a crust on top of the cheesecake filling in the silicone mold because the crust would sink into the filling as it bakes, so the best thing you can do is to bake a round crust in a springform pan, then remove the metal ring and set the baked birthday cheesecake over top of the crust. It won't completely stick together, but it should stick well enough to hold it all together.
Tavette says
Letters "dripping" off the side of your cheesecake. Wow - bet your sister and her husband were duly impressed, although they must be impressed every single time you do a post!
At first I thought maybe the letters were candy clay, but then - a mold with the letters already indented. Even easier.
Just now to the side of my screen are the chocolate bowls with peppermint filling. Surely have to check that out.
Tavette - S. Fla.
Beth says
The "Happy Birthday" silicone mold is really great. I loved using it to make this cheesecake. The birthday party guests were quite amazed with the cheesecake and every slice was eaten!
I'm glad you are watching the videos and seeing things like the chocolate bowls. Enjoy!
The Partiologist says
Oh my goodness, that is the cutest birthday cheesecake ever! I NEED that pan!
Beth says
Thanks! I love the pan and can't wait to make a black and white version of this birthday cheesecake too.
Lynn says
Very cool! That really turned out great:@)
Beth says
Thanks Lynn!
Tavette says
Well isn't YOUR sister the lucky one to have such a talented sibling. And WE are lucky also to kind of help them celebrate by oohing and aahing over all your creations.
Tavette - S. Fla.
Beth says
She did love her cake! Thanks for oohing and aahing! 🙂