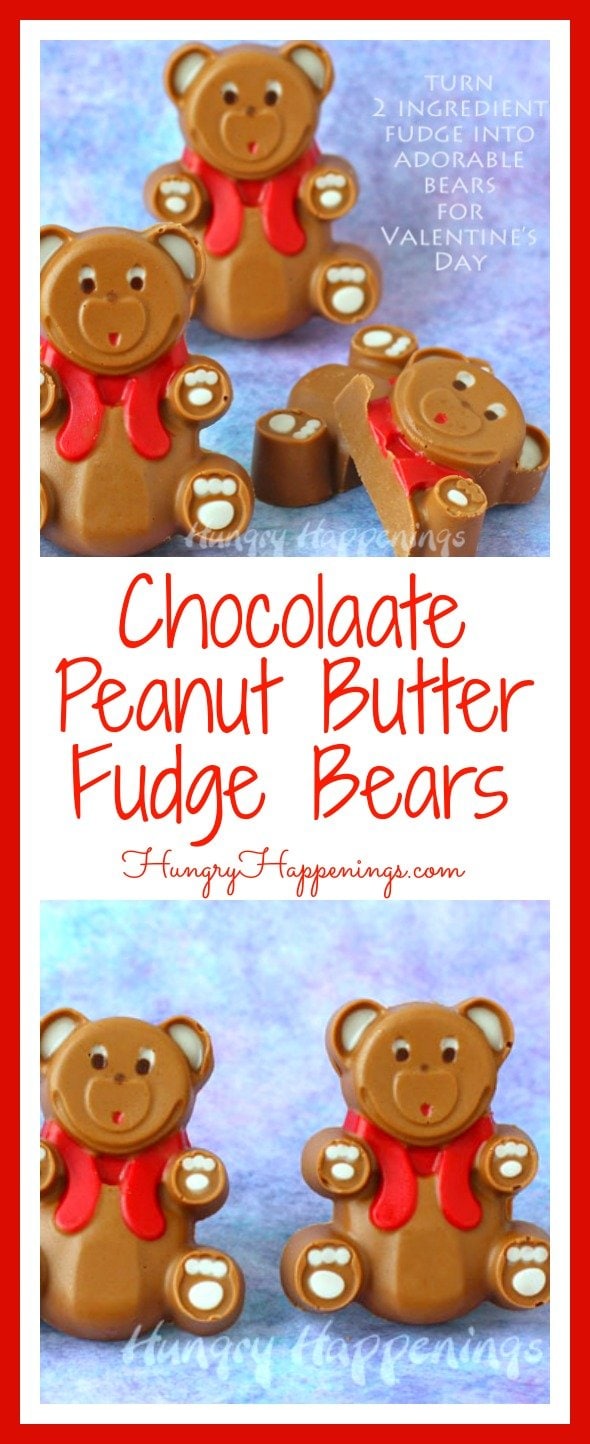
You can give someone you love a big bear hug this Valentine's Day or one of these adorable Chocolate Peanut Butter Fudge Bears. Either will be nice, but the edible bears are definitely sweeter.

My love of teddy bears and candy making goes back to childhood. I was 13 when I first learned how to hand paint candy molds to create fun holiday treats.Hand painting molds has always been one of my favorite candy making techniques, but I have to admit that with age, it has become more challenging. Seeing the tiny indentations in clear plastic lollipop molds now requires me to wear a pair of reading glasses.
That's why I'm enjoying using silicone molds a bit more these days, which is what I used to make these Valentine's Day sweets.
Not only is it easier to see the grooves in a brightly colored silicone molds, but I have many more options than just making chocolates in the molds. I've made everything from cheesecakes to jalapeno cheddar muffins in them.
Today, I'm going to show you how to make an incredibly simple two ingredient peanut butter chocolate fudge to fill some hand painted teddy bear molds.
If you want, you can just leave your bears brown. No color is really needed, but I couldn't resist adding color and detail to mine using white confectionery coating (Candy Melts.)
Kids will love helping you with this project. Over the years I've taught over a thousand kids to paint candy molds, and although their fudge bears may not end up looking as neat and clean as the ones you make, the kids will have a blast.

RELATED: Find dozens of easy fudge recipes at HowToMakeEasyFudge.com.
Chocolate Peanut Butter Fudge Bears
Ingredients: (makes 6 bears)
Candy Paint-*
2 ounces white confectionery coating
2 ounces red confectionery coating
1 ounce dark cocoa confectionery coating
1 ounce light cocoa confectionery coating
*you may not use all of this candy paint, but it's best to melt a bit more than you need
Fudge-
12 ounces good quality pure milk chocolate, finely chopped
6 ounces creamy peanut butter
Supplies:
1 silicone teddy bear mold**
optional: electric skillet with 4 small glass bowls
4 food use only paint brushes
**I ordered two of these molds from Amazon, using the link at the bottom of the post, and one was dark green, the other bright green, even though the mold pictured is blue. Just thought you'd like to know that detail in case you order the molds.
Instructions:

Whenever I'm painting confectionery coating (a.k.a. candy coating, Candy Melts) into molds, I use a water bath to melt small bowls of the candy coating. I fill an electric skillet with a few inches of water (just enough to go ½ - ¾ of the way up the sides of my bowls.) I turn the skillet on WARM (the lowest setting) and let my candy wafers melt, stirring it occasionally.
I can keep my candy melted all day long and hand paint lots of molds throughout the day. If you are in a hurry, or you don't have a skillet, melt the candy coating in the microwave. You can put all 4 bowls in at one time. Heat on high power for 15 second increments, stirring after each, until melted.
If you don't use a skillet you may want to melt each color as you need it, or reheat it as needed.
You can see an in depth tutorial all about this process on my Chocolate Making Tips page.

Paint the ears and paws using white, the eyes using dark cocoa and white, the nose light cocoa, and the vest red.
Once you have all the details painted, pop the mold in the freezer for 3-4 minutes, until the candy coating hardens.
Remove it from the freezer and allow the mold to come back to room temperature while you make the super easy fudge.

Heat the finely chopped milk chocolate in the microwave on high power for 30 seconds. Stir. Heat for 25 seconds, stir. Heat for 20 seconds. Let bowl sit in microwave for 2 minutes then stir. If needed, heat for 10 second increments, stirring after each until melted.
Stir in peanut butter.
That's it!!! Super easy, right?

Pour the chocolate peanut butter fudge into the silicone molds.
Pop the molds in the refrigerator for one hour, then pop in the freezer for 5 minutes.

Unmold the fudge bears, by turning the mold upside down, and pressing on the backside of the mold. If the fudge doesn't come out easily, it may need to chill in the refrigerator a bit longer.

Allow the fudge bears to sit at room temperature for at least an hour so they soften.
The fudge will be rich, creamy and smooth.
These bears will keep stored in an airtight container for up to a month.
Have you ever hand painted chocolates? Do you use the water bath in a skillet method?
You can find supplies needed to create this recipe on Amazon. I earn a small commission when you use the sales links in this post to make a purchase at no extra cost to you.
 Presto 06626 11 inch Electr...Shop on Amazon
 6 Even Sweet Baby Bear Sili...Shop on Amazon
  Wilton White Candy Melts, 1...Shop on Amazon
 Wilton Red Candy Melts® Ca...Shop on Amazon
 Wilton Light Cocoa Candy Me...Shop on Amazon
Hand-paint candy melts into a silicone bear-shaped mold then pour in chocolate peanut butter fudge to create these cute fudge bears.
- 2 ounces white confectionery coating
- 2 ounces red confectionery coating
- 1 ounce dark cocoa confectionery coating
- 1 ounce light cocoa confectionery coating
- 12 ounces good quality pure milk chocolate finely chopped
- 6 ounces creamy peanut butter
-
Paint the ears and paws using white, the eyes using dark cocoa and white, the nose light cocoa, and the vest red.
-
Once you have all the details painted, pop the mold in the freezer for 3-4 minutes, until the candy coating hardens.
-
Remove it from the freezer and allow the mold to come back to room temperature while you make the super easy fudge.
-
Heat the finely chopped milk chocolate in the microwave on high power for 30 seconds. Stir. Heat for 25 seconds, stir. Heat for 20 seconds. Let bowl sit in microwave for 2 minutes then stir. If needed, heat for 10 second increments, stirring after each until melted.
-
Stir in peanut butter.
-
Pour the chocolate peanut butter fudge into the silicone molds.
-
Pop the molds in the refrigerator for one hour, then pop in the freezer for 5 minutes.
-
Unmold the fudge bears, by turning the mold upside down, and pressing on the backside of the mold. If the fudge doesn’t come out easily, it may need to chill in the refrigerator a bit longer.
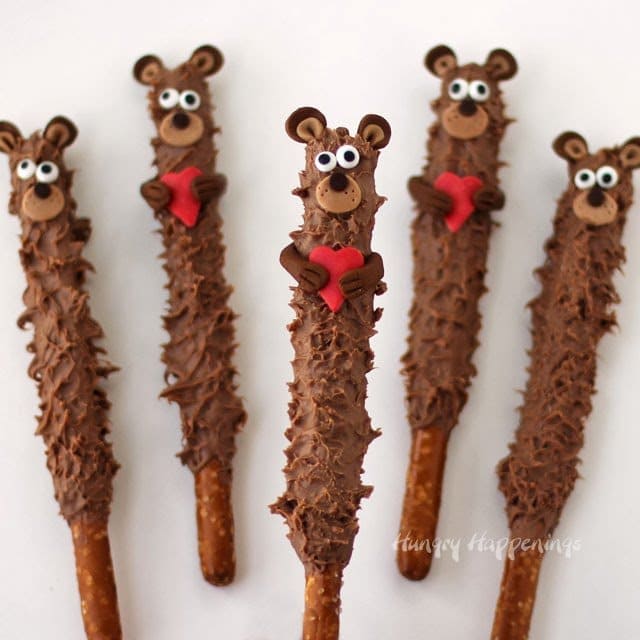
More Valentine's Day Candy Recipes
from Hungry Happenings
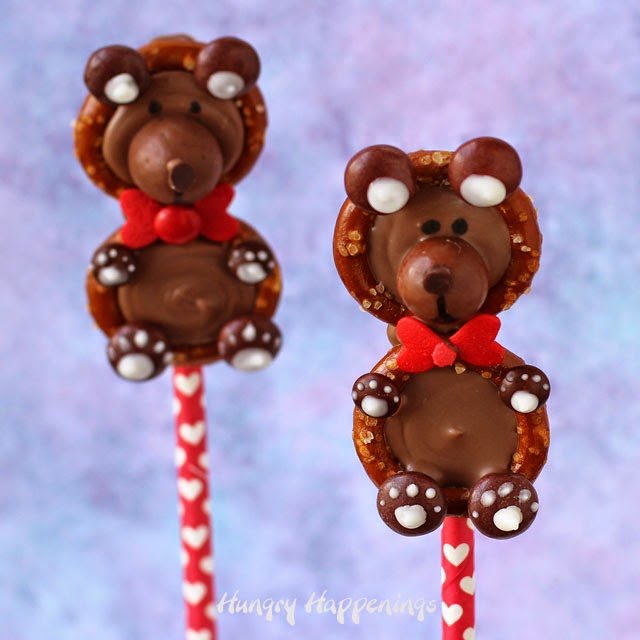

Buckeye Bears - Peanut Butter Fudge Filled Chocolate Teddy Bears
Chocolate Raspberry Ice Cream Truffles
If you are looking for other treats or gifts to make for Valentine's Day,
you might like these other recipes too.


- Banana Split Bars – A Fun and Easy Summer Dessert - March 4, 2026
- Pineapple Fudge (No Candy Thermometer Needed!) - March 4, 2026
- No-Bake Peanut Butter Pie Recipe - March 3, 2026

Tavette Tavetta says
In defense of clear chocolate molds (now that I've just spoken harshly about the time involved in coloring them with multiple colors_ I have to say that you can always tell if you've completely filled in an area by holding the mold up in the air to check to air pockets.
I keep food only brushes in a little container with my chocolate supplies and have all sizes to accommodate the size of the detail I plan to do. That way the brushes never get used for anything other than food.
Tavette - S. Fla.
beth says
You are right, that being able see the underside of the mold is a huge advantage to a clear mold.
You have a very smart way of storing your brushes. I do the same.
Tavette Tavetta says
Let's not even talk about clear plastic candy molds with fine details. Looking through my boxes and boxes of molds (lots with fine details) I now think "what was I thinking?" Using multiple colors on each mold do turn out beautifully but there's so much time involved. Those are now reserved for special gifts.
What brand do you recommend for the "good quality pure milk chocolate" in the fudge? Are you talking about a bar or morsels like Ghiridelli?
Your bears are so cute and the fudge in the middle sounds yummy.
Tavette - S. Fla.
beth says
It makes me laugh t to thing that when I first started selling hand painted lollipops, I charged $1.00. Of course that was almost 40 years ago, but still, the amount of work that goes into painting a lollipop, even back then, was worth so much more. I still make them, but like you, they are for special occasion.
Use any milk chocolate you enjoy eating. I think Ghirardelli makes very good milk chocolate and it would be good in this recipe. I don't suggest using chips as they are not meant to melt completely, They will melt completely, but will be thick and hard to blend with the peanut butter and even harder to pour into the molds.
Michelle Clausen says
I need to try the painting of color onto the molds! I've never actually tried that technique! I have some tiki head molds that I bet would be fun to do this way 🙂
karenb says
These are so cute!! Beth, I hope you can give me some pointers on filling these candy molds. I haven't had good success with painting the molds. How do you get the colored chocolate in the tiny details? I find the brush tips too large and always overfill these details. Is there a "trick" to filling these? I tried using toothpicks but I still overfilled the details. How do you fix an overfilled detailed area so it doesn't look smeared? Thanks!!!
beth says
Hi Karen,
I try to use really fine tip paint brushes when painting small details in my molds. I also just dab the candy coating, as apposed to brushing it, which works great. On occasion I will use a toothpick as you mentioned. If you overfill an area, freeze the mold, then remove it and use a toothpick to pick that candy out of the mold. It's really hard to clean it up otherwise. If you check out my Chocolate Making Tips page there is a detailed tutorial all about painting molds. Scroll down the page about 1/4 of the way, and you'll find the tutorial. Here's a link - https://hungryhappenings.com/p/chocolate-making-tips.html
The Partiologist says
I must say you have quite the patience, painting in those extra details, which makes them stand out so beautiful!
beth says
Now that I don't see as well, it requires even more patience, but I love it!