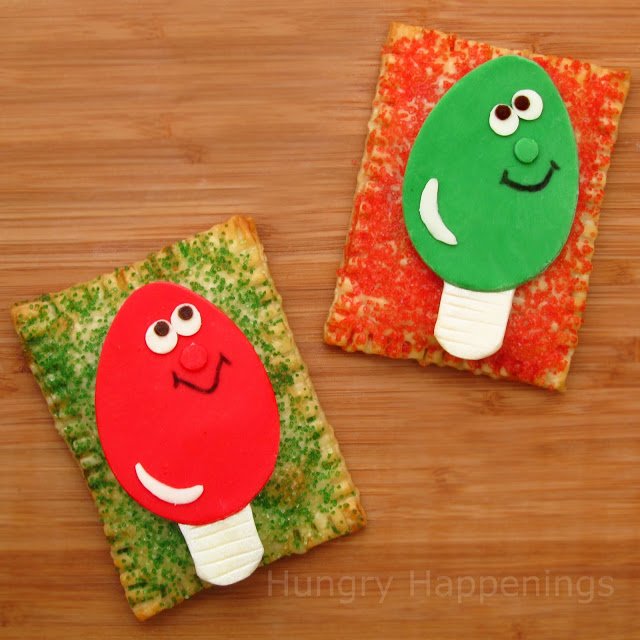
Add a little sparkle to your Christmas morning by serving these cute Christmas Light Breakfast Pastries. Your whole family will love these sweet breakfast treats.
I hope some of you have had time to re-create some of my modeling chocolate designs and will send me pictures of your creations. I always enjoy seeing how you are inspired by my projects to make your own special treats.
Over the past few weeks, I've shared with you instructions to create 11 different treats.
I said before that the elf and the Christmas kids were my favorites designs of the series, but I held out one of my favorites until the very end.
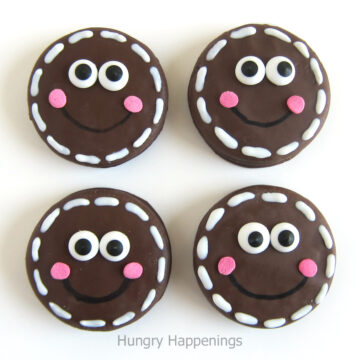
Don't you just love these Christmas lights with their adorable eyes and cheery smiles? I do.
They just make me happy and they should make you happy too because they are super simple to re-create.
I still had a long list of things that would be great topped with these designs and finally settled on homemade pastry pockets that I made using store-bought pie crust filled with Nutella and topped with colored sugar. They are really easy to make, taste great, and look so good as a backdrop to my colorful light bulbs.
Christmas Lights on Pastry Pockets
You'll need:
cutting board
rolling pin
pizza wheel or knife and fork
baking sheet lined with parchment paper
pie dough (one 9" store-bought crust makes 3 pastry pockets)
Nutella chocolate hazelnut spread or any pie filling or jam
egg wash (1 egg mixed with 1 teaspoon water or use one egg white)
pastry brush
colored sanding sugar
white modeling chocolate, recipe here*
black, red, green candy/food coloring*
food handling gloves (highly recommended to use when adding color)
powdered sugar, to dust work surface
egg cookie cutter - 2" wide by 2 ½" tall
#10 round pastry tip
#4 round pastry tip
food only paintbrush
knife
silver luster dust, optional
I used dark modeling chocolate to create the pupils in the eyes, but you can simply
color some white modeling chocolate with black food coloring instead.
Instructions
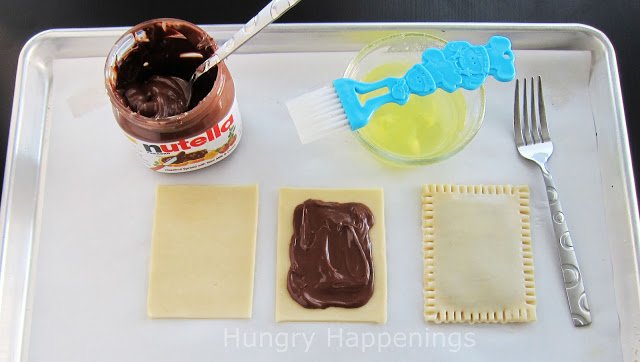
Cut and fill the pastry pockets.
- Preheat oven to 400 degrees.
- Thaw and unroll store-bought pie crust onto a cutting board (or use homemade pie dough.)
- Roll it out a bit thinner in order to get three pastry pockets out of each 9" pie crust.
- Cut into 3" x 4" rectangles. Set three rectangles on a parchment paper-lined baking sheet.
- Spread Nutella or other pie filling onto the center of each rectangle.
- Brush egg wash around the edge of the rectangle.
- Set another rectangle of dough on top.
- Use a fork to crimp the edges.
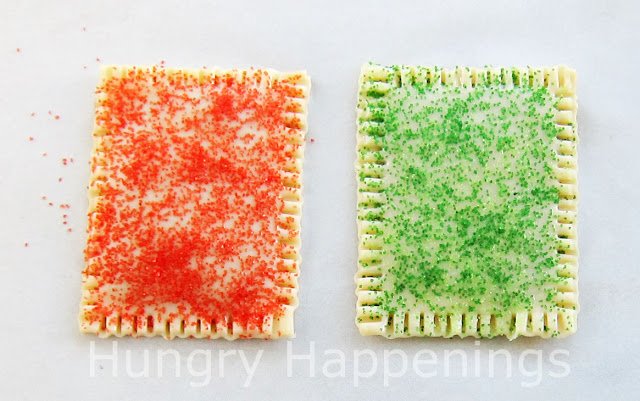
Sprinkle sugar on top.
- Brush the tops of each pastry with egg wash.
- Sprinkle-colored sanding sugar on top.
- Bake for 10-12 minutes until golden brown.
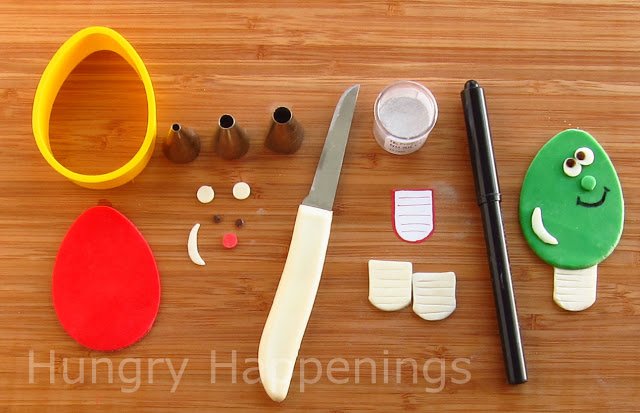
Make modeling chocolate Christmas lights.
- Pinch off some white modeling chocolate and color it red. Color some green too.
- Also, color a small amount of white modeling chocolate black (or use dark chocolate clay.)
- For detailed coloring instructions, go here. This is where I wear those food-handling gloves, otherwise, my hands turn a rainbow of colors.
- Dust a cutting board lightly with powdered sugar. Roll out the red, green, white, black (or dark) modeling chocolate to 1/16-inch thickness.
- Use the egg-shaped cookie cutter to cut out red and green light bulbs.
- Use the small end of the #12 round pastry tip to cut two small circles for each of the eyes out of white modeling chocolate.
- To do this you'll want to press the pastry tip, tip side down, into the modeling chocolate cutting a small circle, then turn it upside down and tap on the counter and the circles will drop out the larger end of the tip. I usually cut a bunch of circles, before turning the tip upside down.
- Use the same technique and the #10 tip to cut noses out of red and green.
- Then use the #4 tip to cut black circles for the pupils.
- Either copy and size the template for the screw cap shown in the picture above before cutting them out of paper, or hand-cut your own templates.
- Set the template over some white modeling chocolate and cut out around it.
- Use a knife and gently press it into the piece of modeling chocolate to create horizontal lines.
- Brush on silver luster dust, if you want your screw caps to look like metal. (I used a cotton ball to add the luster dust.)
- Cut a highlight out of white using a knife. A sliver of a moon shape works best.
- Attach the modeling chocolate pieces together using water. Example: lightly brush water on the top of the screw cap. Press it against the backside of the wide part of the red or green egg.
- Draw smiles onto each light bulb using a black food coloring marker.
- If you don't have a marker, you can roll some black modeling chocolate into a thin log to use for the smile.
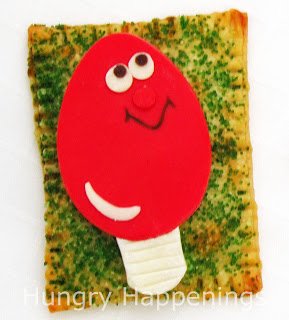
You can attach your modeling chocolate light bulbs to your baked pastry pockets in several ways. If the pastries are warm, simply set the light bulb on top of them. The decoration will melt slightly and stick to the pastry. If your pastries are cold just spread some Nutella on the backside of the light bulb and stick it on the pastry.
You can heat these pastries up in an oven or toaster oven (not in a toaster) with the decoration attached, but be aware that the decoration will melt a bit and may brown.
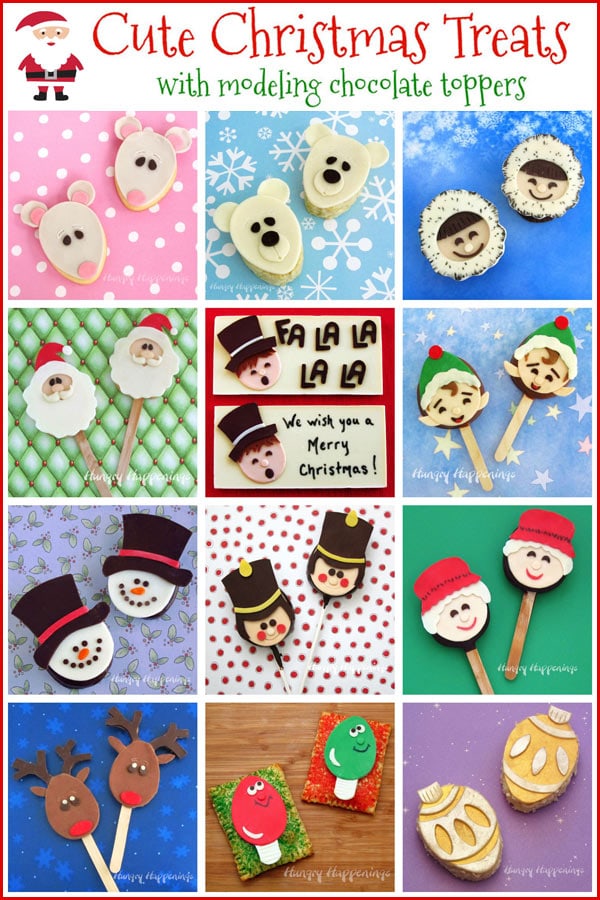
See all of my 12 Modeling Chocolate Christmas Treats.
- How to make peanut butter? - February 15, 2024
- OREO Penguins - December 20, 2023
- OREO Snowmen - December 20, 2023

The Partiologist
What cute ideas you have - love this one!
Beth Jackson Klosterboer
Thanks so much Trish! I'm glad you like the designs. I really had fun putting all of them together.
Trish - Sweetology101
I love coming over here to see what you have. I so want to work w/ this modeling chocolate it looks like the possibilities are endless. These creations are one of the CUTEST out there in bloggy land, IMO. 🙂 keep it coming!!