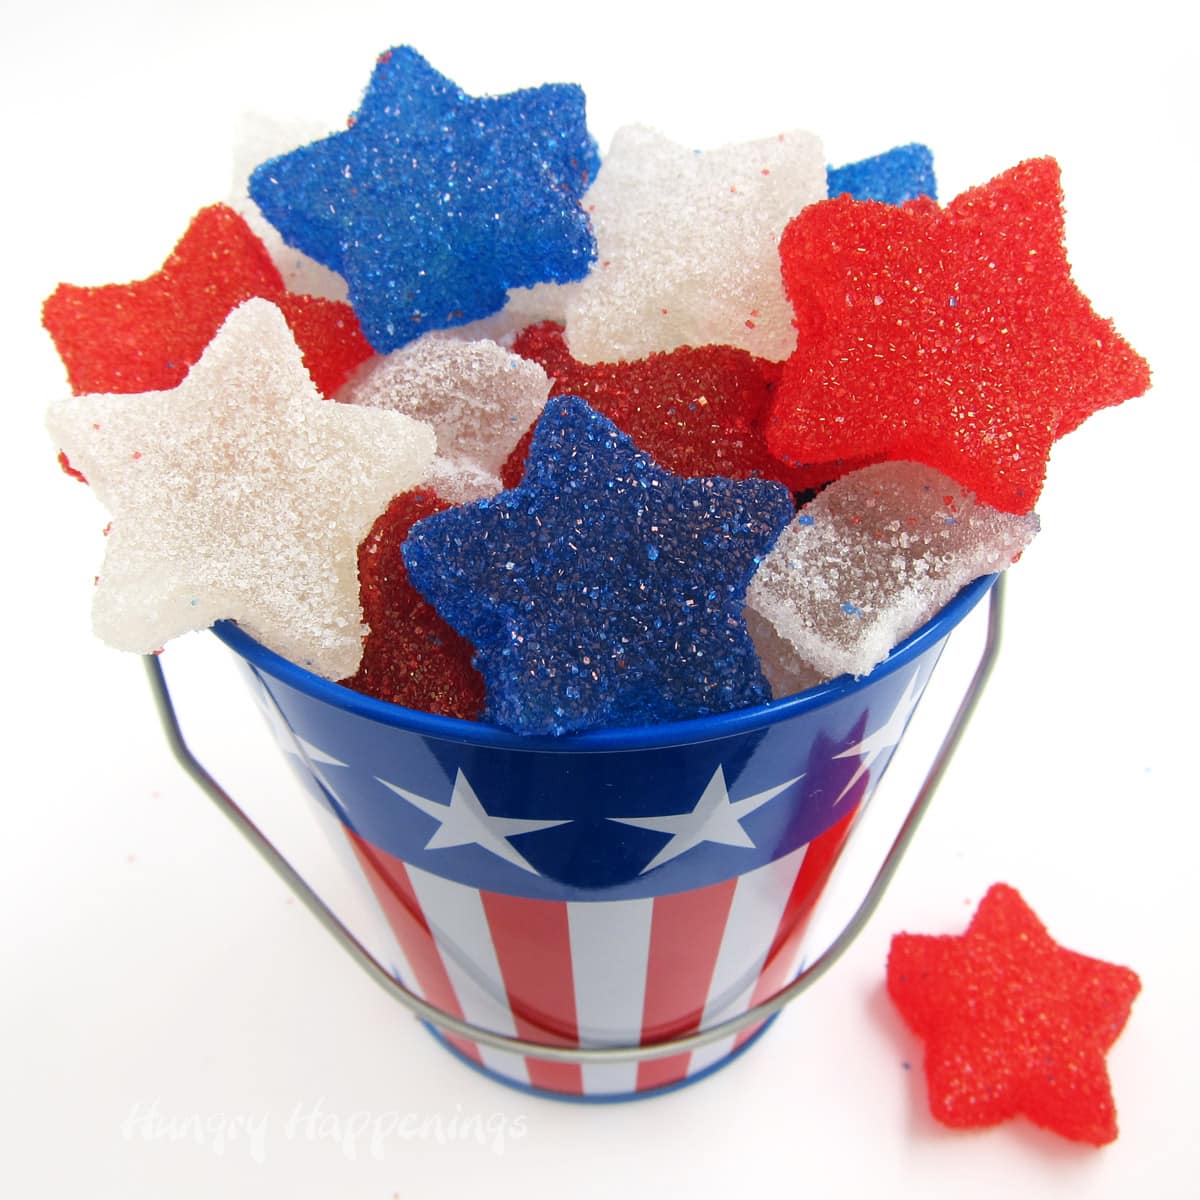
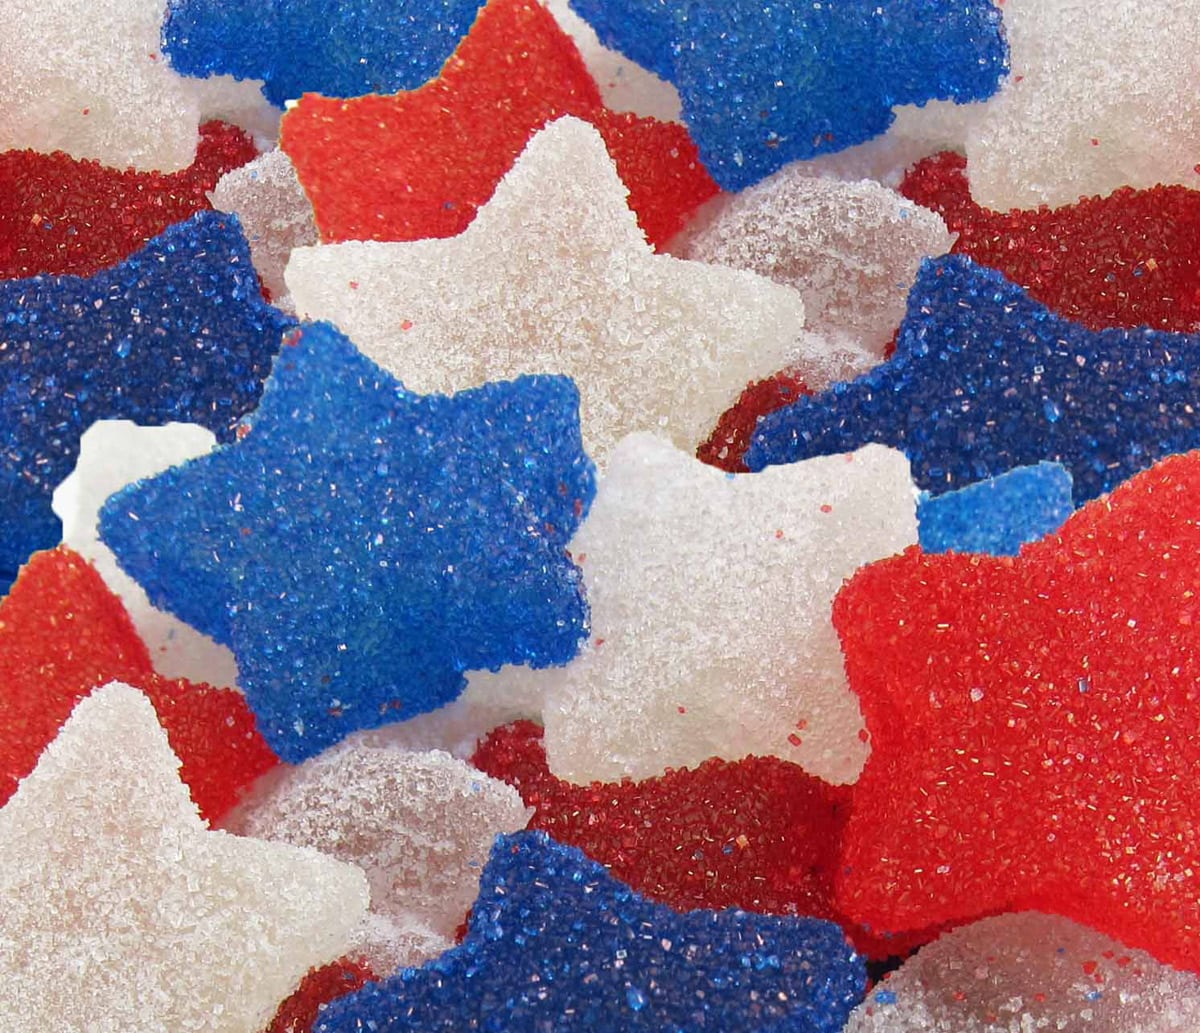
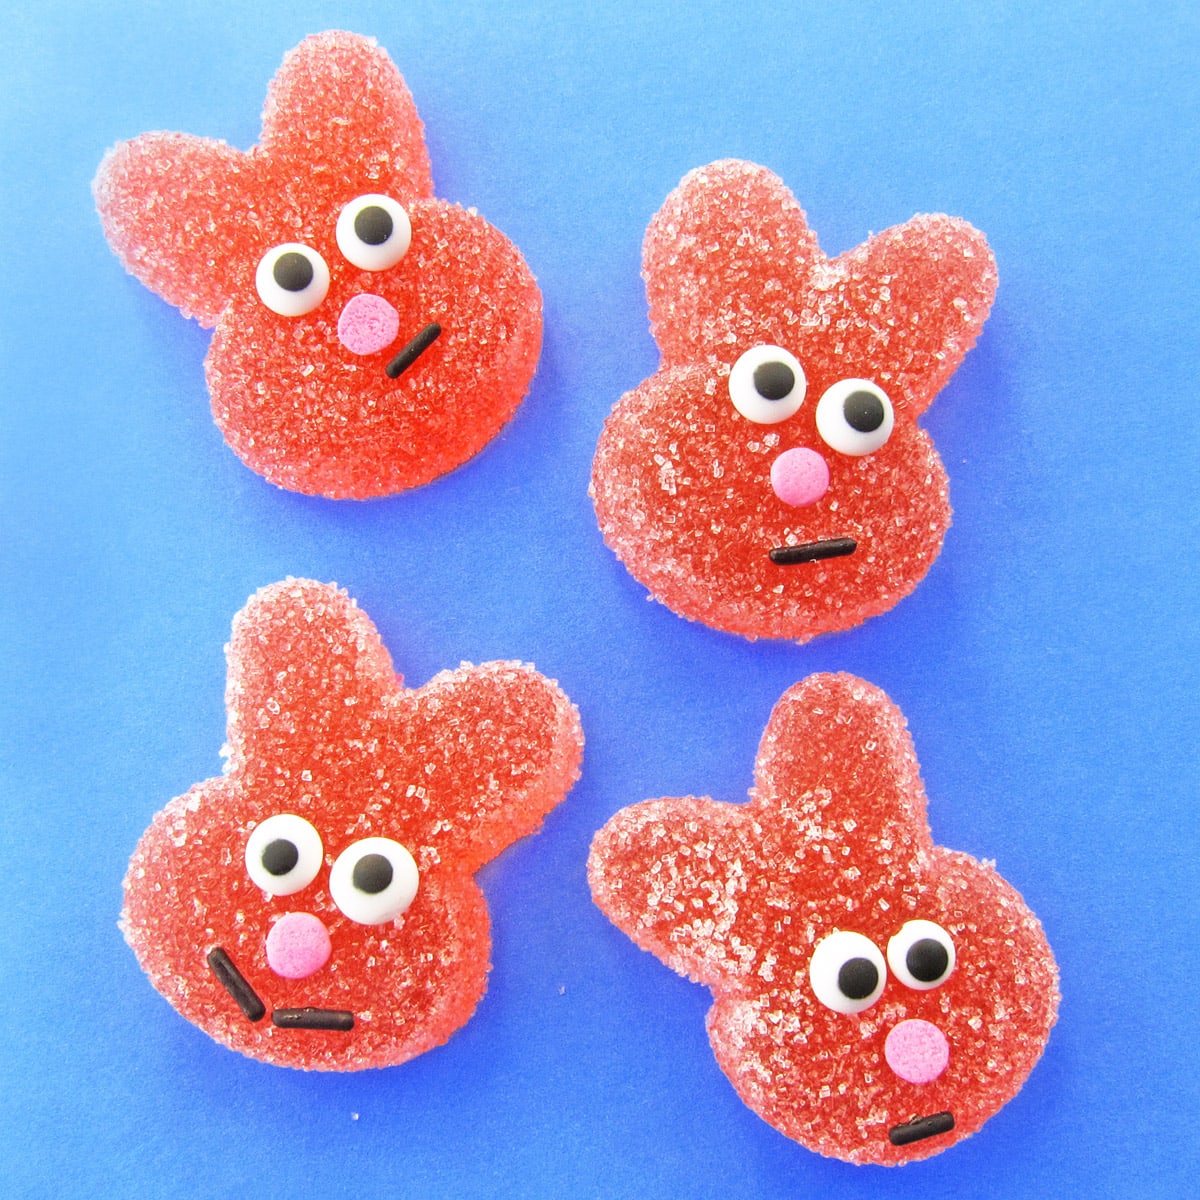
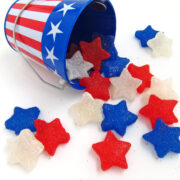
Homemade gumdrops taste so much better than store-bought gumdrops and you can flavor, color, and shape them for any holiday. These Red, White, and Blue Gumdrop Stars are a perfect treat for any patriotic holiday including the 4th of July, Memorial Day, Labor Day, Veteran's Day, or Flag Day.

I was inspired to try my hand at making gumdrops when I spotted star-shaped silicone ice cube trays while shopping at Target last week. The cavities in the molds are just the right size for a yummy little sweet treat and I could immediately envision how great the candy stars would look dressed in red, white, and blue sugar.
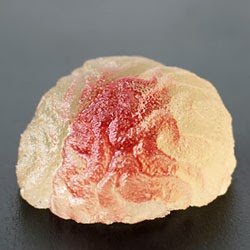
These homemade gumdrops are made using pectin as the gelling agent which gives them a delicately chewy texture as opposed to gelatin which will make firm gumdrops.
The candies have a wonderfully soft chewy texture and can be flavored with your favorite flavorings like cherry, blueberry, pineapple, and green apple.
So, let's make some gumdrops!
Ingredients
Ingredients:
vegetable oil
powdered fruit pectin (do not use low or no sugar pectin) - You want pectin that is white or clear looking. I used Sure-Jell for this recipe. Pectin made my Ball has a brown hue to it, so I don't suggest it for this project.
baking soda
sugar
light corn syrup - Adding corn syrup prevents crystallization.
flavored oil or extract
optional, food coloring
colored sanding sugar - You can keep your candy clear and roll them in colored sugar or you can color your candy and roll them in plain white granulated sugar. I used bright red and blue sanding sugar and really love how vibrant the stars look.
Supplies
silicone molds, you'll need 4-5 of the star-shaped ice cube trays
optional, food handling glove to help with oiling your molds
1 ½ or 2-quart saucepan, preferably a good quality stainless steel pan
2 or 3-quart saucepan
candy thermometer
glass bowl with a spout or a glass mixing bowl
Instructions
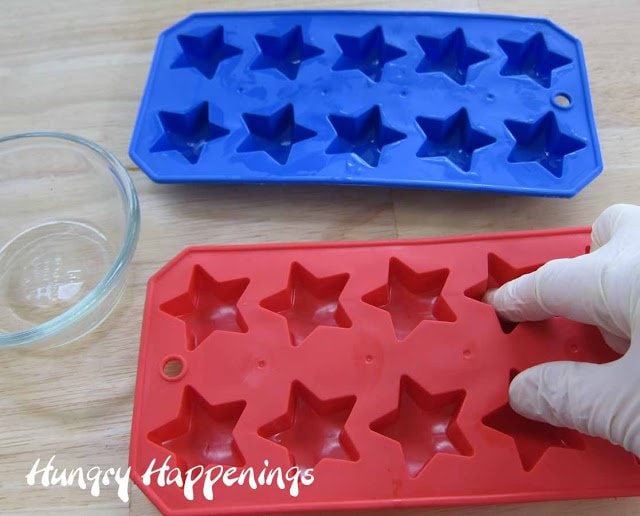
Grease the ice cube tray.
These ice cube trays were very stiff so I grease them so the homemade gumdrops could be removed easily.
If you use a softer silicone mold, you do NOT need to grease the mold.
Brush vegetable oil all over the cavities of your silicone mold. I found it easiest to put on a food-handling glove, dip my finger in some oil, and rub it into the star cavities. You could also use butter, and I think I'll try that next time.
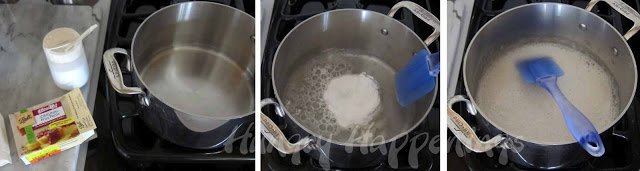
Heat the water, pectin, and baking soda.
Butter the sides of a heavy 1-½ or 2-quart saucepan. Set aside.
In another 2 or 3-quart saucepan combine water, pectin, and baking soda. The mixture will be foamy.
Bring to a boil over high heat, stirring constantly. Remove from heat and set aside.
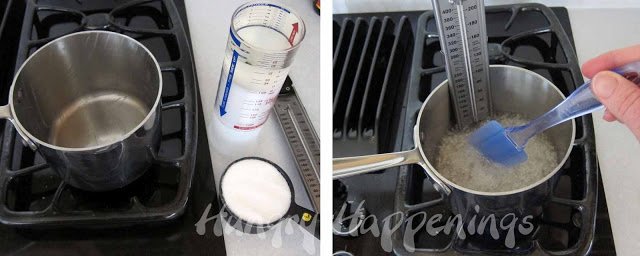
Heat the corn syrup and sugar.
In the buttered saucepan pour the corn syrup into the bottom. Sprinkle sugar in the center of the pan. Turn the heat on medium-high and allow it to cook for one minute. Then stir gently to dissolve sugar.
Be careful not to splash the sugar crystals onto the side of your saucepan. Bring to a boil, stirring constantly.
This took me just a few minutes, but the recipe says it can take up to 10 minutes.
Clip your candy thermometer onto the side of your pot. Cook until the thermometer registers 260 degrees Fahrenheit. You will continue to cook your sugar (ultimately you'll want it to reach 280 degrees which is the soft crack stage,) but at this point, you need to set your pan of pectin mixture back on the stove and heat it over high heat until it comes to a boil.
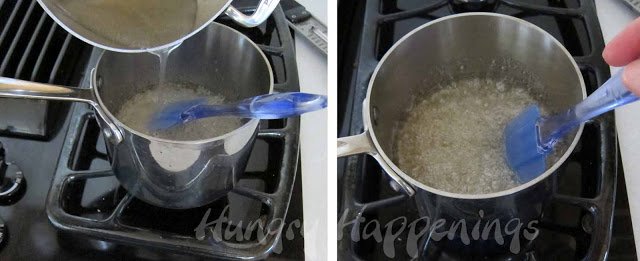
Combine the two.
Once your pot of boiling corn syrup/sugar reaches 280 degrees remove it from the heat or turn off your gas. Slowly and VERY CAREFULLY drizzle in the hot pectin, stirring slowly yet constantly.
You DO NOT want to splash any of this hot boiling sugar on your hands. Once all the pectin has been poured into the saucepan, return it to medium-high heat and cook it for one more minute, then remove from heat and pour into a glass bowl, with a spout, preferably. This stops it from continuing to cook.
To flavor your gumdrops, add some flavored oil or extract, ¼-1/2 teaspoon if flavoring the whole batch. To check if you like the flavor, fill a glass with ice water, take a small spoonful of your hot gumdrop mixture, and set the spoon in the ice water.
Let it set for at least 30 seconds. Remove it and touch it to make sure it is cool. Return to water, if too hot. Taste it. Adjust your flavoring accordingly.
Optional: You can divide your batch and use various flavorings if you prefer. You can also add coloring now if you'd like. A grocery store variety of food coloring will work fine. I left mine clear and used colored sugars and was very happy with the result.
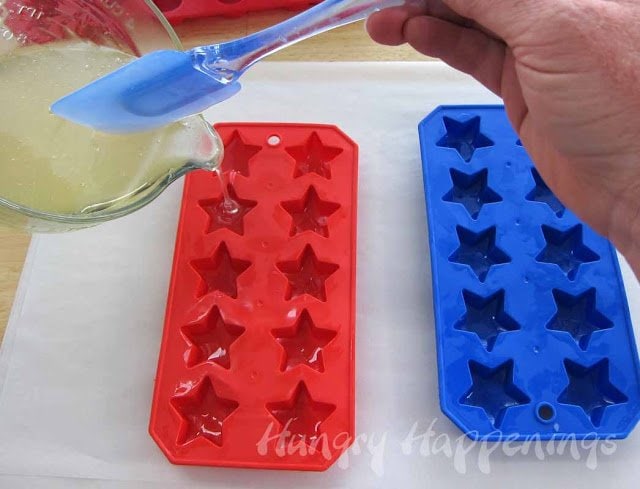
Pour into the molds.
Carefully pour into the silicone mold, filling each cavity to the top. Let sit at room temperature for at least 6 hours for best results. I pulled a few stars out after just a few hours, and they looked like stars but flattened out a bit.
Those left in the mold overnight, looked perfect when removed the next morning. You can see the blue star second from the right below was pulled out too soon.

Unmold and coat the gumdrops in colored sugar.
To remove your gumdrops from the silicone molds, press firmly all around one of the stars then peel the candy out of the mold.
Coat it in colored sanding sugar or granulated sugar.
Let them sit at room temperature for about an hour before packaging.
Package in festive Fourth of July pails, boxes, or bags, or simply set them in a candy dish and enjoy.
If you're looking for other 4th of July Recipes, click the link and explore all my other Independence Day-inspired food.
Related Recipes
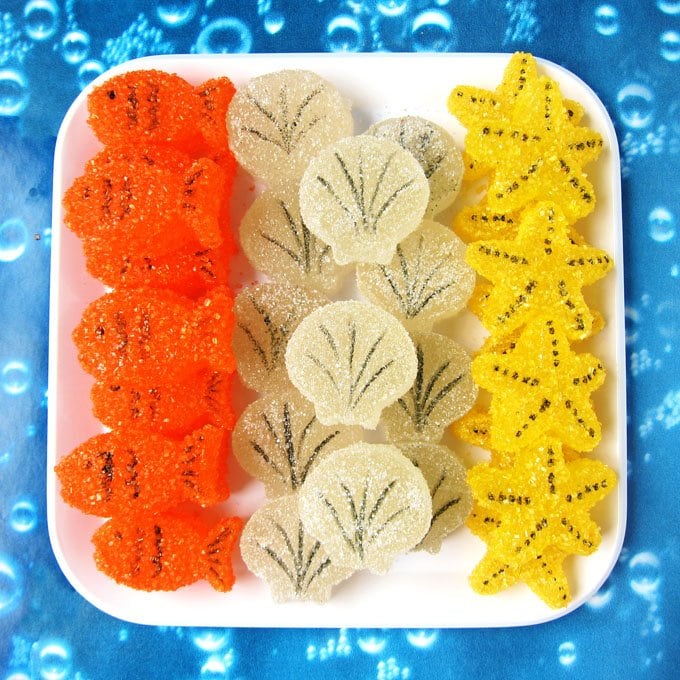
You can make gumdrops in lots of different shapes.
If you prefer to make a firmer candy, check out my Gummies Recipe.
Recipe
Make soft and chewy fruit-flavored gumdrops using star-shaped silicone molds. These red, white, and blue candies will make a fun treat for 4th of July.
- ½ teaspoon vegetable oil
- 1 teaspoon butter
- ¾ cup water
- 1 box (1.75-ounce) powdered fruit pectin (original not low or no sugar pectin)*
- ½ teaspoon baking soda
- 1 cup sugar
- 1 cup light corn syrup
- ½ teaspoon flavored oil or extract
- red and blue food coloring, optional
- ½ cup granulated sugar or colored sanding sugar
-
Brush a thin layer of vegetable oil all over the cavities of your silicone molds.
-
Butter the sides of a heavy 1-½ or 2-quart saucepan. Set aside.
-
In another 2 or 3-quart saucepan combine water, pectin, and baking soda. The mixture will be foamy.
-
Bring to a boil over high heat, stirring constantly. Remove from heat and set aside.
-
In the buttered saucepan pour the corn syrup into the bottom. Sprinkle sugar in the center of the pan. Turn the heat on medium-high and allow it to cook for one minute. Then stir gently to dissolve sugar.
-
Be careful not to splash the sugar crystals onto the side of your saucepan. Bring to a boil, stirring constantly.
-
Clip your candy thermometer onto the side of your pot. Cook until the thermometer registers 260 degrees Fahrenheit. You will continue to cook your sugar (ultimately you'll want it to reach 280 degrees which is the soft crack stage,) but at this point, you need to set your pan of pectin mixture back on the stove and heat it over high heat until it comes to a boil.
-
Once your pot of boiling corn syrup/sugar reaches 280 degrees remove it from the heat or turn off your gas. Slowly and VERY CAREFULLY drizzle in the hot pectin, stirring slowly yet constantly.
-
You DO NOT want to splash any of this hot boiling sugar on your hands. Once all the pectin has been poured into the saucepan, return it to medium-high heat and cook it for one more minute, then remove from heat and pour into a glass bowl, with a spout, preferably. This stops it from continuing to cook.
-
To flavor your gumdrops, add some flavored oil or extract, ¼-1/2 teaspoon if flavoring the whole batch. To check if you like the flavor, fill a glass with ice water, take a small spoonful of your hot gumdrop mixture, and set the spoon in the ice water.
-
Let it set for at least 30 seconds. Remove it and touch it to make sure it is cool. Return to water, if too hot. Taste it. Adjust your flavoring accordingly.
-
Optional: You can divide your batch and use various flavorings if you prefer. You can also add coloring now if you'd like. A grocery store variety of food coloring will work fine. I left mine clear and used colored sugars and was very happy with the result.
-
Carefully pour into the silicone mold, filling each cavity to the top. Let sit at room temperature for at least 6 hours for best results.
-
To remove your gumdrops from the silicone molds, press firmly all around one of the stars then peel the candy out of the mold.
-
Coat it in colored sanding sugar or granulated sugar.
-
Let them sit at room temperature for about an hour before packaging.
*NOTE: You want pectin that is white or clear looking. I used Sure-Jell for this recipe. Pectin made my Ball has a brown hue to it, so I don't suggest it for this project.
I used a gas stove and All Clad pans which conduct heat really well. It took my sugar much less time to boil to a temperature than called for in the original recipe. So, be sure to watch your thermometer, instead of using time as your guide.
Just a note before you begin: I used a gas stove and All Clad pans which conduct heat really well. It took my sugar much less time to boil to a temperature than called for in the original recipe. So, be sure to watch your thermometer, instead of using time as your guide.

- Banana Split Bars – A Fun and Easy Summer Dessert - March 4, 2026
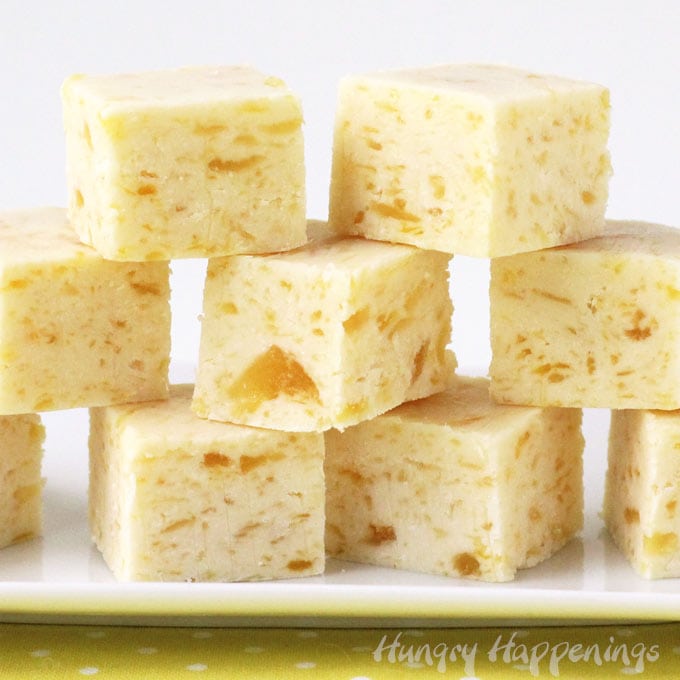
- Pineapple Fudge (No Candy Thermometer Needed!) - March 4, 2026
- No-Bake Peanut Butter Pie Recipe - March 3, 2026
Danielle Wagasky says
Hi there! I just wanted to let you know I featured you in my Fourth of July Round up. Stop by and check it out and snag a featured button.
Danielle @ Blissful and Domestic
www.blissfulanddomestic.com
Erin says
These are so cool! Amazing!
CuteEverything.com says
Gorgeous photos! Thanks for sharing. Pinning!
Lisa @ Flour Me With Love says
These are so cute! Thanks for sharing at Mix it up Monday 🙂
Michelle says
Very cute! You are so creative! 🙂
Christina Hermosa says
I love gumdrops! I'm sure I will be trying this in the future.
Connie says
Love this project! Have you linked it up with me yet at Wow Us Wednesday?
The Better Baker says
These are just adorable. Love the idea of using your 'ice cube trays'....very nice!
Mama Jodi says
These are great. I would love to do this sometime.
Jen says
You are really amazing with all your great ideas!
overtimecook.com says
These are so gorgeous and totally perfect for the 4th! I haven't made gumdrops yet, but I have been getting into my candy thermometer lately, so this is a must-try!
Jules says
I'm excited to see a gumdrop recipe with pectin and not gelatin. Thanks 🙂
Jules says
I'm excited to see a gumdrop recipe with pectin and not gelatin. Thanks.
Crafty Mischief says
These are great! Can't wait to try making some!
Dorothy @ Crazy for Crust says
Those are super gorgeous! What a pretty candy.
Tiffany Yang says
That looks deeeeeeelicious! Gotta give it a try!
Patricia @ ButterYum says
I didn't know you could make your own gumdrops - what a great idea. Really fabulous!!!
Stephanie says
Does anyone know of a fruit snack recipe that can be made in these molds? My grandsons would love this!
Beth Jackson Klosterboer says
I did a search for homemade fruit snack recipes and several came up. I think I might have to give one or two of them a try. Several of them were made using the ice cube tray molds. If you try any and find one that is really good, let me know:)
Stephanie says
I wonder if there is a fruit snacks recipe out there that can be made with these molds. My grandsons would love this!
Joan says
LOVE this idea and it's so much easier than I thought. Thanks!