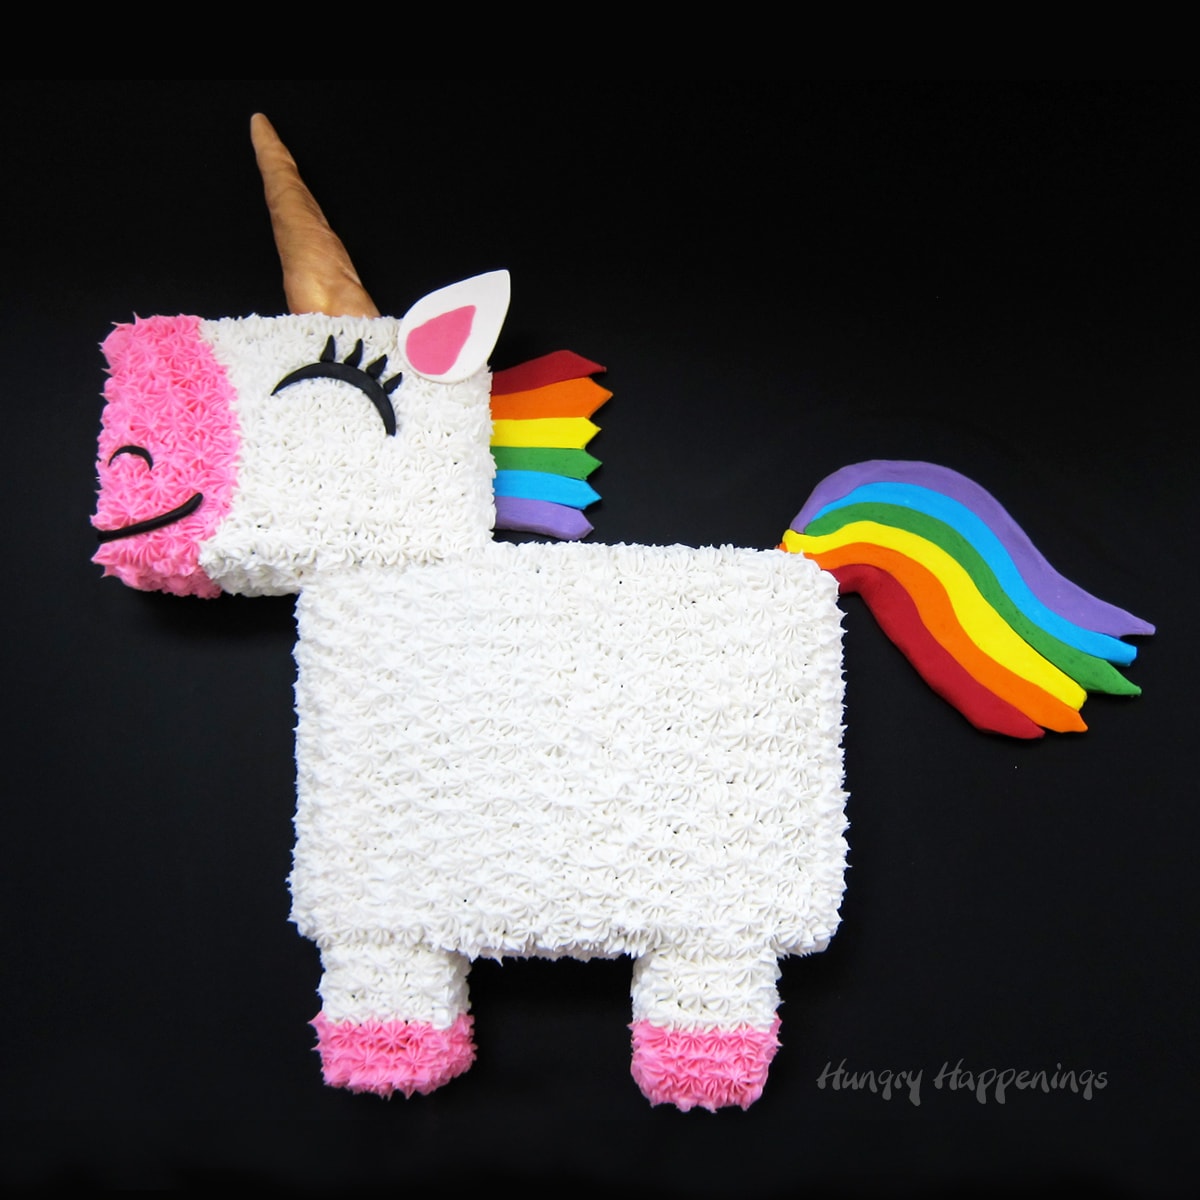
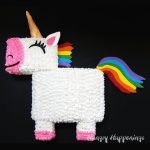
If you are looking for a colorful and festive unicorn cake that is easy to make, look no further. Just follow the step-by-step instructions to cut apart a 9x13-inch sheet cake to create this easy unicorn cake, and then decorate it with rainbow colors. It's the perfect birthday cake for any unicorn-loving kid or adult.
I am so excited to share this sweet rainbow unicorn cake with you. This simple cut-out cake reminds me of my childhood birthday cakes.
My mom used to have a Baker's Coconut Cut-Up Cake recipe booklet. The little cookbook featured cakes that were made by cutting apart a 9x13-inch sheet cake or two round or square cakes to create simple animal shapes like lions, ducks, giraffes, and dogs. They were so cute!
These cut-apart cakes were popular years before shaped cake pans were available and the designs were easy enough for any home cook to recreate.
Today, I'm going to show you how to make a white and pink unicorn cake using this easy technique.
To make this unicorn birthday cake, you don't need a pattern, you simply bake the 9x13 inch cake, cut it into shapes, frost it, and add rainbow decorations.
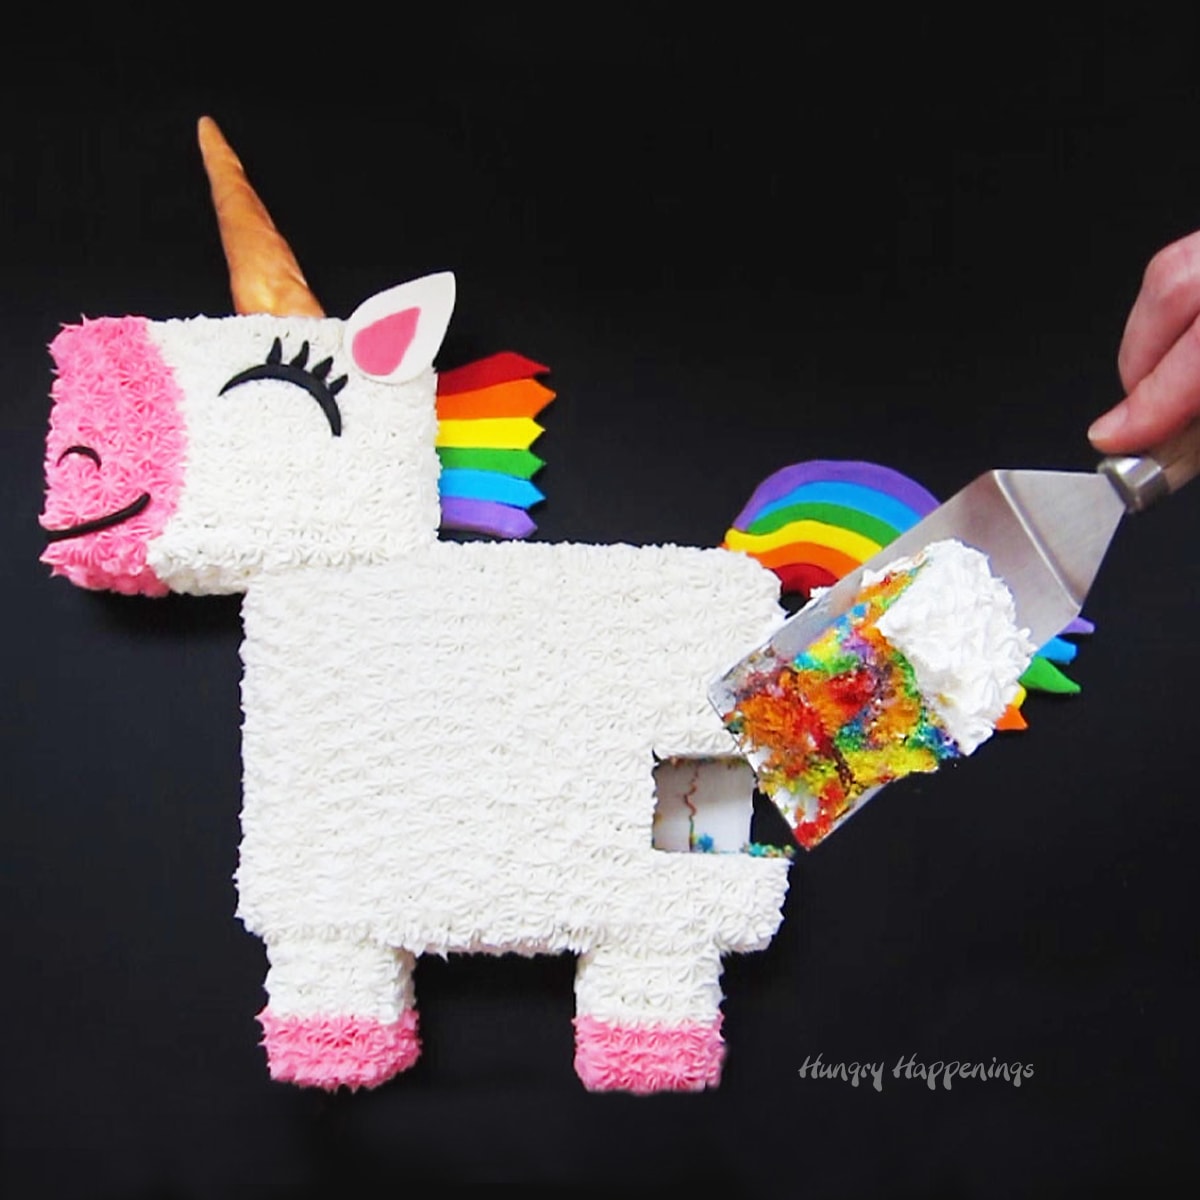
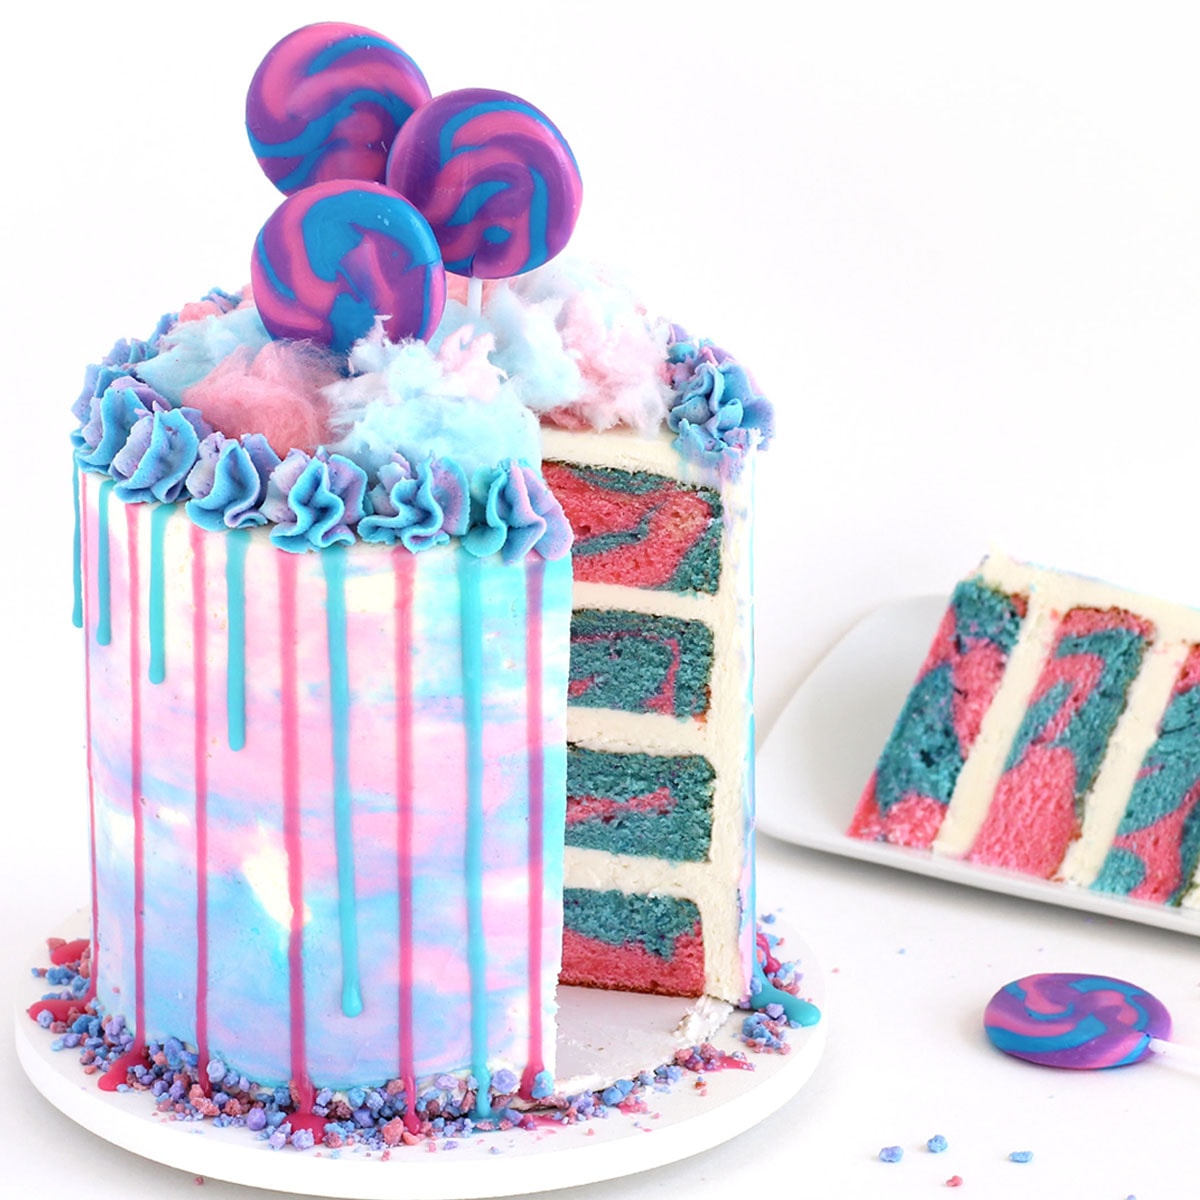
I wanted the interior of my unicorn cake to be just as magical as the exterior so I created a tie-dye rainbow swirl cake out of a white cake mix. You can make a plain white cake if you prefer, but you'll miss out on the surprised reaction of your party guests. It's fun to cut into the cake to reveal the colorful rainbow swirls inside.
Follow the instructions below to make the cake. There's also a video tutorial that shows you how to make, bake, assemble, and decorate the cake.
Ingredients
- cake mix and ingredients listed on the box (oil, egg whites, water)
- purple, blue, green, yellow, orange, and red food coloring
- white and pink frosting
- white, purple, blue, green, yellow, orange, red, and black modeling chocolate
Supplies
- mixing bowl and mixer to make the cake
- 9x13-inch baking pan
- baking spray
- parchment paper
- disposable pastry bags
- serrated knife
- large white cardboard cake board
- open star tips
- teardrop cookie cutters
- round cookie cutters
- fondant roller
- edible gold luster dust
- fan brush (or large food-use-only paintbrush)
You can find everything you need to make this cake from Amazon (commission earned for sales).
 Wilton Recipe Right Non-Sti...Shop on Amazon
 Wilton Disposable Decoratin...Shop on Amazon
 Betty Crocker Food Color Ne...Shop on Amazon
 Betty Crocker Classic Gel F...Shop on Amazon
 2dayShip Premium Quilon Par...Shop on Amazon
 Wilton Cake Decorating Tip ...Shop on Amazon
 Ateco Plain Edge Tear Drop ...Shop on Amazon
 Wilton Set of 3 Round Cut O...Shop on Amazon
 Food-Grade Luster Dust, 4 G...Shop on Amazon
 Candy Clay Creations: How t...Shop on Amazon
") SafePro 281850, 25x18?5-Inc...Shop on Amazon
SafePro 281850, 25x18?5-Inc...Shop on Amazon Wilton Creamy White Decorat...Shop on Amazon
Instructions
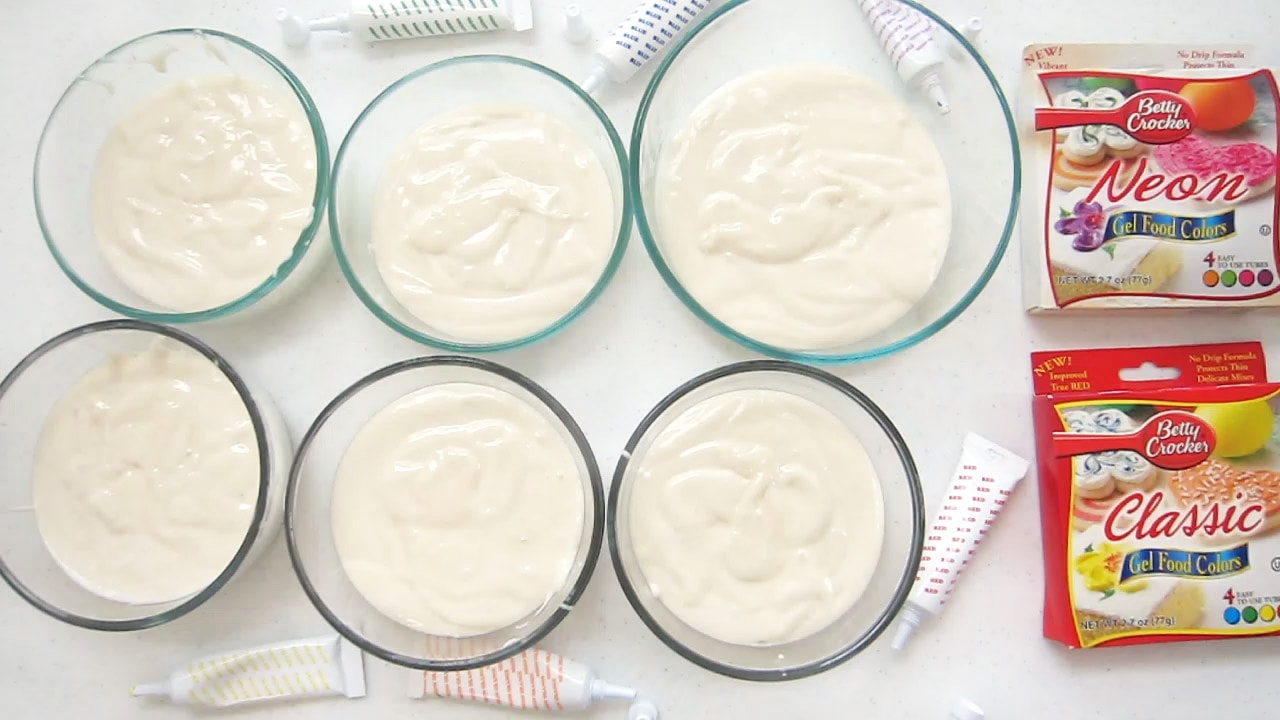
Make a cake mix using the package instructions. Divide the batter equally among 6 bowls.
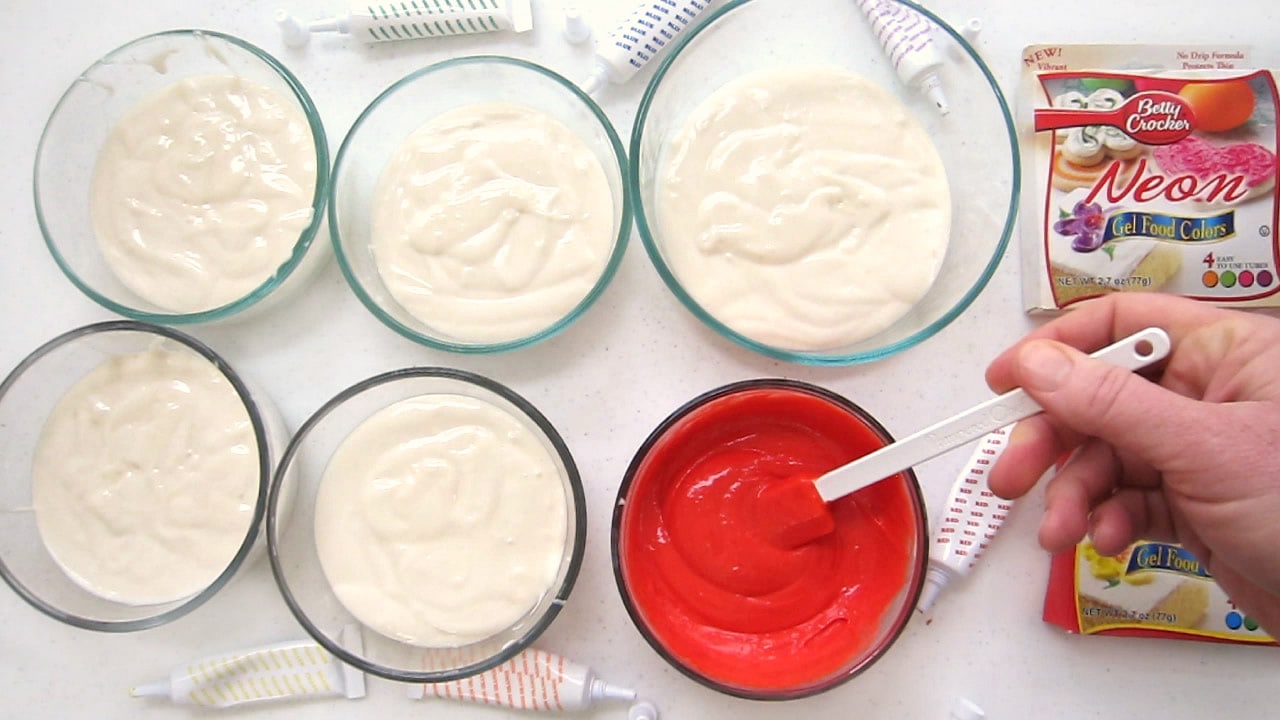
Color one bowl using red gel food coloring. Add a few drops of coloring at a time, stirring until red.
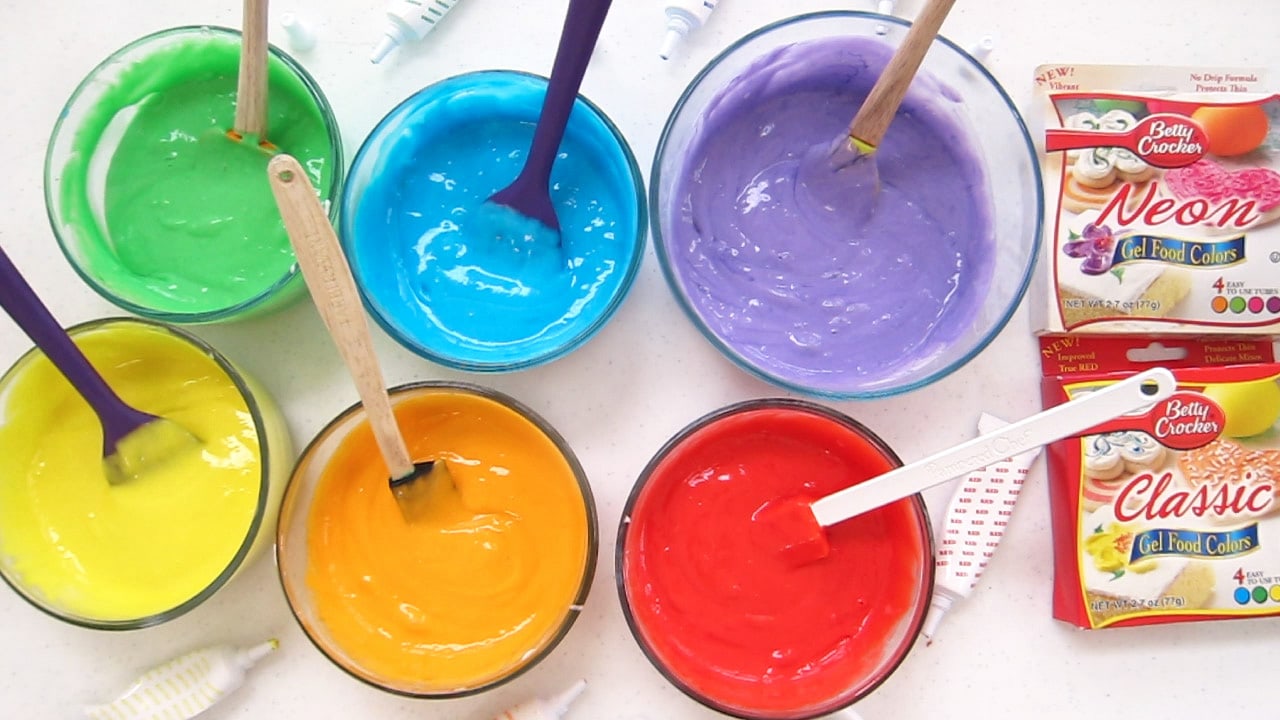
Color the remaining bowls of cake batter using orange, yellow, green, blue, and purple coloring.
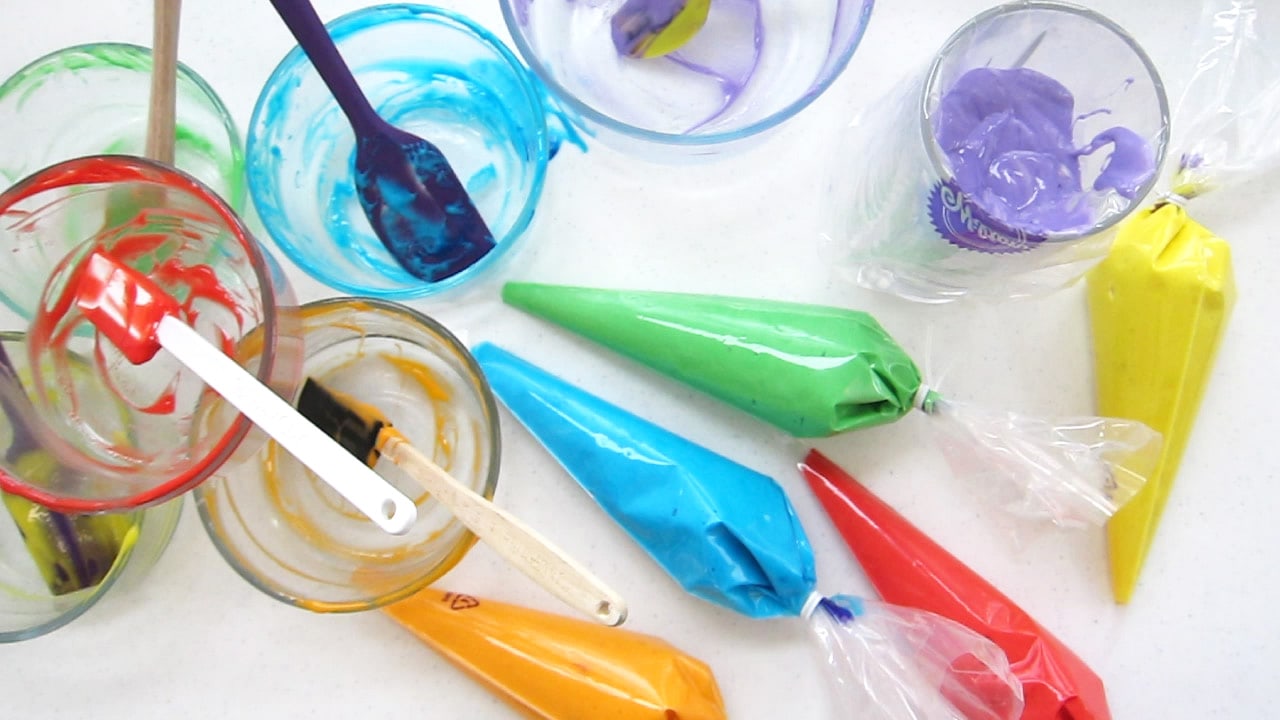
Spoon the colored batter into individual disposable pastry bags. Twist-tie the ends to keep them closed.
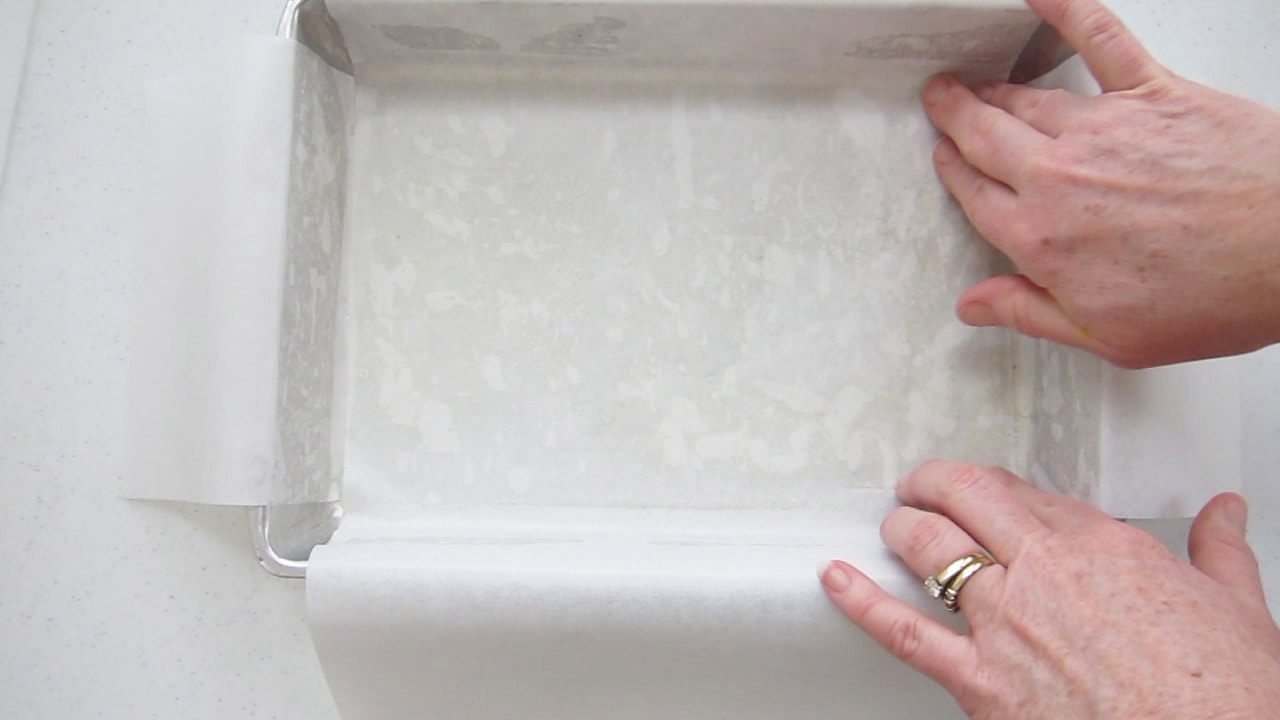
Spray the bottom and sides of a 9x13-inch cake pan with baking spray. Then, press a sheet of parchment paper across the pan. Press a second sheet of parchment paper going crosswise.
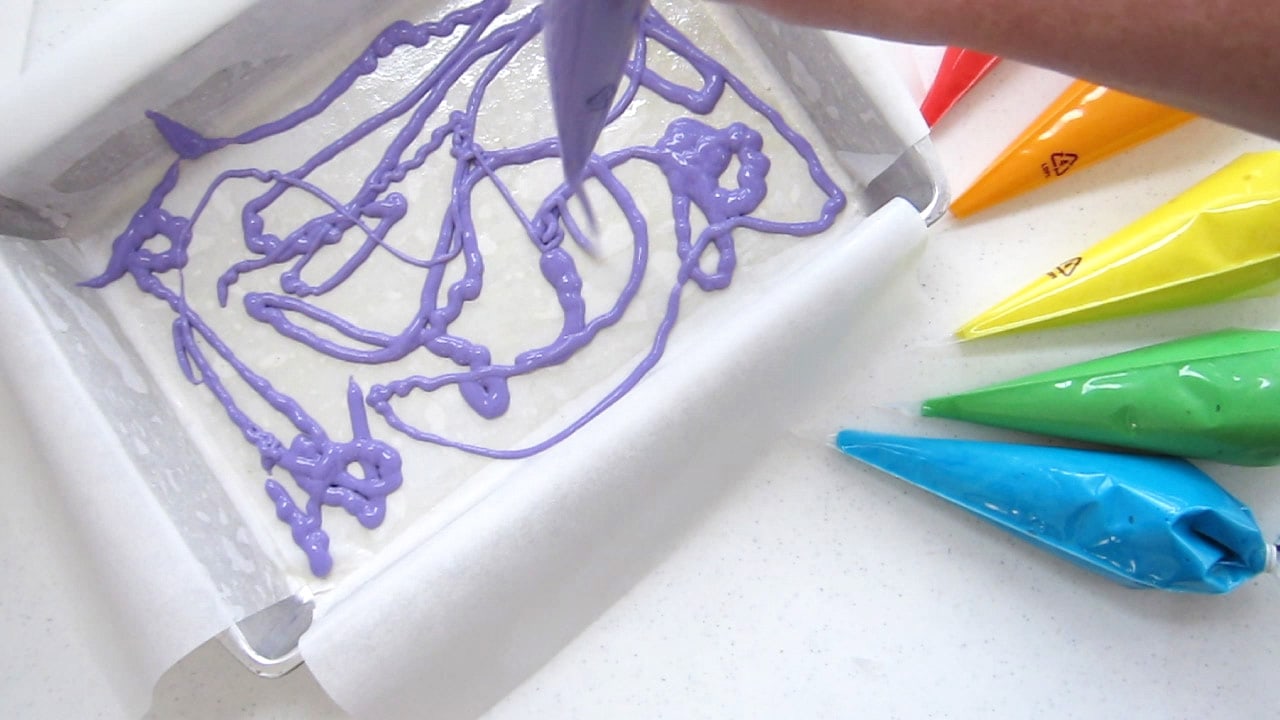
Pipe swirls of purple cake batter into the cake pan.
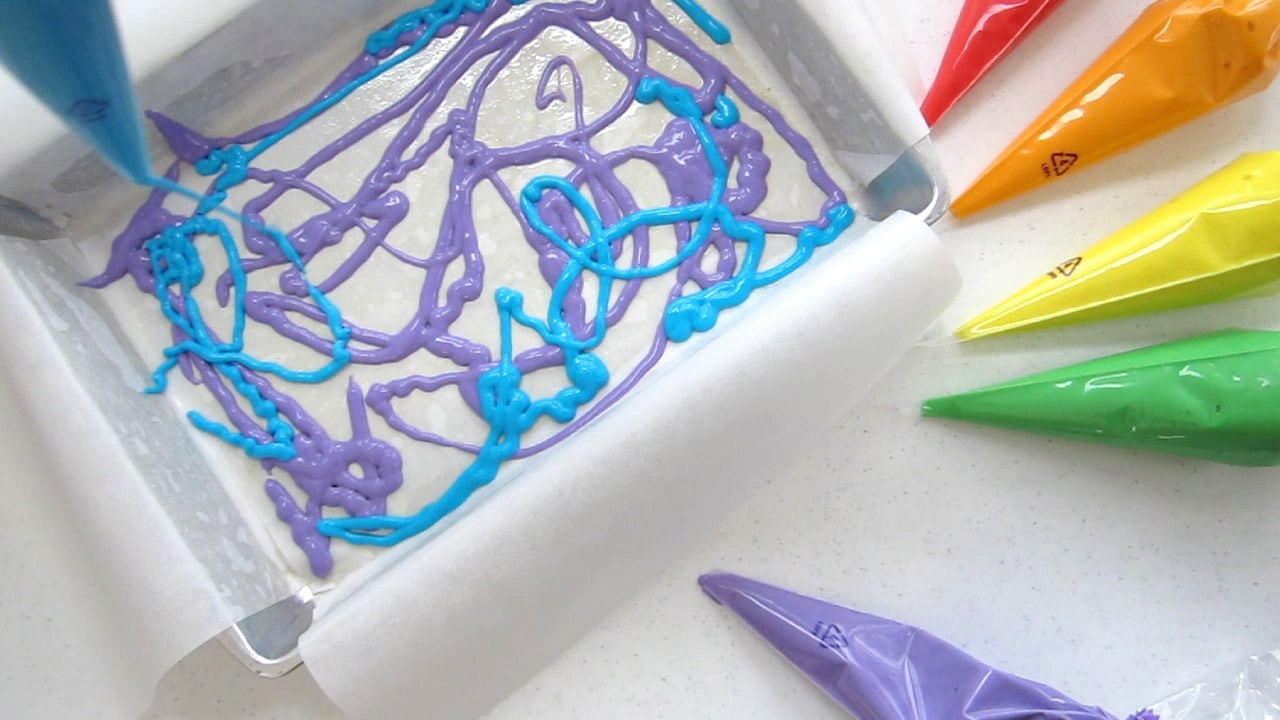
Then, pipe blue swirls over the purple swirls.
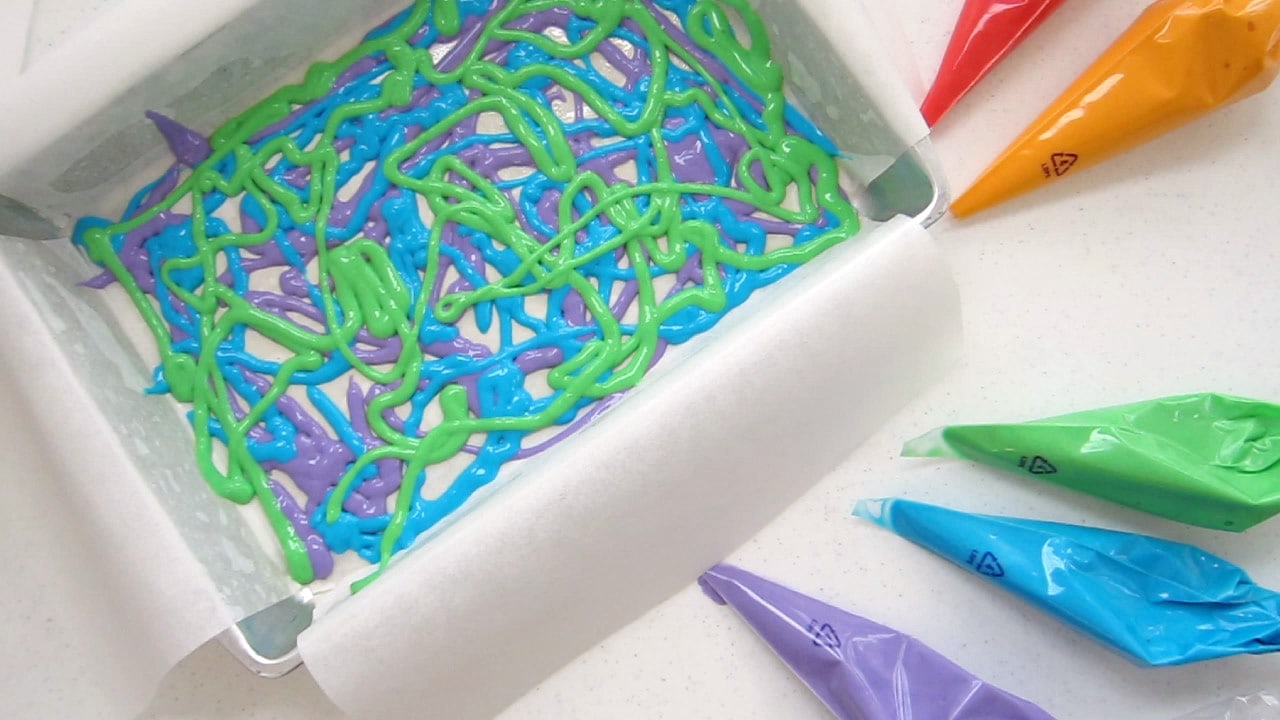
Next, add green swirls.
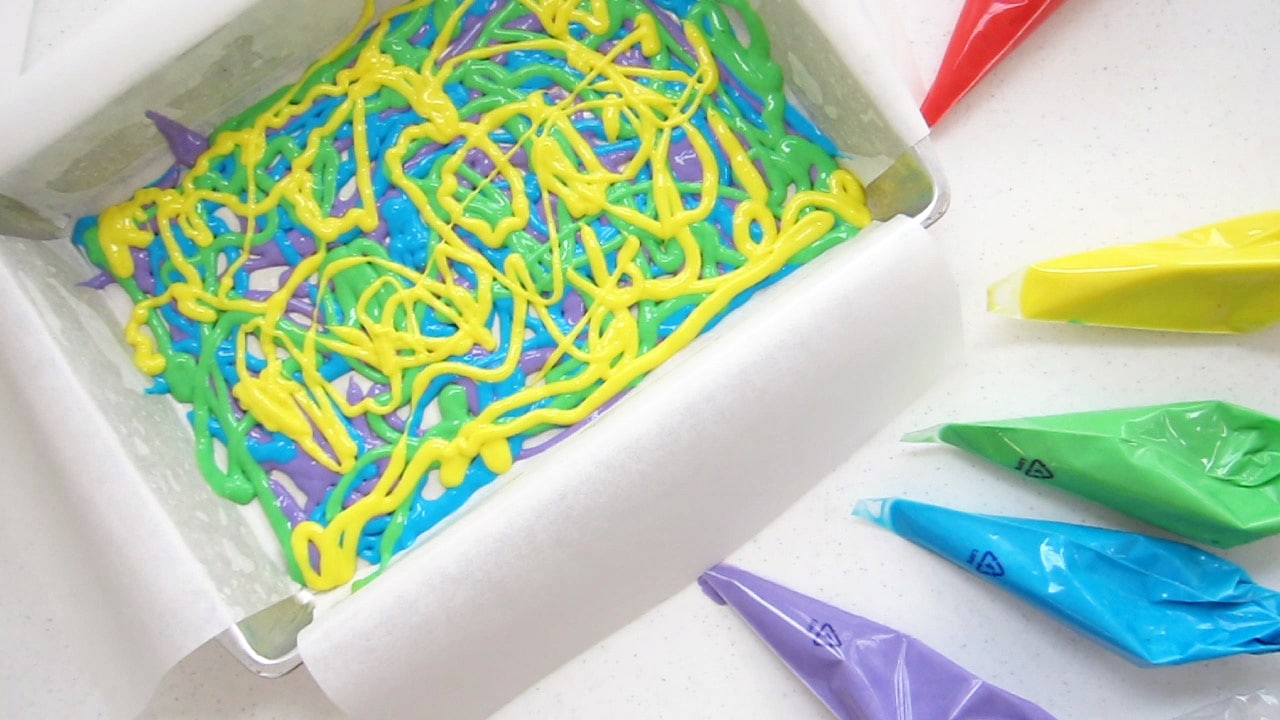
And top that with yellow swirls.
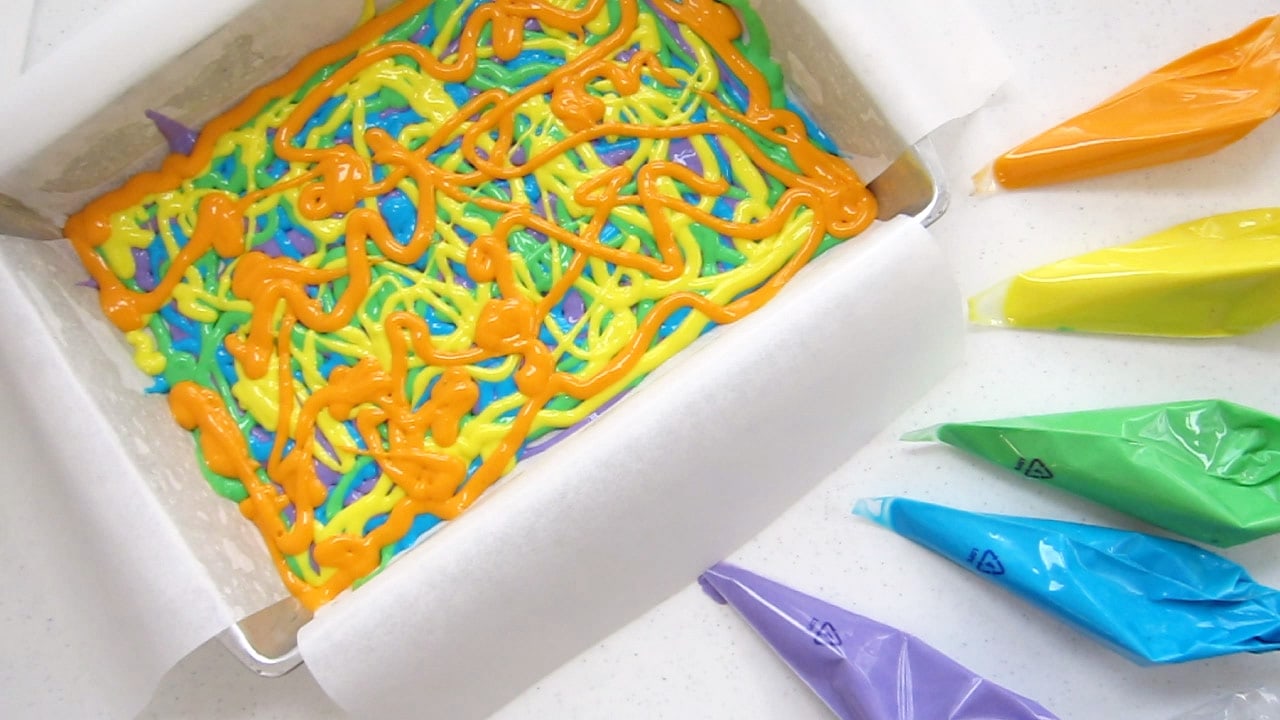
Pipe orange swirls over the yellow.
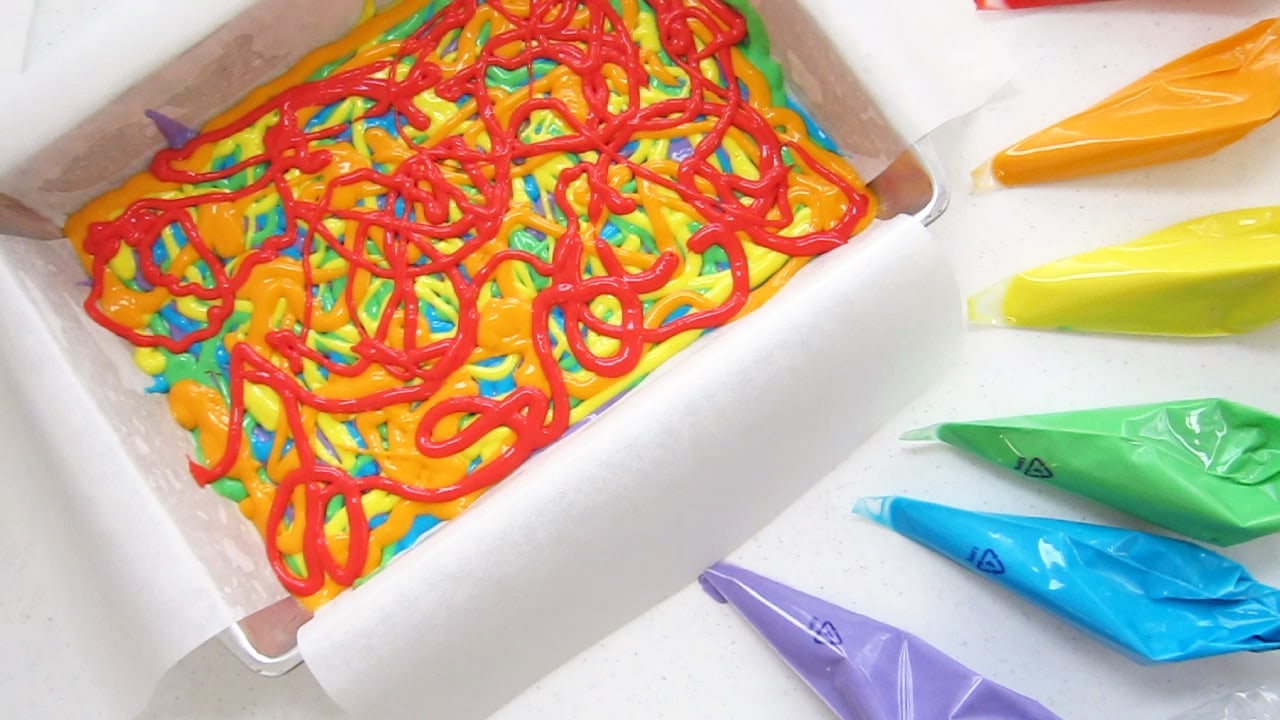
And finally, add red swirls.

Continue by adding another layer of purple, blue, green, yellow, orange, and red swirls. Then, finally, add a final layer of each rainbow-colored cake batter.
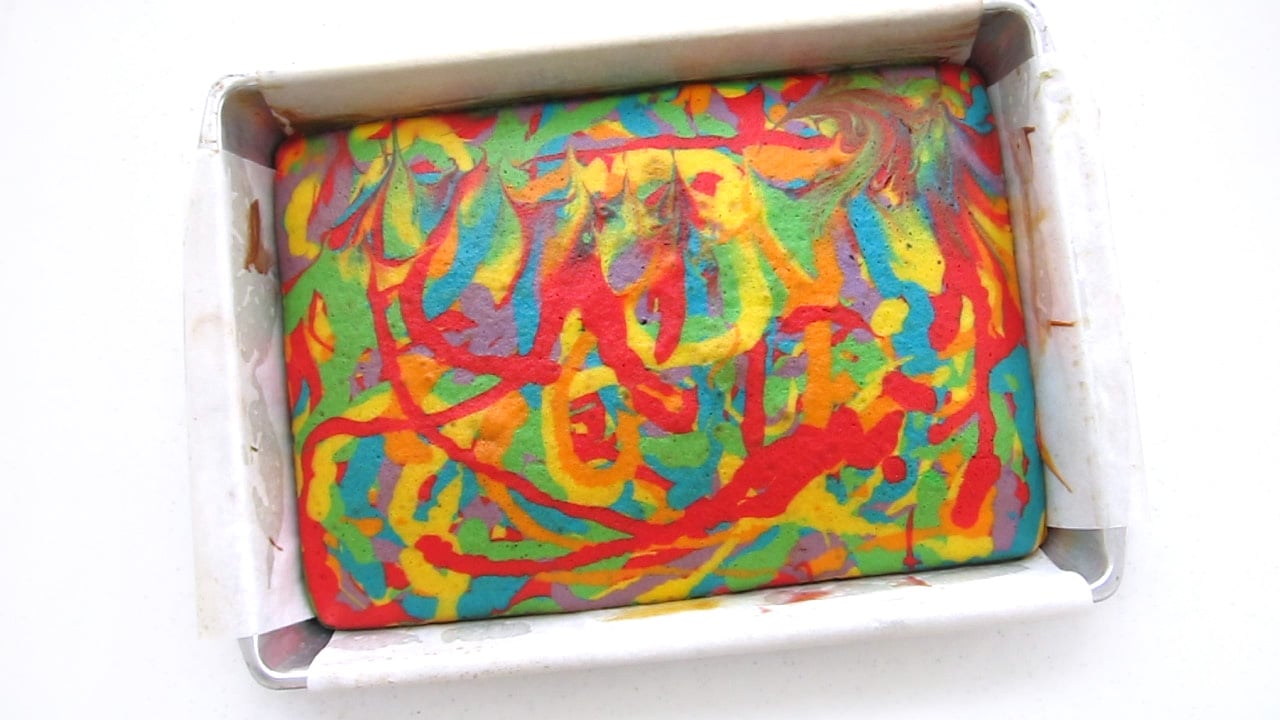
Bake the cake according to the package instructions, and then let it cool completely.
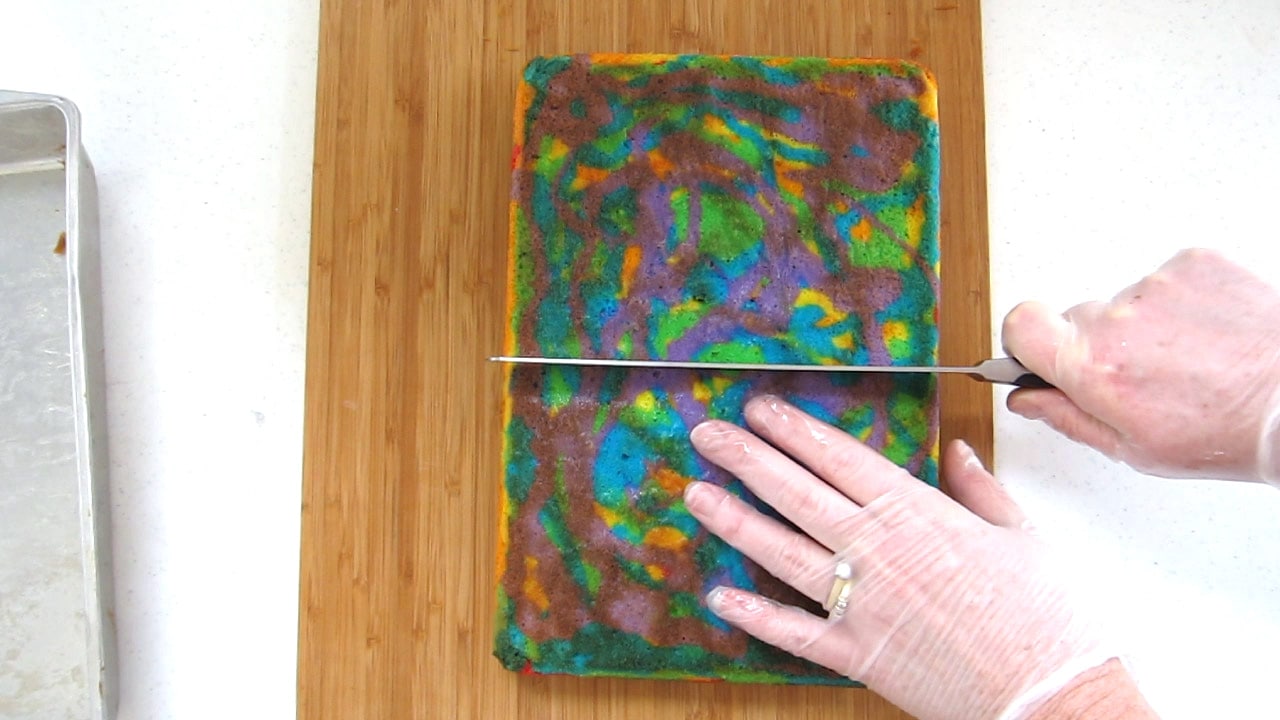
Remove the cake from the pan and flip it upside down. Cut the cake in half.
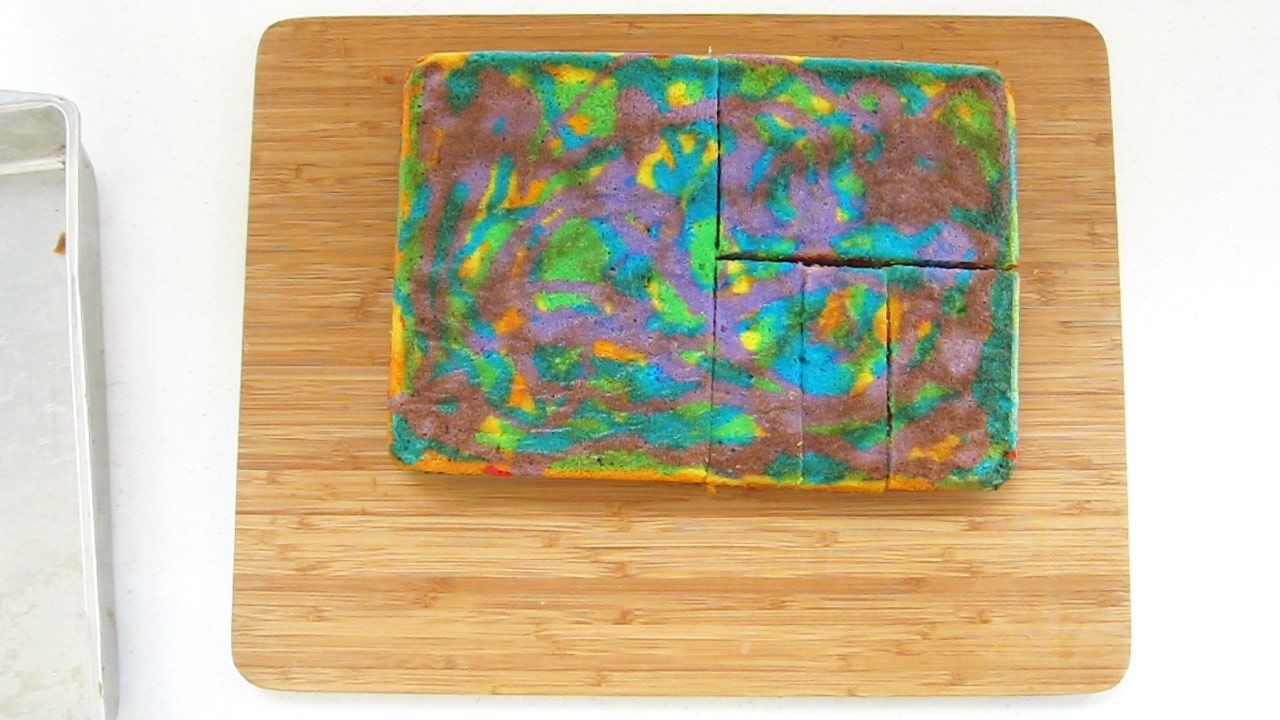
Then cut one half in half again. Then, cut one of those halves into three long rectangles.
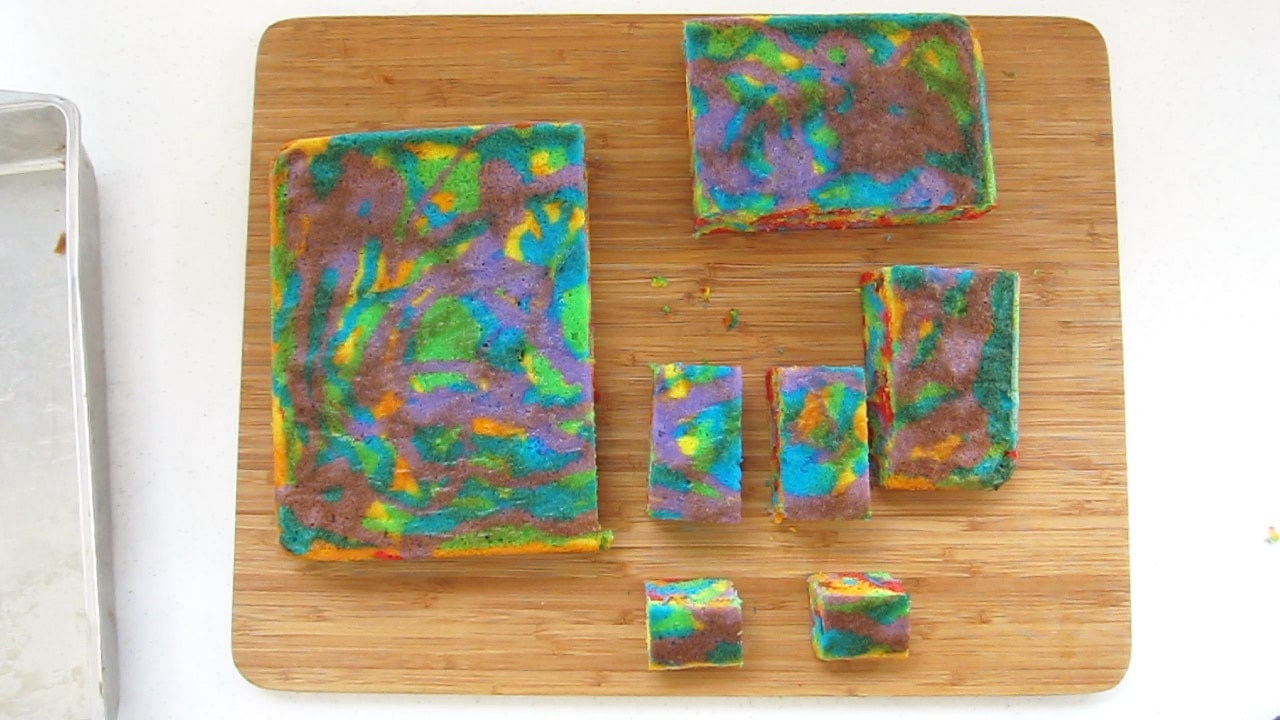
Cut about an inch off of two of the rectangles. Those will be a snack along with the other long rectangle.
You could, if you prefer, cut the extra rectangle of cake into a horn shape to use to decorate the unicorn sheet cake instead of making a modeling chocolate horn.
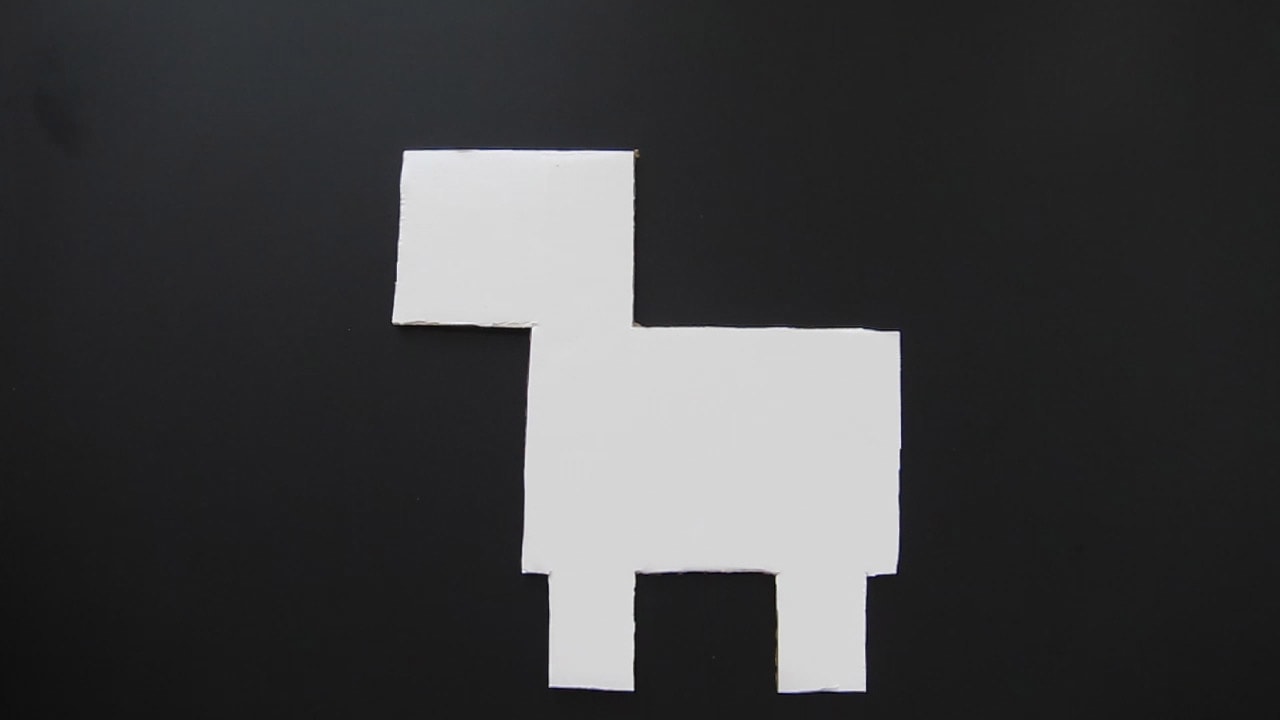
Cut a white cardboard cake board into a simple unicorn shape using the cut-out cake as a guide.
I set my board on a black background so the cake would pop against the dark color.
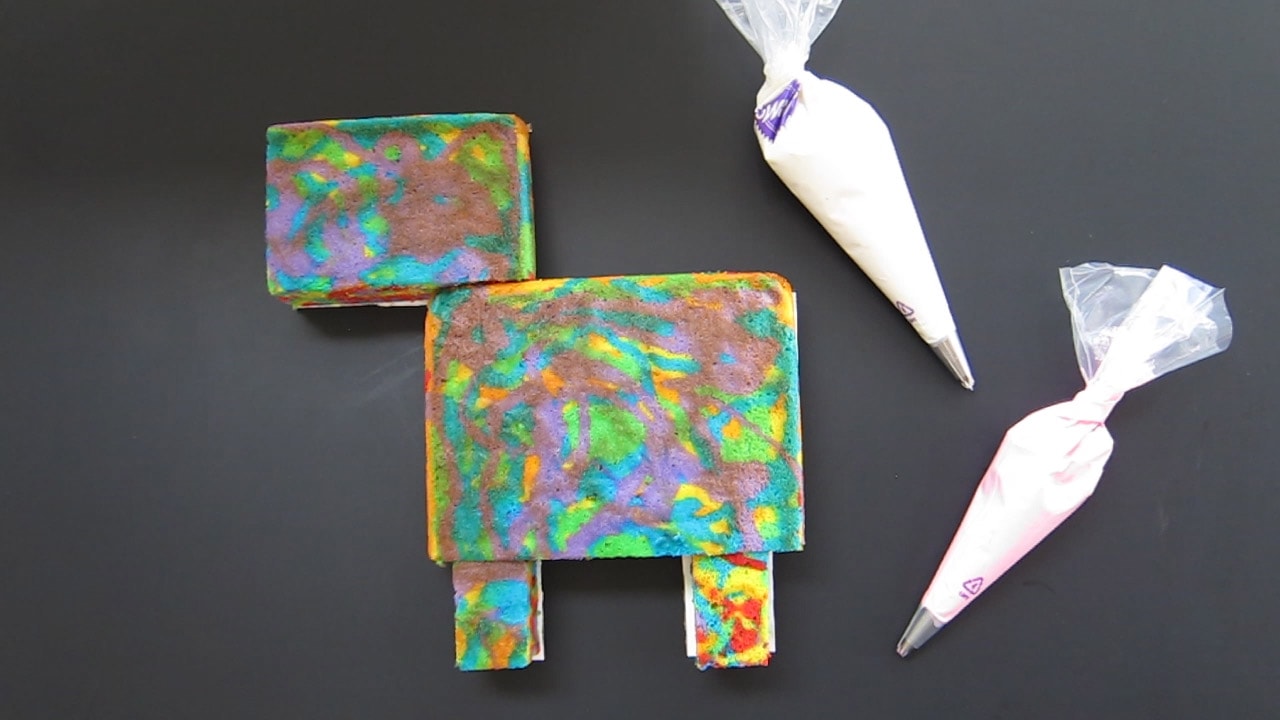
Arrange the cut-out rainbow cake pieces over the cake board creating the unicorn's body, head, and legs.
Fill disposable pastry bags fitted with #21 open star tips with pink and white frosting.
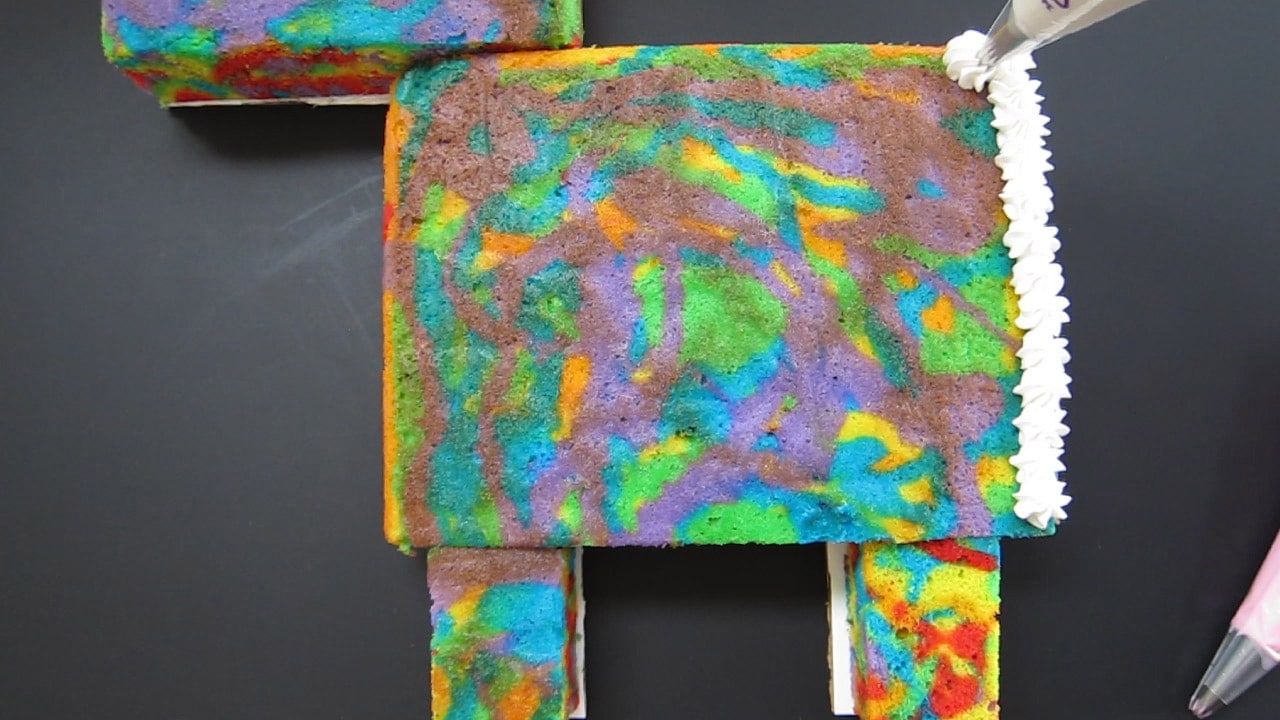
Pipe white frosting stars in rows over the top of the cake covering the unicorn's body.
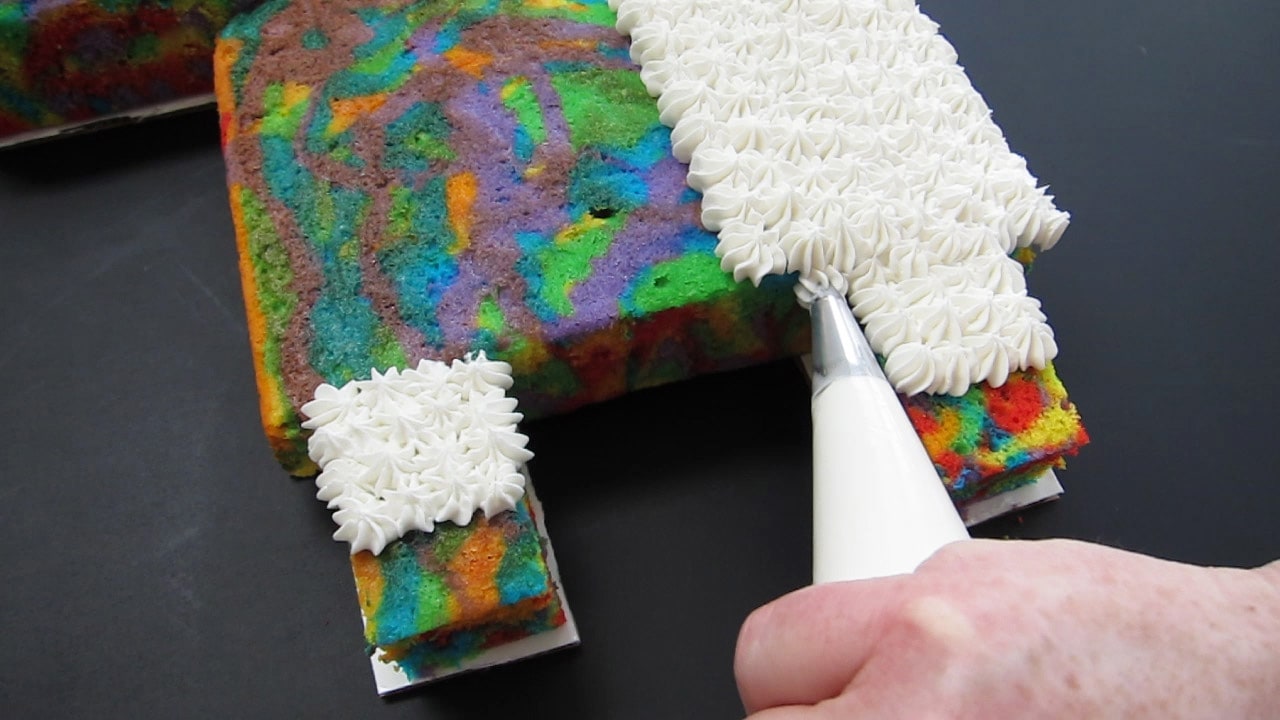
Pipe white frosting stars over the sides and top of the cake. Leave about an inch at the bottom of each leg.
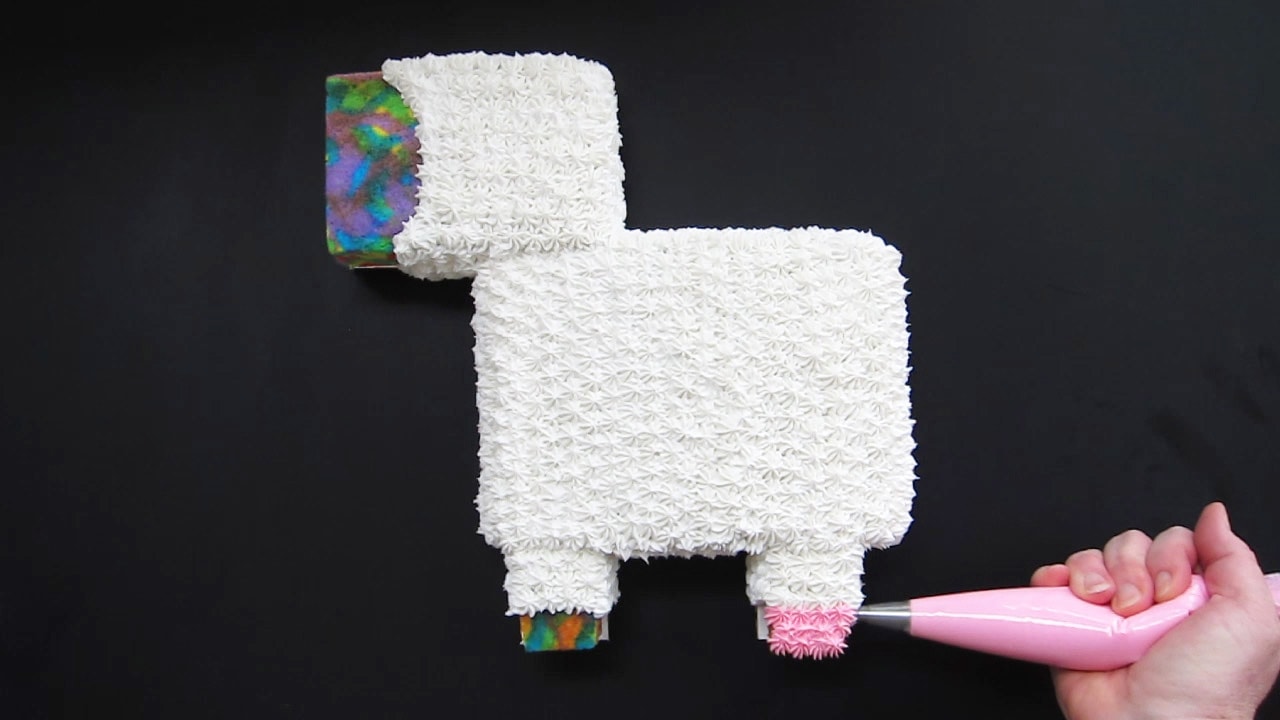
Also, leave room on the unicorn's head for a pink snout. Pipe pink frosting stars over the unicorn's legs to create the hooves.
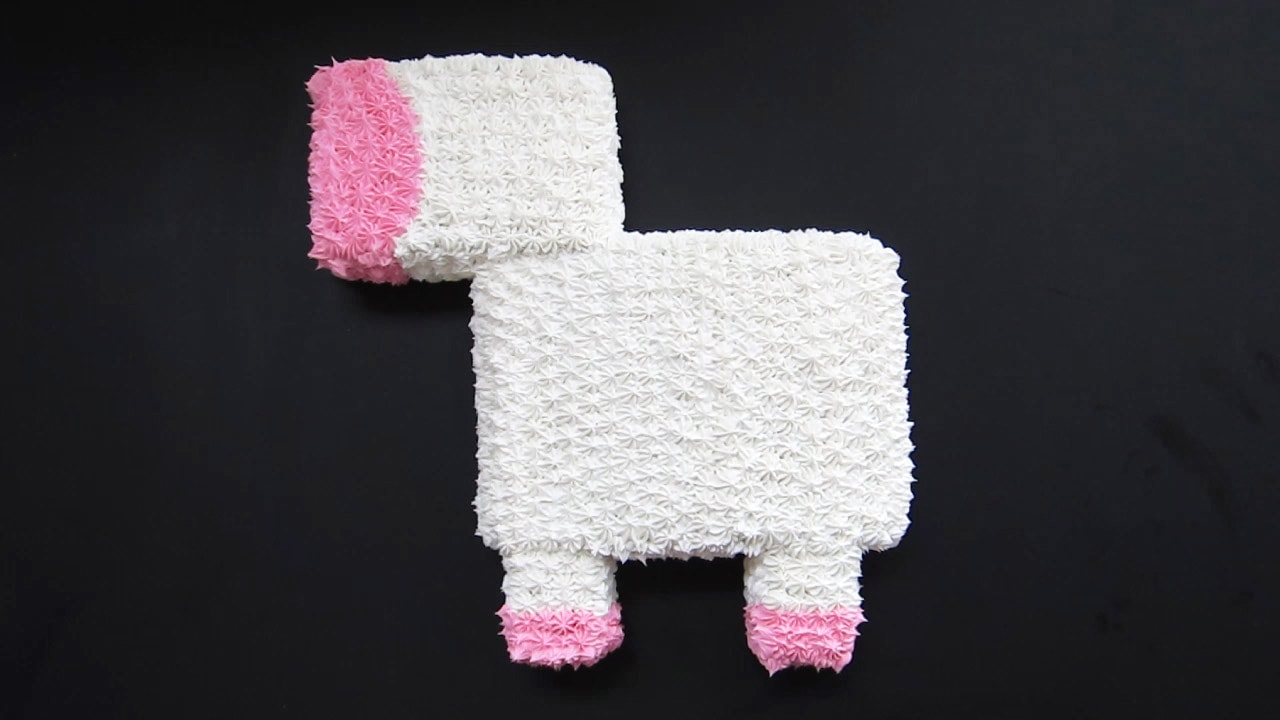
Pipe pink frosting stars over the unicorn's snout area on its face.
Make the decorations.
I love using modeling chocolate, also known as candy clay or chocolate clay, because it tastes like chocolate, but fondant will work too. You can find my easy 2-ingredient modeling chocolate recipe, here.
You'll also find instructions for coloring the modeling chocolate. You'll need white, purple, blue, green, yellow, orange, red, and black modeling chocolate to decorate your unicorn.
My book, Candy Clay Creations, is the ultimate resource for making and decorating with modeling chocolate.
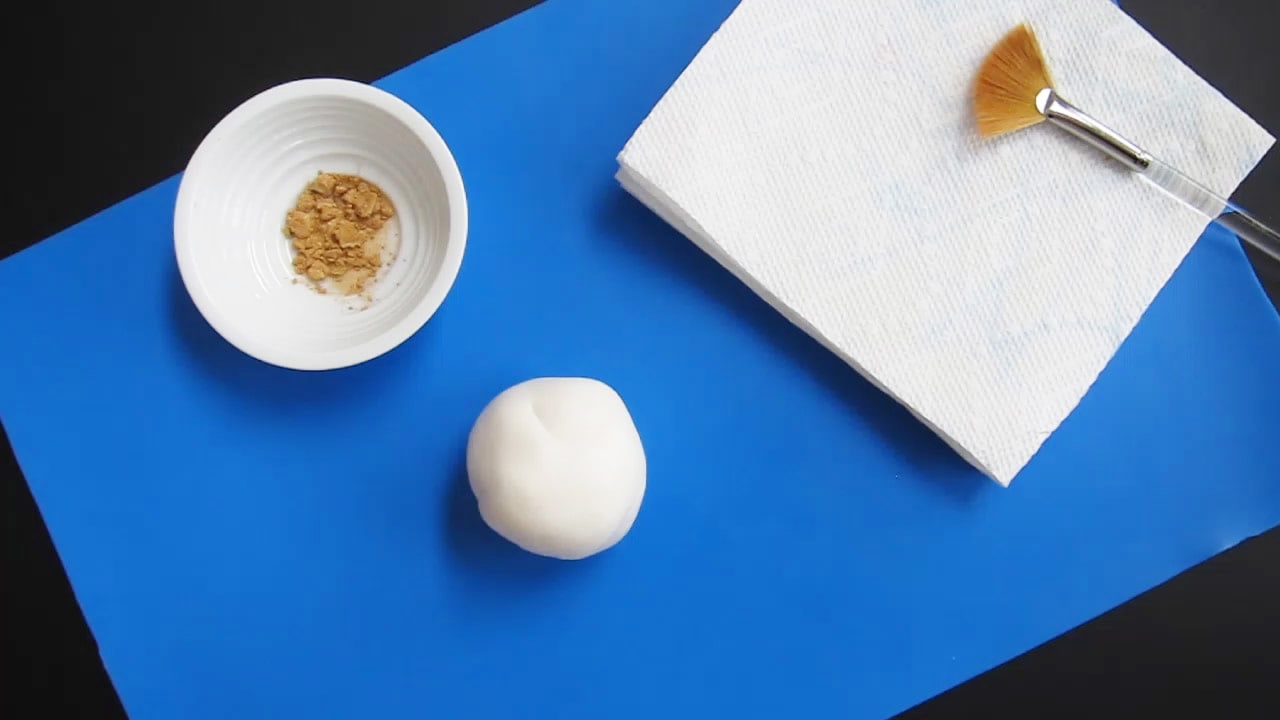
Roll about 4 ounces of modeling chocolate into a ball.
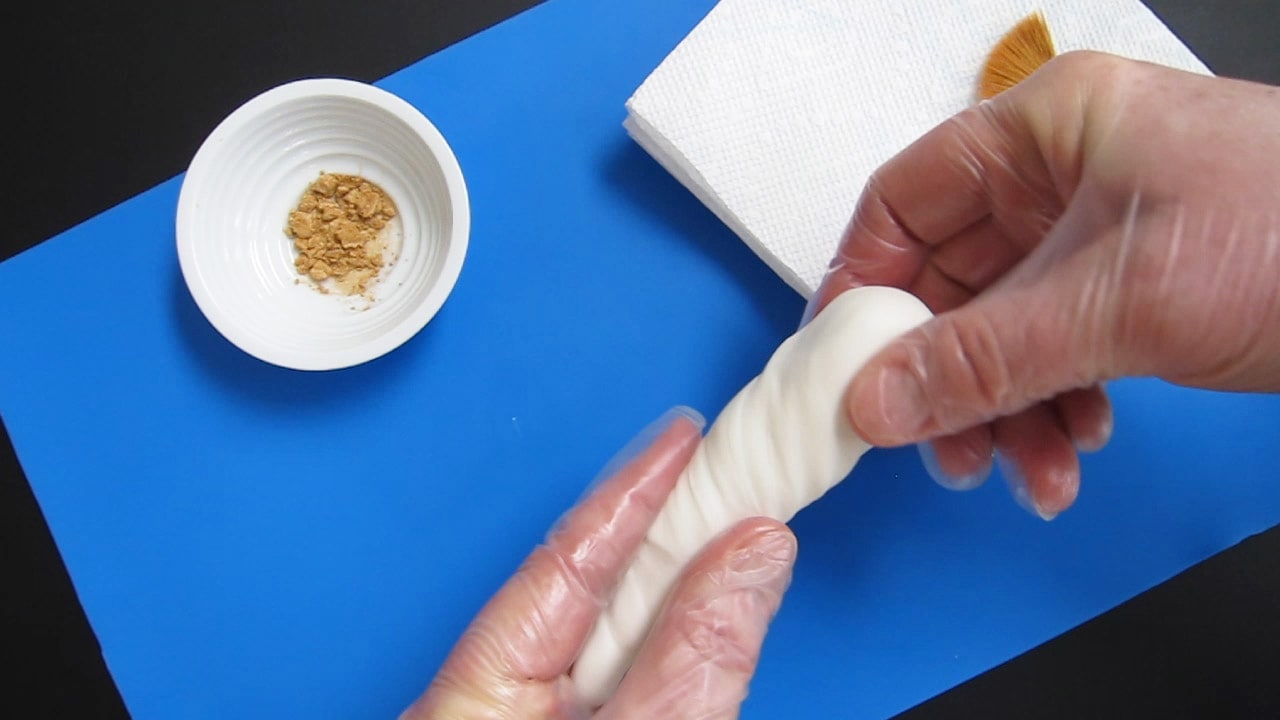
Then shape it into a cone and twist it to add grooves.
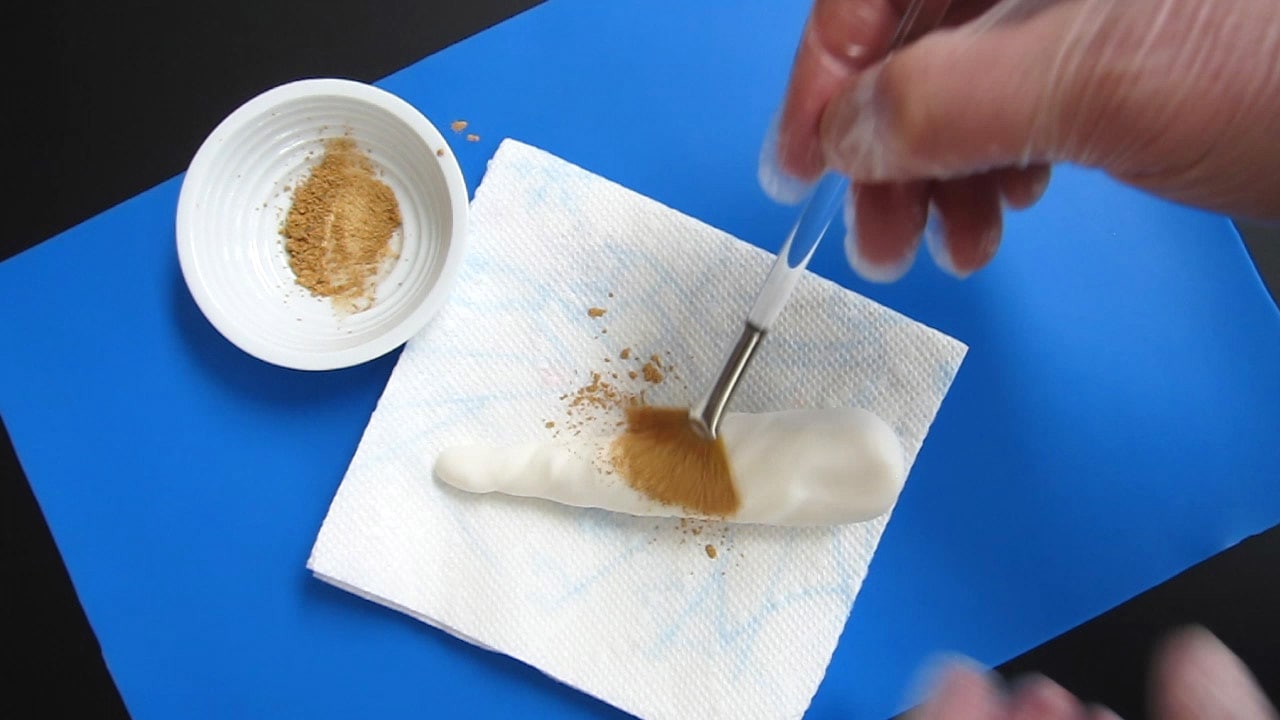
Set the white modeling chocolate horn on a piece of paper towel. Brush edible gold luster dust over the horn.
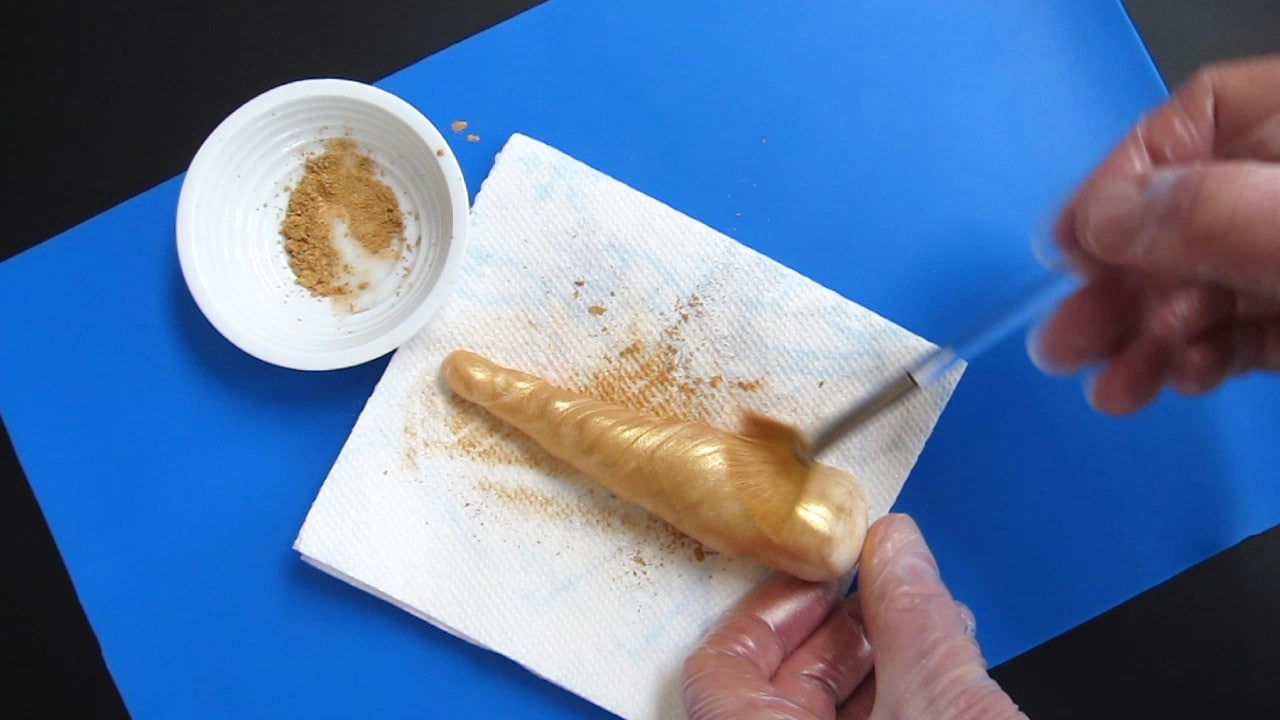
Cover the entire surface of the horn with gold luster dust. Cut the bottom edge so that it is at an angle (not shown).
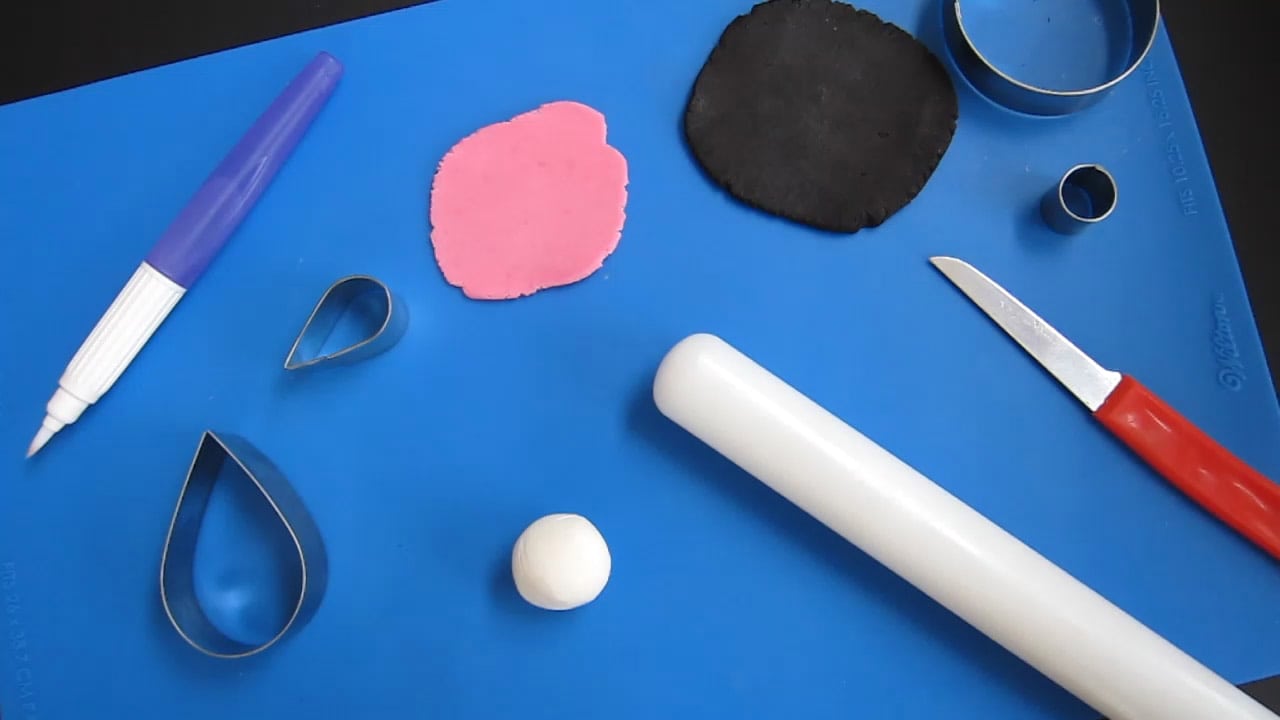
To make the unicorn's ears, you will need white and pink modeling chocolate and two teardrop cookie cutters. Use one that's about 2 ¼ inches long and another that's about an inch long.
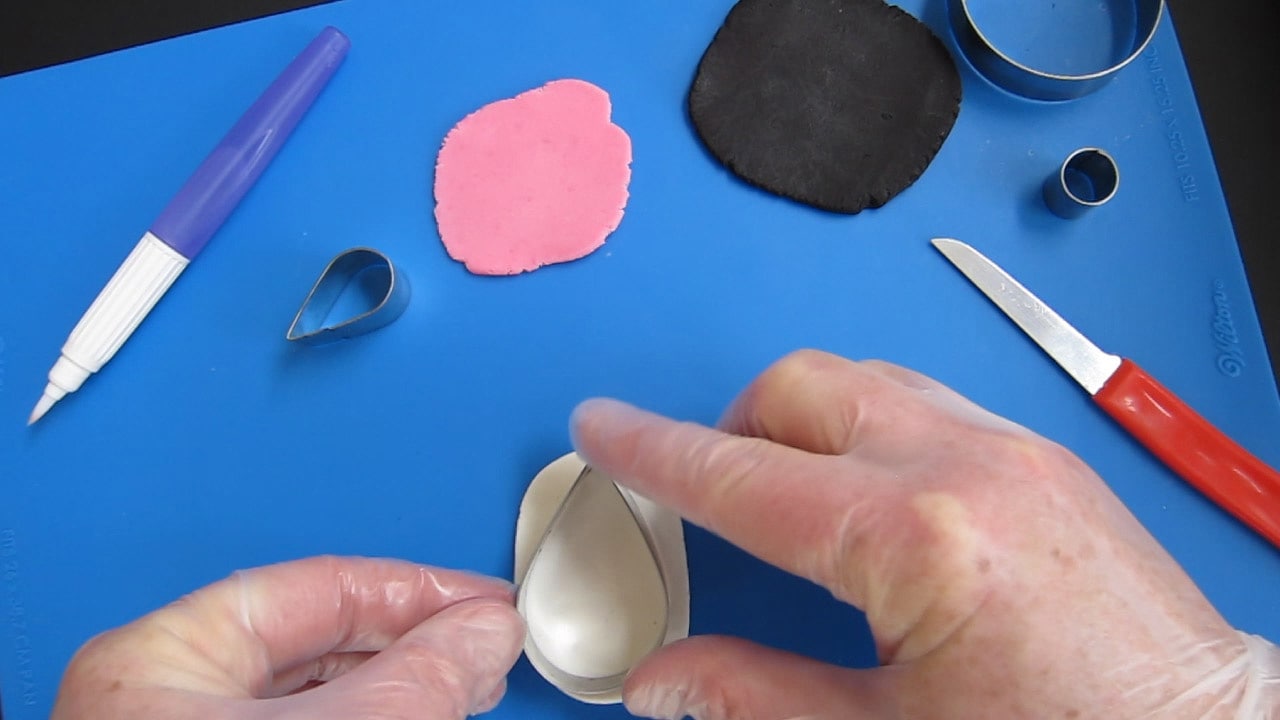
Roll out the white modeling chocolate and cut it using the larger teardrop cutter. Roll out the pink and cut it using the smaller cutter. You can also simply use a knife or kitchen shears to cut out the shapes.
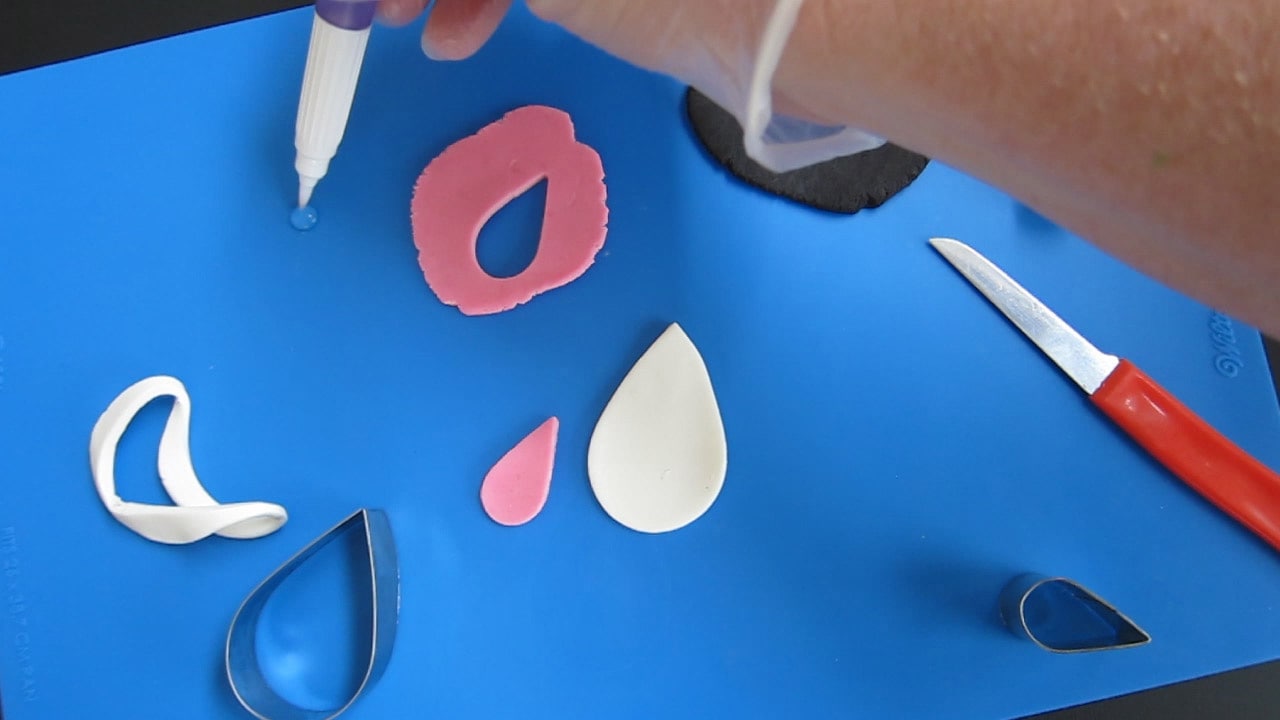
Brush a very tiny amount of water onto the center of the white ear.

Stick the pink teardrop piece on the white piece.
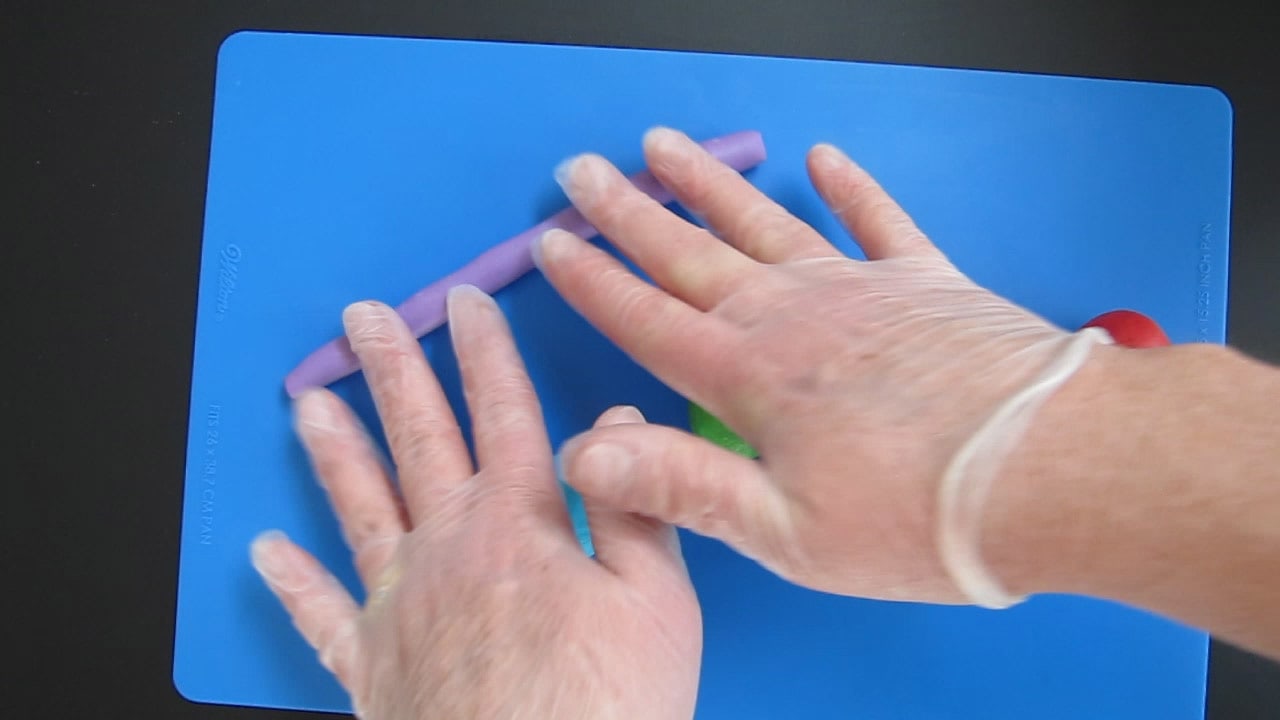
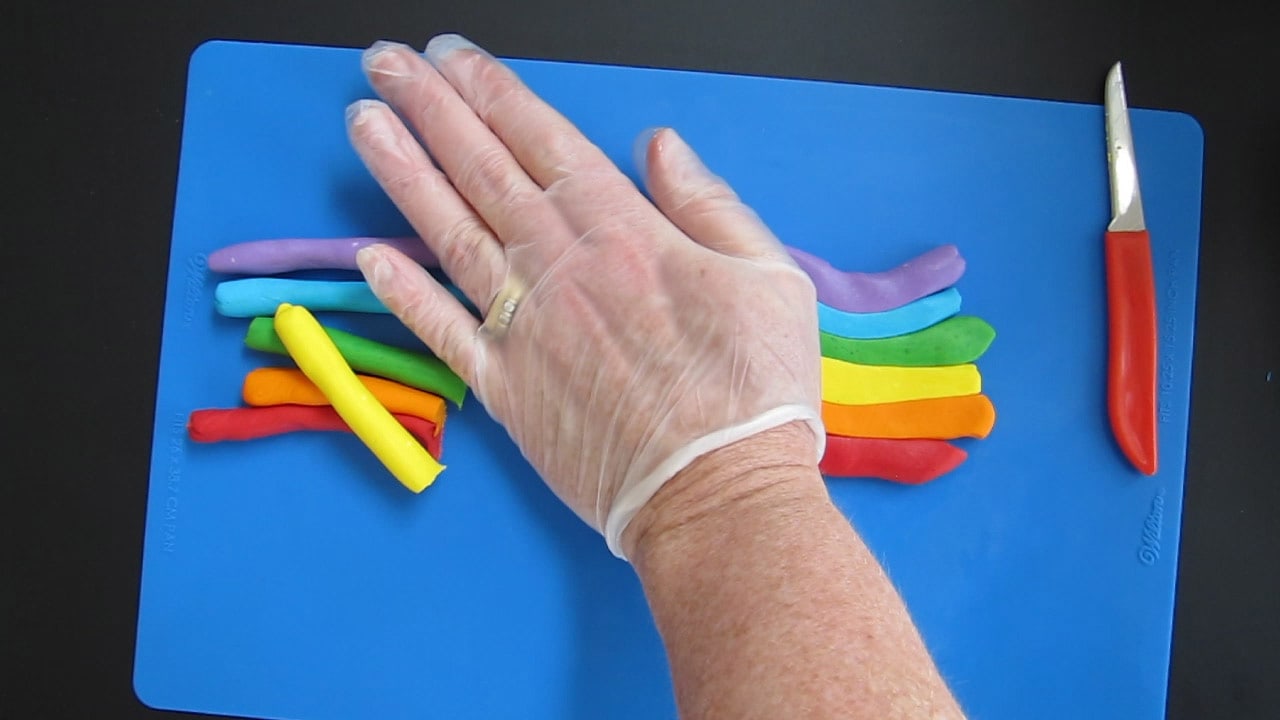
Roll about an ounce of purple modeling chocolate into an 8-inch by ⅓-inch log.

Roll out blue, green, yellow, orange, and red logs too.
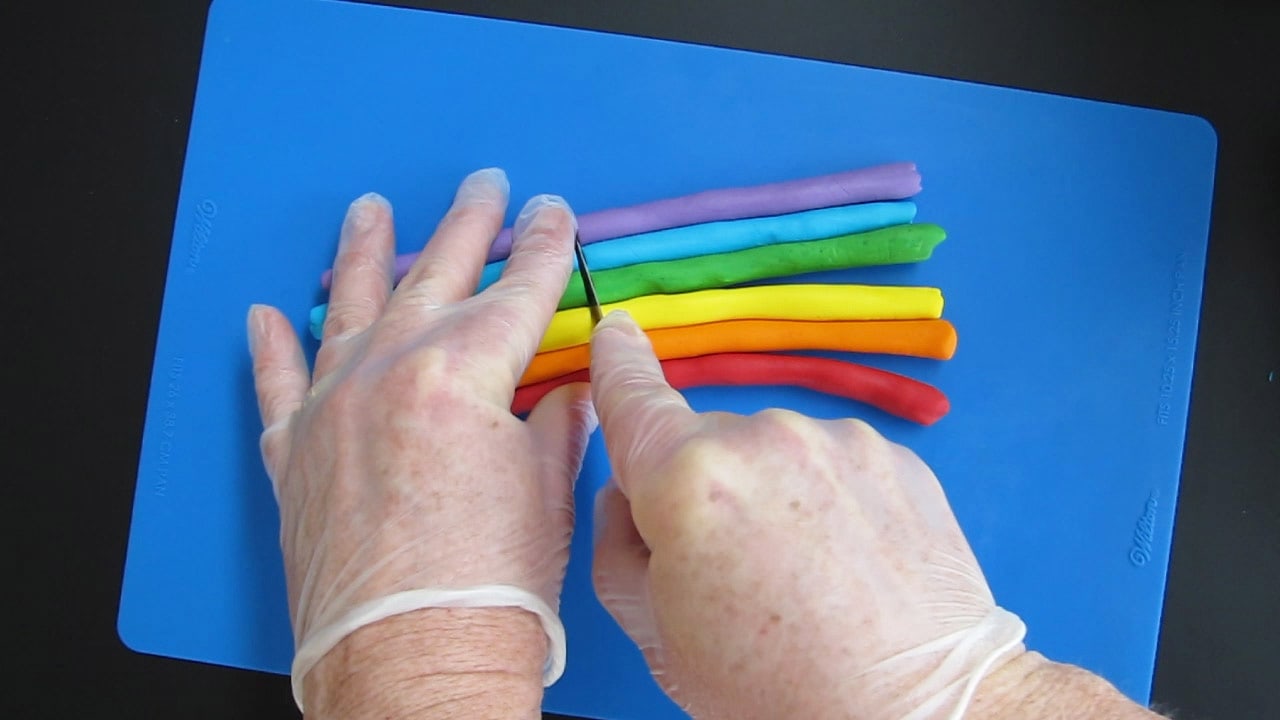
Cut the logs so one length is about 5 inches and the other is 3 inches.
Flatten the longer strips into one piece. The sides should stick together. If not, use a tiny bit of water.
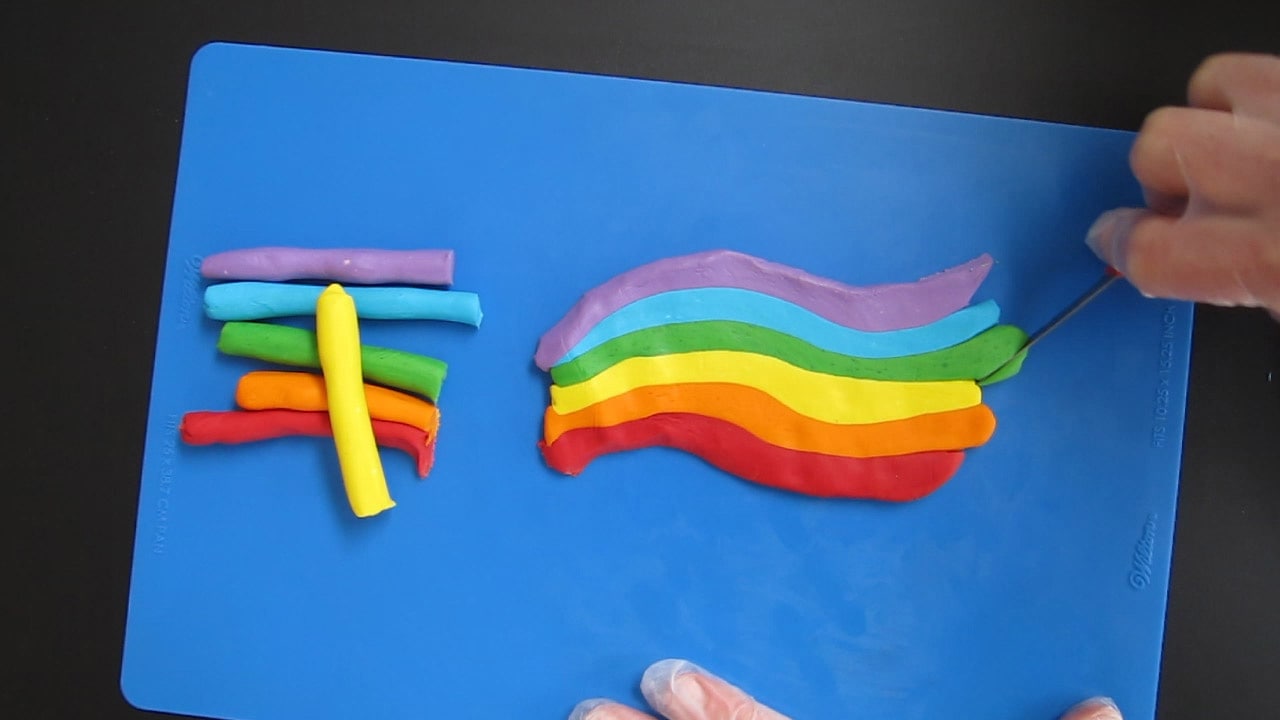
Shape the flattened logs into a curved tail and cut off the tips.
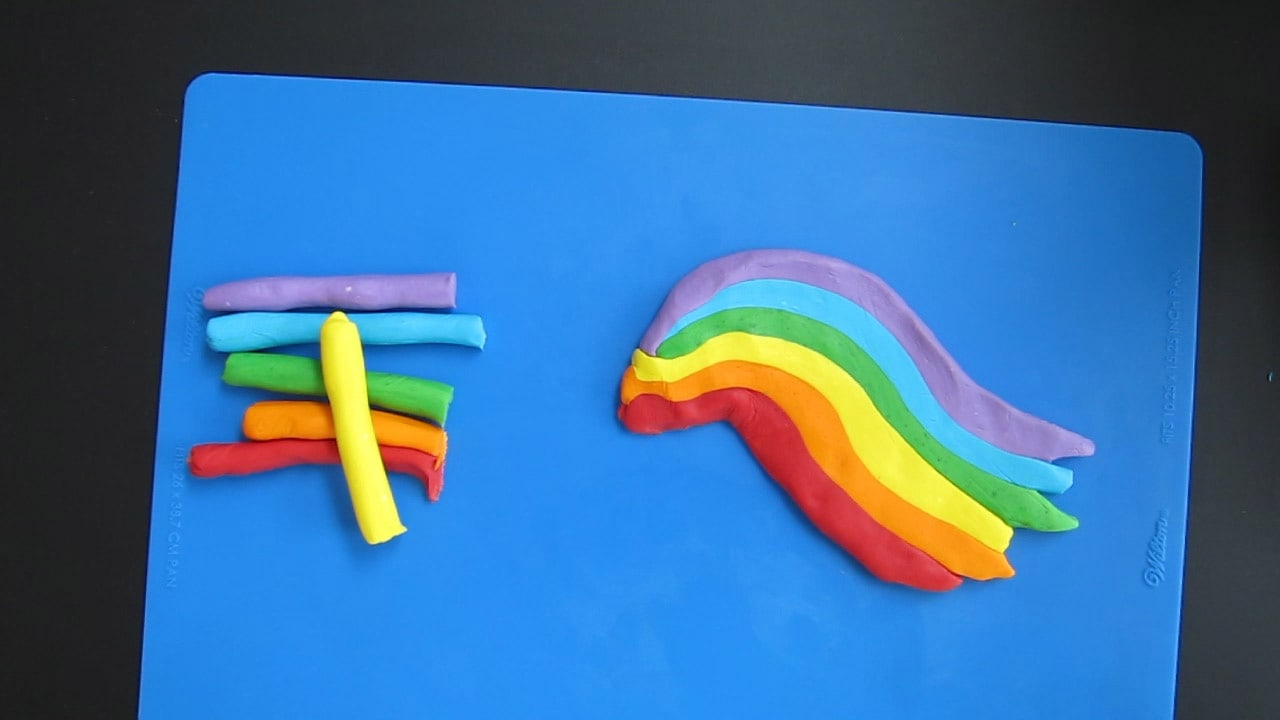
Make the cuts so the tail has nice pointed ends.
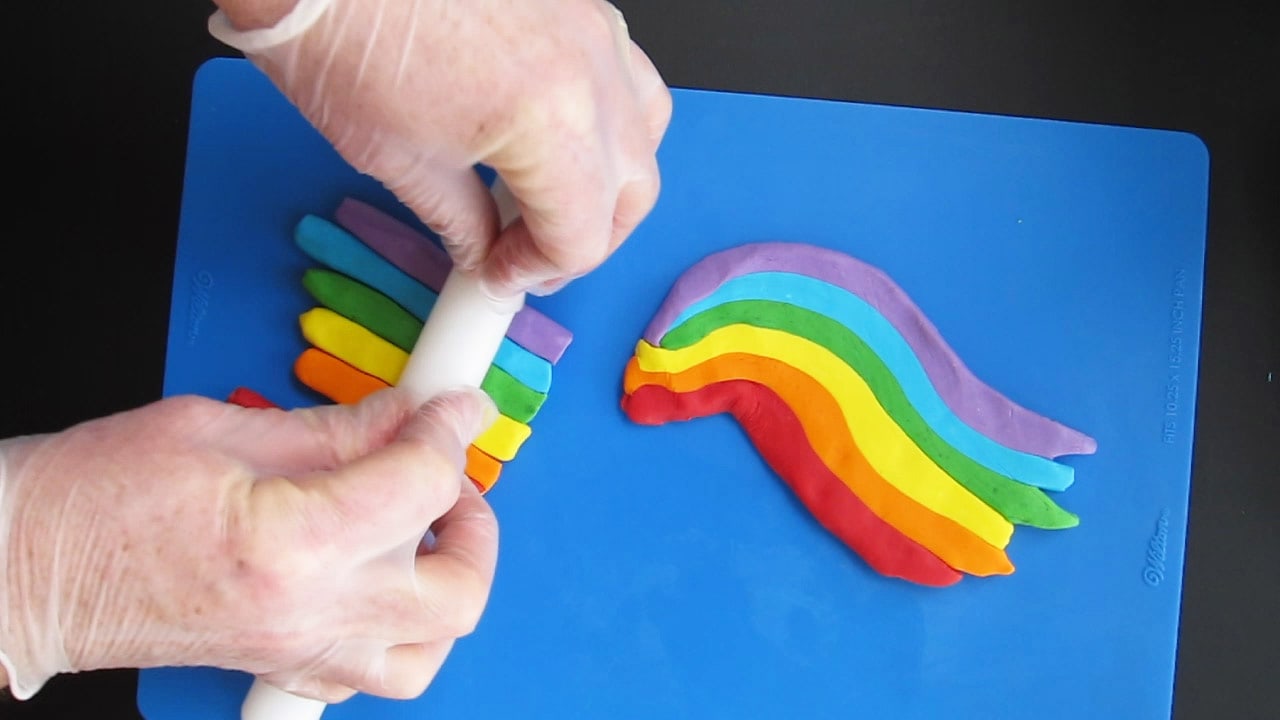
Flatten the other logs into one single piece.
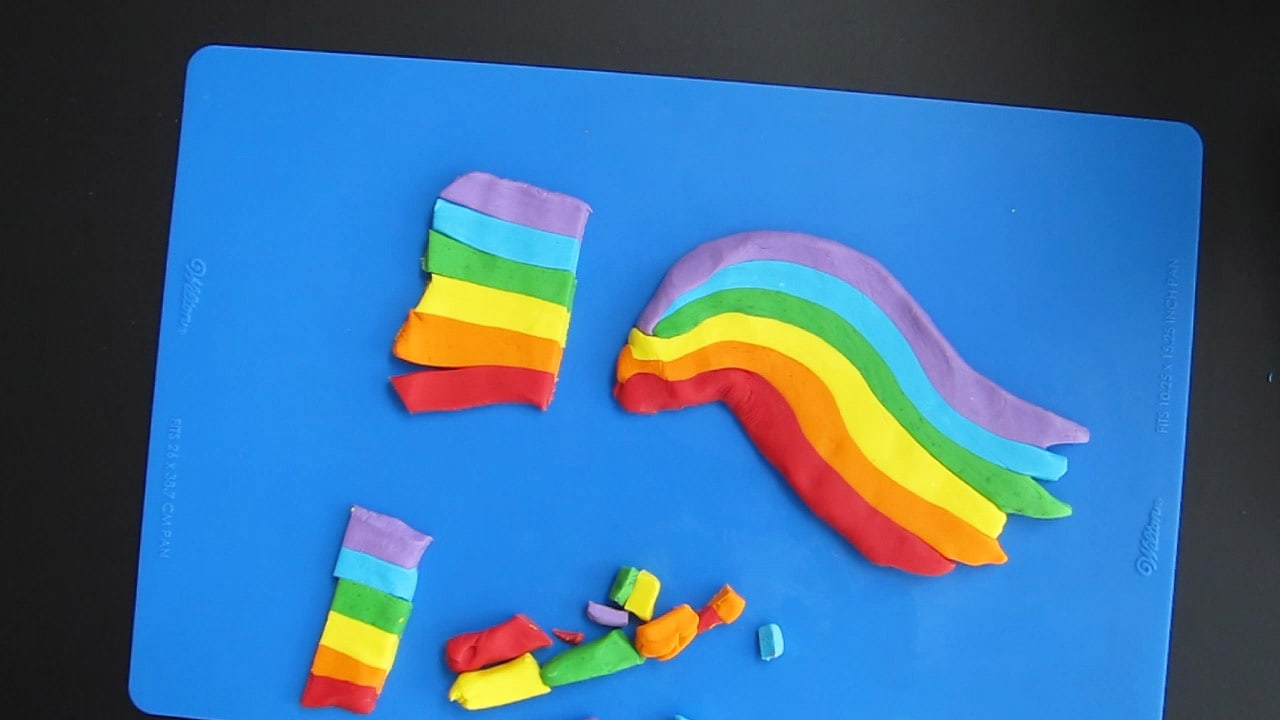
Cut the ends of that piece too (not shown).
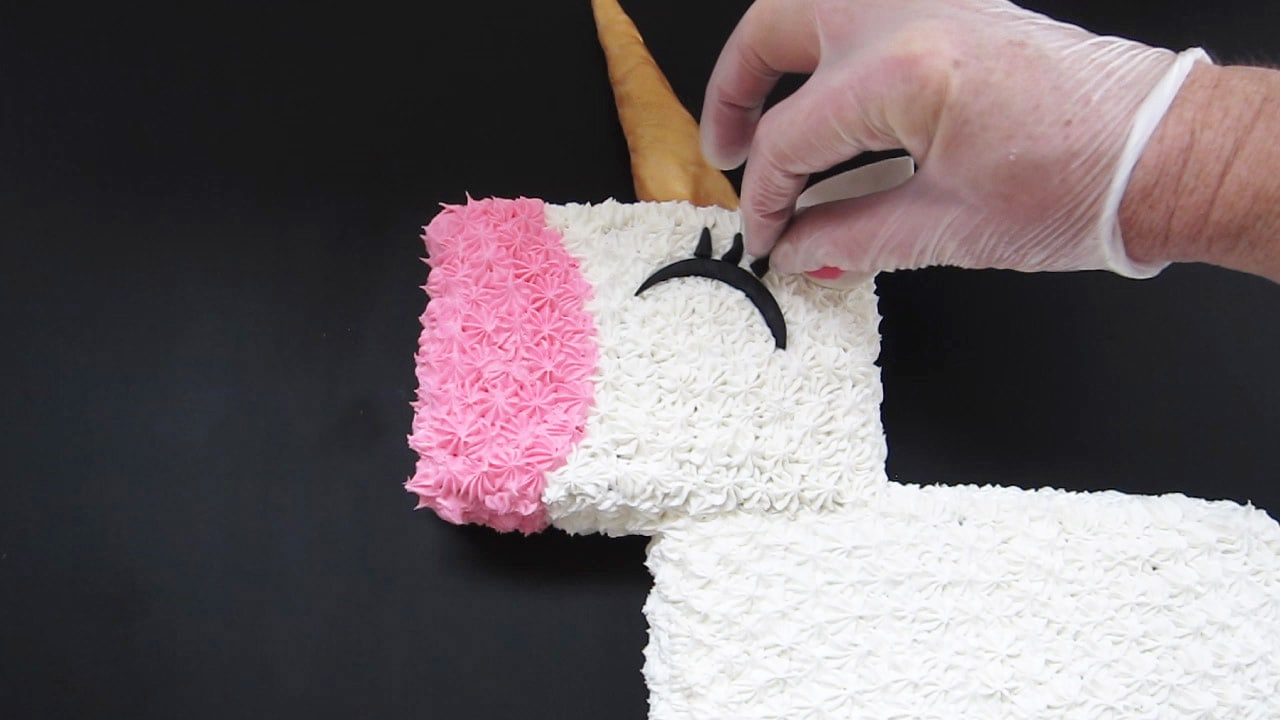
Roll out black modeling chocolate and cut out a thin half-moon and some eyelashes. Set them onto the head of the unicorn.

Add the mouth and nose. Also, attach the ear and the horn using a dab of frosting.
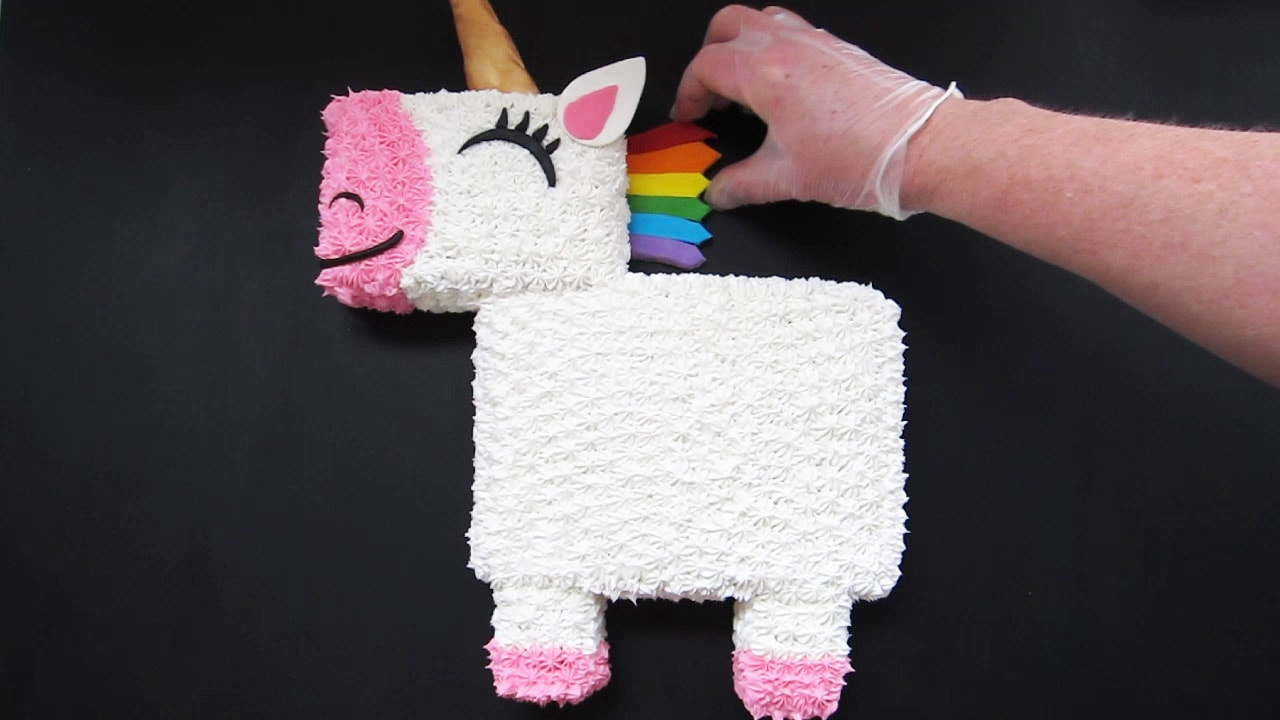
Stick the rainbow mane into the back of the unicorn's head.
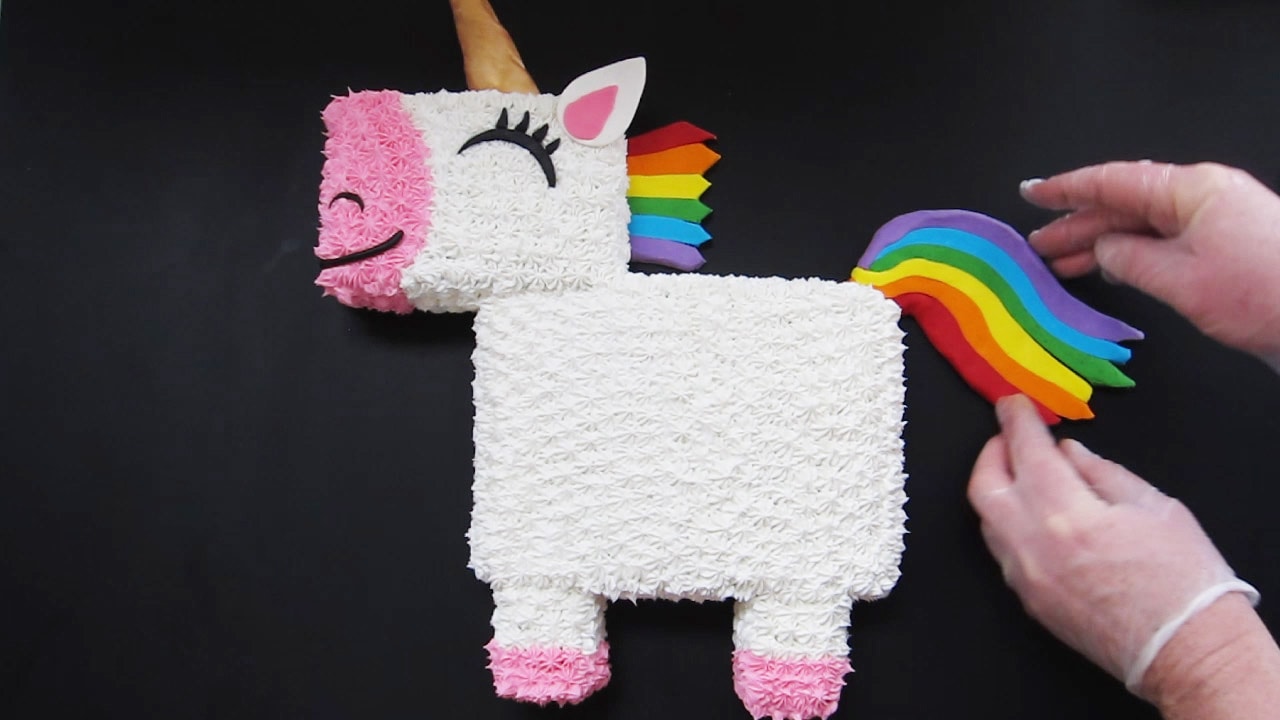
Stick the tail into the back top edge of the unicorn's body.
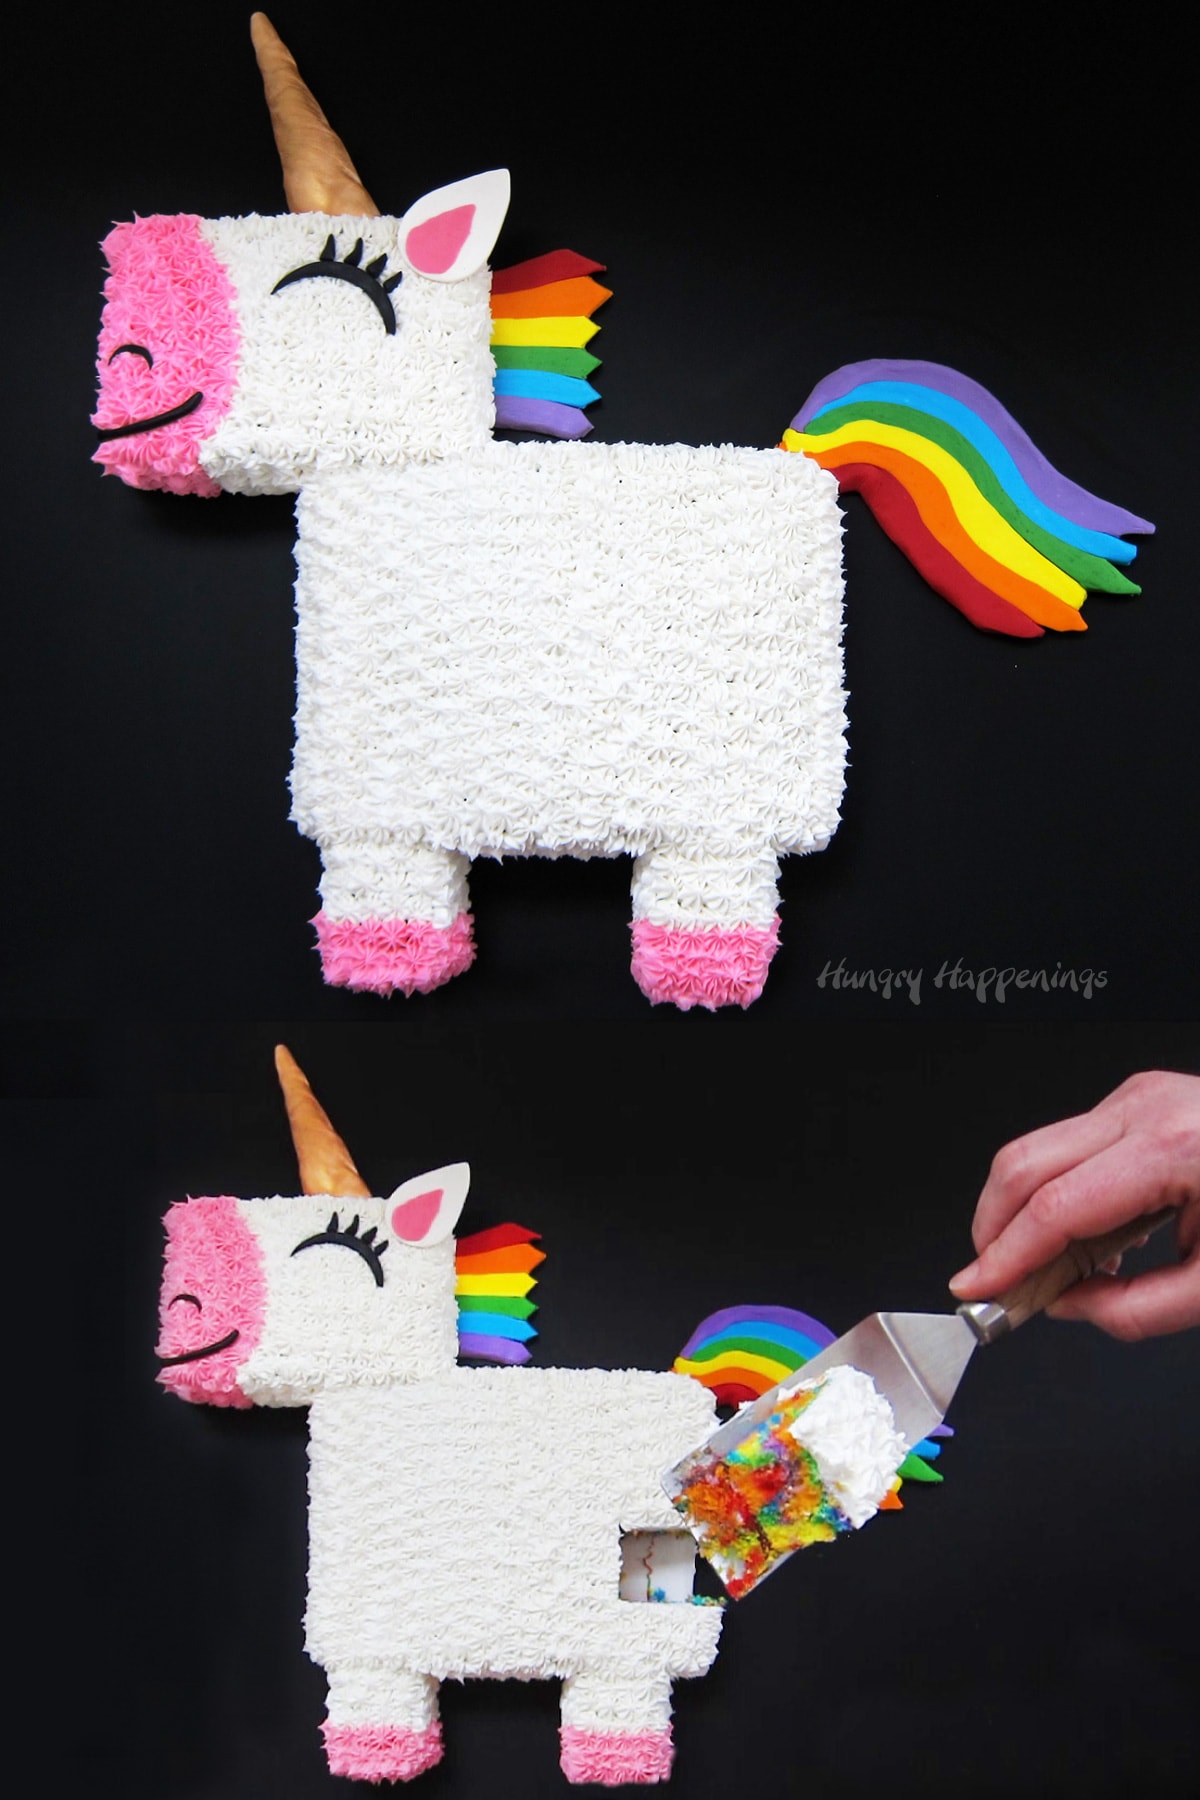
The cake is now ready to serve. It's so fun to cut into the cake to reveal the rainbow cake hiding inside.
Video
[adthrive-in-post-video-player video-id="0sHHqYKg" upload-date="2017-02-23T18:55:52.000Z" name="Rainbow Unicorn Cake" description="You won’t believe how easy it is to transform a 9×13 sheet cake into this delightful Rainbow Unicorn Cake with a colorful candy clay (modeling chocolate) mane and tail." player-type="default" override-embed="default"]
Cute, right?
Wouldn't your kids just love having this unicorn birthday cake served at their party?
Tips
- To make your cake easier to remove from the pan, line it with parchment paper.
- To make your cake extra moist, swap out ¼ cup of sour cream for ¼ cup of water.
- Be sure to use egg whites, not whole eggs so that your cake batter is bright white which will be easier to color blue and purple.
Storage
Cover and store this unicorn theme cake at room temperature for up to 3 days.
You can store leftovers in the refrigerator or freezer but do not store the cake in the fridge with the modeling chocolate decorations. The moisture from the refrigerator will make the modeling chocolate decorations moist and sticky.
Variations
To make this cake even more colorful, sprinkle edible glitter over the cake.
Instead of making this girly unicorn cake pink, you can use any color frosting instead. Purple or blue would be cute.
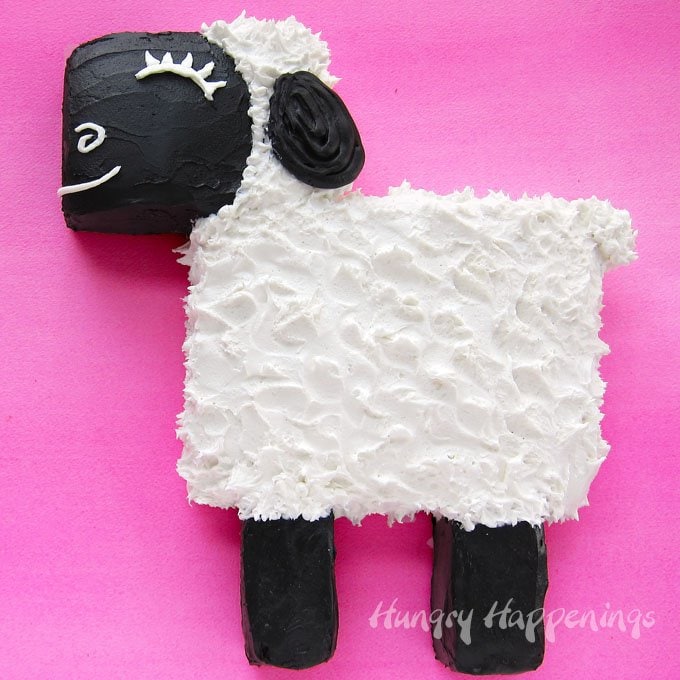
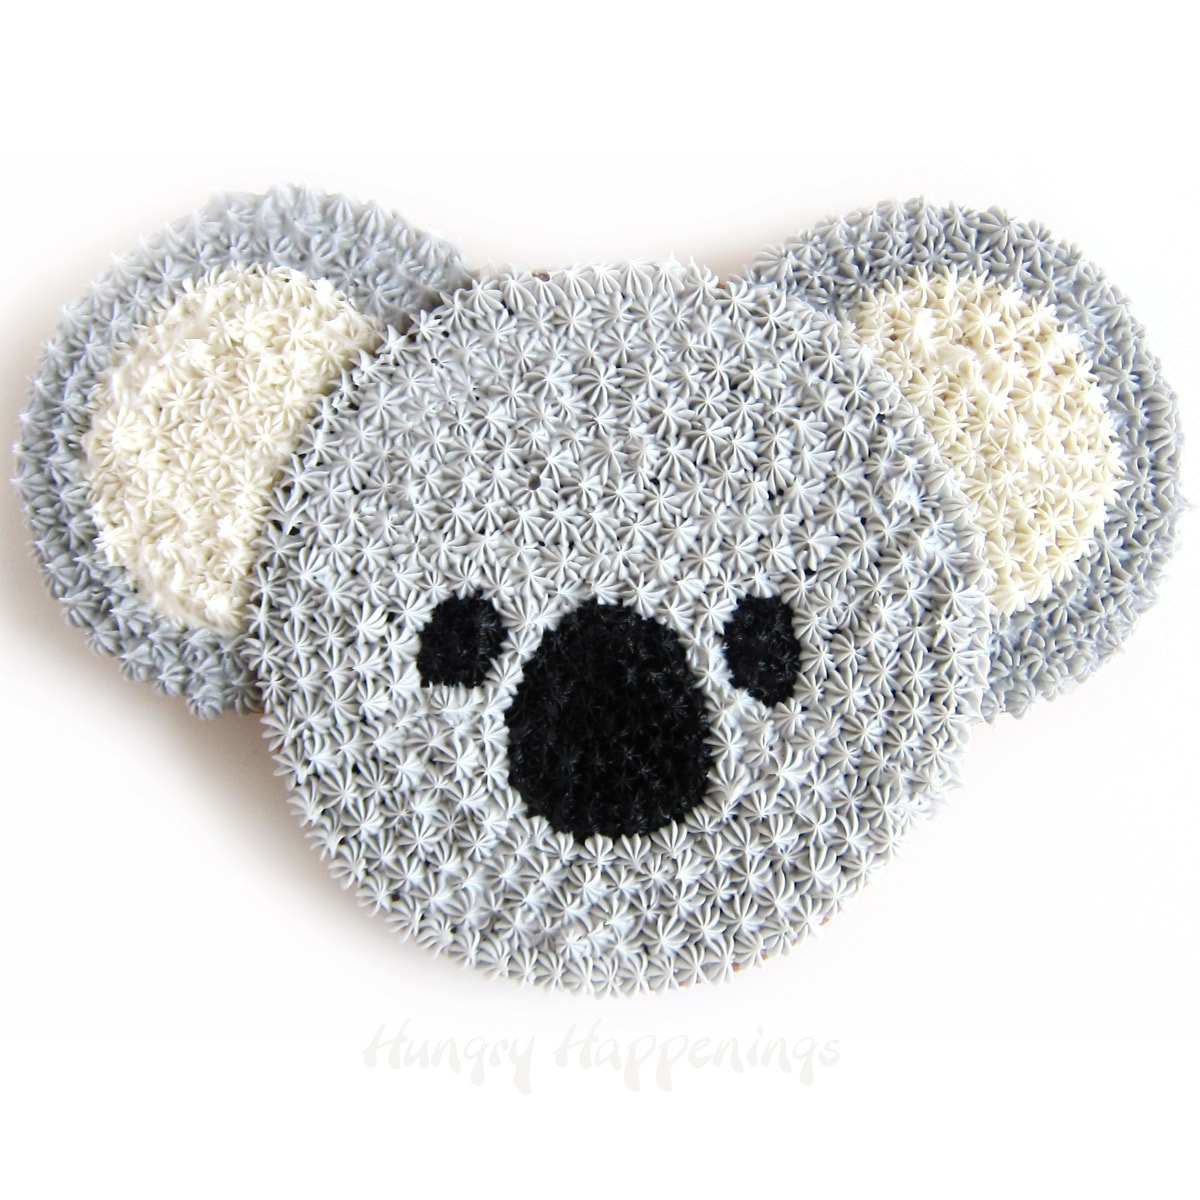
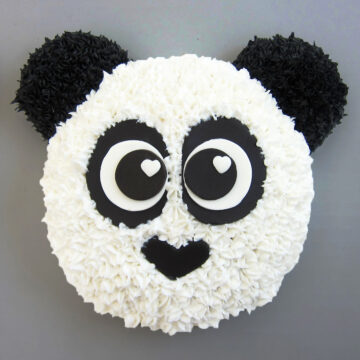
You can use this same cut-apart cake technique to make other cute animal-themed cakes for a birthday party.
Recipe
Originally published February 12, 2017.
- 1 white cake mix
- ingredients listed on box (egg whites, oil and, water)
- red, orange, yellow, green, blue, and purple food coloring
- 3-4 cups white frosting
- ⅔-3/4 cup pink frosting
- 3-4 ounces white candy clay
- edible gold luster dust
- ½ ounce pink candy clay
- 1 ounce black candy clay
- 1 ounce each of red, orange, yellow, green, blue, and purple candy clay
-
Preheat oven to 350 degrees F.
-
Spray a 9-inch by 13-inch cake pan with baking spray.
-
Optionally, line the pan with parchment paper and spray the paper.
-
Divide white cake batter into 6 bowls (about ¾ cup in each).
-
Color one bowl red, another orange, yellow, green, blue and purple.
-
Pour batter into individual disposable pastry bags or large zip top bags.
-
Snip off the tip of the bag and pipe squiggles of one color batter into the pan.
-
Use about ⅓rd of the batter for the first layer.
-
Continue piping squiggles of colors, layering the 6 colors a total of three times.
-
Tap the pan on the counter a few times to level the cake batter and to remove any air bubbles.
-
Bake according to instructions on the cake mix box.
-
Remove cake and allow to cool completely.
-
Invert cake onto a cutting board.
-
Remove parchment paper if necessary.
-
Cut cake in half so you have two 9 by 6 ½-inch pieces.
-
One piece will be the unicorn's body.
-
Cut the other piece in half so you have two 6 ½ by 4 ½-inch pieces.
-
One piece will be the unicorn's head.
-
Cut two 2 by 3-inch pieces for the unicorn's legs.
-
Discard or eat the remaining pieces.
-
Assemble the cake by placing the 9-inch by 6 ½-inch cake in the lower half of your cake board forming the unicorn's body.
-
Set the 6 ½-inch by 4 ½-inch piece about 2 ½ inches from the top edge of the larger cake forming the unicorn's head.
-
Place the two leg pieces under the body piece about ¾ of an inch from either edge.
-
Spoon frosting into pastry bags fitted with #21 star tips.
-
Pipe white stars over the large cake.
-
Pipe stars over ¾'s of the head and legs, leaving room to pipe on pink hooves and a pink snout.
-
Pinch off about 3 ounces of white modeling chocolate and form into a twisted unicorn horn.
-
Brush with edible gold luster dust and attach to the cake near the right side of the top edge of the head.
-
Roll the remaining white candy clay to about 3/16-inch thickness. Cut out an ear using a 1 ½-inch wide by 2 ½-inch long teardrop cookie cutter or a knife.
-
Roll out the pink candy clay to about 1/16th-inch thickness.
-
Cut a smaller teardrop shape.
-
Use a small dab of water to attach the pink teardrop to the center near the lower edge of the white teardrop to form the unicorn's ear.
-
Set the ear aside to dry for about 10 minutes.
-
Roll out the black candy clay and cut out a 2 ¼-inch circle then cut just a thin edge from around the circle to create a thin moon-shaped eye.
-
Cut a small ¾-inch round out of the black and do the same creating a nose.
-
Cut four small rectangles then shape them into teardrop shaped eyelashes.
-
Roll the remaining black candy clay into a long thin log for the unicorn's mouth.
-
Use a dab of frosting to attach the candy ear to the upper right corner of the unicorn's head.
-
Press the eye onto the cake to the left below the ear.
-
Then press the four eyelashes above the eye.
-
Press the black log onto the pink frosting creating the unicorn's smile.
-
Cut off any excess candy.
-
Press the nose above the smile.
-
Roll all the other colored candy clay pieces into 8 inch long logs.
-
Press them all together in rainbow order: purple, blue, green, yellow, orange, and red.
-
Cut the logs into one 3 inch side and one 5 inch side.
-
Flatten the logs and roll them out to about ¼ inch thickness.
-
Shape the longer piece into a curved tail pinching together the left side.
-
On the right side, cut the ends so that each color has a nice pointed shape.
-
Cut the left edge of the other piece so that it's straight then cut the opposite side so that each color has a nice pointed shape.
-
Attach the tail to the top corner on the right side of the unicorn's body and the mane to the right edge of the unicorn's head.

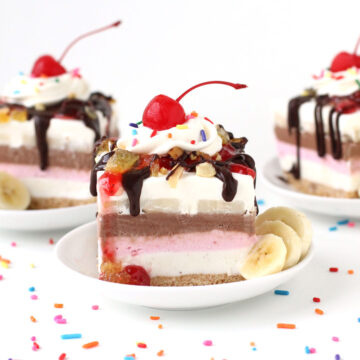
- Banana Split Bars – A Fun and Easy Summer Dessert - March 4, 2026
- Pineapple Fudge (No Candy Thermometer Needed!) - March 4, 2026
- No-Bake Peanut Butter Pie Recipe - March 3, 2026
Karen Fenichel says
Made this cake today for my granddaughters 5th birthday tomorrow. I used extra cake squares under the ear and mane to prop them up. Looks delicious. I prepared the cookie clay a week ago. Seems to keep for quite some time.
Thank for your the instructions.
Beth says
I hope your granddaughter loves her birthday cake! I'm glad it turned out so well for you.
Megan says
Such a fun cake! What are the final dimensions of the completed cake?
Beth says
Thanks! The unicorn cake is approximately 17-18 inches wide by about 16 inches tall.
Emily says
Hi,
Have you ever made this cake with butter cream frosting? When you piped the frosting what type was it?
Beth Klosterboer says
You can use buttercream frosting to make this cake. Just make sure it is thick enough to hold peaks when piped into stars. I used Wilton's Decorator Icing to decorate this cake but I've used homemade buttercream frosting to decorate many other similar cakes. Have fun making your unicorn cake.
Bron says
I made this for my daughter’s 4th Birthday and it was a hit! Loved it!
Beth says
I'm so happy to hear that! Thanks for sharing your picture too. Your cake turned out so cute.
Rachael says
I made the cake and it turned out awesome. I made on tweak to it to make it easier for me. I wish I could post a picture here.
Beth says
I'm so happy to hear your cake turned out so well! You can send me a picture to beth@hungryhappenings.com and I can share it in my Readers' Gallery. I'd love to see it.
lic_ Aussi délicieux qu'un gâteau says
Thank you for the idea, I made it in France !
http://lesgateauxdelic.canalblog.com/archives/2018/09/09/36692009.html#c74780797
Beth says
Your cake turned out so cute! Thanks for sharing.
Jessica Peters says
My daughter chose this design for her birthday! It's going to be so fun! Why does your cake look so easy to cut but mine just crumbles and falls apart?
Beth says
I'm so happy to hear you made this cake for your daughter. Sorry to hear your cake crumbled. To avoid a crumbly cake be sure to bake it just until done and to cut it slowly with a clean knife. I wipe off the blade with each cut.
Cherlyn Roberts says
Made this Unicorn Cake for my Granddaughters 7th birthday. It turned out great & she LOVED it!!!
I covered a piece of foam board with a black plastic party tablecloth, & put parchment paper cut to size under each part of the cake, mane, & tail.
I used fondant for the mane, tail, & horn.
Beth says
I'm so happy to hear your granddaughter loved the unicorn cake you made for her. Using the black tablecloth to make the board for the cake is a brilliant idea. The cake really pops against a black background.
Karen @ Sugartown Sweets says
I so love this cake! My Mom made tons of sweets when I was growing up, but she didn't decorate cakes-I would have loved that! One of my grandson's bdays, i made a rainbow swirl cake, but your way is so much easier..and you turned it into a unicorn! Awesome!
Beth says
My mom was not much of a baker, but she did make cakes for our birthdays and I always loved the cute designs. I'm sure your grandson loved his rainbow swirl cake. 🙂
The Partiologist says
I love all your rainbows, but this unicorn cake proves unicorns are real!! 🙂
Beth says
I believe!!!