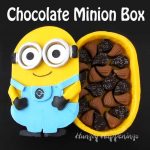
Create an entirely edible Chocolate Minion Box that is decorated with candy clay (modeling chocolate) and is filled with your favorite chocolates. I created this adorable Chocolate Minion Box to share with a group of bloggers who met up at Universal Orlando for a retreat.
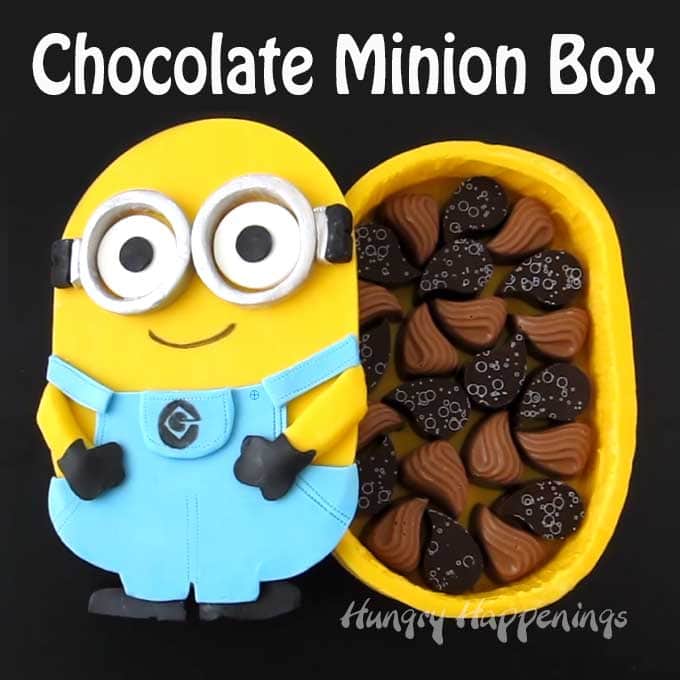
Chocolate Minion Box
Earlier this month I had the pleasure of attending a blogger retreat at universal Orlando hosted by April of Mama Loves Food and Stephanie from Spaceships and Laser Beams.
Whenever I travel I like to bring chocolate to share and being I was meeting some of the most influential food bloggers on the planet, I decided to go all out and create this over-the-top Chocolate Minion Box filled with handmade artisan chocolates.
Over the years I've made a lot of chocolate boxes and I always love to see how people react to them.
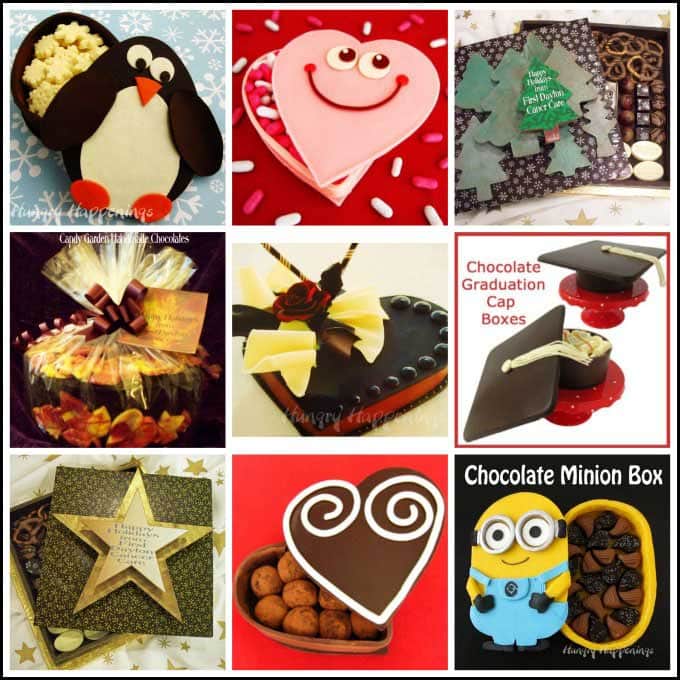
People are always amazed that the entire chocolate box is edible. Each of my boxes is intricately designed and decorated with chocolate pieces or candy clay (modeling chocolate).
When I presented the Chocolate Minion Box to my fellow bloggers they were astonished and they really enjoyed the chocolate truffles that were inside the box. Every morning I'd arrive to our meeting and the Chocolate Minion Box would magically be filled with more chocolates.
They enjoyed dark chocolate, banana rum, and peanut butter chocolates during the retreat.
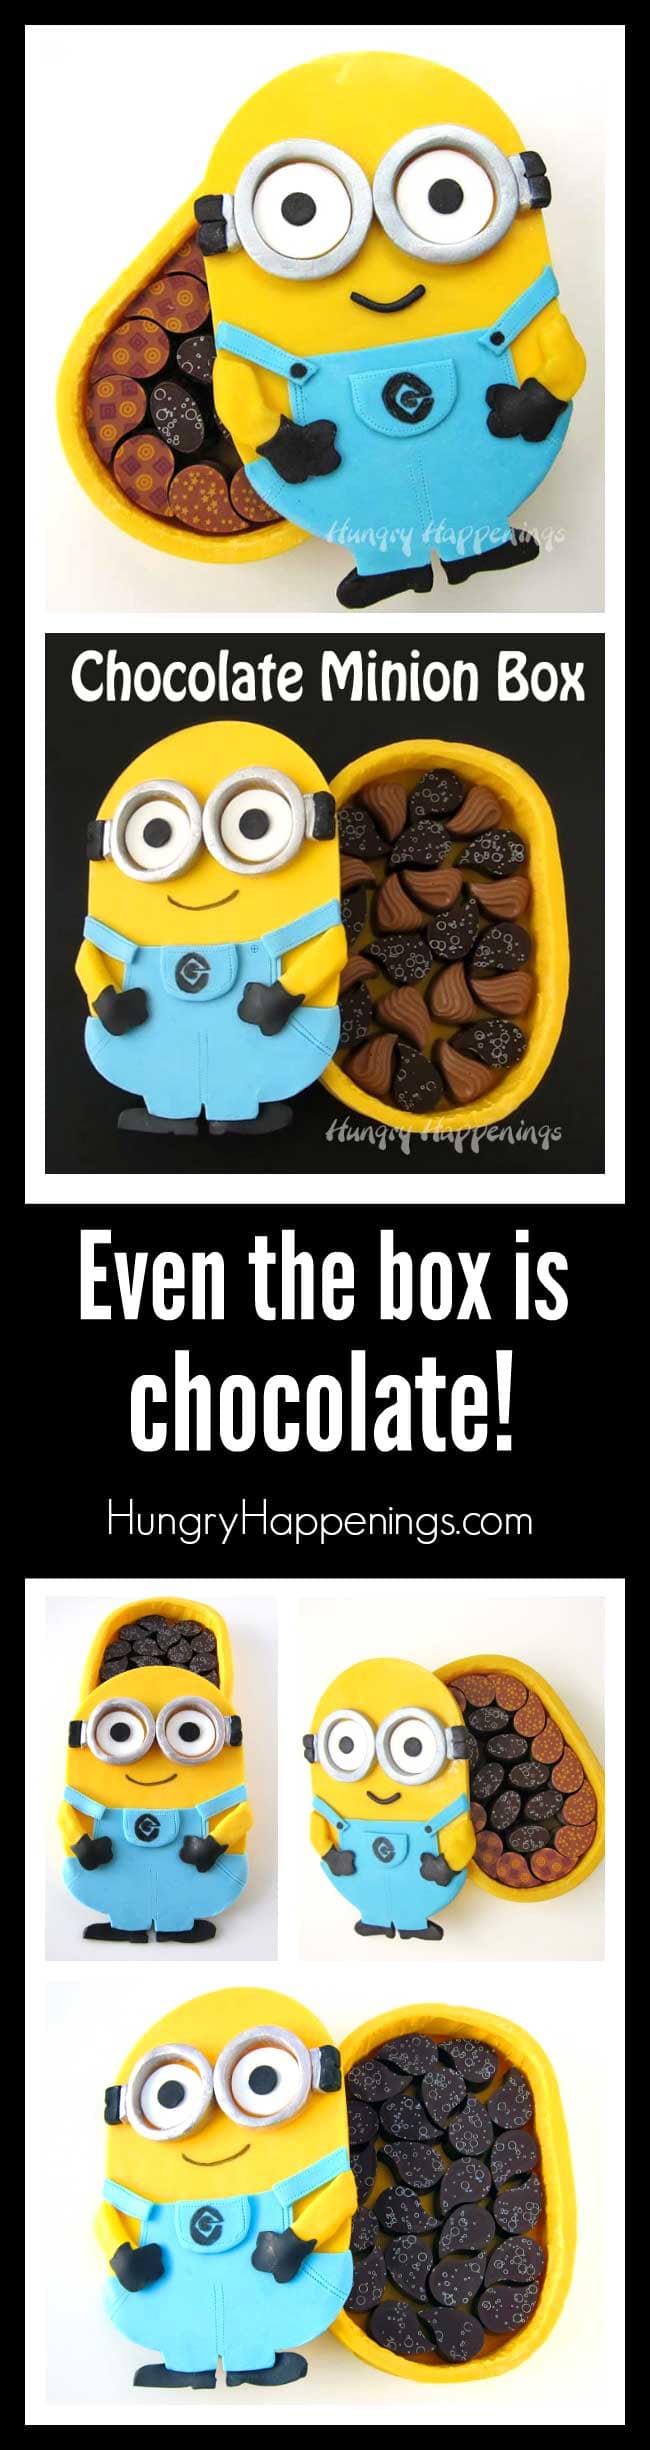
I was rushing so much to get ready to travel to Orlando that I didn't have time to create a video tutorial of the Chocolate Minion Box that I made to bring with me so I had to make another one. If you look at the picture above, you can see slight differences in the two minions just like you can in the characters from the movie, Despicable Me.
The box I brought to the retreat was a few inches taller so that it could hold two layers of chocolates while the one you'll see in the video only holds one layer. The sides of the box are created using modeling chocolate (candy clay) as are the overalls, gloves, shoes, goggles, and eyes on both Minions. I drew the smile on using a food coloring marker on one and created a mouth using modeling chocolate in the other.
Both are equally cute. Don't you think?
If you'd like to make a Chocolate Minion Box or are just curious as to how I made them, watch the video tutorial.
.
If you'd like to see a step-by-step picture tutorial with instructions for making chocolate boxes you can check these out:
In each of those tutorials you'll see how to create the tops and bottoms of a box using chocolate or Candy Melts. Then you'll see how to make the flexible sides of each box using modeling chocolate (candy clay). If your box is small or your candy clay hardens really stiff then you don't need to reinforce the sides with chocolate like I did for the minion box. Being I was taking my Chocolate Minion Box on a plane I wanted to make sure the sides were really sturdy.
To make the Minion Box you'll need:
- yellow colored white chocolate or Yellow Candy Melts
- yellow, blue, white, and black candy clay (modeling chocolate)
- See the Candy Clay (modeling chocolate) recipe on my Chocolate Making Tips Page.
- If you'd like to grab a copy of my book, Candy Clay Creations, you'll learn everything you'll need to know about making and decorating with candy clay.
- a printable Minion Template from Skip to My Lou
- resize the template as needed
- an oval cake ring
- I used an 8 X 5 ¾ X 2 inch Fat Daddios Stainless steel oval cake ring. If you want a smaller or larger box the rings are available in several sizes. You'll need to adjust all the other cutter sizes as well.
- 2 ¼, 1 ⅝, 1 ½ inch round cookie cutters
- ¾ inch round plunger cutter or metal cutter
- small ⅞ x ½ inch rectangle cutter or knife
- silicone mats (use to easily roll out candy clay)
- piping gel
- use clear piping gel to attach the candy clay pieces to each other and to the chocolate box
- edible (food safe) silver luster dust and lemon extract or silver food spray
Commission earned for all affiliate sales using the links below and in the text above.
 Fat Daddio's Stainless Stee...Shop on Amazon
 Candy Clay Creations: How t...Shop on Amazon
 Wilton 704-9987 Clear Pipin...Shop on Amazon
 Wilton 710-5521 Metallic Co...Shop on Amazon
 Ateco 697 Fondant Work Mat,...Shop on Amazon
 Wilton 6-Piece Nesting Fond...Shop on Amazon
If you’d like to have the ultimate guide to working with Candy Clay (modeling chocolate) be sure to get your printed or e-book copy of Candy Clay Creations. This 102 page book is filled with tips and tricks for making and working with candy clay along with 17 step-by-step tutorials for decorating cupcakes, cookies, and more using candy clay. It’s a fantastic resource for anyone who wants to make festively decorated treats.
- 14 ounces melted and tempered white chocolate colored yellow or Yellow Candy Melts
- 4 ounces white modeling chocolate candy clay
- 2 ounces black candy clay
- 6 ounces blue candy clay
- 8 ounces yellow candy clay 12 ounces if making a two layer chocolate box
- edible silver luster dust & lemon extract or silver food spray
- black food coloring marker
-
Line a baking pan with parchment paper.
-
Set an 8 x 5.75 X 2 inch oval cake ring on the paper.
-
Pour 6 ounces of the yellow chocolate into the cake ring.
-
Spread into an even layer.
-
Tap the pan gently to remove any air bubbles.
-
Chill in the fridge if using pure white chocolate and in the freezer if using Candy Melts for about 10 minutes until the chocolate hardens.
-
Remove from cake ring and use a knife to trim any excess around the edges.
-
Repeat creating another yellow chocolate oval using 6 ounces of the chocolate.
-
Roll out white candy clay to ¼ inch thickness.
-
Cut two circles using a 2 ¼ inch round cutter.
-
Use the 1 ⅝ inch round cutter to cut a hole out of the center of each large circle (for the Minion's goggles).
-
Flatten those smaller circles to about ⅛th of an inch thickness and cut using a 1 ½ inch cutter (for the whites of the eyes).
-
Roll out some black and white candy clay to ¼ inch thickness.
-
Cut a ⅞ x ½ rectangle out of each color.
-
Cut both in half lengthwise.
-
Brush a thin layer of piping gel along one long edge of a white piece and press it up against a long edge of a black piece.
-
Repeat creating two ⅞ X ½ inch black and white rectangles.
-
Cut a notch on the edge in the mid section of the black part of each.
-
Use piping gel to attach them to the google pieces.
-
Combine about a teaspoon of lemon extract with about a teaspoon of edible silver luster dust until you get a nice fluid yet thick mixture.
-
Paint the white candy clay goggles silver.
-
Let dry for at least 30 minutes before touching.
-
Roll out some black candy clay to 1/16th of an inch thickness.
-
Cut two circles using a ¾ inch round plunger cutter.
-
Attach to the center of the white eye pieces (1 ½ inch circles of candy clay).
-
Roll out blue candy clay to ⅛th inch thickness.
-
Cut out the Minion Template (resized if needed to fit the size of your chocolate Minion).
-
Cut out the blue overalls, the straps, and the pocket and set on the blue candy clay.
-
Cut the candy clay out around the template.
-
Use a fondant sticking wheel to create the stitching around the pockets and crotch area of the overalls.
-
Draw the "G" logo onto the half moon shaped pocked using a black food coloring marker.
-
Use piping gel to attach all the pieces to one of the yellow chocolate ovals creating your Minion.
-
Draw on a smile using black food coloring marker or use a thin log of black candy clay to create one, if you prefer.
-
Roll out yellow candy clay into a 24 inch long log.
-
Flatten and roll out to ½ inch thickness.
-
Cut into a 1 ½ inch (or 2 ½ - 3 inch) wide by 24 inch long strip.
-
Set the oval cake ring on a parchment paper lined baking sheet.
-
Wrap the yellow strip of candy clay around the inside of the oval ring so that it creates the walls of your chocolate box.
-
Cut the ends as needed so they match up neatly.
-
Attach the seam using a small amount of piping gel. Make sure the seam does not stick to the inside of the cake ring.
-
Let dry for at least 30 minutes, preferably longer.
-
Remove the cake ring from the yellow candy clay walls.
-
Brush a thin layer of yellow chocolate on the top edge of the candy clay walls.
-
Set the plain yellow chocolate oval on top creating the base of the box.
-
Let dry for 15 minutes.
-
Carefully turn the box base right side up.
-
If needed, brush the interior with melted yellow chocolate to reinforce the walls.
-
Let dry.
-
Fill box with chocolate or candy and set the decorated chocolate Minion lid on top.
I had so much fun creating this box but even more fun at the blogger retreat. We all stayed at Cabana Bay at Universal Orlando and met in the Bayliner Cafe every day to discuss the business of blogging. Then we headed out to the parks for some fun.
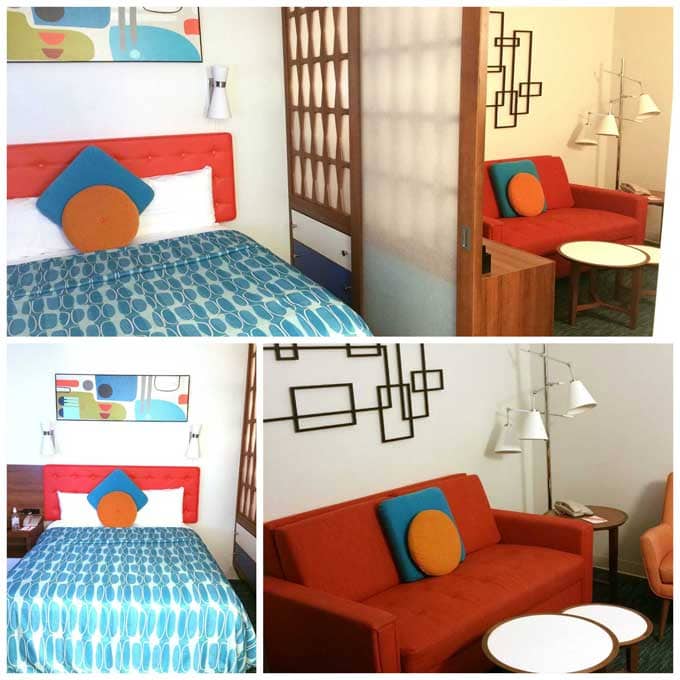
I have to admit that I wasn't expecting a lot when I was told we were staying at Cabana Bay, the budget hotel on the Universal property, but I was really super impressed. The bed was very comfortable, which is a huge factor for me when rating hotels. I stayed in a family suite even though I was alone and I really enjoyed having the extra space in the living room to sit and watch television or do some work.
I really appreciated having a kitchen with a refrigerator and microwave. I kept my bottles of water and yogurt cold during my stay and used the extra counter space to store all the goodies we got in our swag bag.
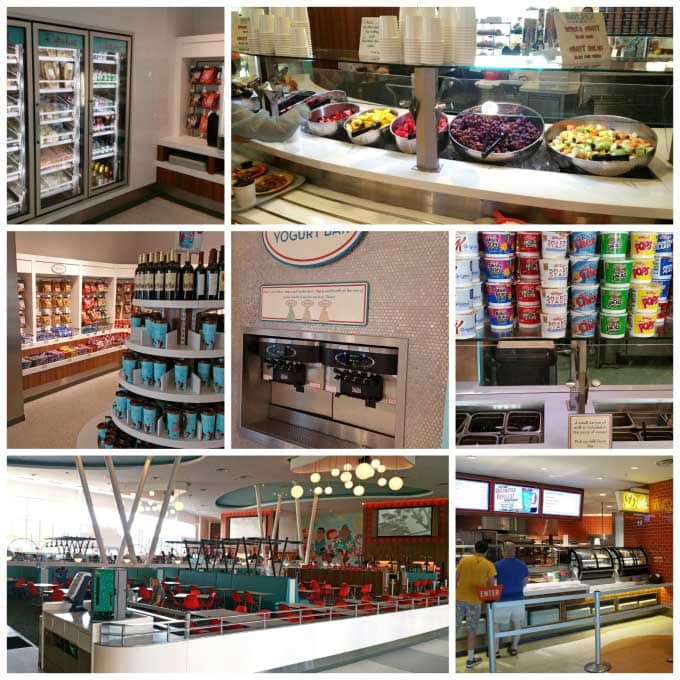
We met every morning at the Bayliner Cafe and enjoyed breakfast before getting to work.
Once again, my expectations were very low. I'm not a big fan of food courts and the cafe is just that.
Happily this cafe exceeded my expectations and actually impressed me. The food was fresh and a great value which is a huge plus at an amusement park hotel.
I especially loved the fresh fruit and yogurt bar for breakfast and the salad bar for lunch. It's not often I see such a wonderful assortment of fresh fruits and vegetables in a cafeteria.

I also really loved the retro decor throughout the resort and although we did not have time to enjoy the amenities, they will certainly be a draw if we go back to Universal.
They have two huge pools, a super long lazy river, a bowling alley, an arcade, and the largest exercise facility I've ever seen in a hotel.

Each afternoon we got to go and enjoy a park. The Wizarding World of Harry Potter was the highlight of our visits. It was my second visit to this magical land at the back of Islands of Adventure and Universal Studios Florida and I got to once again enjoy some of my favorite rides and attractions.
As soon we walked into Diagon Alley or Hogmeade I felt as though I were there with Harry, Hermoine, and Ron. Speaking of Hermoine, I actually met Emma Watson on an elevator going up to the first class lounge at JFK airport last year when we were heading to Africa. The encounter was brief, but she was so sweet.
Almost as sweet as the frozen butterbeer and the jelly babies (a popular British candy) that I enjoyed during our visit.
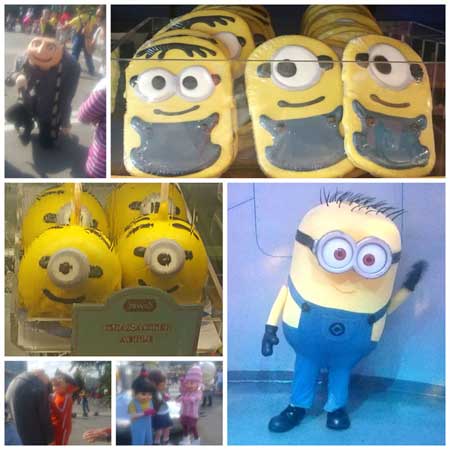
My Chocolate Minion Box was inspired by my encounter with Gru, the girls and the Minions during our last visit. If you've not visited Universal Orlando yet, be sure to make a point of seeing the Minion parade when you do. It's so fun!
I particularly like going into the sweet shops to see all the cute treats. They always inspire me.
I had such a wonderful time at the blogger retreat. I got free tickets to Universal Orlando, some really cool swag from Universal and Squatty Potty, and a free ride in a beautiful KIA during my stay along with some fun money to spend in the parks thanks to our sponsors!

- Banana Split Bars – A Fun and Easy Summer Dessert - March 4, 2026
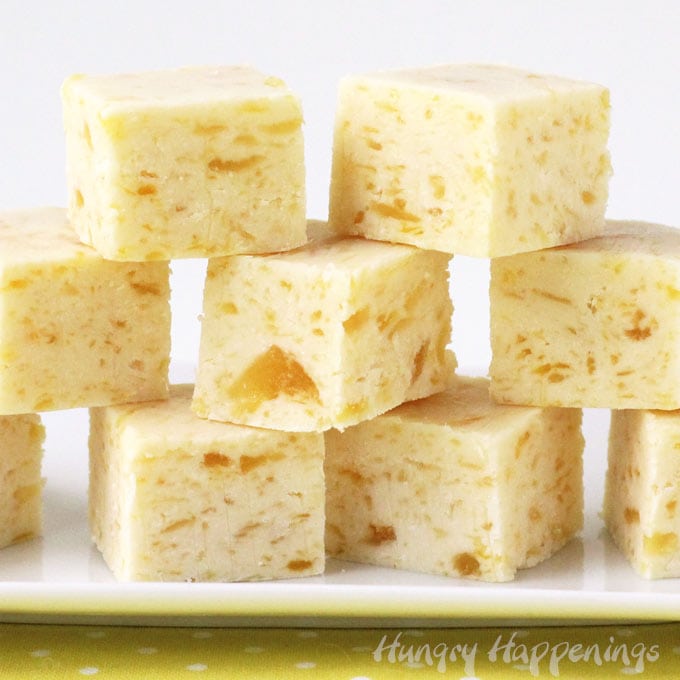
- Pineapple Fudge (No Candy Thermometer Needed!) - March 4, 2026
- No-Bake Peanut Butter Pie Recipe - March 3, 2026
instagram online says
Wow! The Minion Box!! I love it! My kids will go crazy if they see this chocolate box! Thank you for the recipe! It's amazing!
Karen @ Sugartown Sweets says
Of course as soon as I saw your Minion box, I said, WOW! Lucky girls to get to eat your handmade chocolates AND the container!
Your blogger retreat sounds amazing as does the hotel (I love floating down a lazy river) along with your visits to all the sweet shops. So glad y'all had a great time! :o)
Beth says
Thanks, Karen. I love floating in a lazy river too. Maybe next time I'm there I'll get a chance!