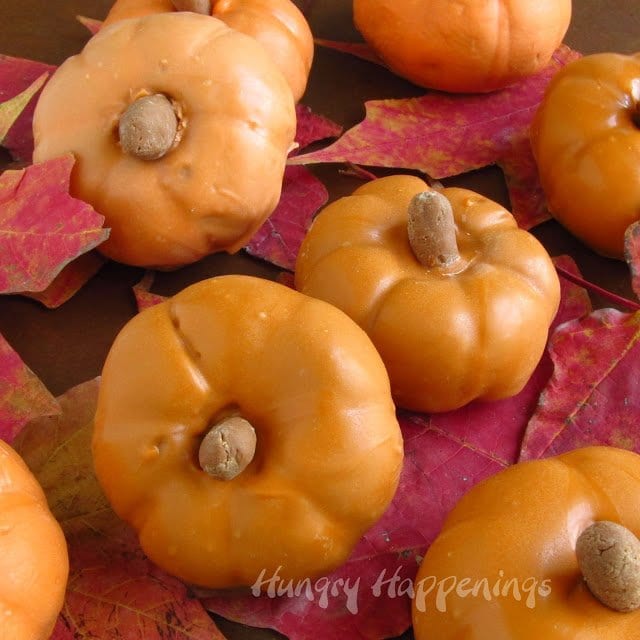
It's easy to make these realistic-looking mini Chocolate Caramel Pumpkins for Halloween, Thanksgiving, or fall using just three ingredients.
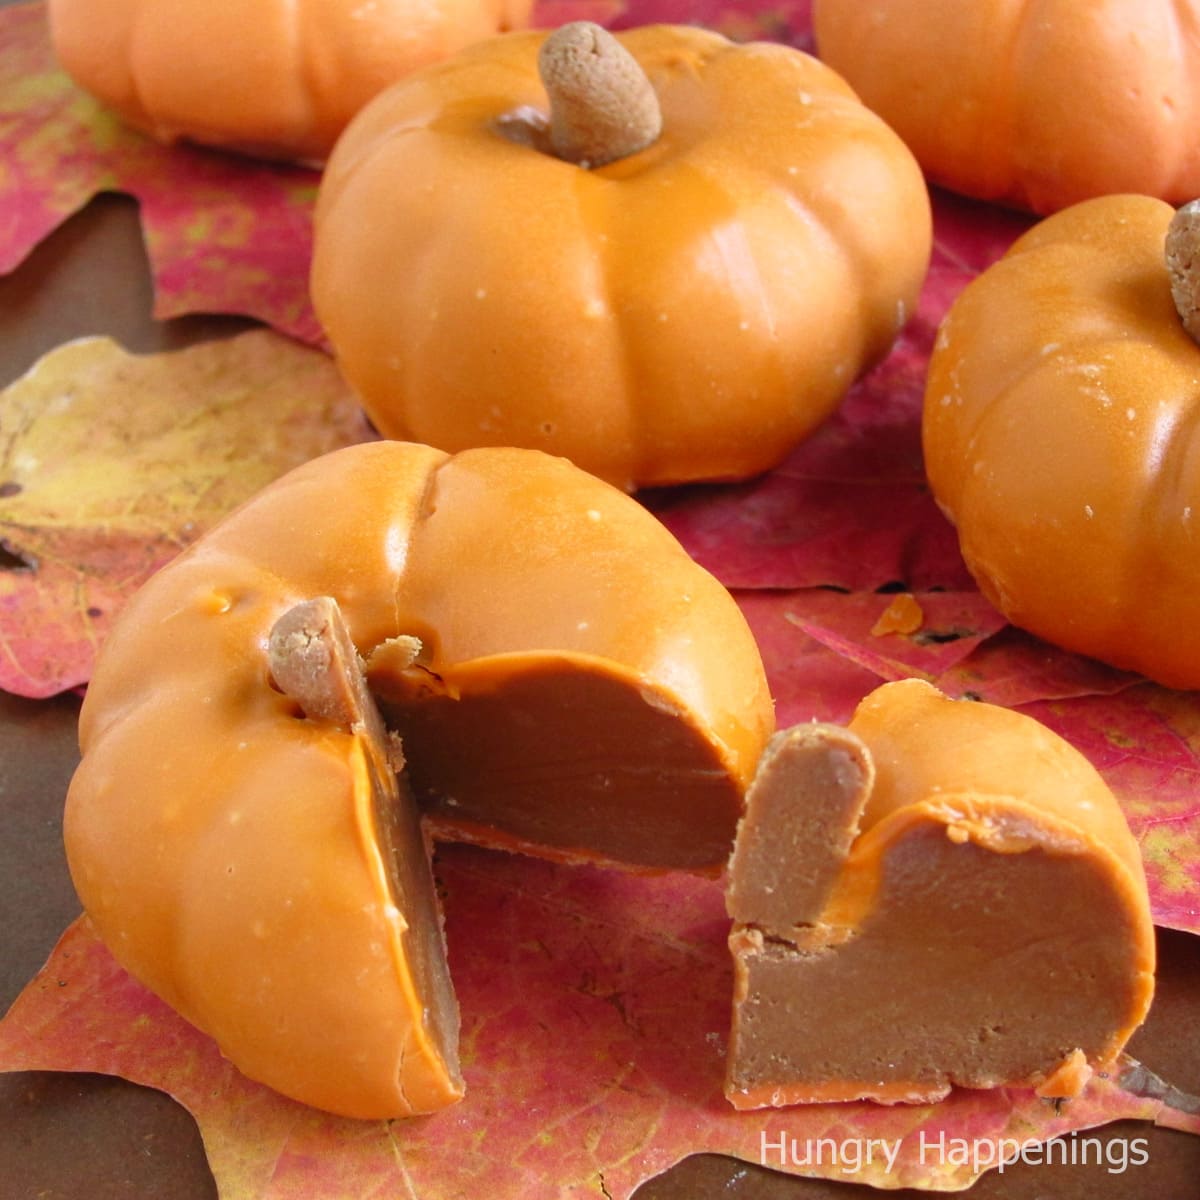
I love using a simple recipe to make a festive treat for a holiday. These cute little pumpkins are made by dipping pumpkin-shaped 2-ingredient chocolate caramel fudge into orange candy melts.
Each pumpkin is hand-crafted which gives them a realistic look. Not all pumpkins look alike so you don't have to make them identical.
I made mine the size of a small pumpkin but you can make tiny bite-size pumpkins or larger pumpkins.
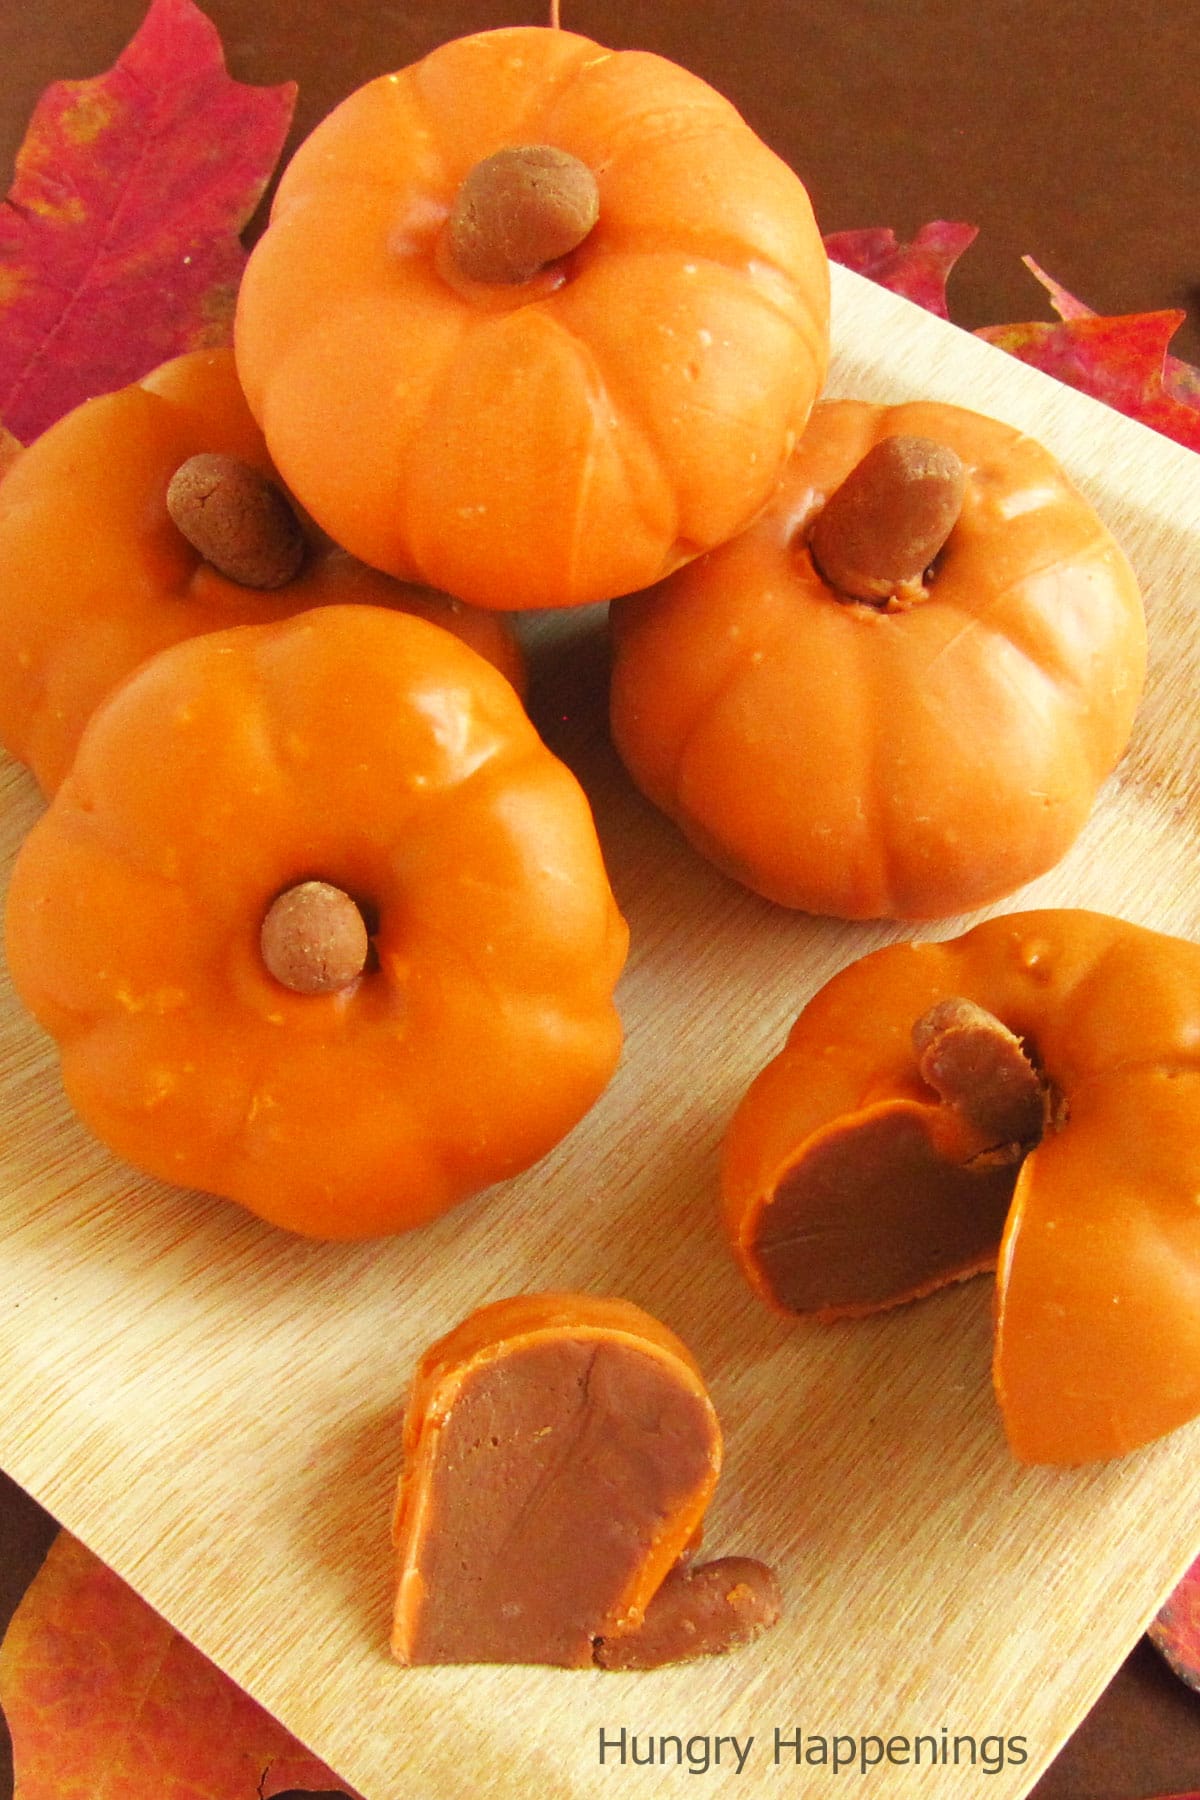
When you cut into them or bite into them, you'll find a soft fudge inside the white chocolate shell.
Chocolate Caramel Filled Pumpkins (makes 9 small pumpkins)
Before you begin this recipe, if you aren't experienced with making chocolate, read my Chocolate Making Tips page.
Ingredients
14 ounces milk chocolate - You can use finely chopped blocks or bars or chips.
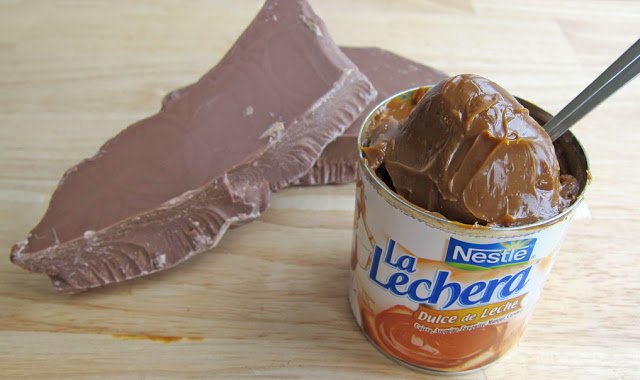
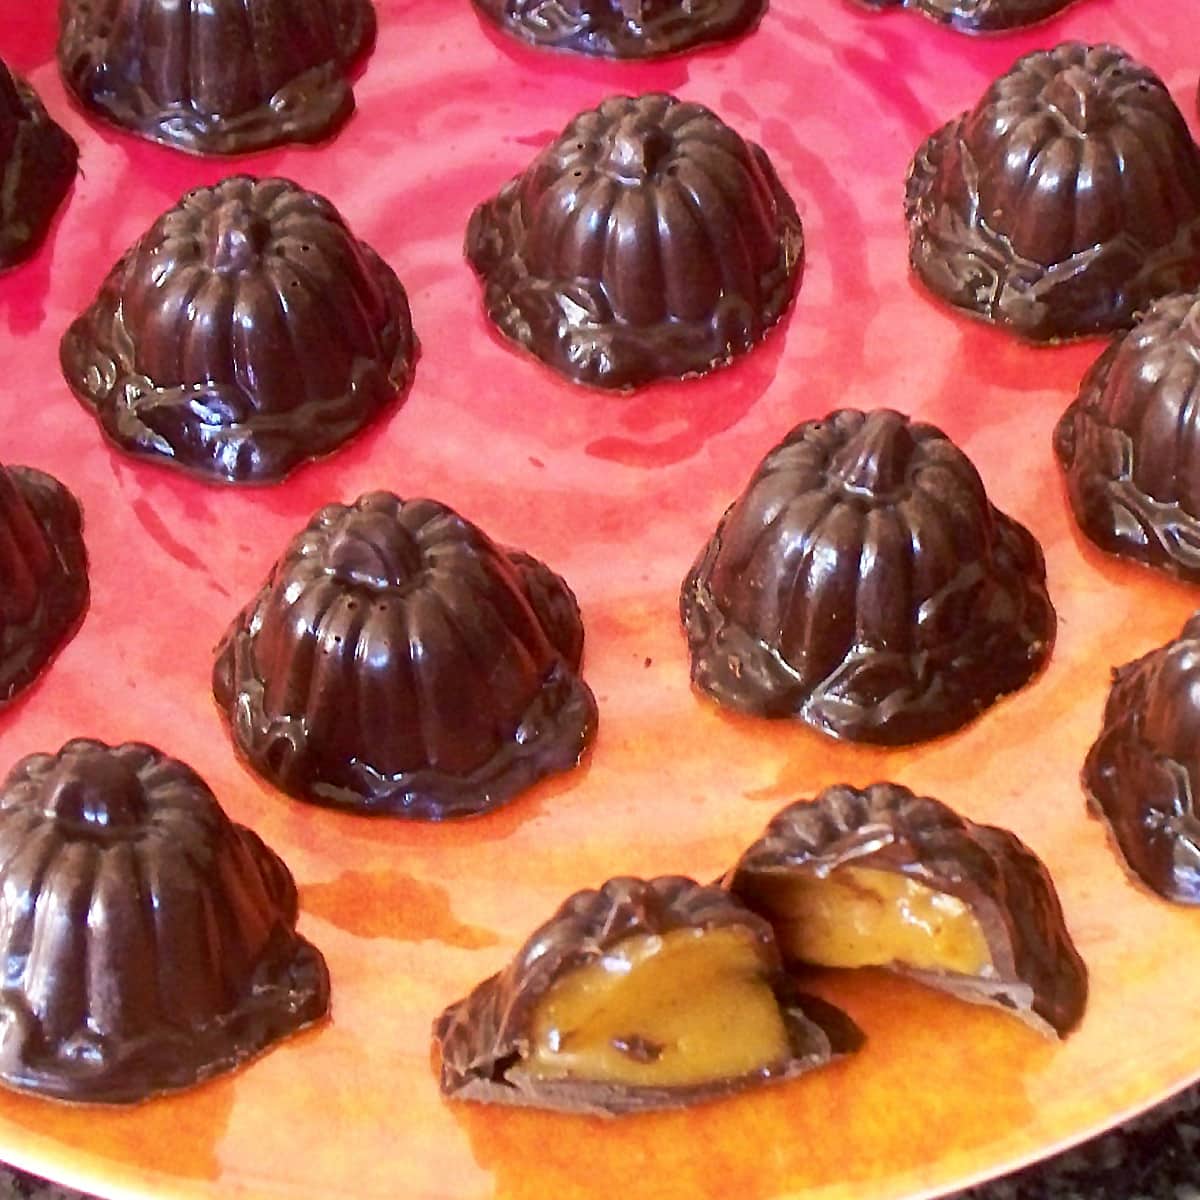
13.4 ounces (1 can) Dulce de Leche - This is caramelized sweetened condensed milk. It has a soft and creamy texture, is deep golden brown, and tastes like caramel.
12-ounce orange candy melts - Or you can use white candy melts oil-based orange candy coloring to make orange-colored candy melts.
Supplies
baking sheet lined with parchment paper or a Silpat
Products used for this project are available on Amazon.com. I earn a small commission when you make a purchase using the Amazon links in this post at no extra cost to you.
") Callebaut 11 lb Chocolate B...Shop on Amazon
Callebaut 11 lb Chocolate B...Shop on Amazon Nestle Dulce De LecheShop on Amazon
 Wilton Orange Candy Melts®...Shop on Amazon
 Merckens Coatings, Orange, ...Shop on Amazon
 AmeriColor Candy Color Red,...Shop on Amazon
Instructions
Make the fudge.
- Finely chop milk chocolate.
- Open the can of Dulce de Leche.
- Melt the milk chocolate according to the instructions on my Chocolate Making Tips page.
- Then, allow the melted milk chocolate to cool to 90-92 degrees Fahrenheit. The chocolate should feel cool to the touch but still be melted. It's best to stir the chocolate often until it cools down.
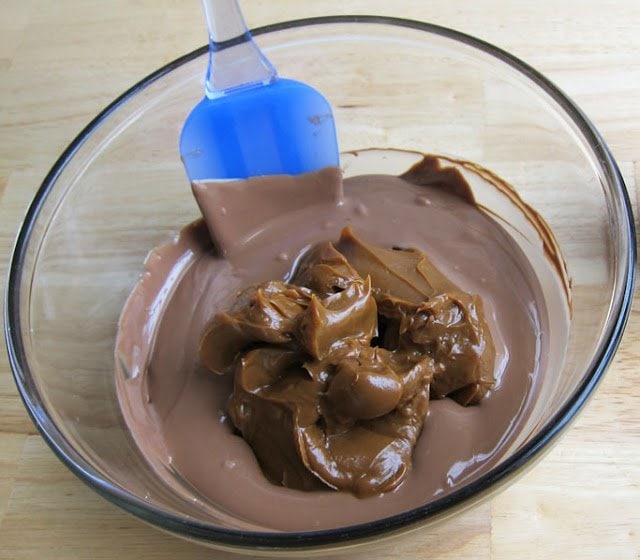
- Stir in the Dulce de Leche.
If you don't allow the milk chocolate to cool, and you stir in the Dulce de Leche, your fudge may become greasy. If that happens, read my How To Fix Greasy Modeling Chocolate tutorial for tips on fixing it.
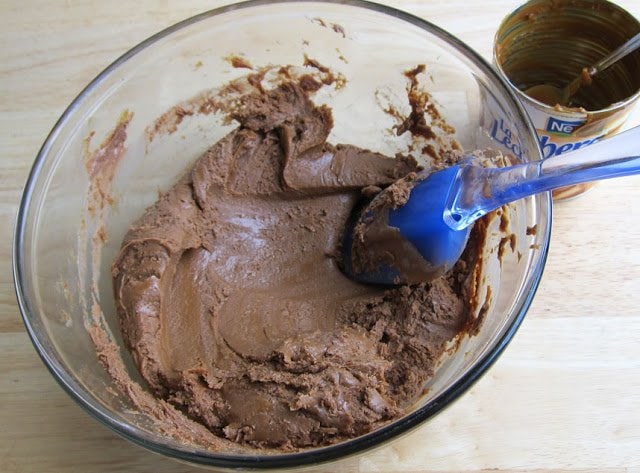
- The mixture will get very thick, but you need to make sure all of the caramel is mixed into the chocolate, so use your hands if needed.
- Once well mixed, wrap it in plastic wrap and let it rest for at least 30 minutes.
- When you unwrap it, knead it in your hands until smooth, about 30 seconds.
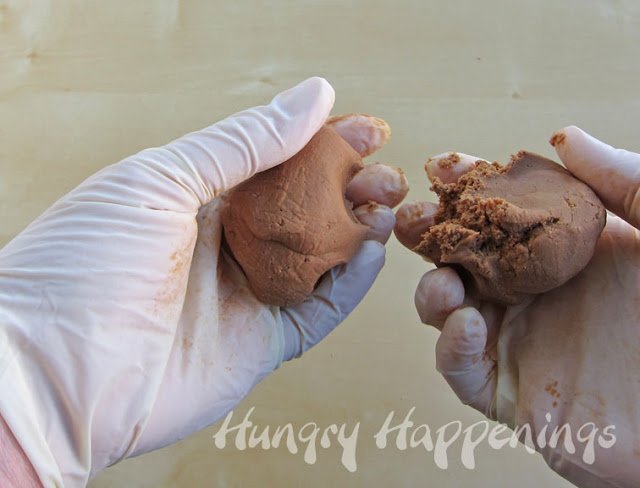
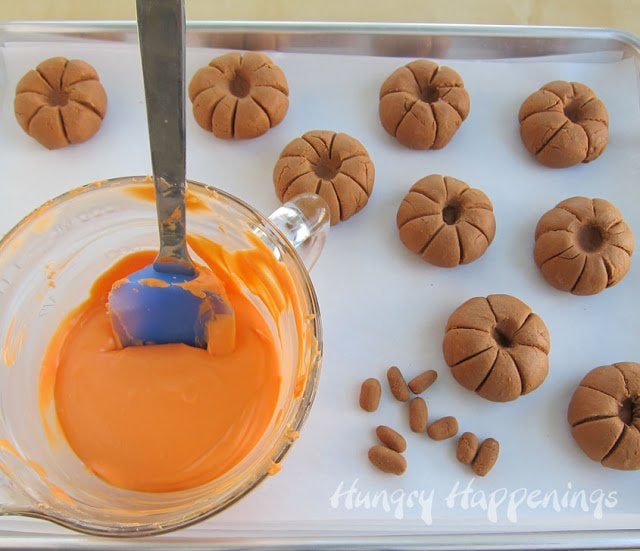
- Divide the caramel chocolate fudge into nine pieces, reserving about a heaping tablespoonful for the pumpkin stems.

- Roll into balls.
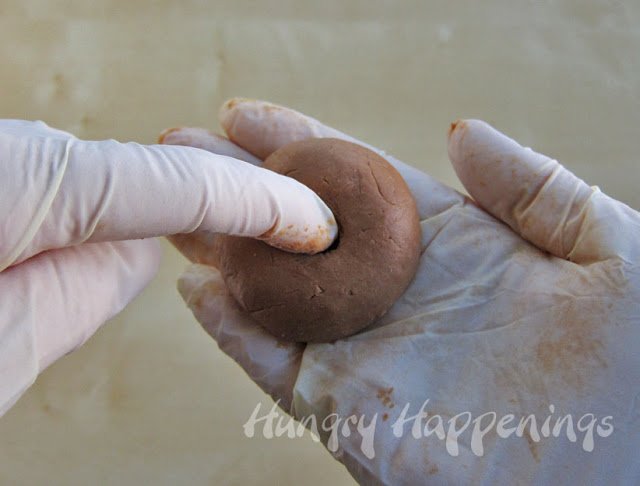
- Flatten slightly and make an indentation in the center.
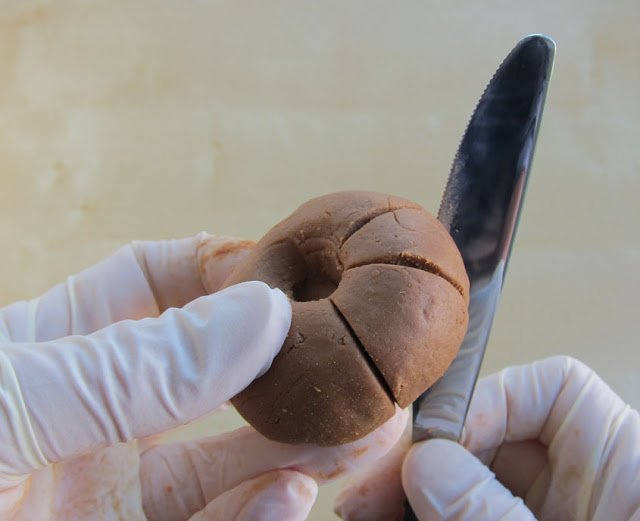
- Use a knife to cut grooves starting at the indentation and going all the way around to the opposite side.
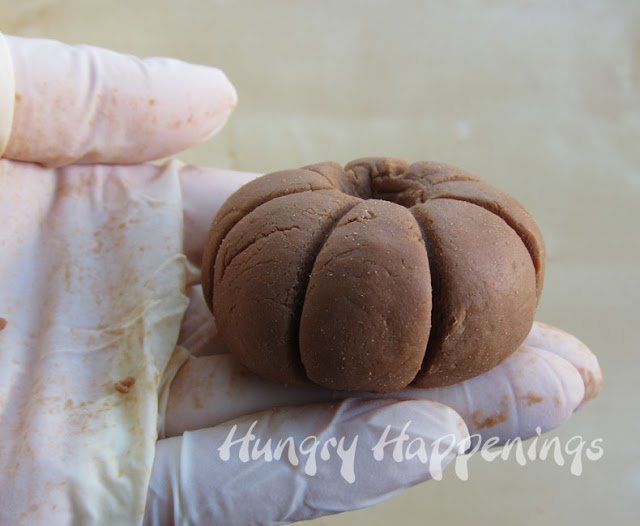
- Use the back of the knife to widen the groves for a more defined pumpkin shape.
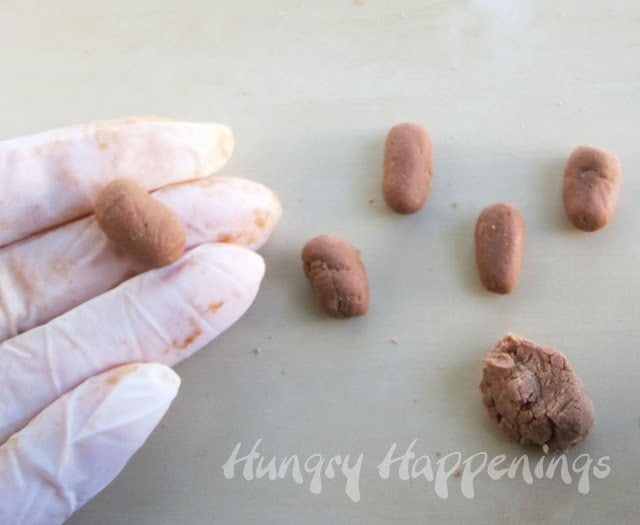
- Divide the reserved modeling chocolate into 9 pieces and roll them into short logs for the pumpkin stems.
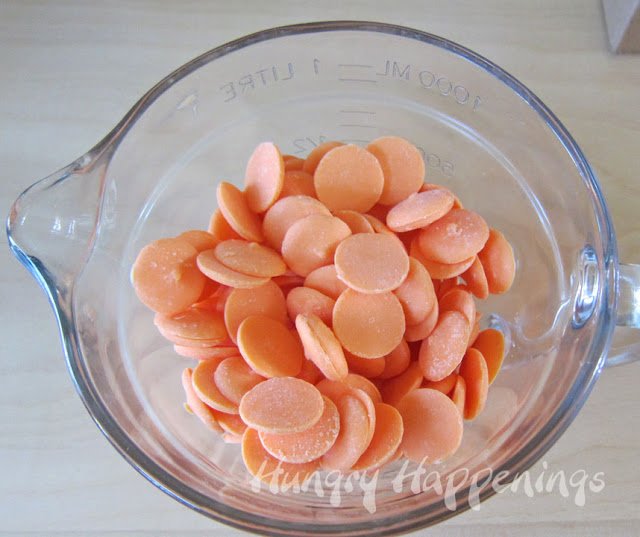
- Pour the orange candy melts wafers into a microwave-safe bowl.
- Heat on high power for 40 seconds.
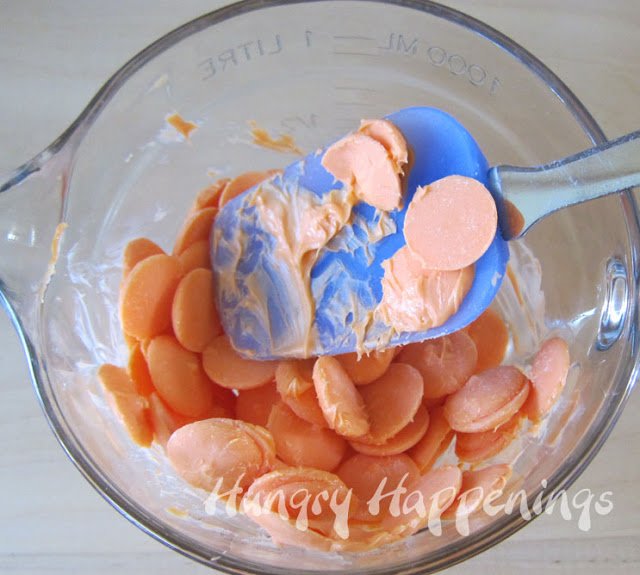
- Stir, even though the wafers will not look like they've melted at all.
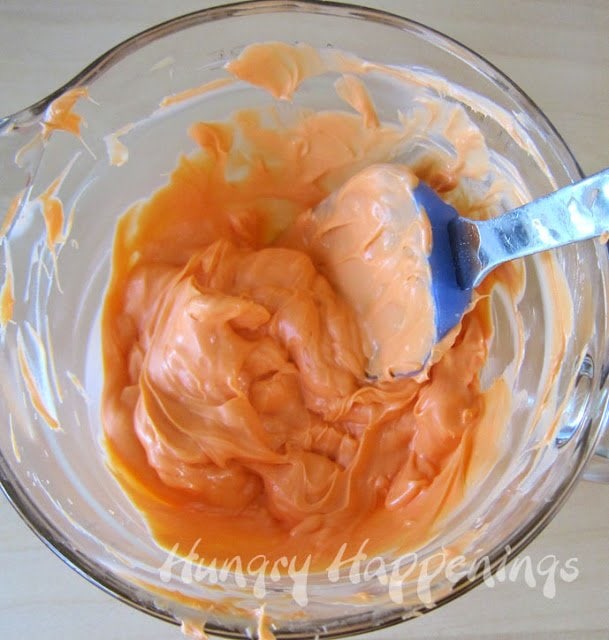
- Heat for 30 seconds on high, then allow it to sit in the microwave for one to two minutes.
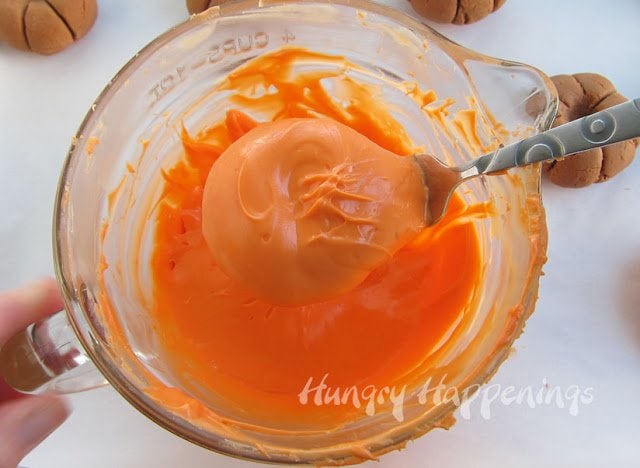
- Remove and stir vigorously.
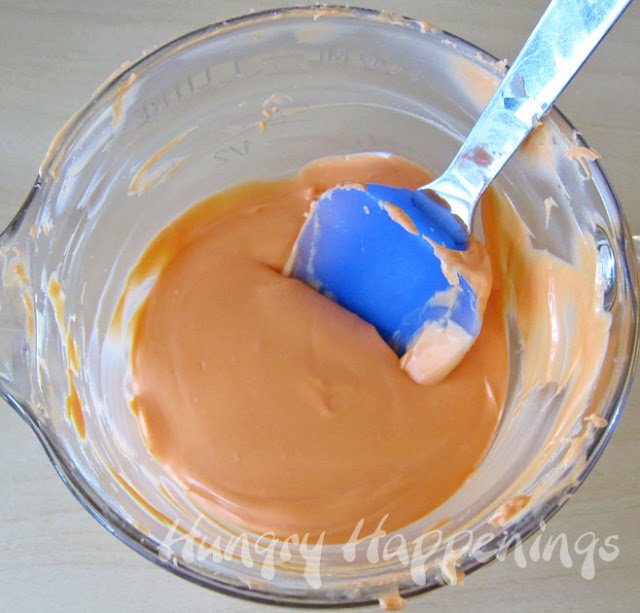
- Heat again for 10-15 second increments, stirring after each, until melted. Every microwave is different, but be careful to go slowly as the candy can burn easily.
Tips
If your candy coating gets a bit too thick, add some paramount crystals (preferable), vegetable oil, or coconut oil to thin it out.
- Once your candy coating is melted, you are ready to dip your chocolate caramel pumpkins.
- Line a baking sheet with parchment paper or a Silpat, non-stick liner.
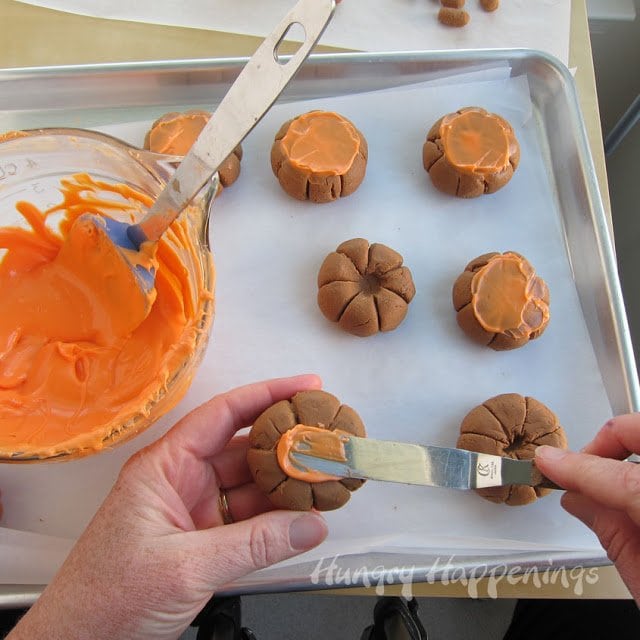
- To ensure a nice coating on the bottoms of your chocolate caramel pumpkins, I suggest you spread a layer of the candy coating on the bottoms of each pumpkin before you dip them.
- Let the candy coating harden before dipping the pumpkins into the candy melts.
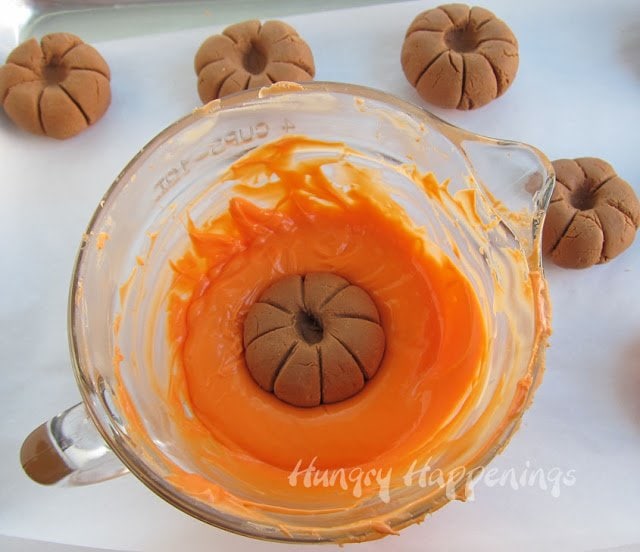
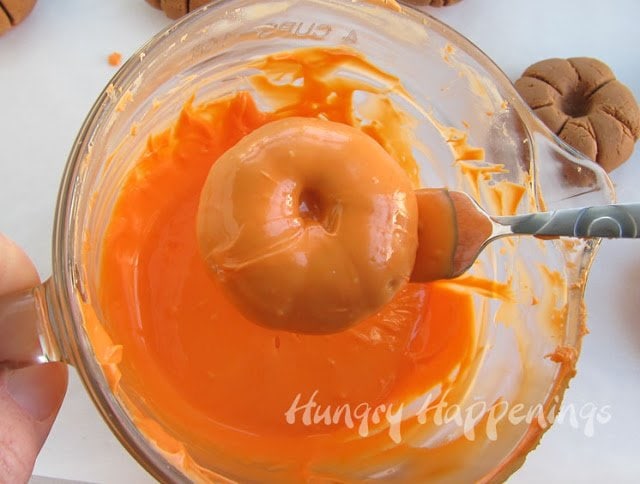
- Drop one chocolate caramel pumpkin into your orange coating.
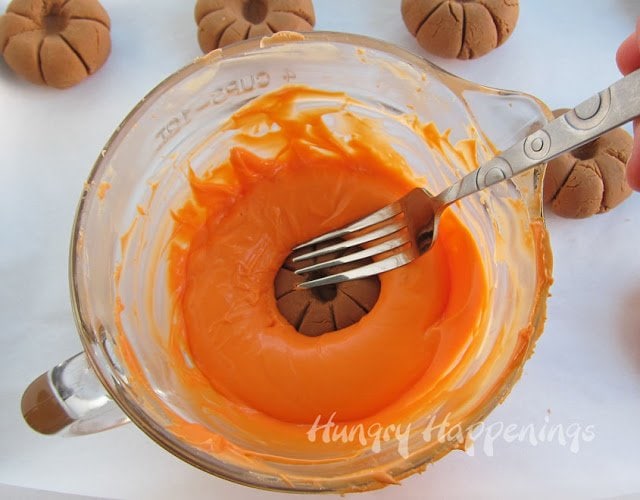
- Use a fork to press the pumpkin down into the candy coating.
- Completely submerge the pumpkin in the coating.
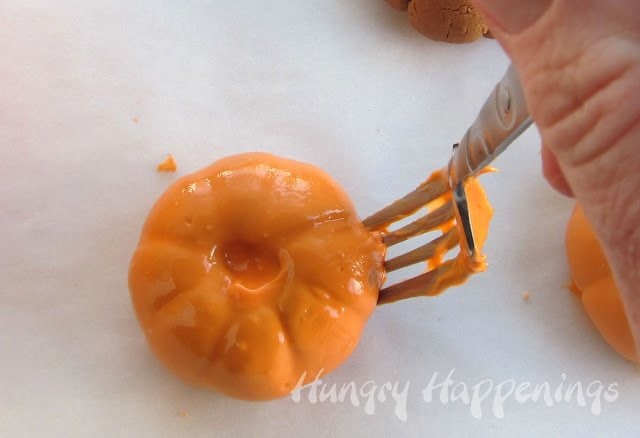
- Use the fork to lift the pumpkin out of the candy coating.
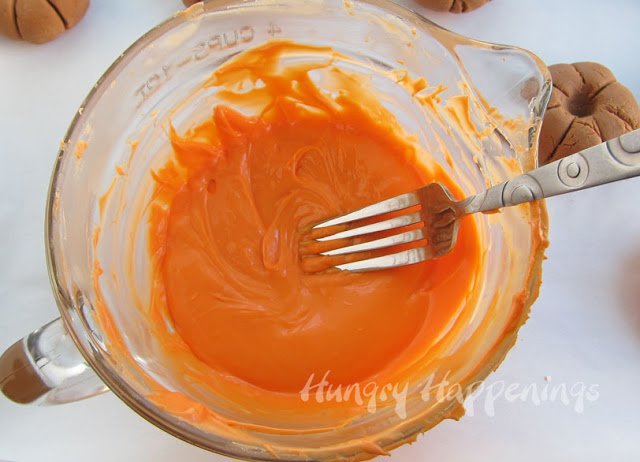
- Tap the fork on the side of the bowl several times until the excess candy coating falls off the pumpkin.
- Be sure the indentation is apparent; you might need to put your finger in it and push the candy coating out.
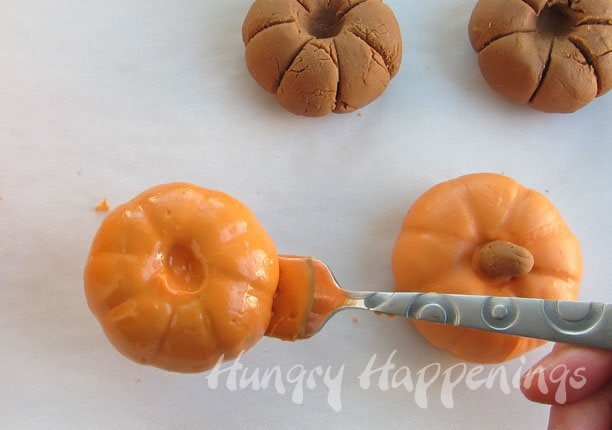
- Set the candy-coated pumpkin on your lined baking sheet.
- Allow the fork to slide out from under the pumpkin.
- Smooth out any rough spots made by the tines of the fork.
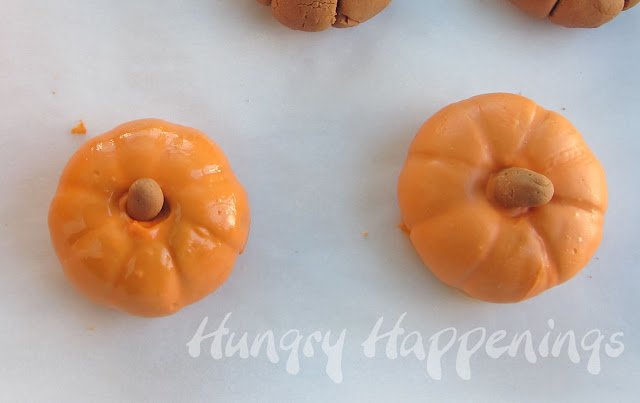
- Press one stem into the indentation.
- Repeat until you have half of your pumpkins completed.
- Refrigerate for about 10 minutes until the candy coating is set.
- Reheat your candy coating for 10-15 second increments, stirring after each until melted and fluid again.
- Continue dipping the remaining chocolate caramel pumpkins and adding the stems.
- Chill in the refrigerator until set.
Serve at Thanksgiving or Halloween as a dessert or wrap in clear cellophane bags and give as gifts.
Storage
Store in an airtight container. These will keep well for up to 3 weeks.
Variations
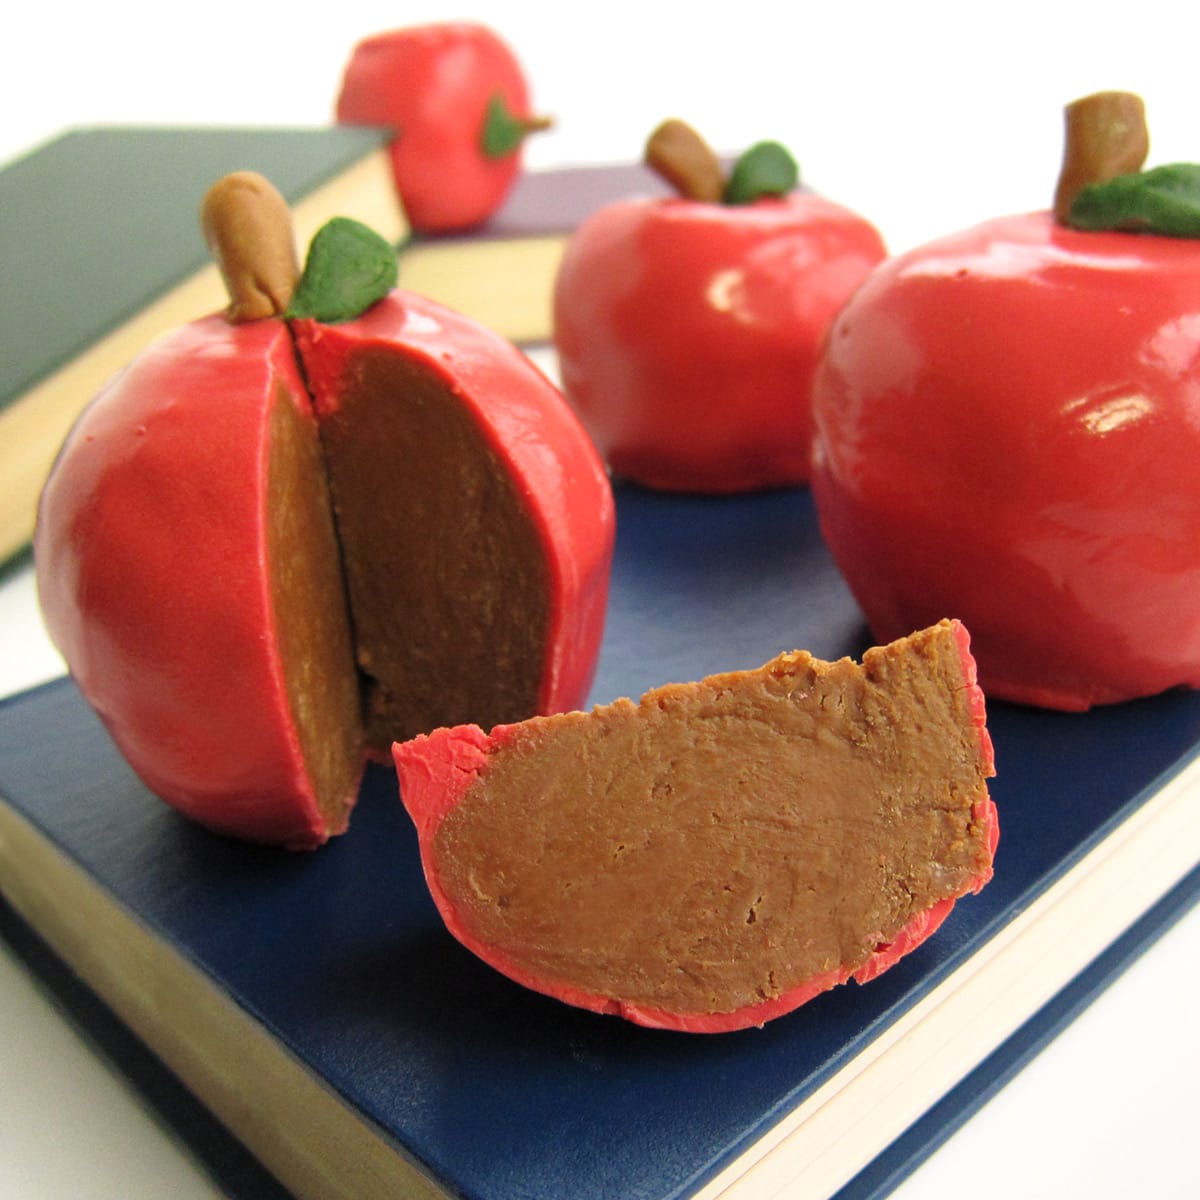
You can also use this same recipe to make Inside Out Chocolate Caramel Apples.
Related Recipes
If you are looking for more pumpkin-themed recipes, be sure to check these out.
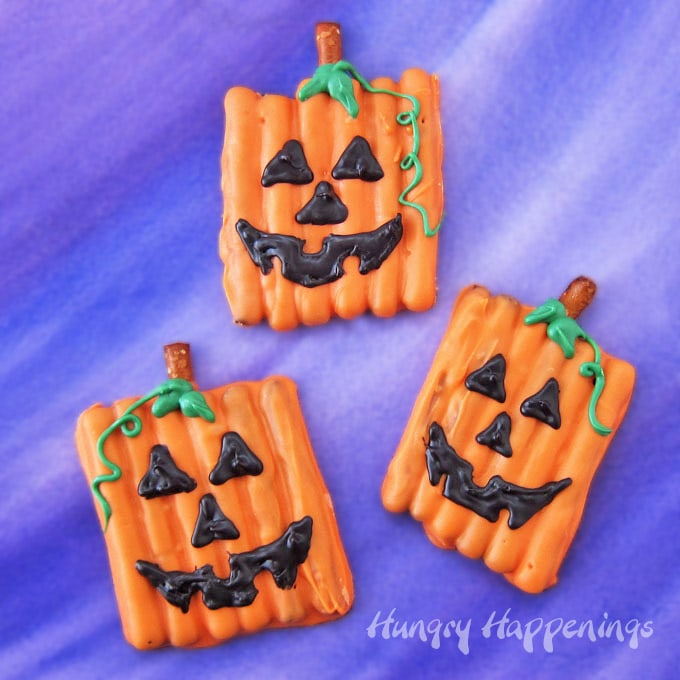
Be sure to check out all of my fun Halloween Recipes and Thanksgiving Recipes.
Recipe

Dip pumpkin-shaped 2-ingredient chocolate caramel fudge in orange candy melts and add a fudge stem to make these realistic-looking pumpkin desserts.
- 14 ounces milk chocolate bars, finely chopped or chips
- 13.4 ounces (1 can) Dulce de Leche
- 12 ounces orange candy melts (or white candy melts colored with orange candy oil)
-
Pour the milk chocolate into a microwave-safe bowl.
-
Heat on high power for 15-30 second increments, stirring after each until melted.
-
Allow the melted milk chocolate to cool to between 90-92 degrees Fahrenheit.
-
Stir in the Dulce de Leche just until combined. Don't overmix or your fudge may become greasy.
-
Once mixed, wrap it in plastic wrap and let it rest for at least 30 minutes.
-
When you unwrap it, knead it in your hands until smooth, about 30 seconds.
-
Divide the caramel chocolate fudge into 9 pieces reserving about a heaping tablespoonful for the pumpkin stems.
-
Roll the 9 pieces of fudge into balls then flatten slightly into pumpkin shapes and make an indentation in the center on top of the pumpkin.
-
Use a knife to make grooves starting at the indentation and going down to the bottom of the pumpkin.
-
Use the back of the knife to widen the groves for a more defined pumpkin shape.
-
Divide the reserved modeling chocolate into 9 small pieces and roll them into short logs for the pumpkin stems.
-
Pour the orange candy melts wafers into a microwave-safe bowl.
-
Heat on high power for 40 seconds then remove and stir.
-
Heat for 30 seconds on high, then allow it to sit in the microwave for one to two minutes.
-
Remove and stir vigorously.
-
Heat again for 10-15 second increments, stirring after each, until melted.
-
Line a baking sheet with parchment paper or a Silpat, non-stick liner.
-
Spread a layer of the orange candy melts on the bottom of each chocolate caramel pumpkin.
-
Let that candy coating harden.
-
Dip a pumpkin into the orange candy melts, covering it completely, then lift it out using a fork.
-
Tap the fork on the side of the bowl several times until the excess candy coating falls off the pumpkin.
-
Be sure to remove any excess candy melts from the indentation.
-
Set the candy-coated pumpkin on your lined baking sheet.
-
Press one chocolate caramel fudge stem into the indentation.
-
Repeat until you have half of your pumpkins completed.
-
Refrigerate for about 10 minutes until the candy coating is set.
-
Reheat your candy coating for 10-15 second increments, stirring after each until melted and fluid again.
-
Continue dipping the remaining chocolate caramel pumpkins and adding the stems.
-
Chill in the refrigerator until set.
-
Let the pumpkins sit at room temperatur for at least 30 minutes before packaging them.
Store in an airtight container. These will keep well for up to 3 weeks.

- Banana Split Bars – A Fun and Easy Summer Dessert - March 4, 2026
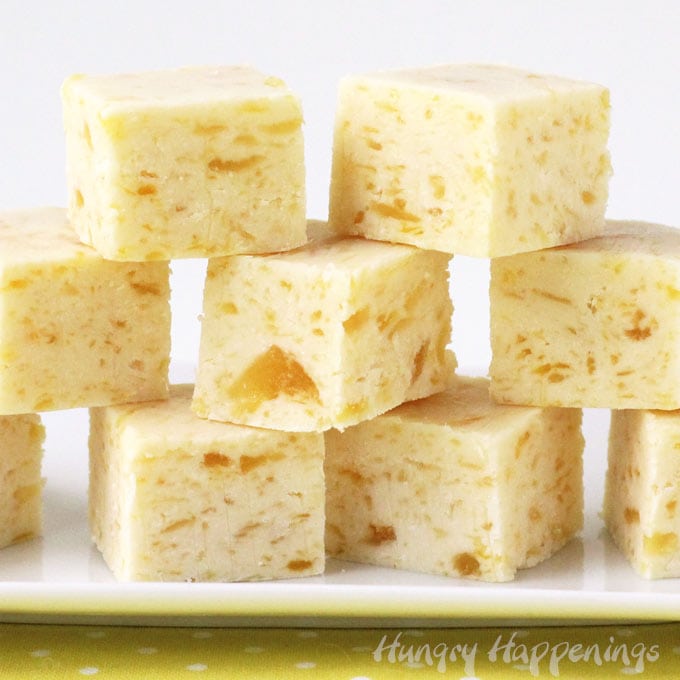
- Pineapple Fudge (No Candy Thermometer Needed!) - March 4, 2026
- No-Bake Peanut Butter Pie Recipe - March 3, 2026
Jenniffer Henriquez says
perfect for a birthday party in november
Jenniffer Henriquez says
perfect for a birthday party in november
Ana Villaescusa says
They're PERFECT. And you use Dulce de Leche from La Lechera! One of my countrie's products. Kisses from Valencia, Spain.
Ana
Diana - FreeStyleMama says
Thanks for linking these up Beth! Love them!
The Partiologist says
I for sure would love to try these - not only are they beautiful,they look delicious! YUM!
Brenda says
Those are the sweetest pumpkins that I have ever seen!
Patricia Reitz says
Oh my - what a cute idea!
Janine (sugarkissed.net) says
What a super cool idea! This is the first I have heard of canned Dulce de Leche... I'm intrigued.
Beth Jackson Klosterboer says
Thanks Janine. I've used the canned Dulce de Leche in lots of desserts and really like it. I've made my own by cooking Sweetened Condensed Milk in a pan over low heat, stirring occasionally until it caramelizes. It takes a long time and tastes the same. It costs less, but I figure the gas I use on my stove costs as much as I save.
sandy says
very nice
Maranda says
How cool!
Jill @ KitchenFunWithMy3Sons.com says
Yum...these look great!
Candy says
Very beautiful! Wonderful!