Hungry Happenings

  • RECIPES
    • All Recipes
    • Dessert Recipes
    • Decorated Cookies
    • Decorated Cakes
    • Cheesecake Recipes
    • Everyday Desserts
    • Homemade Candy
    • Everyday Meals
    • Readers’ Gallery
  • HOW TO
    • Chocolate Making Tips
    • Chocolate Making Course (video lessons)
    • Make Modeling Chocolate
      • Modeling Chocolate Recipe and Tutorial
      • How to Color Modeling Chocolate
      • How to Store and Work with Modeling Chocolate
      • How to Fix Greasy Modeling Chocolate
      • How to Fix Dry Modeling Chocolate
      • Use Colored Candy Melts to Make Candy Clay
    • Candy Clay Creations
    • How To Color White Chocolate and Candy Melts and Paint Candy Molds
    • How to Use Food Coloring Markers
  • HOLIDAYS
    • ALL HOLIDAY RECIPES
    • Valentine's Day
    • St. Patrick's Day
    • Easter
    • 4th of July
    • Halloween
      • Hungry Halloween
    • Thanksgiving
    • Christmas
    • New Year's Eve
    • MORE HOLIDAYS
      • Mother's Day
      • Father's Day
      • April Fools
      • Chinese New Year
      • Cinco de Mayo
      • Day of the Dead
      • Earth Day
      • Mardi Gras
  • PARTY FOOD
    • Super Bowl
    • Graduation
    • Birthday Party
    • March Madness
    • Summer Fun
    • Baby Shower
    • Wedding Shower
    • School/Teacher
    • Movie and T.V. Characters
    • Kid's Treats
    • Fun Party Recipes
  • MY COOKBOOKS
  • ABOUT
  • MY BLOGS
    • HowToMakeCerealTreats.com
    • HowToMakeEasyCookies.com
    • HowToMakeEasyFudge.com
    • TheSugarAcademy.com
menu icon
go to homepage
  • recipes
  • chocolate tips
  • about
  • cookbooks
  • subscribe
  • holiday recipes
  • Halloween recipes
  • party food
  • appetizers
  • decorated cheese balls
  • cute food for kids
  • dessert recipes
  • chocolate recipes
  • homemade candy
  • decorated cakes
  • cupcake recpes
  • cheesecake recipes
  • cookie recipes
  • rice krispie treats recipes
  • fudge recipes
  • modeling chocolate treats
  • ice cream recipes
  • popcorn recipes
  • everyday meals
  • recipe roundups
  • readers' gallery
    • Facebook
    • Pinterest
    • YouTube
  • search icon
    Homepage link
    • recipes
    • chocolate tips
    • about
    • cookbooks
    • subscribe
    • holiday recipes
    • Halloween recipes
    • party food
    • appetizers
    • decorated cheese balls
    • cute food for kids
    • dessert recipes
    • chocolate recipes
    • homemade candy
    • decorated cakes
    • cupcake recpes
    • cheesecake recipes
    • cookie recipes
    • rice krispie treats recipes
    • fudge recipes
    • modeling chocolate treats
    • ice cream recipes
    • popcorn recipes
    • everyday meals
    • recipe roundups
    • readers' gallery
    • Facebook
    • Pinterest
    • YouTube
  • ×
    Home » Dessert Recipes » Chocolates

    White Chocolate Candy Filled Easter Chicks

    Modified: Oct 24, '23 · Published: Mar 15, '13 · By: Beth Klosterboer · Commission earned on paid or sponsored links.

    Looking for a fun treat to make with your kids for Easter? These adorable Easter Chocolates - White Chocolate Candy Filled Easter Chicks are the treat to make! Crack them open for a fun surprise and enjoy every bite of this delicious dessert.
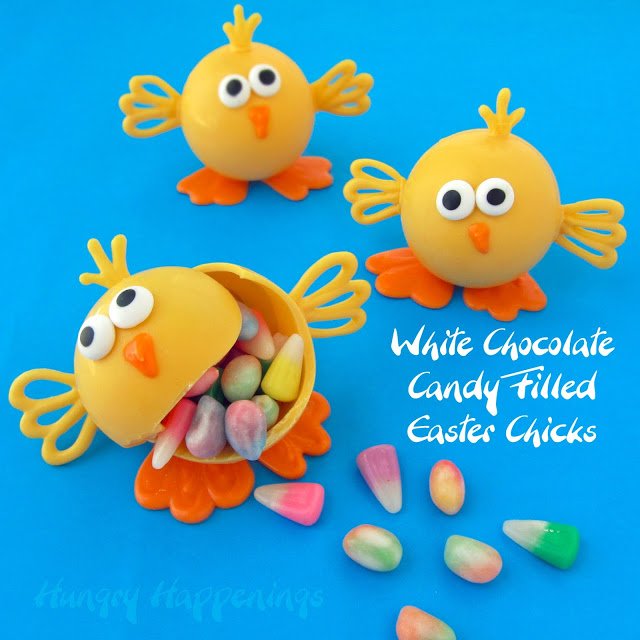
    white chocolate candy-filled Easter chicks.

    Every holiday I come up with more edible craft ideas than I have time to create and these White Chocolate Candy Filled Chicks are a holdover from last Easter.

    I have a scribbled drawing of what I thought these would look like, and I'm so happy that they turned out even cuter than I had imagined.
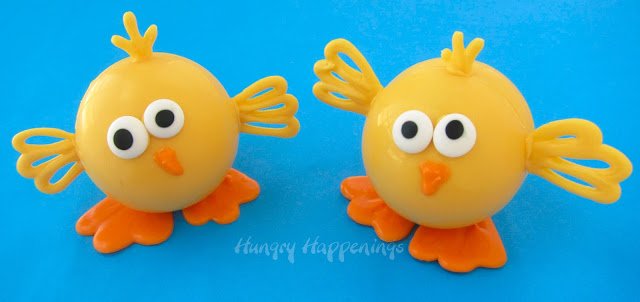
    two cute yellow-colored white chocolate chickens.

    Each of these sweet chicks is completely edible. They can be made using pure white chocolate, if you are experienced with tempering chocolates, but can also be made using confectionery coating/candy melts.

    You'll create a hollow chocolate ball, using a round plastic ornament as a mold. Each chocolate ball can be filled with any type of Easter candy you like. Then you will pipe wings, feet, feathers, and a beak and attach them along with some candy eyes to the ball.
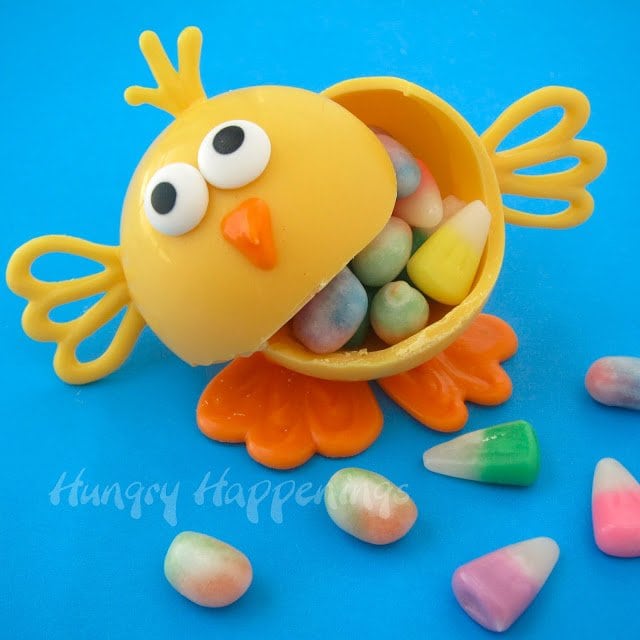
    yellow candy chick cracked open showing pastel candy corn inside.

    If you look at the step-by-step pictures below, you might feel a bit overwhelmed, but I gave you very detailed instructions, and making each ball is simpler than it looks.
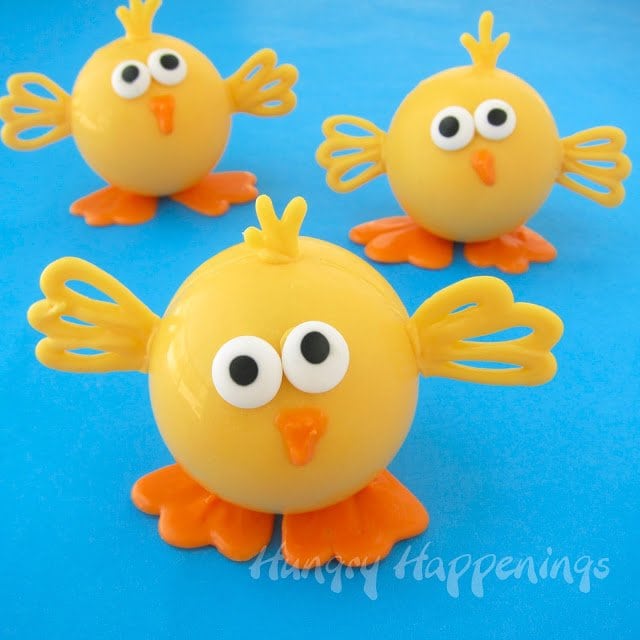
    three white chocolate baby chicks with candy wings, feet, beaks, and eyes.

    White Chocolate Candy Filled Easter Chicks

    Before you begin, if you don't have experience working with chocolate or confectionery coating, read my Chocolate Making Tips page. 

    Ingredients

    • melted and tempered pure white chocolate OR
    • melted confectionery coating/candy melts (use white and color it or use yellow and orange)
    • yellow and orange candy coloring (if using white chocolate or white candy coating)
    • 2 candy eyes per chick

    Supplies

    • 60mm fillable small round plastic ornaments (see note below next image)
    • disposable pastry bags or Squeezit mold painter bottles fitted with a small
    • round decorating tip
    • baking sheet lined with parchment paper

    Items used to create these White Chocolate Candy Filled Easter Chicks can be found on Amazon (commission earned for sales).

    Pack of 12 Clear Plastic Cr...Shop on AmazonWilton Yellow Candy Melts®...Shop on AmazonWilton Orange Candy Melts, ...Shop on Amazon⅜" White And Black Icing ...Shop on Amazon

    Instructions

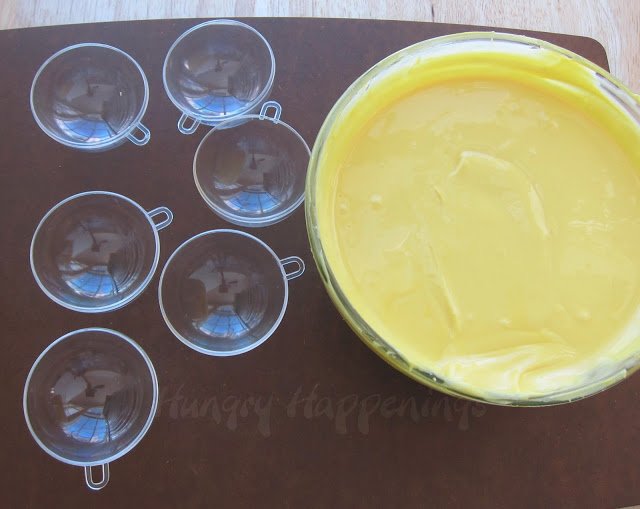
    plastic round ornaments opened up on a cutting board next to a bowl of melted yellow candy melts.

    Note: You want a smooth surface all the way to the edge when molding your chocolate, so you'll only want to use one piece from each plastic ornament.

    Choose the piece that is smooth all the way to the edge and has a groove on the exterior edge. Don't use the piece that has a groove right near the inside edge.

    Color the white chocolate or confectionery coating with yellow candy coloring. You'll also need some colored orange later on.
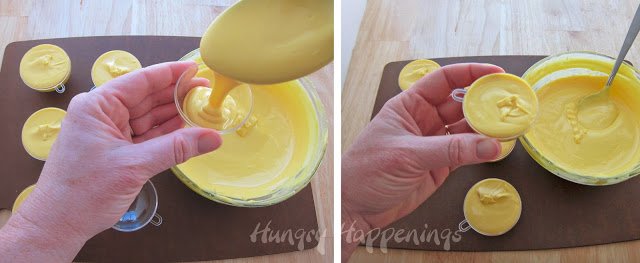
    filling a plastic round ornament with melted yellow candy melts.

    If using confectionery coating/candy melts, allow it to cool to about 91 degrees so that it thickens slightly.

    Pour yellow chocolate into your round plastic ornament halves, which I'll call the mold from now on. Allow filled molds to sit at room temperature for a minute or two.
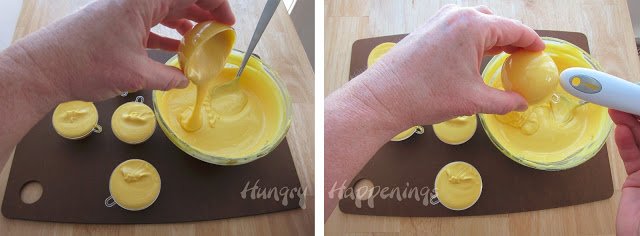
    allowing the excess yellow candy melts spill out of the plastic ornament mold.

    Turn the molds upside down allowing the chocolate to drip out. Tap the back of the mold to help move the chocolate out of the mold evenly.
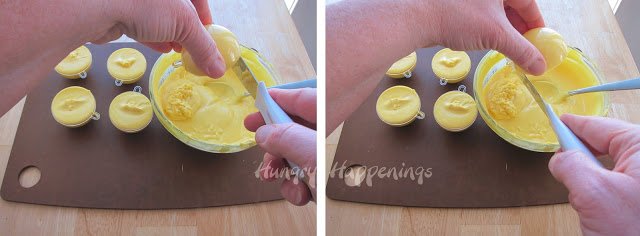
    scraping off the excess yellow candy melts around the top edge of a plastic round ornament mold.

    Use a metal spatula or knife to scrape off the excess chocolate from the edge of the mold.
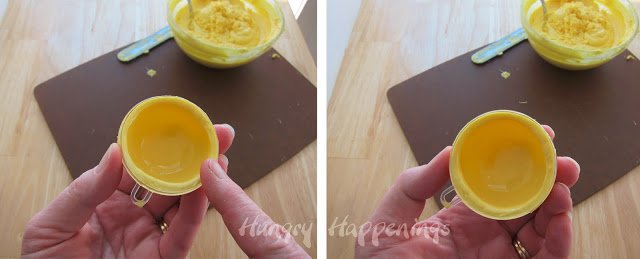
    wiping the top edge of the chocolate-filled ornament clean.

    Use your finger to wipe the edge of the chocolate so that you end up with a nice flat edge.

    Refrigerate if using pure white chocolate for 5-10 minutes, freeze if using confectionery coating/candy melts just until the chocolate sets 3-5 minutes. If left in for too long, the pieces will crack.

    Note: You'll notice the chocolate shell is fairly thick. If yours is not, you may need to repeat the steps above to add a second layer.
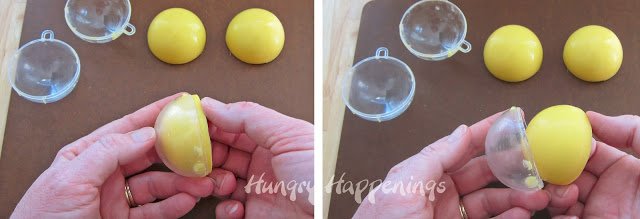
    removing the yellow half-spheres from the plastic ornament molds.

    Remove molds from refrigerator/freezer. Carefully pull on the chocolate releasing it from the mold.

    If it doesn't come out easily, put the mold back for a minute, then try again.

    melting the top edge of the yellow half-sphere shell on a hot baking sheet.

    The best way to stick the two sides of your chocolate balls together is to melt the edges of both halves and stick them together. I set a clean baking sheet on my gas stove top, and turn on the heat to medium for 30-60 seconds, just long enough to heat the pan. Don't overheat the pan or you'll actually burn the chocolate.

    Set one half of your chocolate ball down onto the hot pan allowing the edge to melt a bit, very quickly do the next two steps. 

    pouring Easter candy into one half of a yellow candy chick.

    Pour in some candy. Set the second half of the chocolate ball on the hot pan to melt just a bit of the edge.
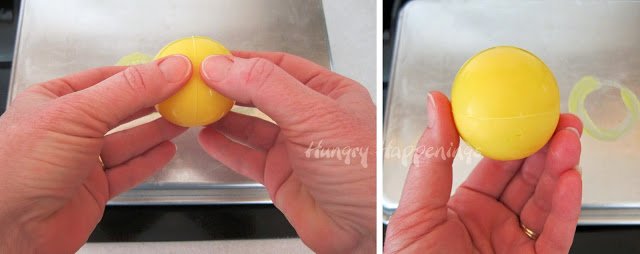
    sealing two halves of the yellow candy chick together.

    Set the two pieces together, being sure to line them up exactly, and press and hold for a few seconds. Ta-da, your first chick body is ready.

    You can use the pan a few times while it's still warm to make a few chick bodies, then clean the chocolate off the pan before heating it up in order to make more chocolate balls.
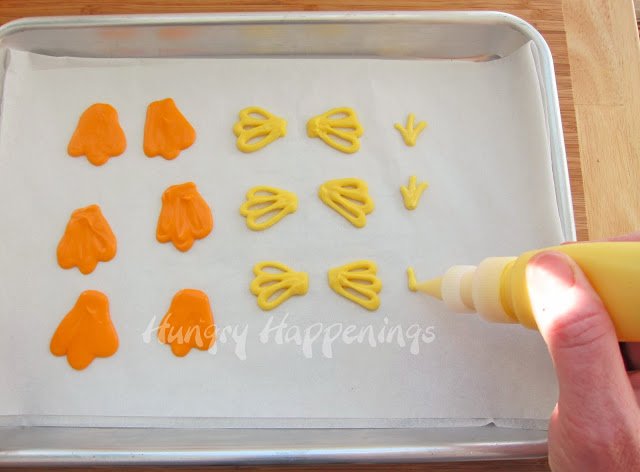
    piping yellow feathers, wings, and orange feet for white chocolate chickens.

    Fill one Squeeze-it bottle or a disposable pastry bag with orange-colored chocolate and another with yellow.

    Attach a small round pastry tip (#3 or #4 work well.) Pipe feet, wings, and feathers for each chick.
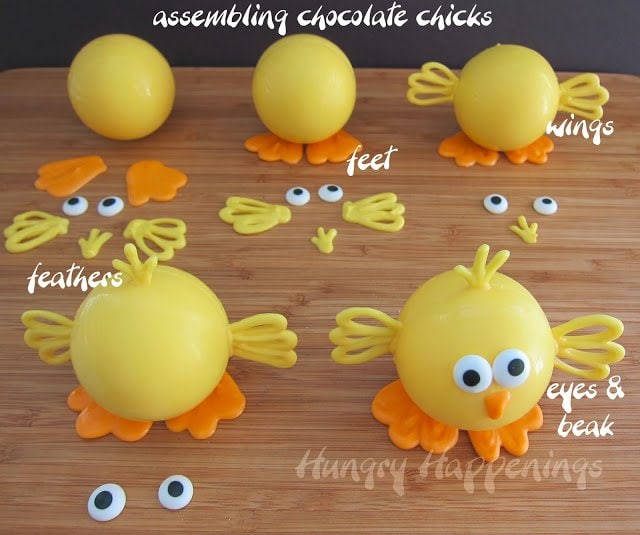
    assembling white chocolate chicks with orange feet, yellow wings, orange beaks, yellow feathers, and two candy eyes.

    Assemble your Chocolate Chicks. Set the chick so the seam goes around from the top to the bottom and the front of the chick's face is smooth. Use melted chocolate to attach the feet first.

    Then attach the wings and feathers. I found it helped to melt the part of the wing that attaches to the chocolate ball. I wasn't working near my stove, so I just used a lighter to heat up a metal spatula, I set the spatula up against the chocolate, allowed it to melt, and then pressed the wing onto the chocolate ball. I then used a bit more melted yellow chocolate to fill in the gap. I had to hold the wing for a bit until it would stay put.

    Attach two candy eyes then pipe on an orange beak.
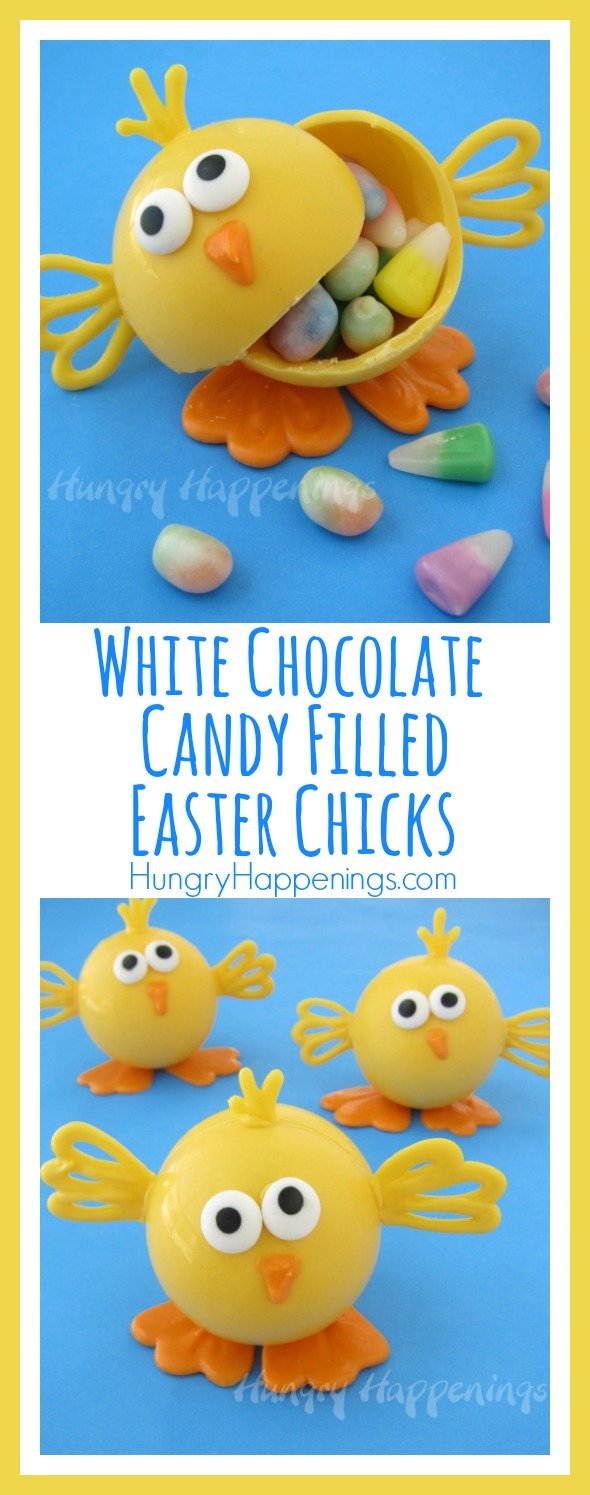
    Looking for a fun treat to make with your kids for Easter? These adorable Easter Chocolates - White Chocolate Candy Filled Easter Chicks are the treat to make! Crack them open for a fun surprise and enjoy every bite of this delicious dessert.

    Use these chicks as party favors or in your Easter baskets. The wings are delicate, so it's best to package them in boxes as opposed to bags. I found some clear cupcake boxes that worked great.

    If this Easter Recipe interests you, then you should go and check out all these other delicious ideas.
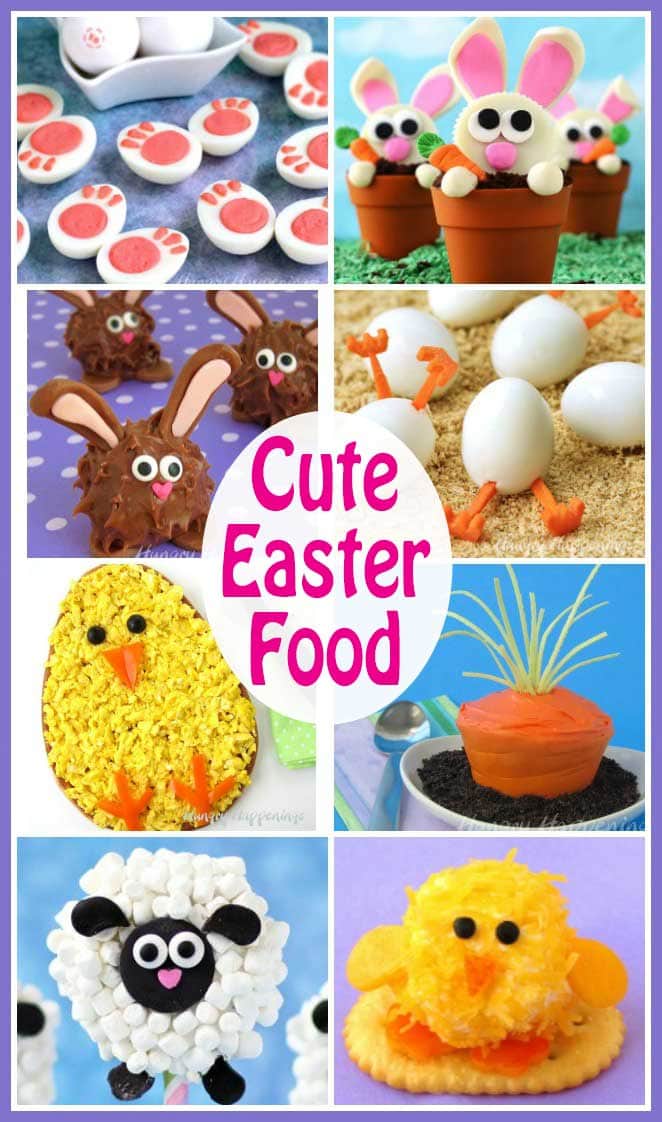
    Celebrate the holiday with over 75 of the best Easter Recipes. See tutorials for making adorably cute Easter food including Bunny Butt Pretzels, Cheese Ball Chicks, Oreo Lambs, and more.

    • Author
    • Recent Posts
    Beth Klosterboer
    Beth Klosterboer
    Hi, I'm Beth Klosterboer, a professional chocolatier & baker, cookbook author, and event planner. I love sharing recipes for happy occasions here on Hungry Happenings. I also create easy fudge recipes to share at HowToMakeEasyFudge.com, rice krispie treat recipes at HowToMakeCerealTreats.com, and easy cookie recipes at HowToMakeEasyCookies.com
    Beth Klosterboer
    Latest posts by Beth Klosterboer (see all)
    • Irresistible Sweets with Dixie Crystals® - July 13, 2024
    • How to make peanut butter? - February 15, 2024
    • OREO Penguins - December 20, 2023

    More Handmade Chocolates

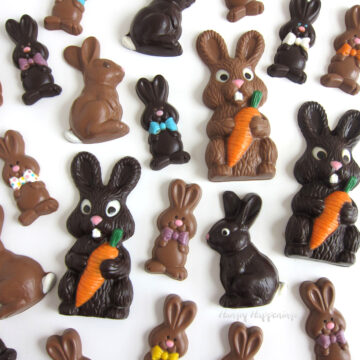
    • Handmade chocolate Easter bunnies are painted with colored white chocolate.
      Homemade Chocolate Easter Bunnies
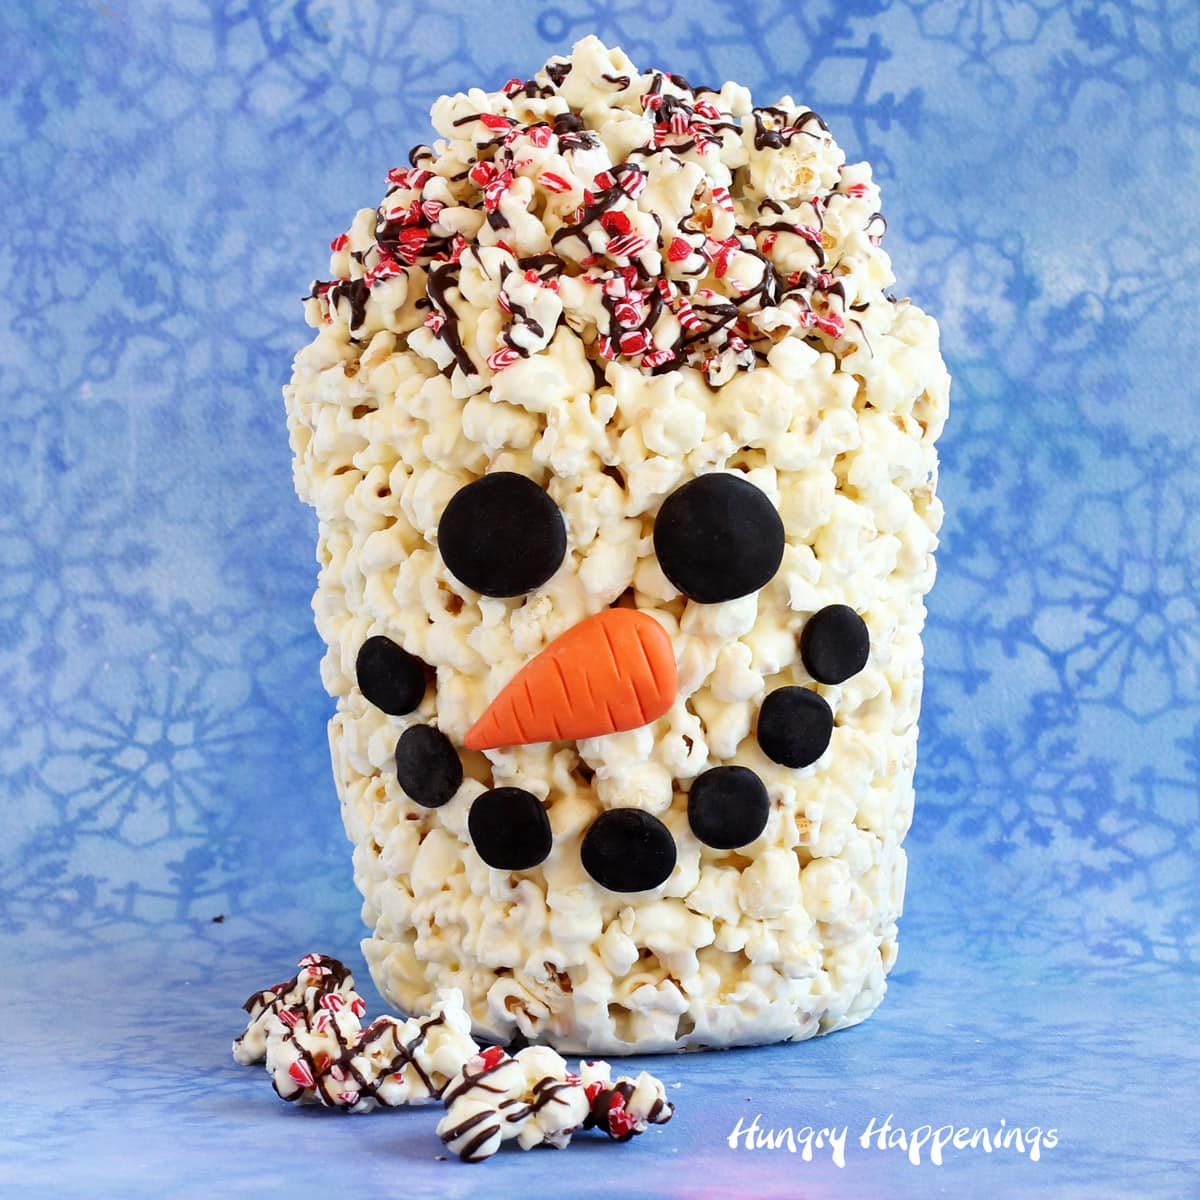
    • White Chocolate Snowman Popcorn Bucket
      Snowman Popcorn Bucket
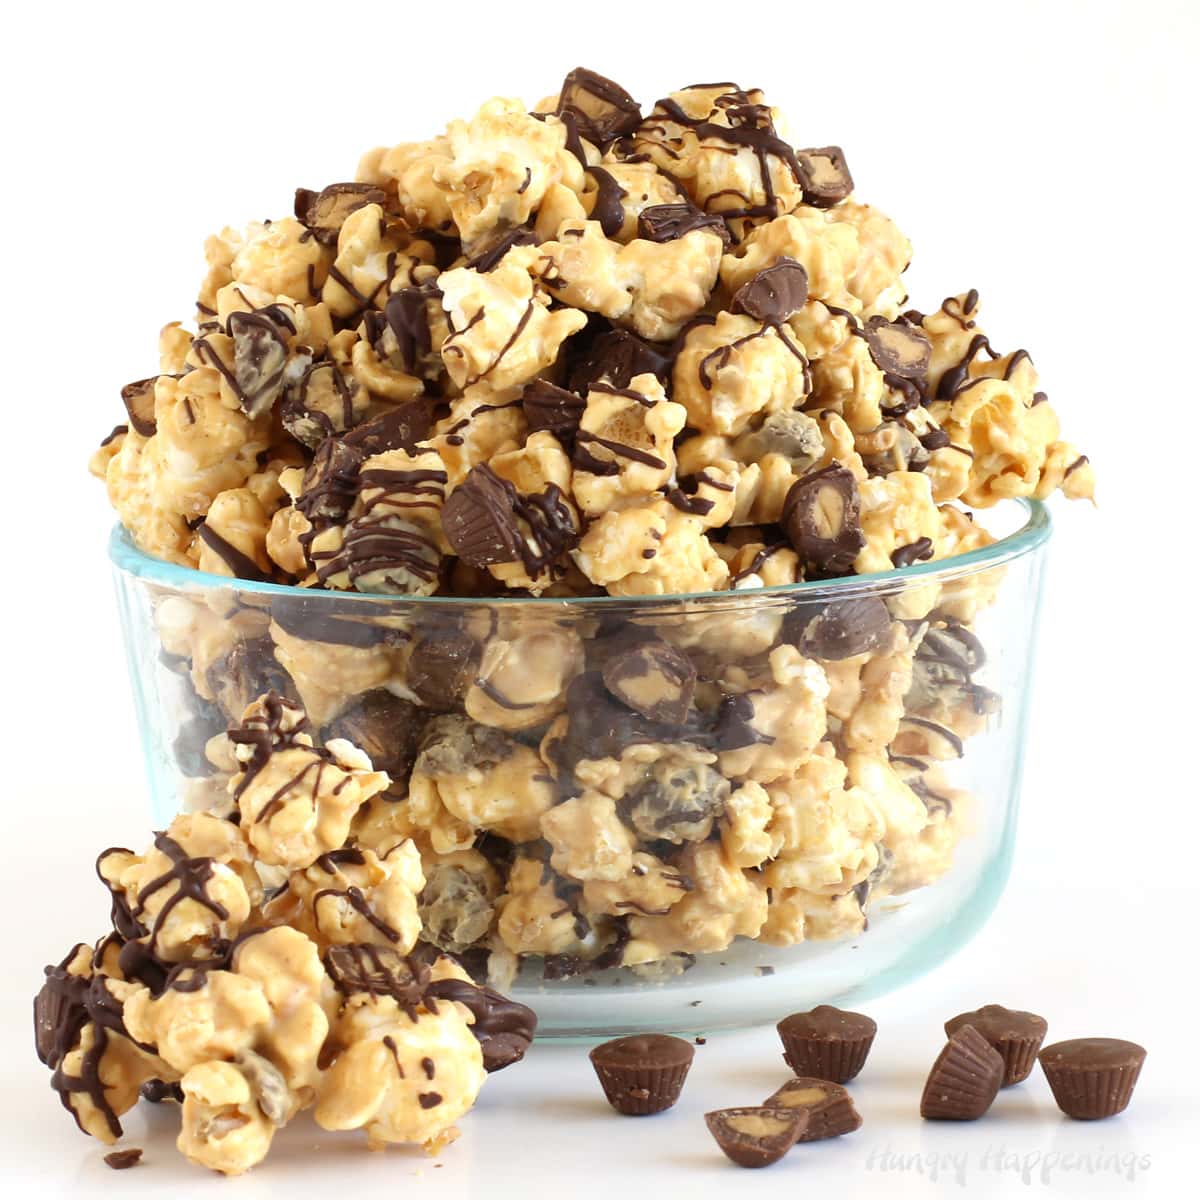
    • peanut butter popcorn recipe image
      Peanut Butter Popcorn
    • white chocolate peppermint popcorn topped with crushed candy canes
      Peppermint Popcorn

    About Beth Klosterboer

    Comments

      Please leave a comment. Cancel reply

      Your email address will not be published. Required fields are marked *

      Recipe Rating


    1. Bharghavi says

      June 28, 2016 at 11:53 am

      where to buy these moulds?

      Reply
      • Beth says

        June 30, 2016 at 9:37 pm

        You can get them here - http://amzn.to/29agBf2

        Reply
    2. Sarah @ Foxy's Domestic Side says

      March 17, 2016 at 11:49 am

      These could be the cutest thing I've ever seen! I need to make these...but don't think I'll have the time, but next year I am making time! So adorable, good job!

      Reply
      • Beth says

        March 18, 2016 at 7:55 am

        Have fun if you do decide to make them. Thanks!

        Reply
    « Older Comments
    Beth Jackson Klosterboer

    Welcome to Hungry Happenings!

    I'm Beth. I've been a professional chocolatier & baker for over 30 years, have written 5 cookbooks, and love creating fun food for holidays and special occasions.

    Read more about me →

    Popular

    • Mini cheesecakes collage of images with plain cheesecakes, cheesecake cups with toppings, and decorated edible flower cheesecakes.
      Mini Cheesecakes
    • homemade candy bars including dark chocolate bars, milk chocolate cashew bars, white chocolate cookies and cream candy bars, and more
      The Best Step-by-Step Chocolate Bar Recipes
    • Marry a chocolate cake ball with a chocolate dipped maraschino cherry to get these amazing Chocolate Cherry Bombs.
      Chocolate Cherry Bombs - Cherry Filled Cake Balls Dipped in Chocolate
    • Giant Reese's Cup on a cake stand with a slice cut and served on a small dessert plate.
      Giant Peanut Butter Cup
    • Cakesicles with red and green drizzle, rainbow sprinkles, and chocolate drizzle
      How to make Cakesicles (cake pop popsicles)
    • Delicious chocolate truffles coated in chopped cashews, shaved dark chocolate, cocoa powder, cookie crumbs, and a blend of dark and white chocolate shavings.
      Chocolate Truffles Recipe

    Buy my cookbooks

    Footer

    ↑ back to top

    use policies

    • privacy policy
    • photo-use policy
    • terms of service

    join us

    • subscribe (newsletter)
    • our online courses
    • readers' gallery

    contact

    • contact
    • about Beth
    • FAQ

    As an Amazon Associate, I earn from qualifying purchases.

    Copyright © 2025 Hungry Happenings