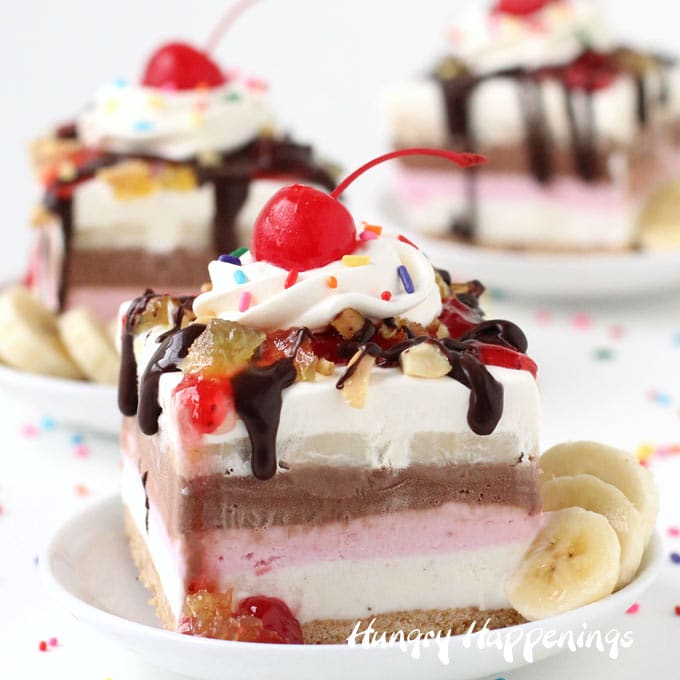
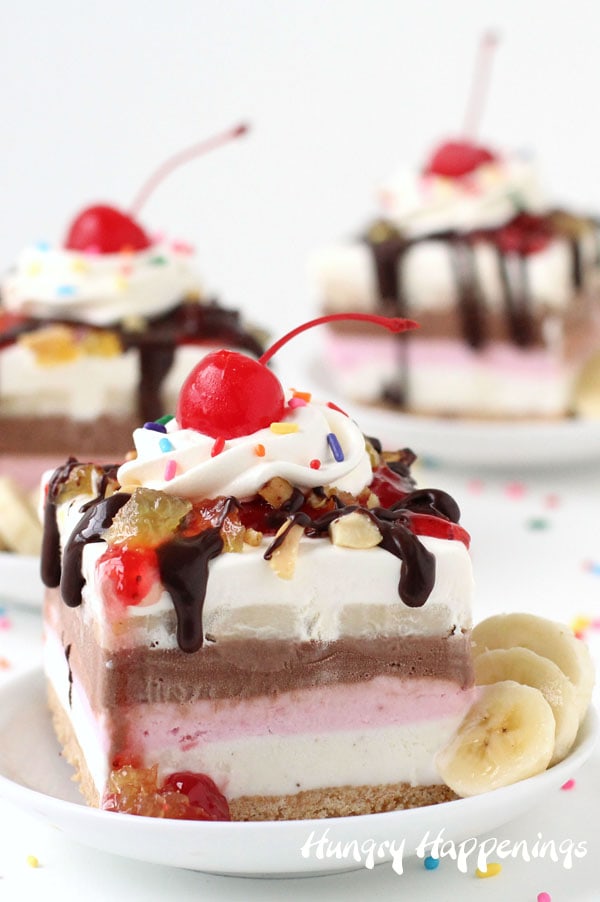
Bring all the flavors of a classic banana split into one fun, frozen dessert bar! These Banana Split Bars feature layers of vanilla, strawberry, and chocolate ice cream over a crunchy vanilla wafer crust. Topped with fresh bananas, whipped cream, and strawberry, pineapple, and hot fudge sauces, plus chopped peanuts, sprinkles, and a cherry on top, they’re a show-stopping treat perfect for summer parties or family gatherings.
If you love banana splits, you’ll adore these easy-to-make ice cream bars. They’re simple to prep the day before, easy to cut, and even easier to serve — making them a perfect dessert for hot summer days.
Why You’ll Love These Banana Split Ice Cream Bars
- ✔ Classic banana split flavors in a handheld bar
- ✔ Layers of vanilla, strawberry, and chocolate ice cream
- ✔ Crunchy vanilla wafer crust for texture
- ✔ Easy to make ahead and freeze
- ✔ Perfect for summer parties, potlucks, or family dessert nights
The day before serving, you create the crust and layer the ice cream, bananas, and whipped cream. Just before serving, drizzle on your favorite ice cream toppings and add chopped peanuts, sprinkles, and a cherry for a dessert that’s as fun to make as it is to eat.
Tips for Making Banana Split Bars
- Soften ice cream slightly: Let your ice cream sit at room temperature for a while before spreading. This makes it easier to layer smoothly without melting the crust.
- Freeze between layers: Freezing each layer for 20–30 minutes ensures clean, even layers and prevents mixing of flavors.
- Use ripe bananas: Choose bananas that are slightly firm but fully ripe for the best flavor and texture.
- Cut and serve carefully: Use a sharp knife warmed under hot water to cut clean squares without cracking the ice cream.
- Prep toppings ahead: Chop peanuts and have sauces ready for a quick drizzle before serving.
- Make ahead for convenience: Assemble the bars the day before your event. Cover and freeze; add toppings just before serving for the freshest presentation.
- Customize your bars: Swap in your favorite ice cream flavors, or add sprinkles, chocolate chips, or other fun toppings to make it your own.
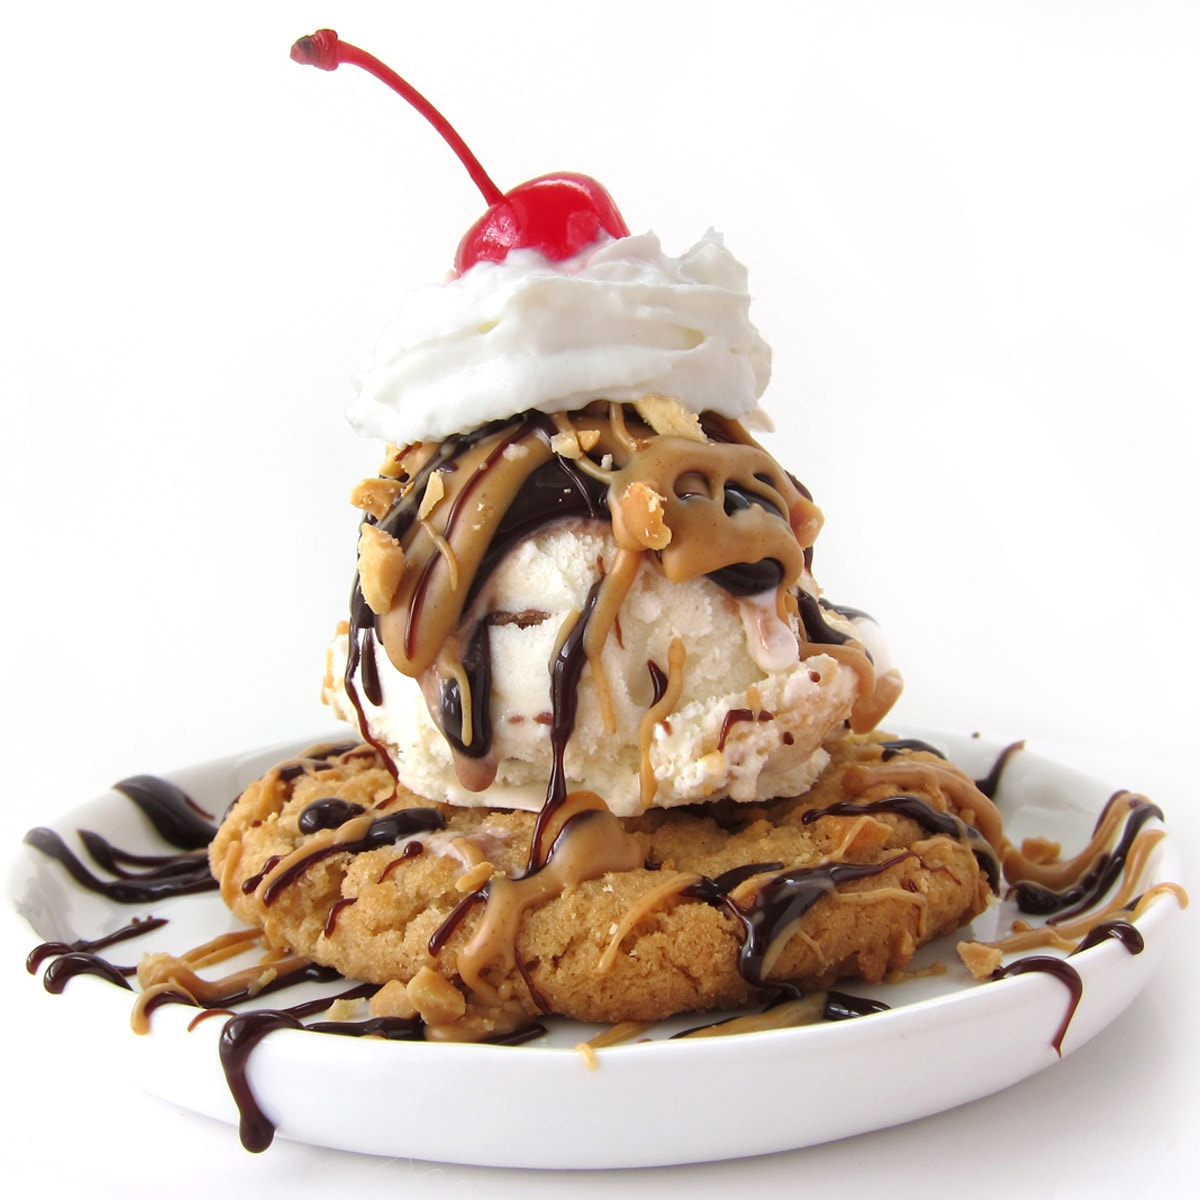
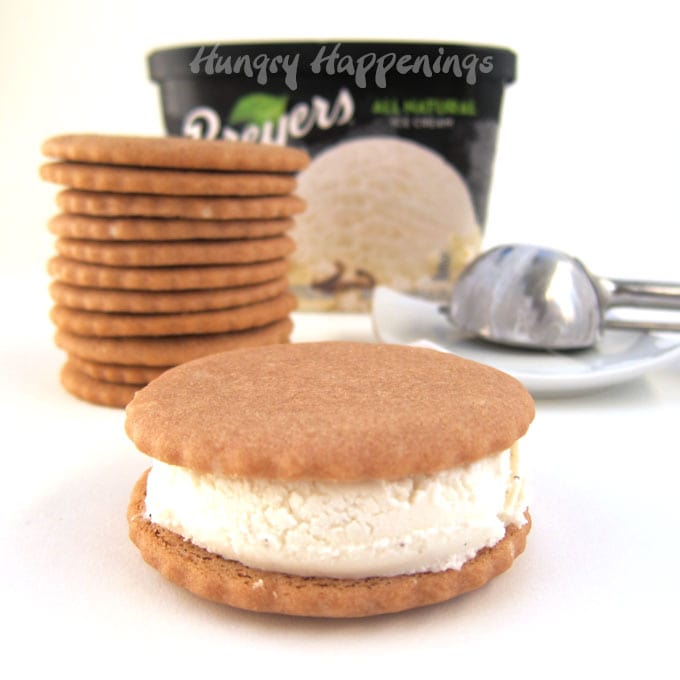
Related Recipes

Recipe

- 36 vanilla wafer cookies, crushed into crumbs
- 3 tablespoons light brown sugar
- 3 tablespoons salted butter, melted
- 1 ½ cups vanilla ice cream, softened
- 1 ½ cups strawberry ice cream, softened
- 1 ½ cups chocolate ice cream, softened
- 6 large bananas
- 8 ounces frozen whipped topping, thawed
- ⅓ cup strawberry ice cream topping
- ⅓ cup pineapple ice cream topping
- ⅓ cup hot fudge sauce, warmed
- ⅓ cup chopped peanuts
- 9 maraschino cherries
-
Line an 8-inch or 9-inch square pan with tin foil for easy removal.
-
Mix together the cookie crumbs, light brown sugar, and melted butter.
-
Press the wet crumbs into in even layer in the bottom of the pan.
-
Freeze until firm, about 30 minutes.
-
Spread the softened vanilla ice cream in an even layer over the crust.
-
Freeze for 20-30 minutes until firm.
-
Spread the softened strawberry ice cream over top then freeze for 20-30 minutes until firm.
-
Spread the chocolate ice cream over top and freeze until firm.
-
Cut 3 bananas into slices and arrange them in a flat layer over the chocolate ice cream.
-
Spread about 2 cups of the whipped topping over top of the bananas and freeze for one hour until firm.
-
Before serving drizzle the strawberry, pineapple, and hot fudge sauce over top of the whipped cream.
-
Then sprinkle on chopped peanuts.
-
Lift the dessert out of the pan using the tin foil as handles then remove the tin foil and set the ice cream on a cutting board and cut into 9 squares.
-
Scoop or pipe a dollop of whipped topping in the center of each square and top that with a maraschino cherry and add some more banana slices before serving.
- Store in the freezer until ready to serve.
- You can cut the ice cream into squares and freeze the squares, then add the toppings to each bar just before serving.

- Banana Split Bars – A Fun and Easy Summer Dessert - March 4, 2026
- Pineapple Fudge (No Candy Thermometer Needed!) - March 4, 2026
- No-Bake Peanut Butter Pie Recipe - March 3, 2026


Please leave a comment.