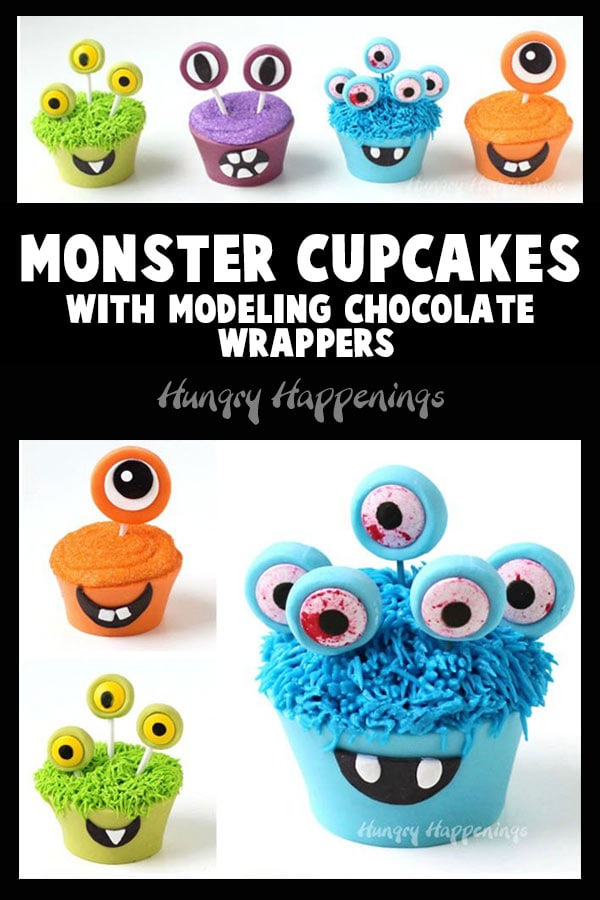
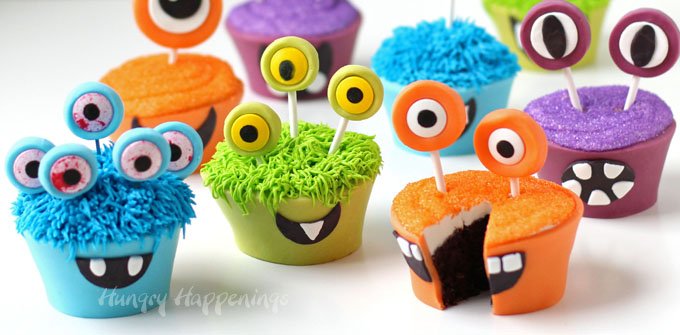
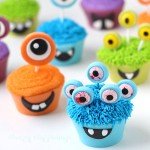
These adorably cute and slightly spooky Halloween Monster Cupcakes are sure to delight kids of all ages. Each brightly colored cupcake is wrapped in an edible chocolate wrapper and is decorated with candy googly eyes.
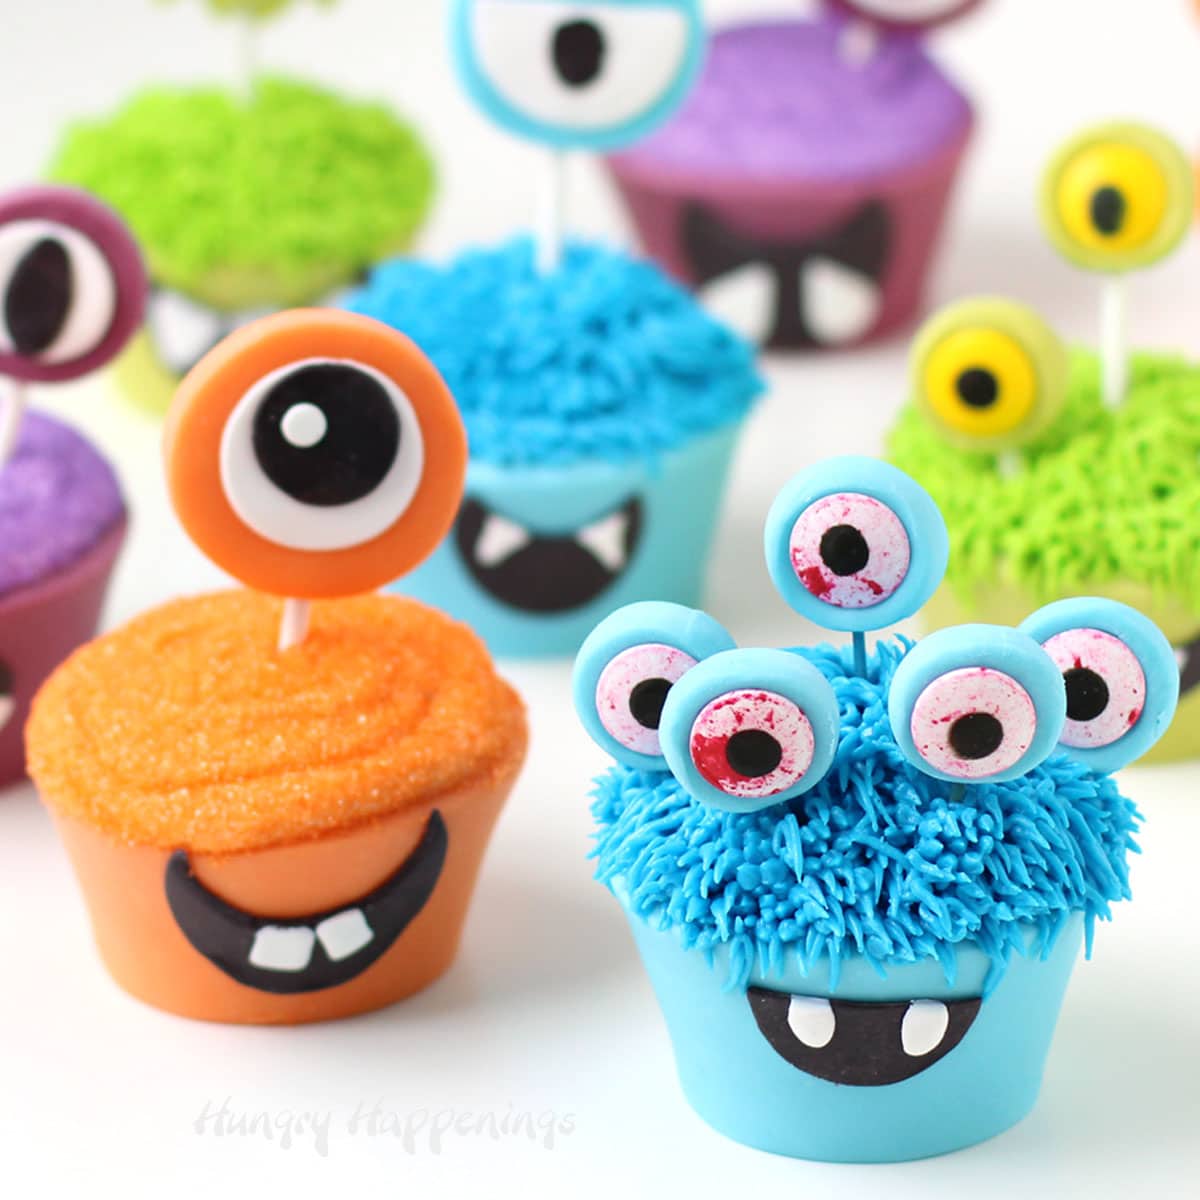
If you are hosting a Monster-themed Halloween party, these cupcakes will be the star of the show! Seriously, how cute are they?
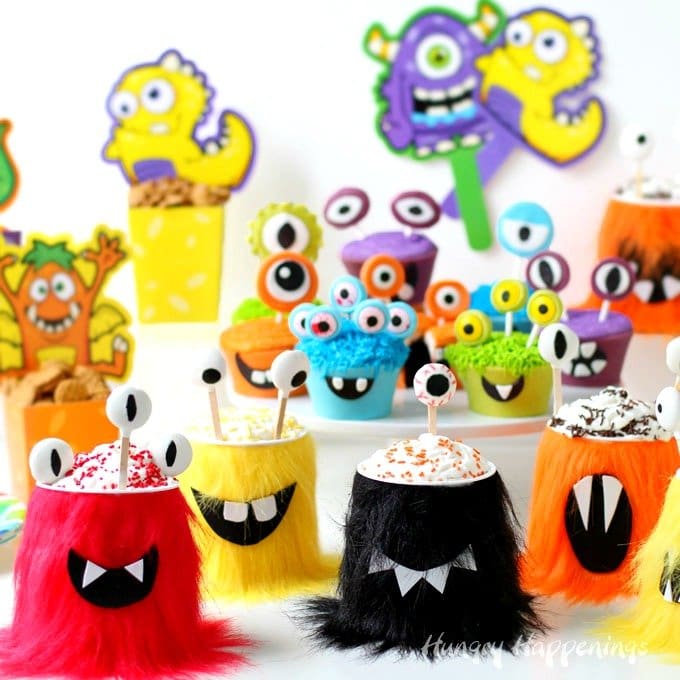
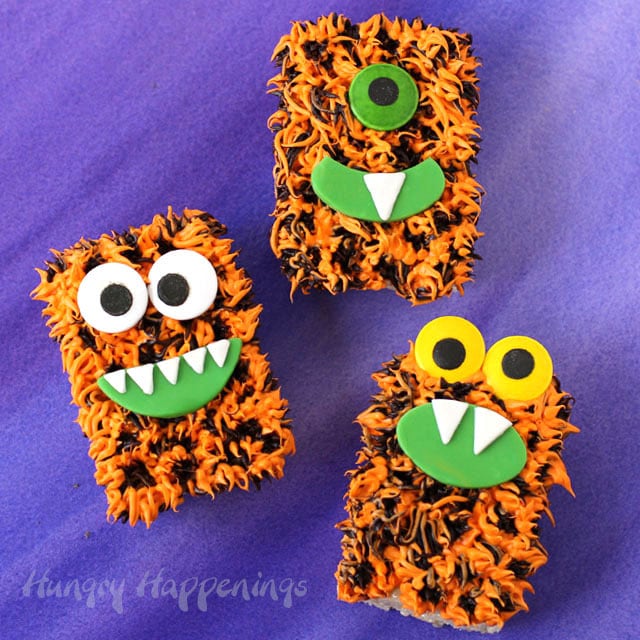
Halloween is the perfect time to make monster-themed appetizers and desserts. I can't wait to share these cupcake monsters along with Mini Monster Cheese Balls, Chocolate Caramel Pretzel Monsters, and Rice Krispie Treat Monsters this Halloween.
This is my favorite monster-themed treat I've made to share with you so far. I love that each cupcake is wrapped in a brightly colored modeling chocolate wrapper so the cupcake wrapper is completely edible. How fun is that?
It's been a while since I've made edible cupcake wrappers out of modeling chocolate (also known as candy clay) and I thought Halloween was the perfect time to revisit this fun cupcake idea.
If you have never made modeling chocolate, now is the time to give it a try.
They are really the same thing with the exception of the type of chocolate that is used.
Modeling chocolate is made using pure chocolate which is made using cocoa butter while candy clay is made using compound chocolate which is made using palm kernel oil. Candy Melts is a type of compound chocolate that is readily available. You can use any brand of colored compound chocolate to make candy clay.
I will use the terms modeling chocolate and candy clay interchangeably!
You can read more detailed information about the different types of chocolate and modeling chocolate on my Chocolate Making Tips page.
First, you need to make your brightly colored candy clay.
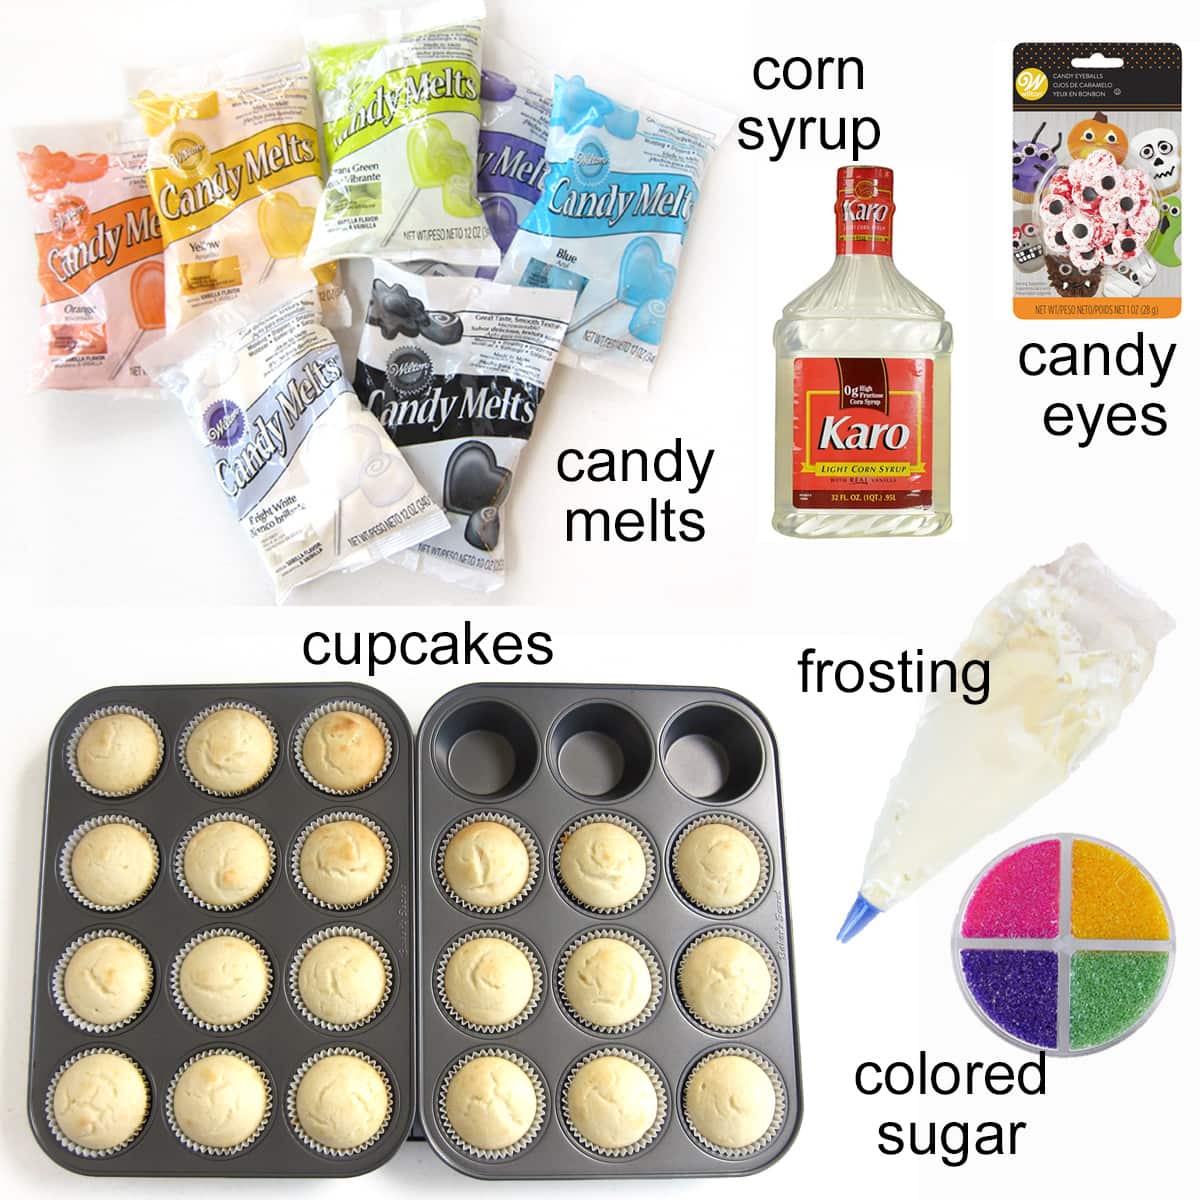
Ingredients
candy melts (in a variety of colors) - It's easiest to use colored candy melts but you could also color white candy clay using food coloring. See instructions for coloring your modeling chocolate on my chocolate tips page.
corn syrup - Adding corn syrup to the candy melts turns the chocolate into moldable clay.
cupcakes - You'll wrap the candy clay around your favorite cupcakes. You can make homemade cupcakes or use store-bought cupcakes. Just remove them from the paper wrapper before wrapping them in the modeling chocolate.
frosting - You will frost the tops of your cupcakes either using colored frosting to match your cupcake wrappers or using white frosting sprinkles with colored sugar.
candy eyes - Decorate your cupcakes using jumbo candy eyes or bloodshot candy eyes or just make eyes using white and black modeling chocolate.
Supplies
instant-read thermometer
short lollipop sticks (or cut long sticks)
cupcake wrapper template - Print this out and use it as a guide to cut out your modeling chocolate cupcake wrappers.
pizza wheel or knife
silicone mat
fondant roller or rolling pin
small round cutters
pastry bags fitted with fur tip
Here are some of the products I used to create these cupcakes monsters that are available on Amazon.com (I earn a small commission when you use the links below to make a purchase at no extra cost to you.)
 Wilton White Candy Melts, 1...Shop on Amazon
  Wilton Blue Candy Melts® C...Shop on Amazon
  Wilton Yellow Candy Melts, ...Shop on Amazon
  Wilton Orange Candy Melts, ...Shop on Amazon
  Wilton Lavender Candy Melts...Shop on Amazon
 Wilton Black Candy Melts® ...Shop on Amazon
  Wilton Easy Flex Silicone 1...Shop on Amazon
  Wilton Rolling Pin 12 Inche...Shop on Amazon
  Ateco Plain Edge Round Cutt...Shop on Amazon
  MINI ACCENT CUTTERS STAINLE...Shop on Amazon
 Wilton Halloween Spooky Can...Shop on Amazon
  Wilton 4-Inch White Lollipo...Shop on Amazon
  Wilton No. 234 Multi-Openin...Shop on Amazon
  Wilton Disposable 16-Inch D...Shop on Amazon
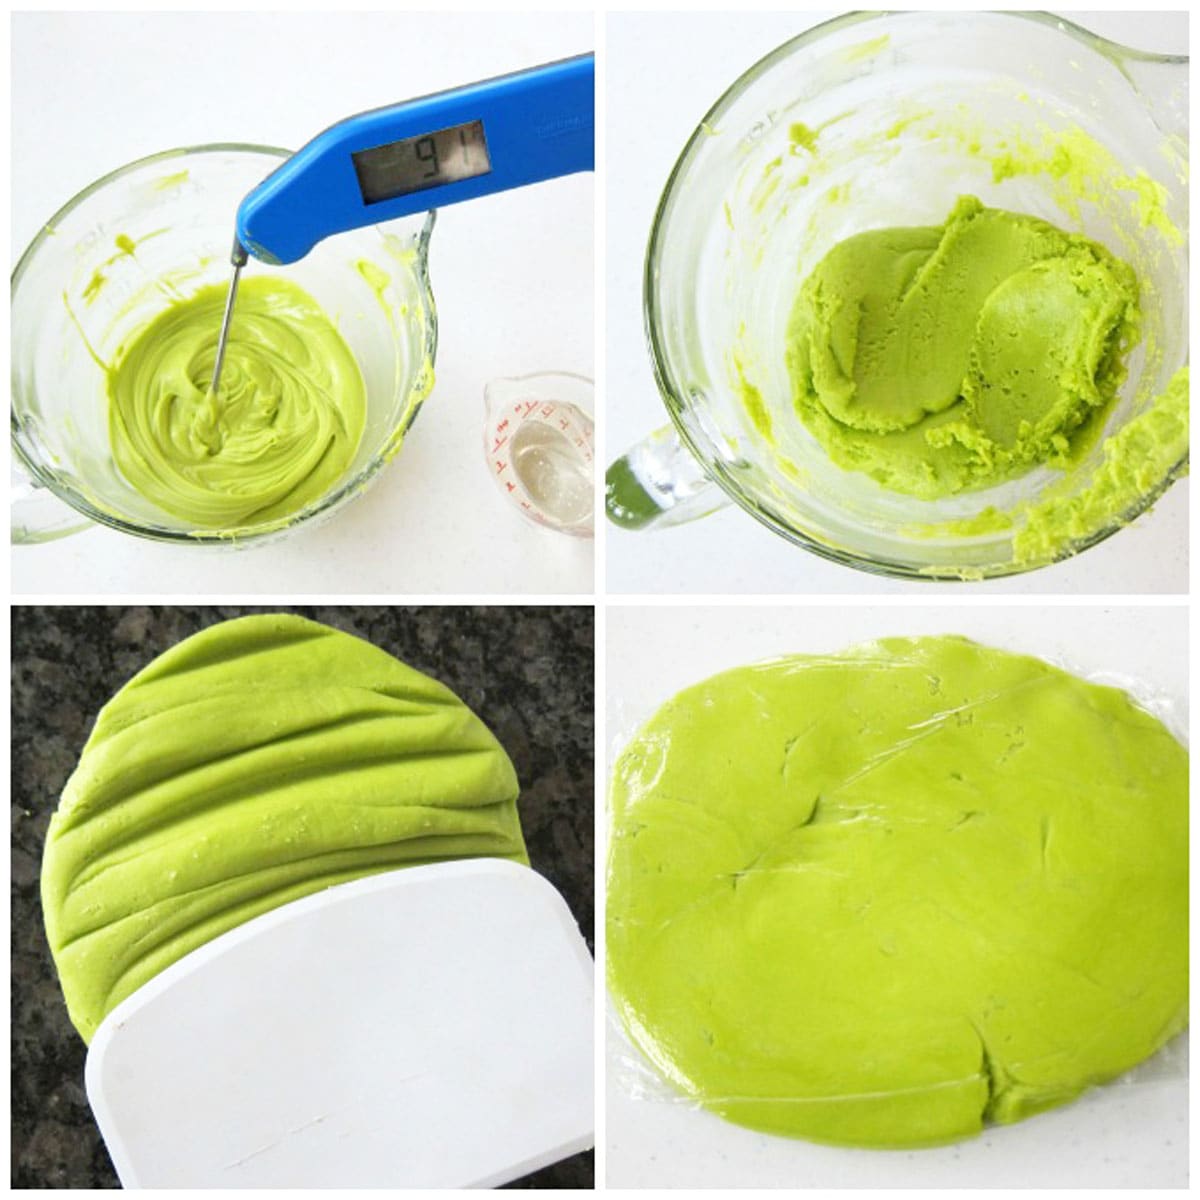
Instructions
Making colored candy clay using candy melts.
- Pour the candy melts into a microwave-safe bowl.
- Heat on high power for three 30-second increments, stirring after each.
- Allow the candy melts to sit for 2 minutes, then stir until melted.
- If not completely melted, heat on high for 15-second increments, stirring after each until melted.
- Now, the MOST IMPORTANT THING IS TO allow the candy coating to cool to between 91 and 92 degrees Fahrenheit, stirring frequently until cooled properly.
- Pour in corn syrup.
- Stir slowly until well incorporated.
- Wrap the modeling chocolate in plastic wrap and place it in a zip-top bag or airtight container.
- Allow to dry for at least 30 minutes before using.
I have found after making modeling chocolate for almost 20 years, that the most important thing in being successful at making perfect modeling chocolate every time is making sure it cools to between 91 and 92 degrees Fahrenheit (33° C) before adding the corn syrup. If you add the corn syrup to chocolate that is too hot you'll end up with greasy modeling chocolate. See my troubleshooting on how to fix your greasy modeling chocolate.
To measure the temperature, you will need a good thermometer. I use Thermapen thermometers because they are extremely accurate and register the temperature much more quickly than any others that I've tried. Thermapens are not cheap, but after throwing away so many less expensive thermometers because they just didn't work, I was so happy to find one that I love. I've owned one for about 15 years and just got another one from Thermapen.
If you add the corn syrup to chocolate that is too hot you'll end up with greasy modeling chocolate. See my troubleshooting on how to fix your greasy modeling chocolate.
Once you have your modeling chocolate (candy clay) made you can decorate your Monster Cupcakes.
*Each cupcake wrapper will use approximately 1 ½ ounces of modeling chocolate but you will need more to be able to roll it out and cut it into the cupcake wrapper shape.
Making the candy clay wrappers.

Cupcake Wrapper Template
- Print a copy of this cupcake wrapper template (click here.) BE SURE TO PRINT IT IN LANDSCAPE MODE.
- Cut out around the template. Wrap it around one of your cupcakes, to see if it is the right size.
- You need the paper template to overlap at the ends by at least ½ inch to allow room for the thicker modeling chocolate wrapper, so adjust the template as needed. Re-size then cut out a new template.
Candy Clay Cupcake Wrappers
- Roll out one color of your candy clay to about ⅛th inch thickness.
- I find it easiest to roll my modeling chocolate out on a Wilton Easy Flex Silicone 10-Inch by 15-Inch Mat
Wilton Easy Flex Silicone Mat using a non-stick silicone rolling pin or a fondant roller. The mat is perfectly smooth so it won't leave any marks on your modeling chocolate and its non-stick surface is perfect.
- If you don't have a silicone mat you can roll out the candy clay on a gallon size zip top bag or on a cutting board that has been dusted lightly with powdered sugar or corn starch.
- Once you've rolled out the candy clay use a pizza cutter to cut out around the paper template.
- Then wrap the candy clay strip around the cupcake sealing the edges with a tiny bit of water or Wilton Clear Piping Gel, 10-Ounce
piping gel.
Making sugar-coated monster cupcakes.
- Pipe frosting over top of your cupcake then carefully pick up the cupcake and dip it into a bowl of colored sugar.
- OR sprinkle the sugar over the top of the frosting.
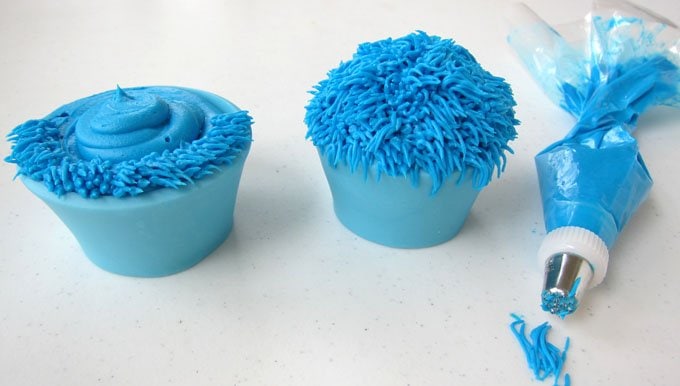
Making furry monsters.
- Use a Wilton 402-234 No. 234 Multi-Opening Decorating Tip, Multicolor
multi-opening pastry tip (also referred to as a grass tip or fur tip) to add colorful frosting fur to your cupcakes.
- It is so fun making fur. Just frost the cupcake with a little frosting, then pipe fur all over the top by squeezing the pastry bag then letting go and pulling away to create wisps of fur.
- You'll notice in the video tutorial that I didn't bother adding a layer of frosting under the frosting fur. If the fur sticks to your cupcakes then you can skip the step too. Sometimes it's difficult to get the frosting to stick unless there is some frosting on the cupcake.
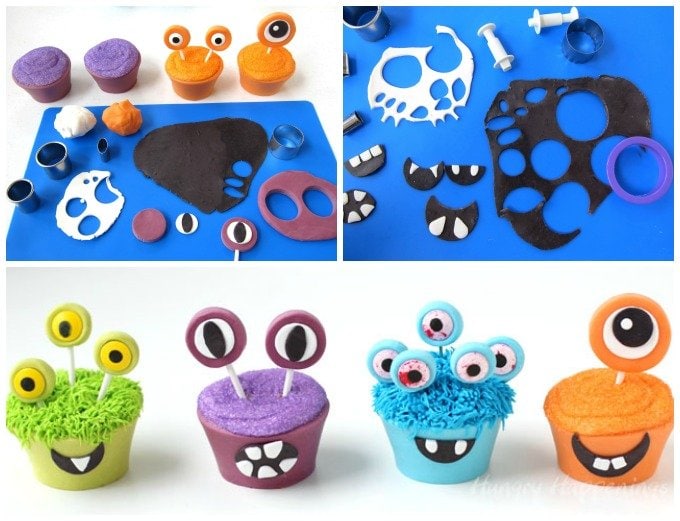
Adding the decorations.
Roll out the modeling chocolate and use small cookie cutters and plunger cutters to create googly eyes and silly grins for your monsters.
Eyes
- When making the eyes, be sure to keep the modeling chocolate about ½ thick so that you can easily insert lollipop sticks.
- For some of the eyes, I cut circles out of the colored modeling chocolate and then simply pressed some jumbo candy eyes into the circle. Wilton has some creepy bloodshot (the blue monster) or yellow eyes (the green monster) which are great for these cupcake monsters. The other eyes on my monsters are created out of modeling chocolate.
Mouth
- To make the modeling chocolate monster mouth, roll out black candy clay to about 1/16th inch thickness.
- Cut using an oval cutter for an open mouth.
- Cut out a circle then cut into that circle using a knife or the same round cutter to create a smiling monster cupcake.
Teeth
- Roll out white modeling chocolate to about 1/16th inch thickness.
- Cut teeth (pointed, square, or rounded) using plunger cutters, a knife, or small metal cutters.
Attaching the modeling chocolate pieces together.
- Brush a light amount of water or clear piping gel on the pieces to use as edible glue.
- I love using Wilton's Water Brush as it holds water in the pen. You can just wet the tip of the brush and brush it over the candy clay.
- In the video below you'll notice I squeeze some water out onto my silicone mat and dip the tip of the brush into it. I do that just to show you that I'm using water. I usually just squeeze the brush just enough to allow some water to drip off the tip then use the wet tip to brush over the modeling chocolate pieces.
- You can also use clear piping gel. I do recommend using the piping gel if your modeling chocolate cupcake wrappers are not holding well along the seam.
Video
Watch the video to see how to make these cute Halloween cupcakes.
Related Recipes
You might also like these other monster-themed recipes.

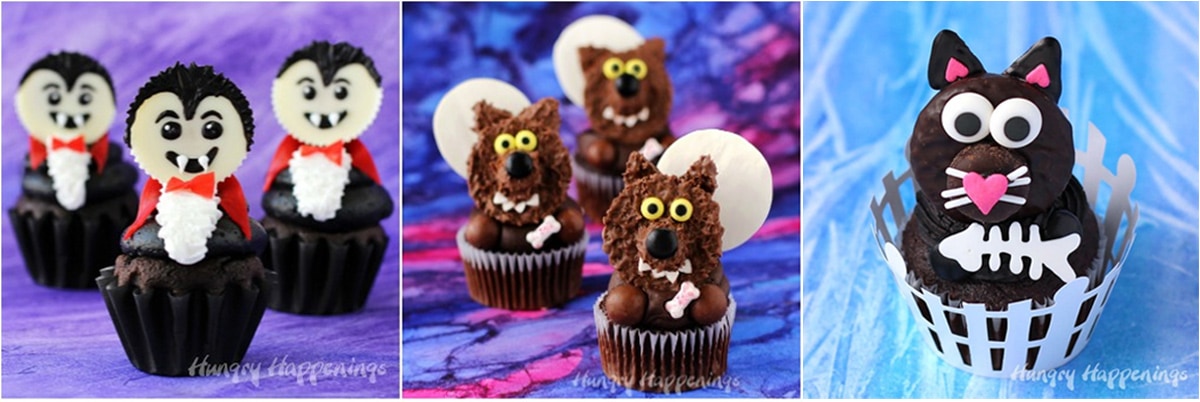
If you want to make more Halloween cupcakes be sure to check out my Vampire Cupcakes, Werewolf Cupcakes, and Black Cat Cupcakes.
Recipe
- 1 - 12 ounce bag Wilton Candy Melts*
- ¼ cup corn syrup plus more if needed
- *If using a 10 ounce bag of candy melts start with 3 ½ tablespoons of corn syrup.
-
Pour the candy melts into a microwave safe bowl.
-
Heat on high power for three 30 second increments, stirring after each.
-
Allow the candy melts to sit for 2 minutes, then stir until melted.
-
If not completely melted, heat on high for 15 second increments, stirring after each until melted.
-
Now, the MOST IMPORTANT THING IS TO allow the candy coating to cool to between 91 and 92 degrees Fahrenheit, stirring frequently until cooled properly.
-
Pour in corn syrup.
-
Stir slowly until well incorporated.
-
Pour mixture out onto a counter top, preferably marble or granite.
-
Knead until glossy and smooth.
-
Wrap the modeling chocolate in plastic wrap and place in a zip top bag or airtight container.
-
Allow to dry for at least 30 minutes before using.
-
Modeling chocolate will keep for several months, if stored properly.

- How to make peanut butter? - February 15, 2024
- OREO Penguins - December 20, 2023
- OREO Snowmen - December 20, 2023


Karen @ Sugartown Sweets
These are all too cute! It was fun getting to see how you made the eyes and mouths with the modeling chocolate..and you make the wrappers look so easy! 5 Stars!
Beth
I'm glad you enjoyed the video. The wrappers are pretty easy to make. I hope you give them a try. Thanks for the nice rating.
Margaret Skube
You are brilliant!
Beth
Awe, thanks!!!
The Partiologist
Who knew monsters could be so much fun!
Susan
I made some of this. Had a lot of oil released during the needing process. I have it stored in plastic and ziploc. Do you have to warm it to use it in the future? Overnight it is not as soft as when I used it yesterday.
Beth
Hi Susan,
I have a really detailed tutorial all about working with and fixing greasy modeling chocolate here - https://hungryhappenings.com/chocolate-making-tips/modeling-chocolate-recipe-candy-clay/
It can be fixed, so don't give up!
Modeling chocolate will harden over time. Simply knead it in your hands for a while until it softens. If it's rock hard, you can heat it in the microwave on the DEFROST setting for 3-5 seconds at a time, then knead it until it's pliable. Don't overheat it or the oils will release and you'll end up with greasy modeling chocolate.
I hope you get it to work for you. Let me know if you have any other problems.
Francisca
These cup cakes are to cute. I like the designs and great for Halloween. Thanks for sharing your recipe:)
Beth
You are so welcome, Francisca:) I am so happy you like my cupcake designs.
Lara
You are so incredibly talented! i wish i just had sliver of it!
Beth
Thank you! That's so nice of you to say. Don't feel like you don't have the talent, it has taken me almost 40 years to develop my skills. So, don't give up! It just takes practice, practice, practice.
The Partiologist
Wow, Beth you have taken monster cupcakes to a whole new level, they are cute as a monster can be!
Beth
I know there are a lot of monster cupcakes out there on the web and I did my best to make them unique! I'm glad you like them:)
Carlee
These are the cutest thing! I am not sure I have the patience or skill, but I am super happy you do! I love seeing all of the fun things you come up with!
Beth
I'm glad you like them:) These do take a bit of patience to make, that's for sure.
lisa@hooplapalooza
oh don't even ask me how much i L-L-L-OVE these Beth!!!!!!!! 🙂 🙂 🙂 🙂
Beth
Hey, Lisa, how much do you love these??? 🙂